How To Create an Awesome Collection of Memories: A Photo Book Tutorial

One of the reasons photography is so popular is because of all the memories it helps you immortalize. You can forget what you said or did at any particular moment in your life, but a picture speaks a thousand words! That’s what makes photo books even more precious in today’s digital world: You get to have something palpable in your hands that you can look through at any time.
A photo book can be pulled out when you want to revisit something as fun-filled as your last awesome summer vacation with your friends and family, just as it can be a great way to revisit something more meaningful, like a baptism, wedding or anniversary.
To design the best photo book possible for your great memories, here’s what to do.

photo by Abecedarian Gallery
Come up With the Reason
Your photo book needs a purpose, a reason for why you’re assembling it in the first place. For example, ask yourself if:
- This is only something to share with your friends and family.
- It’s something that will eventually find its way to a gallery or publisher.
- It’ll complement a body of work that’s being exhibited.
Once you know the true purpose for your assembling of the photo book, then you’ll have a much easier time planning out its layout.
Come up With a Theme

Your photo book is something that needs a theme for it to present well. Putting together a collection that’s just a willy-nilly series of pictures without a theme to tie them all together is going to be chaotic. It’s also going to lower the enjoyment factor for anyone looking through it.
Think of a specific subject matter that’s influenced a body of work or project(s) that you’ve done. Alternately, you can find a theme by examining pictures you’ve snapped over a certain time frame. For instance, all those shots you took for a month-long photo project or all those times over 365 days that you took pictures of the blue hour – something like that.
Using a theme will only bolster the end result and create a photo book that’s cohesive, tight and sensible.
Choose the Ideal Images

For a photo book, choosing the right images is pretty much 99.9% of the task. With something so visual, great time and effort should be spent on picking images that align with the purpose and theme of your photo book.
It’s helpful to look at your photo book as a captivating story that requires some of the same elements and ingredients that successful tales possess:
- Character development
- A gripping plot
- Atmosphere
This goes back to the reason you chose a theme in the first place: You want a guideline and limitations on what to include in your photo book. It’s essential to be selective, as you want to convey only a certain topic, subject matter, time in your life, genre, or anything else that serves as your theme.
So think about the pictures that help you tell the story of your theme throughout your photo book.
Designing the Layout
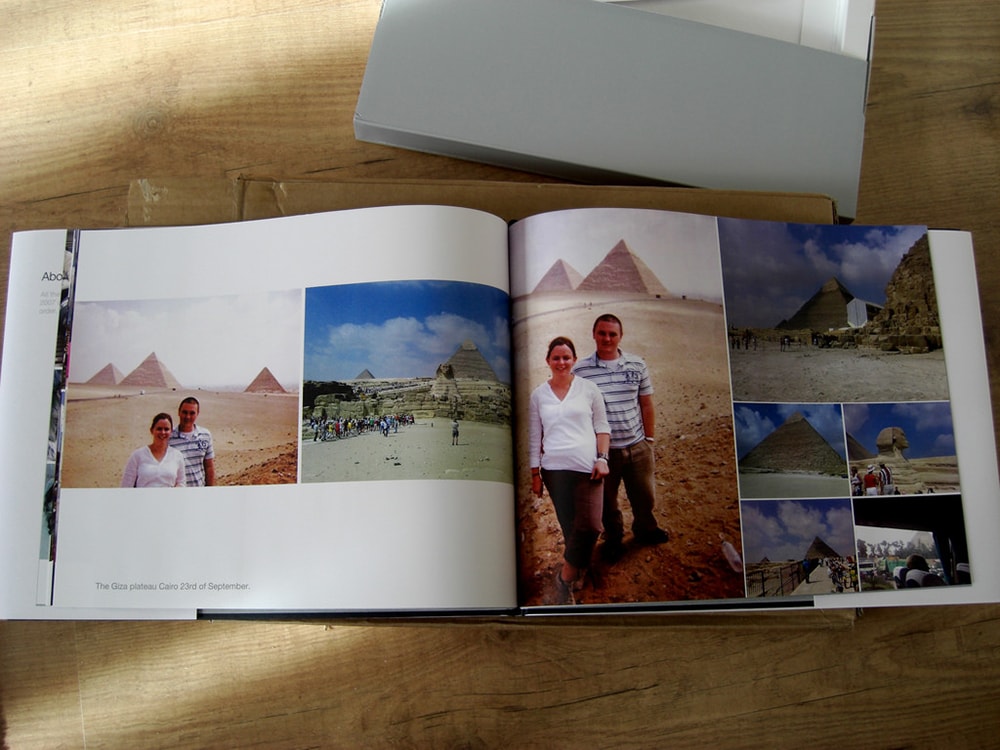
photo by Chris Ford
Your layout is the way in which your audience takes in your photo book. Clearly, this is another important aspect of creating a presentation that pulls in your audience.
Using focal points is a great tactic to highlight important images you want people to spend more time on than others. Maybe it’s the picture you’re proudest of… maybe it’s the most memorable shot of a family gathering. Whatever it is, you can highlight an image by putting it in a full-bleed spread. Alternately, you could also prominently display a larger photo alongside a few smaller ones.
Another way to create a focal point or series of them is vary up your spreads. In other words, pass up the temptation to just lazily slap one photograph on each page and call it a day. It may work for some of the most basic photo books, but if you have an ambitious photo book of a super vacation or corporate event, then you’ll naturally just want to do something more creative than a single image per page.
It’s also a smart idea to reuse layouts of a page throughout the book. For instance, if you have the aforementioned big-photo-next-to-smaller-ones setup on one page, you can use it at different points throughout your photo book.
Whatever route you go, know that focal points can be powerful ways to make your photo book pop.
Don’t Forget About the Cover
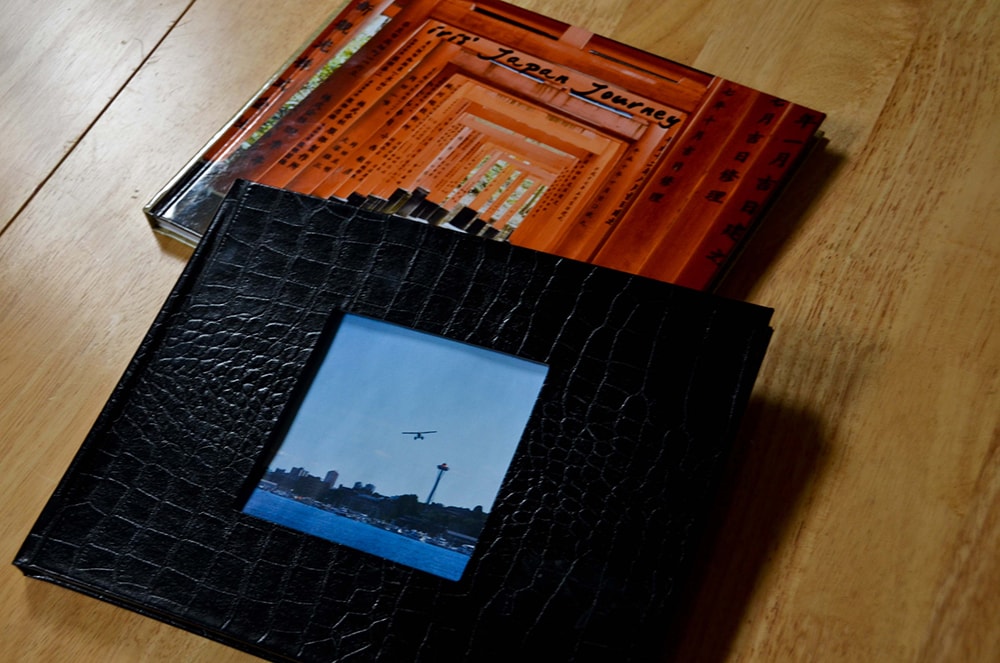
photo by iris
Leaving the cover until the end is a strategy that lets you concentrate on filling up the pages of your photo book with the most resonating images and choosing a winning layout – both tasks that require more time and effort.
Of course, the cover is also how you sell your photo book or, at the very least, persuade curious onlookers to pick it up and just leaf through it. No matter how you cut it, the cover needs a design or photograph that quickly and efficiently sums up the entire photo book, so everyone who glances at it can tell what’s inside its pages.
For example, a wedding photo book ought to have a picture of the bride and groom; a vacation photo book should show off the big destination of the trip; and a graduation photo book should display a picture of the graduating class.
An Exciting Project

Look at putting together a photo book as an awesome project that you can’t just slap together without much thought. If the reason is important enough—whether it’s for sentimental reasons or to potentially help sell your photography at an exhibit or gallery – you’ll want to take great time and care to assemble it.
An intelligent analogy is composition when putting together a shot. How you put together your shot has a huge impact on whether or not the resulting picture will be attractive and memorable. Same thing goes for your photo book. Everything from its purpose and choice of theme to the images you choose and the layout you design is vital to its composition.
By assembling your photo book meticulously, you’ll see great results.
About the Author: Marc Schenker
 Marc is a copywriter and content marketer who covered photography. These days, he runs The Glorious Company, a content marketing agency.