Underwater Photography Part 1: Gear & Composition

Underwater photography is captivating and beautiful and showcases a unique perspective that very few people have actually seen, and even fewer have captured.
But mastering the art of underwater photography can be tricky. After all, there are challenges that come with taking your camera into the open waters. Not to mention, you’ll need some unique gear in order to capture those great underwater shots.
If you’re interested in getting started with underwater photography, let’s dive in! Here’s what you should know before taking the plunge, as well as a few tips that will help to get you off to a great start.
Bring the Right Gear
First, you’ll need to ensure that you have the right gear for your camera. Unless you’re planning to use an actual underwater camera, you’ll want to find housing that is specifically made for your camera to ensure its safety. Outex is a good and inexpensive option. With this housing, one case can easily accommodate a number of different-sized lenses.
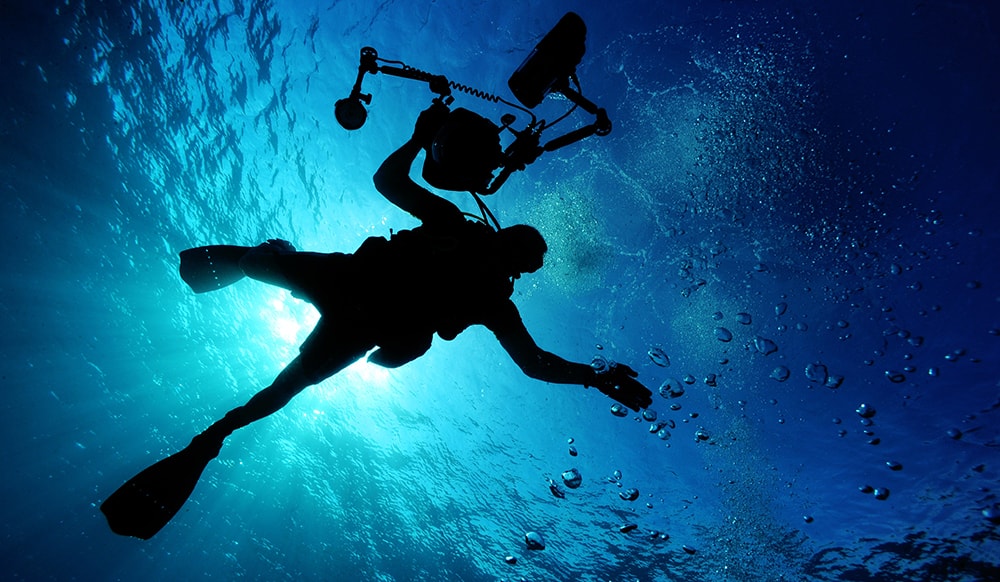
You’ll also want to bring along a strobe for lighting up your compositions, especially if you’re planning to go any distance beneath the waves, or if you’re photographing on a cloudy or overcast day. As far as lenses go, wide angles – even a fish eye – are great for underwater photography since you’ll want to let as much light in as possible.
Also, macro lenses are another great option. 50mm to 200mm would work great for underwater photography. Finally, you’ll want to consider a polarizing filter to reduce glare and unwanted reflections. You’ll also want to consider a tripod – one that’s designed for use underwater.
Gear Care
When using underwater housing, keep in mind that air can become trapped inside, which can cause condensation. For this reason, it’s important to never let your underwater housing sit in the sun. When you come out of the water, especially on a hot day, cover your camera’s housing with a wet towel.
It’s also a good idea to keep a few silica gel packets in the housing. You’ll also want to take care when entering the water. Never jump in with your camera. After your saltwater dive, soak your case in fresh water for a few minutes, and towel dry the housing. Just don’t leave your camera soaking in the rinse tank unattended, you don’t want to risk flooding.
Practice Makes Perfect
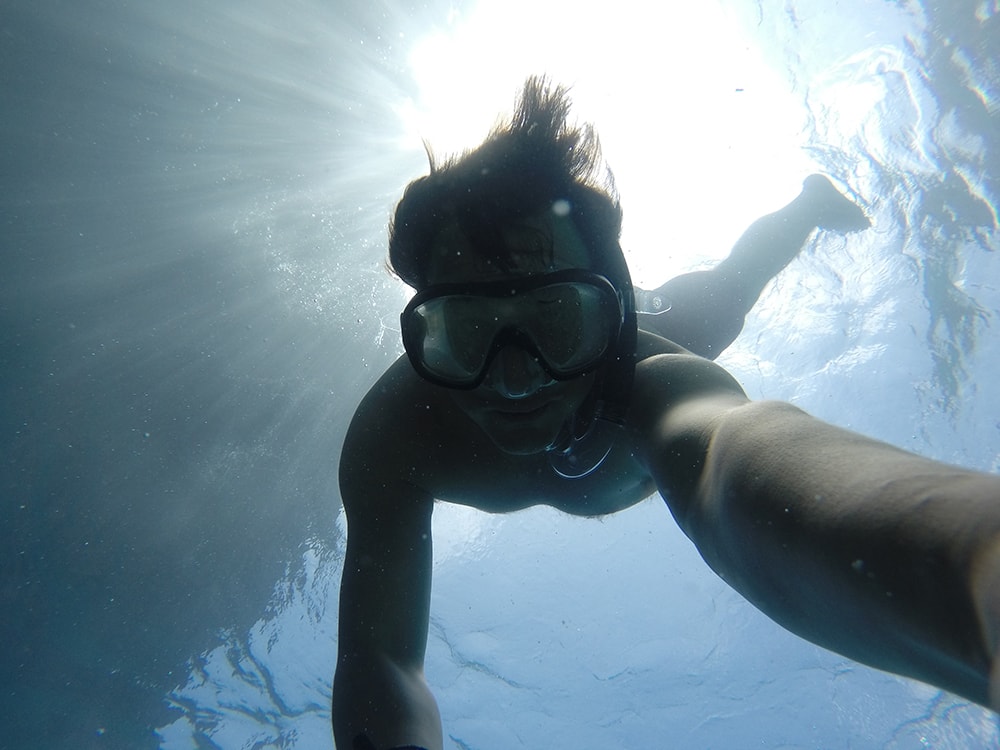
Before you hit the open sea, it’s important to practice in a pool or another shallow, stable body of water. Being comfortable in the water is key to getting the best underwater photos possible. When you hit the open sea, snorkeling is one of the best ways to see what’s out there without the cost and steep learning curve that’s involved with scuba diving.
Just keep in mind that it’s a good idea to master snorkeling before you add a camera to the mix.
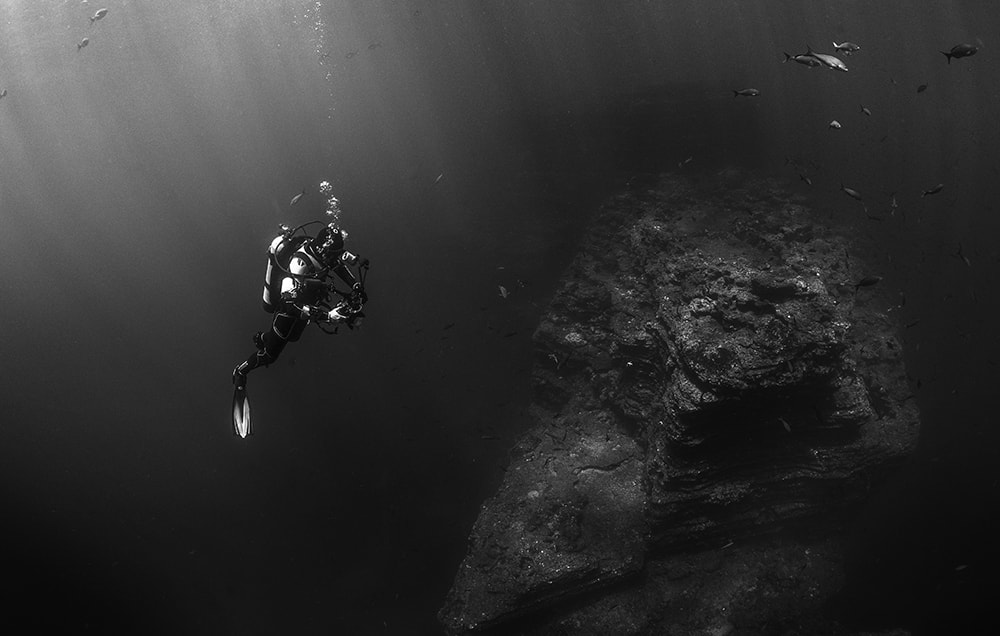
Consider the Light
Unlike on-land photography, where you can manipulate the light to your liking, under the water you’ll be very limited in terms of available light and your on-camera flash won’t be much help.
This is because, under water, the light from your flash will have to travel from your camera, to the subject, and then back again – something that your conventional flash just won’t be strong enough to do in dark or murky waters. If you’re planning to go more than a few feet beneath the surface, you’ll want to consider investing in a strobe. A specialized underwater strobe will ensure that you have enough light to break through even the darkest of waters, allowing you to capture some amazing shots.
Don’t Forget the Details
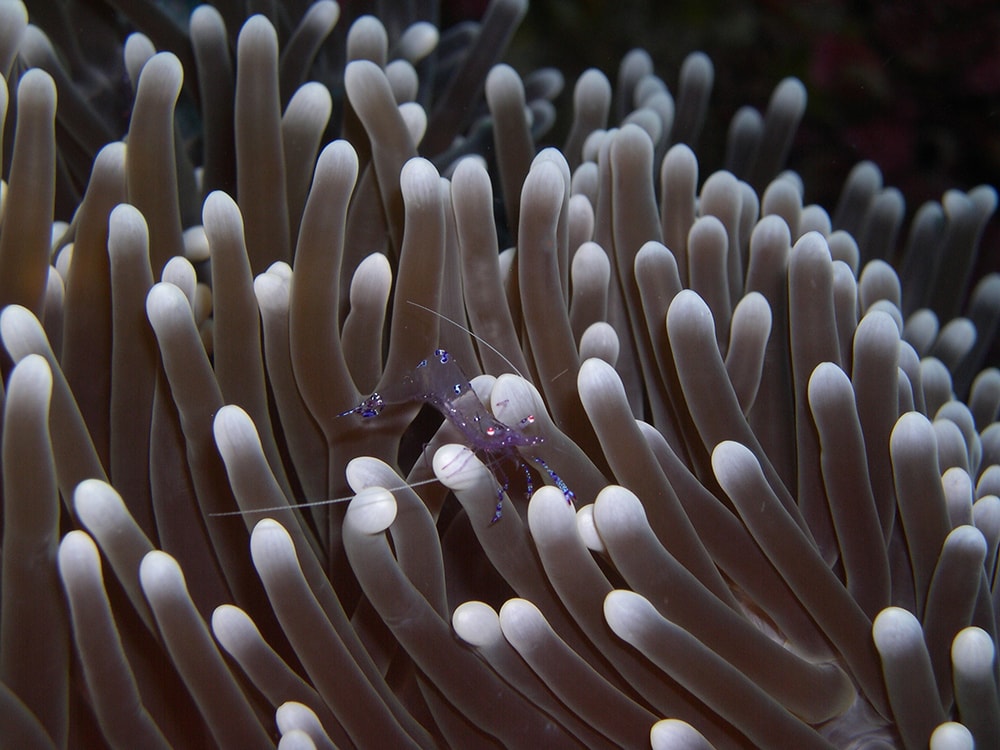
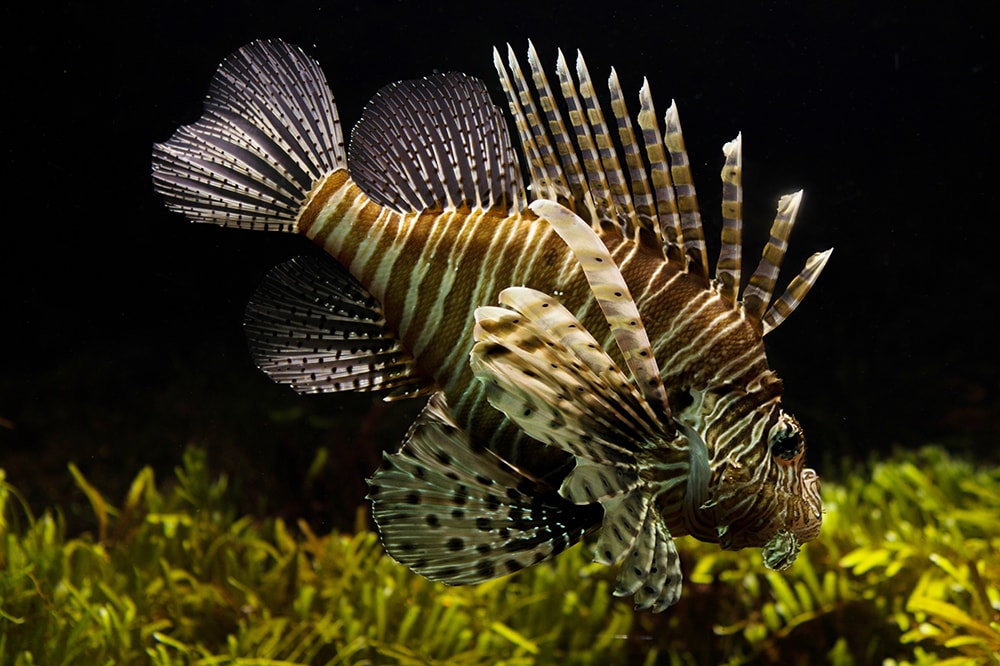
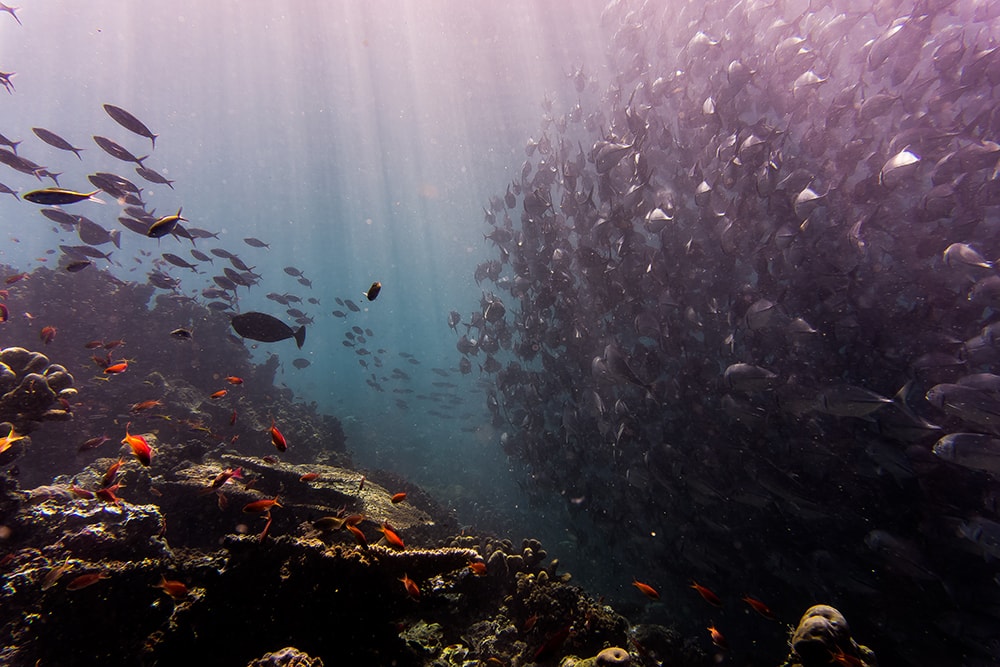
The beauty’s in the details – especially when you’re underwater. While you may be excited to capture the colorful schools of fish, there’s also plenty of fascinating photo opportunities to be found in the small details as well, which is where your macro lens will come in handy.
Getting up close to unique and fascinating plant life and sea anemones, sponges, coral reefs, starfish, crabs, and sea cucumbers can make for some fascinating images.
Consider Your Composition
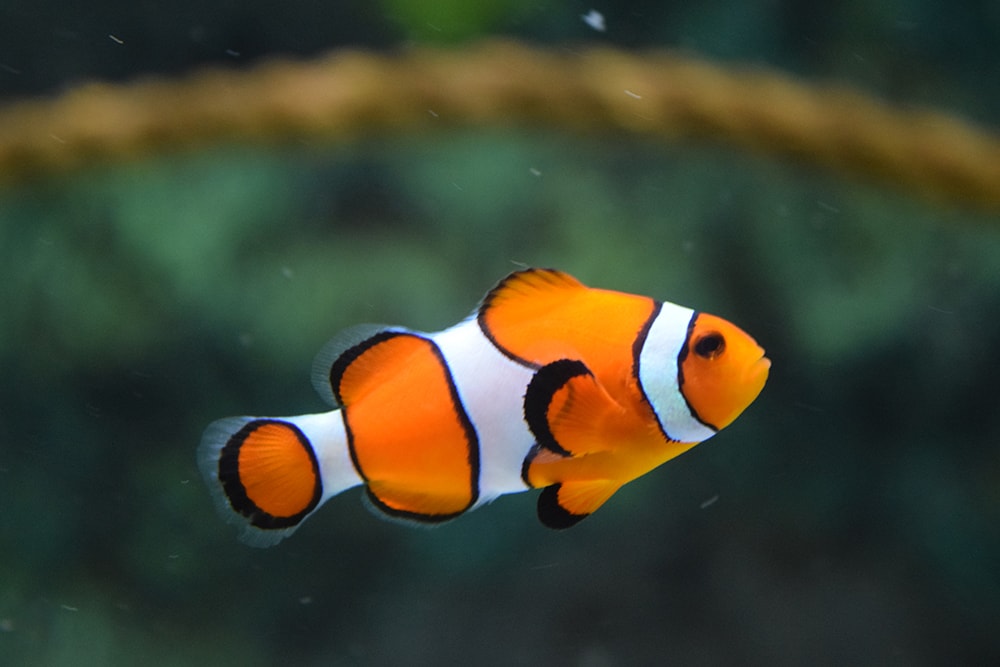
Underwater composition, in many ways, is similar to landscape, nature, and wildlife photography on land. As with any type of photography, you’ll want to pay close attention to your composition, and look to draw out the details that you wish to showcase in your images.
Getting closer to your subject can help. Not only with the composition, but the lighting as well. The light will have a shorter distance to travel when you’re closer, resulting in clearer images. As with most wildlife photography, one of the preferred angles for capturing your moving subjects will be from the side, although front-angle shots can work too. Keep in mind though, that fish will naturally be wary of you, making it difficult to capture front-on perspectives. Remember too that it’s easy for sand to get kicked up by your flippers – so swim carefully!
Split Above and Below Water Images
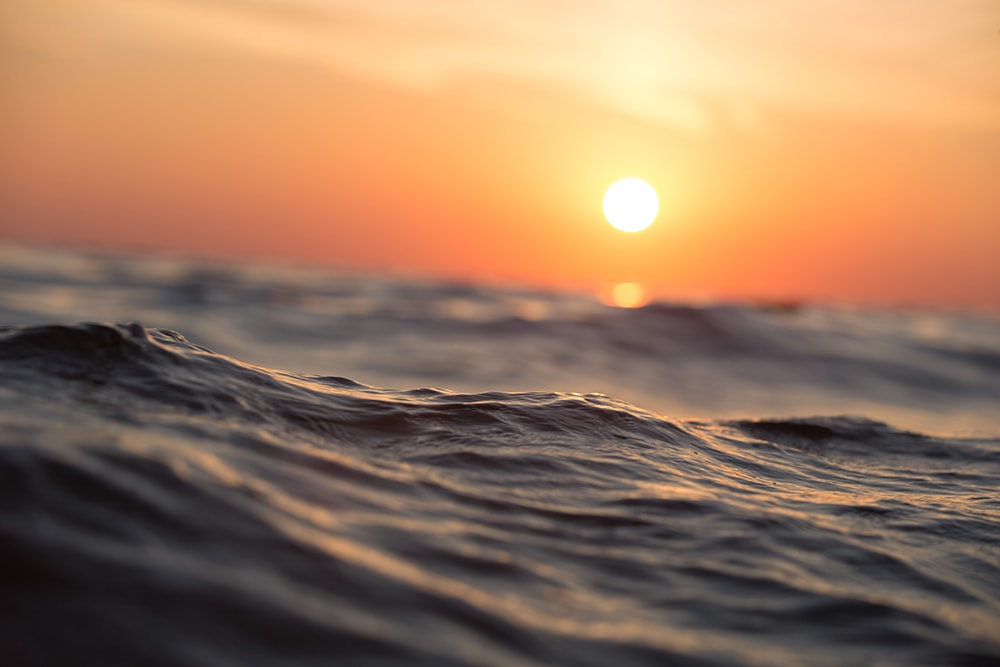
Split-water images – in which part of the composition is underwater and part is above the surface – can make for some exciting images! But capturing these images effectively can be tricky. For one thing, you’ll usually have waves to contend with – even on a calm day – and timing can be a challenge.
Using a camera with a fast frame rate is your best option when capturing these images. The other challenge that you will often face, is the issue of requiring two different exposures for the surface portion and the underwater section. If you’re serious about underwater photography, you’ll want to consider investing in a specialized split diopter filter that’s designed to combat this issue.
Camera Settings
While your ideal settings will vary depending on your subject and lighting conditions, most of the time you will be shooting with a fast shutter speed to freeze the action. Your aperture will also vary depending on your desired depth of field, and the distance that the light has to travel from your strobe to the subject, and back to the camera. You’ll also want to keep the ISO as low as possible to minimize the amount of grain in your images. Finally, make sure you shoot in RAW.
You’ll want to be able to salvage those photos that you get if the lighting wasn’t absolutely perfect. Often, underwater shots will need to have the contrast increased and other adjustments made in post-processing.
Be Safe
Finally, being comfortable in the water is not only important for your photograph, but your safety as well. While you’ll want to get as close as possible to capture creatures, like starfish and sponges, you’ll obviously want to avoid getting too close to sharks or other dangerous sea life (make sure you research the location so you better understand what dangerous animals may live there, some may look harmless but can still be quite dangerous).
Of course, keep in mind that one of the biggest dangers of the sea isn’t the threat from sharks but the risk of drowning, so watch out for riptides and strong currents and never push yourself to the point of exhaustion.
When embarking on your underwater adventure remember to have fun. Underwater photography can be an exciting adventure and is something that many people never get to experience. So enjoy yourself, and bring back some images that are a great reflection of your time in the sea.
Are you interested in underwater photography? Please share your own tips & tricks on Twitter or Facebook!
About the Author: Christina Harman
 Christina is a part time blogger and full time photography enthusiast living in Southeast Alaska. She enjoys travel photography and has taken pictures in countries such as Mexico, England, France, and China. She likes sunny days, new lenses and drinking good coffee. You can visit her at Tangled Thoughts.