How to Get Gorgeous Skin Tones using Frequency Separation

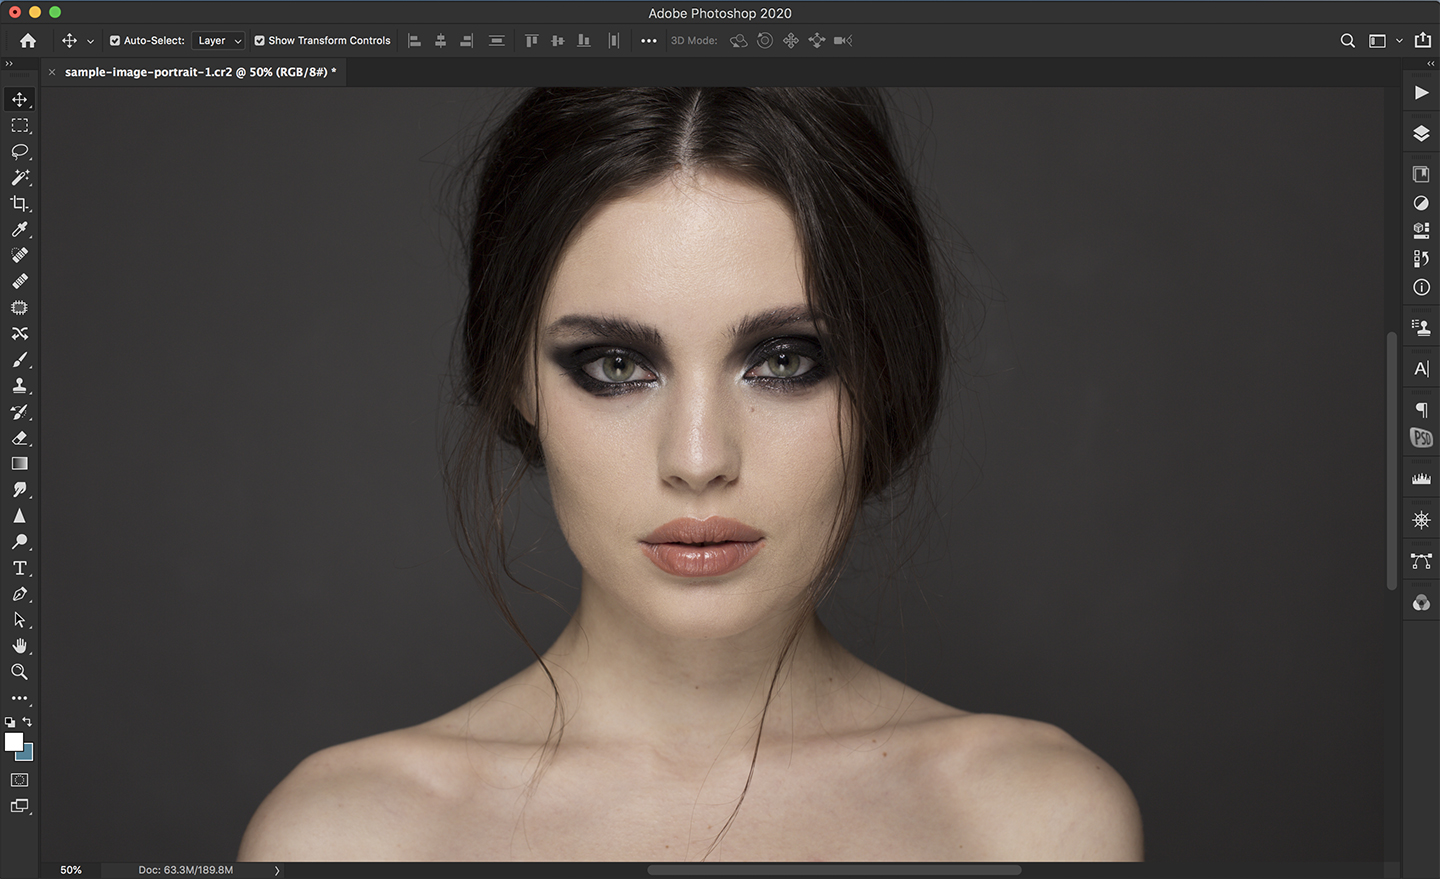
Retouching is one of many post-production techniques that can be considered an art in and of itself within the photography world.
Just as important as understanding how to capture a good portrait is knowing what to do with the result in post. While there are many ways to retouch a photograph and each photographer will have their preferred process, we’re going to focus on a single Photoshop technique called “frequency separation.”
Understanding Frequency Separation
As its name suggests, frequency separation takes advantage of the fact that the pixel data of any photo is separated into high-frequency and low-frequency information.
These frequencies, often called spatial frequencies, are particularly useful for retouchers who want to focus on one element at a time when tackling the finer details of their portraits.
For instance, the high frequency in any photo includes the finer details common to the skin such as pores, hair, texture, fine wrinkles or lines, and other imperfections. A photograph’s low frequency, on the other hand, contains information about the shadows and highlights, which comprise skin tone.
By separating a single photograph into multiple layers and separating the high-frequency data from the low-frequency data, photographers allow themselves a much more significant amount of control over the texture, lighting, and definition of their photographs. Given that the components of the skin are varied and complex, this can be immensely helpful while retouching portraits or other pictures where people are the subject.
Timing Your Use of Frequency Separation
Ensure that you choose the right time and place to use frequency separation during your retouching workflow.
Because frequency separation is intended for use in the correction of smaller blemishes and tonal shifts, you’ll want to utilize this technique after you’ve made adjustments to exposure and corrected any significant blemishes. More stylistic edits, on the other hand, should be made after frequency separation is completed.
In other words, don’t go and slap an HDR preset to your image in Lightroom before going over the frequency separation steps in Photoshop.
Achieving Frequency Separation in Photoshop
Although its ability to assist retouchers in improving complex details of skin texture and tone, using frequency separation in Photoshop isn’t as complicated a process as you might be fearing.
Here, we’ll walk you through the motions step by step to help you achieve gorgeous skin tones in your next batch of photos.
1. Set up your layers
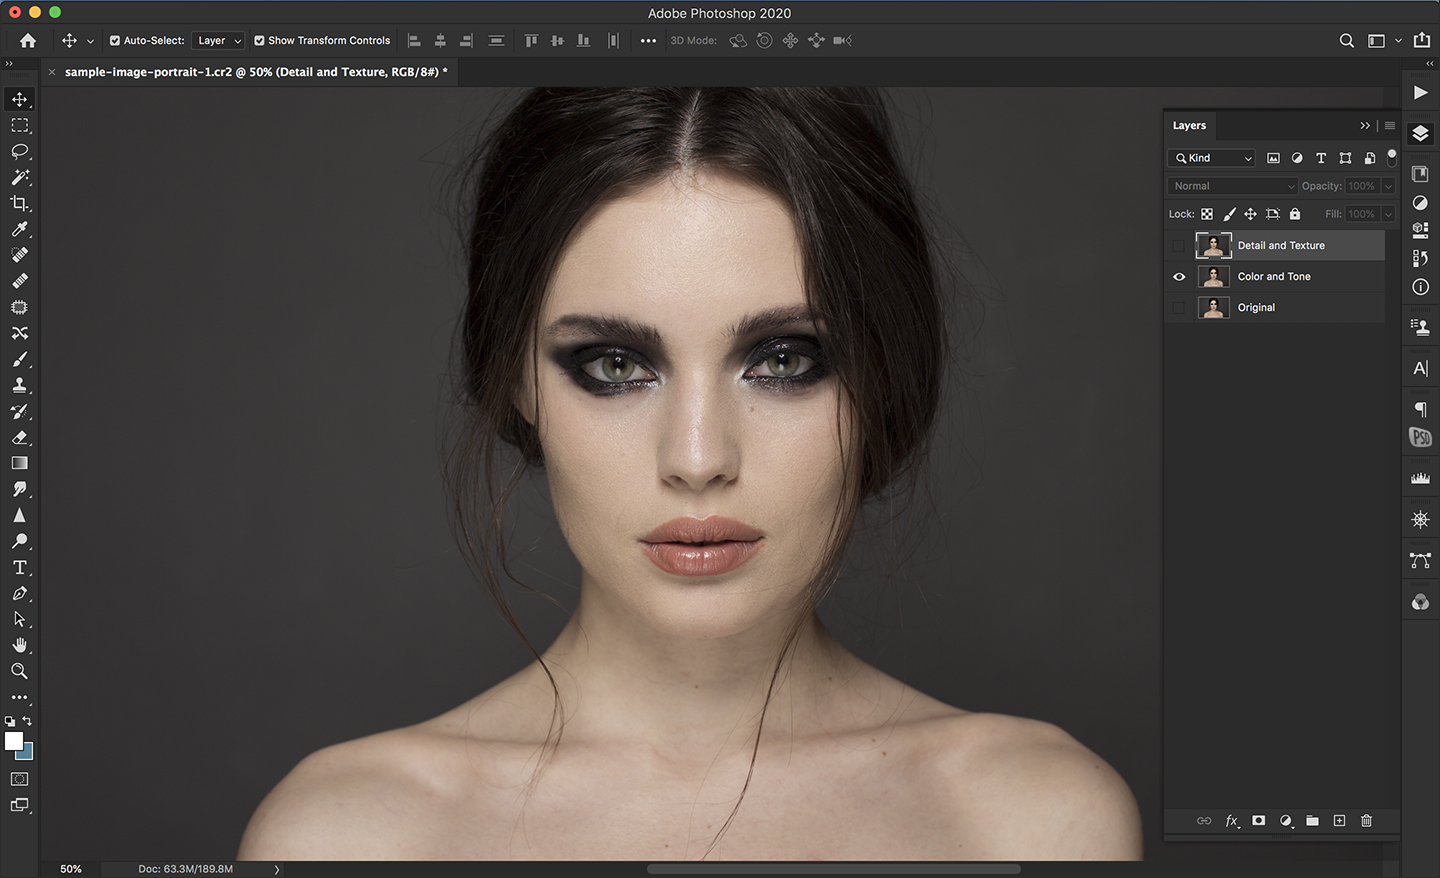
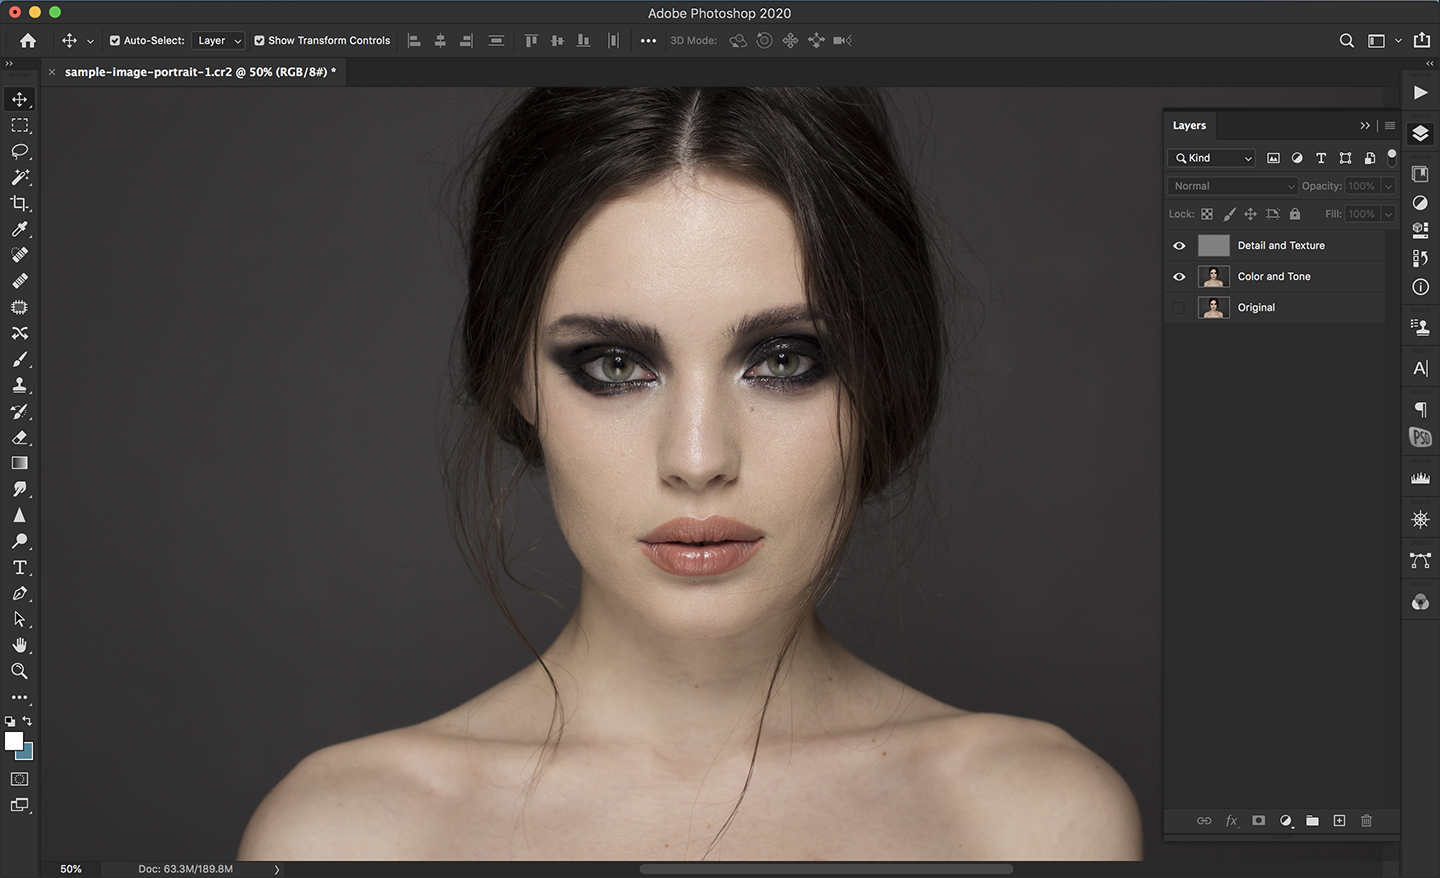
First things first—set up and organize the layers you’ll be using during the process. We recommend duplicating the original photo twice for a total of three layers. To duplicate your layer, use the shortcut Control + J (or Command + J on a Mac).
Leave the bottom layer alone – it exists if you want to revert to your original photograph. Then, name the top layer, something like “Detail and Texture” or “High Frequency,” and name the middle layer “Color and Tone” or “Low Frequency.”
Finally, make the high-frequency layer (featuring textures and details) invisible.
2. Apply a Gaussian blur
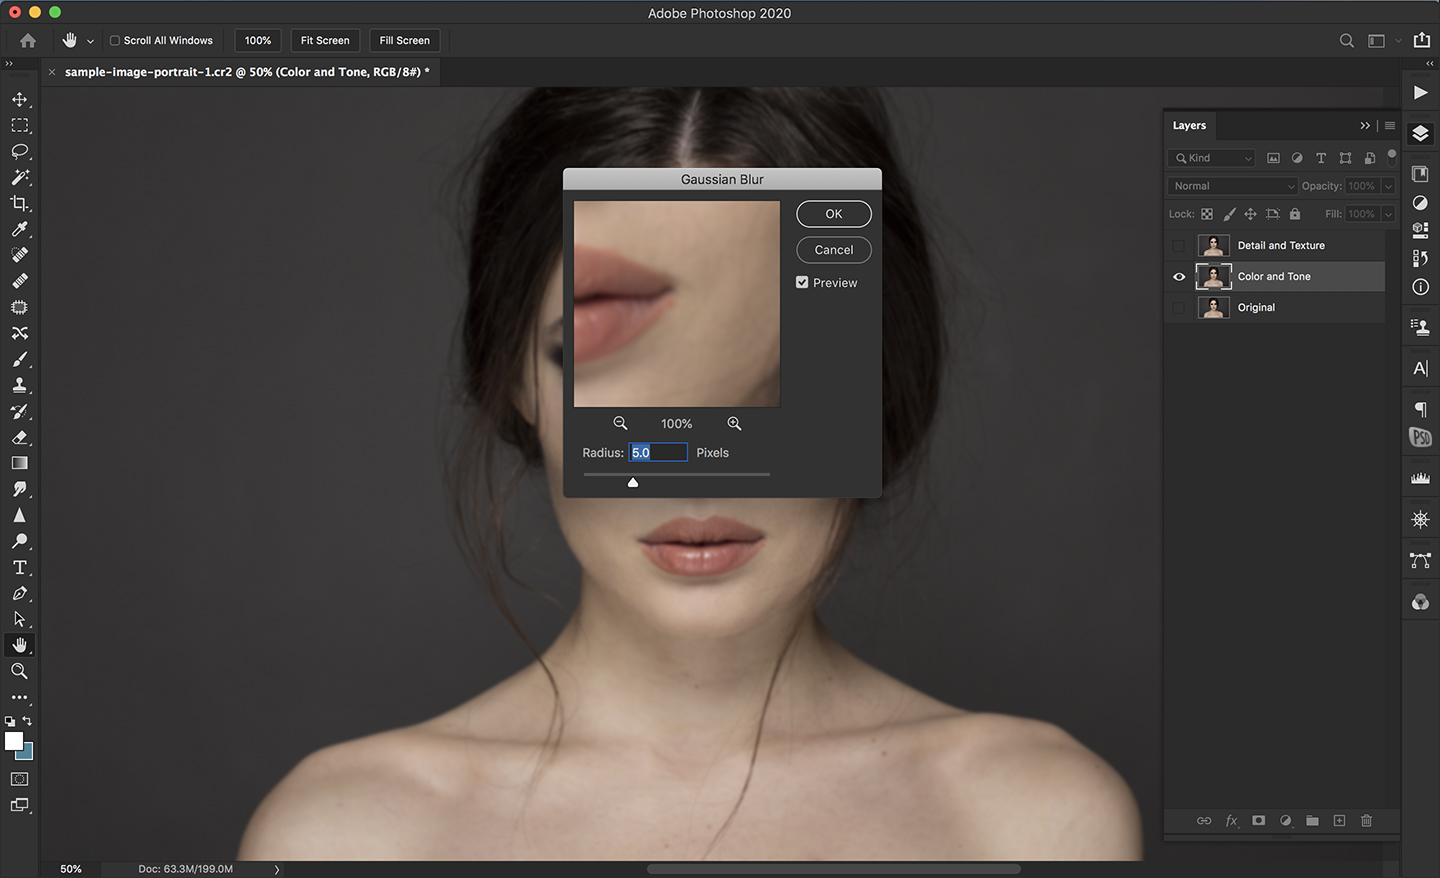
To your second layer, which you’ve titled either “Low Frequency,” “Color and Tone,” or something similar, add a Gaussian blur by navigating to Filter > Blur > Gaussian Blur.
The exact amount of blur you apply is up to you, with the idea being that you should blur just enough so that you can no longer perceive the skin’s texture.
Some retouchers are more conservative with their blur and use a radius of only 2 pixels to lightly blur these fine details, while others may start around 5 pixels.
3. Head over to the high-frequency layer

Now, select the high-frequency layer (you may have titled it “Detail and Texture“) and make it visible again. With this layer selected, navigate to Image> Apply Image. A pop-up window will appear where we’ll make a few adjustments.
Within the window, choose the low-frequency layer. Choose “Subtract” within the Blending drop-down menu, and enter the values 2 and 128 in scale and offset, respectively. Hit “OK” to apply these settings and exit the pop-up.
While we’ve previously emphasized the fact that every photographer will have their variations to this workflow and process, applying these scale and offset values isn’t a time to experiment. These values must remain exact to achieve the desired frequency separation.
4. Change the blending mode
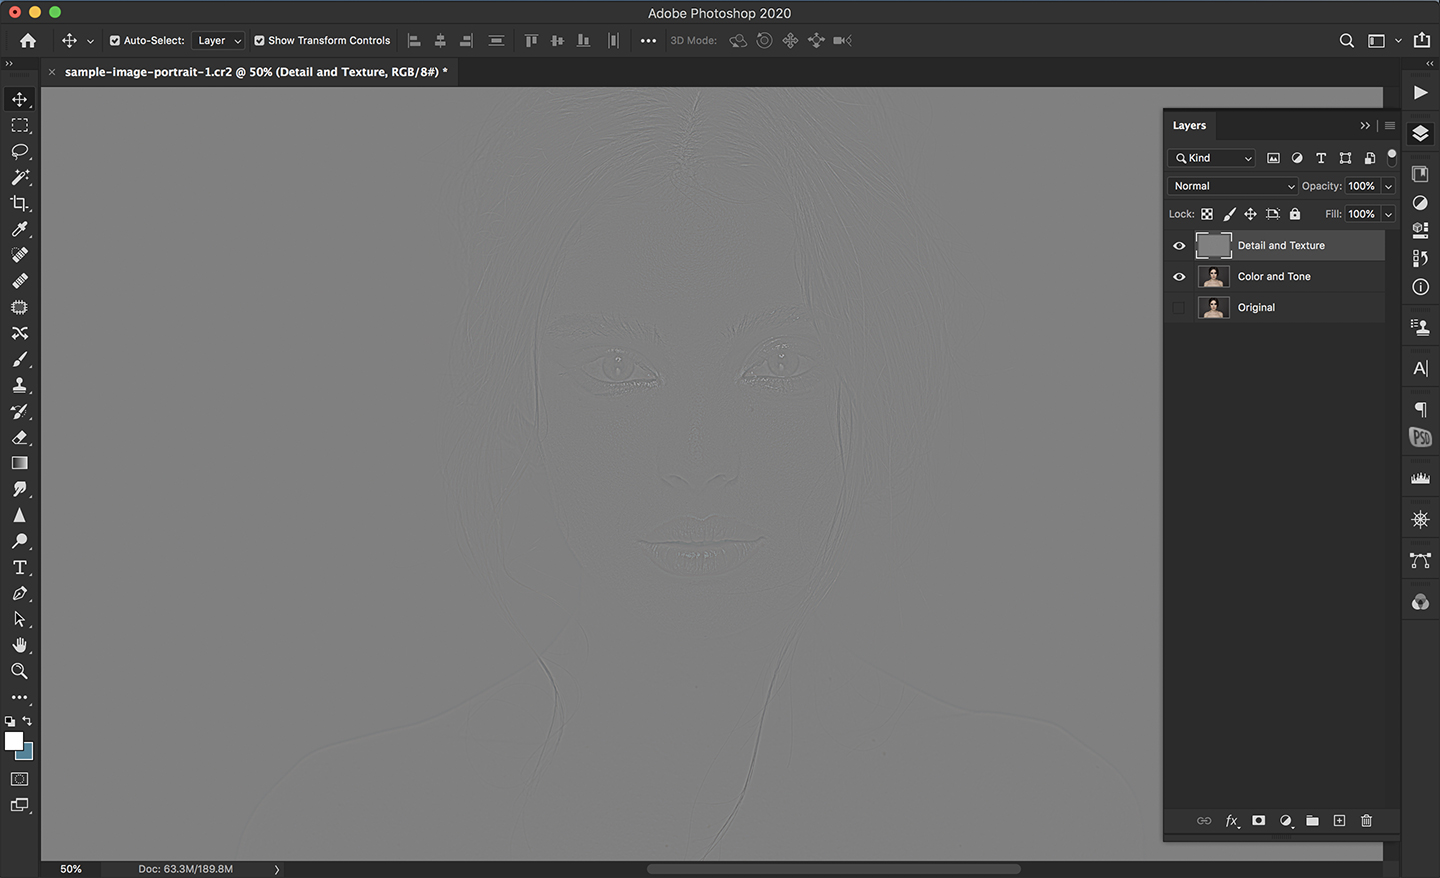
If you’ve followed the above steps correctly, you’ll be left with a gray photo containing the vague outlines of your original. Finally, with the “Detail and Texture” layer (your high-frequency layer) still selected, change the blending mode from Normal to Linear Light.
Once you’ve done this, your image should return to the way it looked at the beginning of the process. Now, however, you have successfully separated your photo into high and low frequencies for optimal retouching.
5. Proceed with your preferred retouching tools
Now that you’ve separated your image into high-frequency and low-frequency layers use your favorite tools for correcting minor blemishes, removing out-of-place hairs, and making other corrections.
Remember, it’s ideal to strike a balance when retouching – you’ll want to smooth out the skin’s texture and correct imperfections without blurring and smoothing the surface so much that the result is unnatural! This eye for balance comes with experience, but frequency separation will undoubtedly make the experience an easier one.
About the Author: Jon C. Phillips
 Jon C. Phillips is a photographer, watch lover, product developer/designer, guitarist & musician, and all-around web nerd. He's the founder of Contrastly which he launched in late-2012. He also co-founded DailyPhotoTips and TheDailyPreset.