How to Master Zoom Blur Photography
 by
Jo Plumridge
by
Jo Plumridge

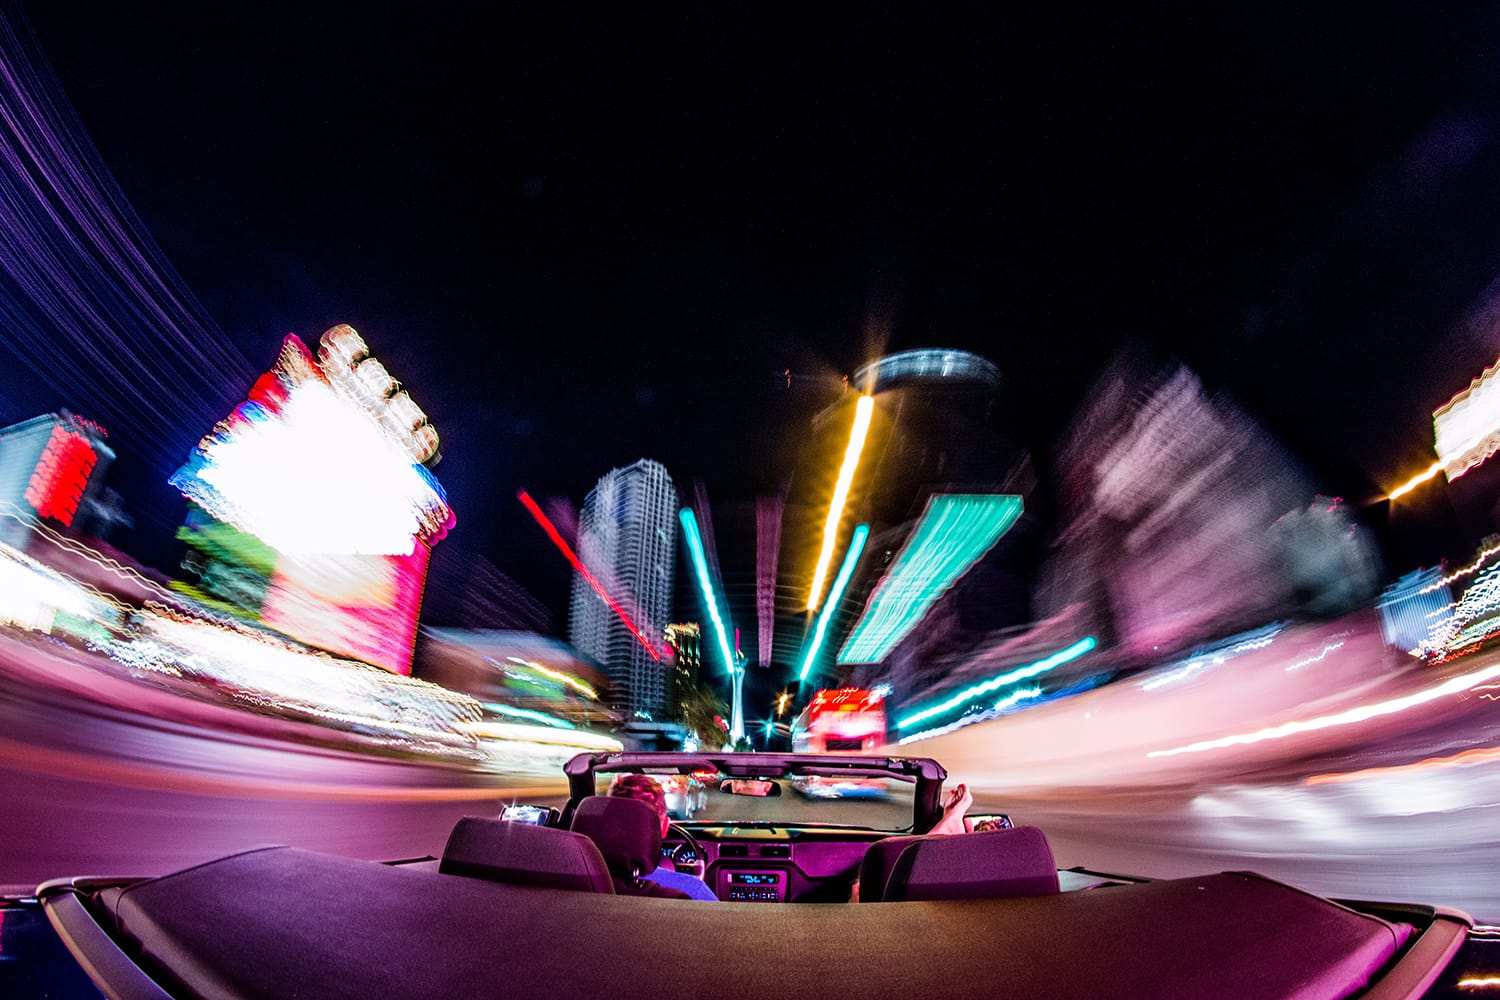
Zoom blur (sometimes called zoom burst) is a creative photography effect where the shot appears to blur from the centre outwards. This creates a look as if the scene is bursting towards you, giving an abstract feel and adding movement and action to a photo.
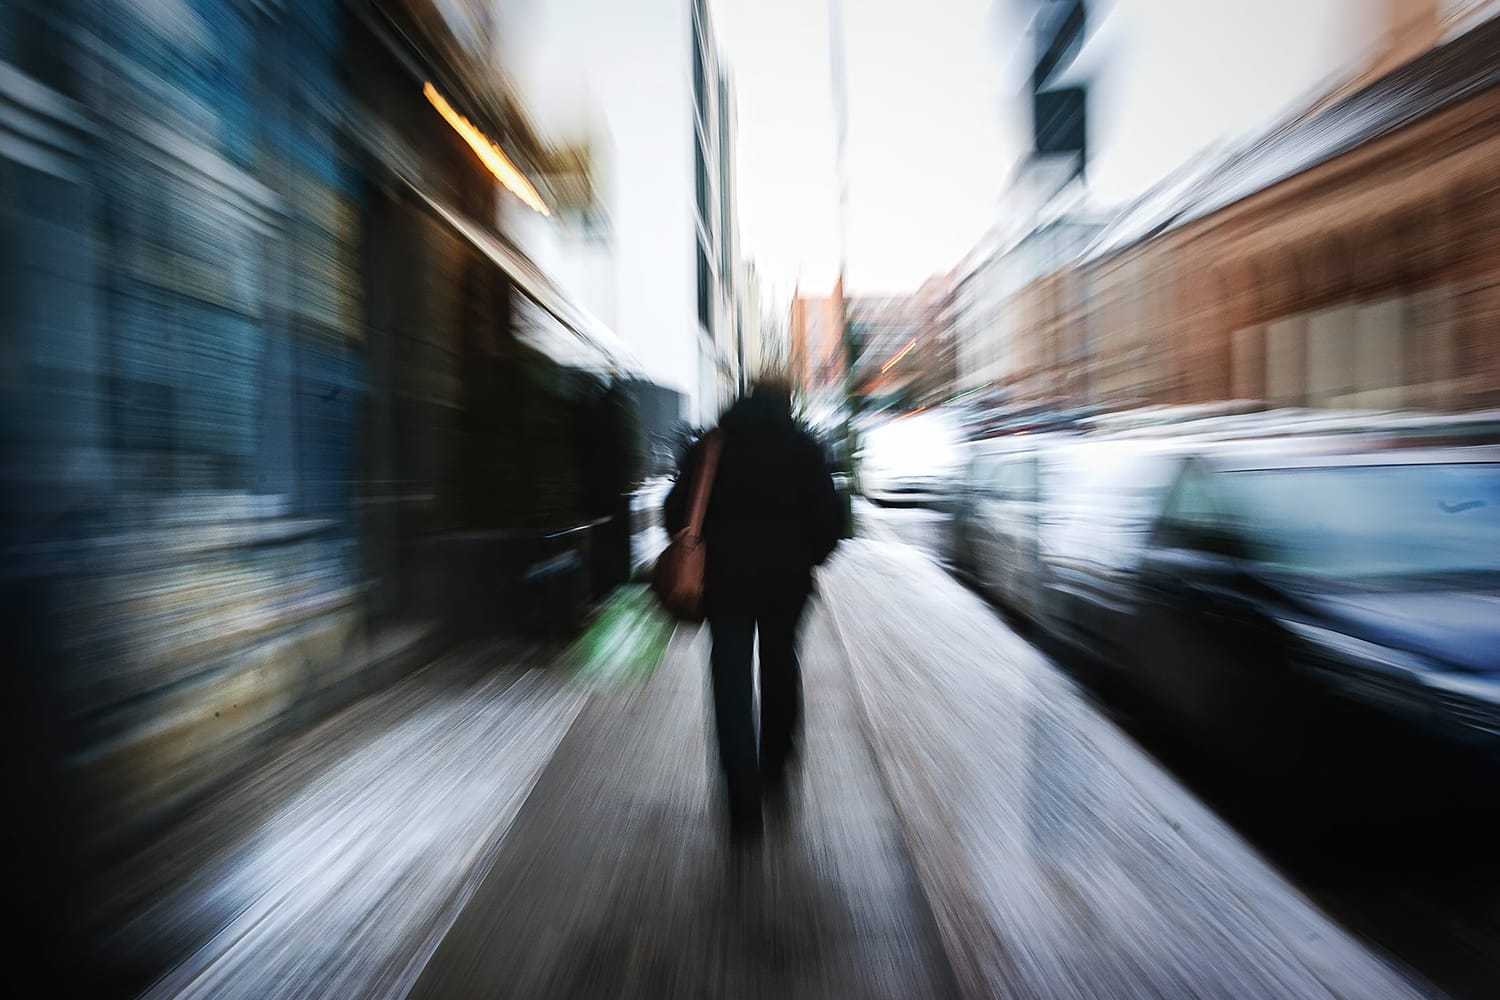
photo by ands78
Equipment
Despite the look of zoom blur photos, you actually don’t need a lot of equipment to perfect the technique. All that’s needed is your DSLR, a zoom lens and a tripod.
In addition you can use a remote release to trigger the camera, but if you don’t have one of those the self-timer option on your DSLR will work pretty much as well. And you can also try a burst of light from a flashgun to help freeze your subject and sharpen the image.
Different zooms with different focal lengths will obviously give varied results; so do try with a variety of lenses if you have them.
Technique
Although you can photograph pretty much anything you fancy with the zoom blur technique, I’d recommend that you start with a static object to keep things simple! There are several ways of producing zoom blur shots, so lets start with the simplest and work our way up.
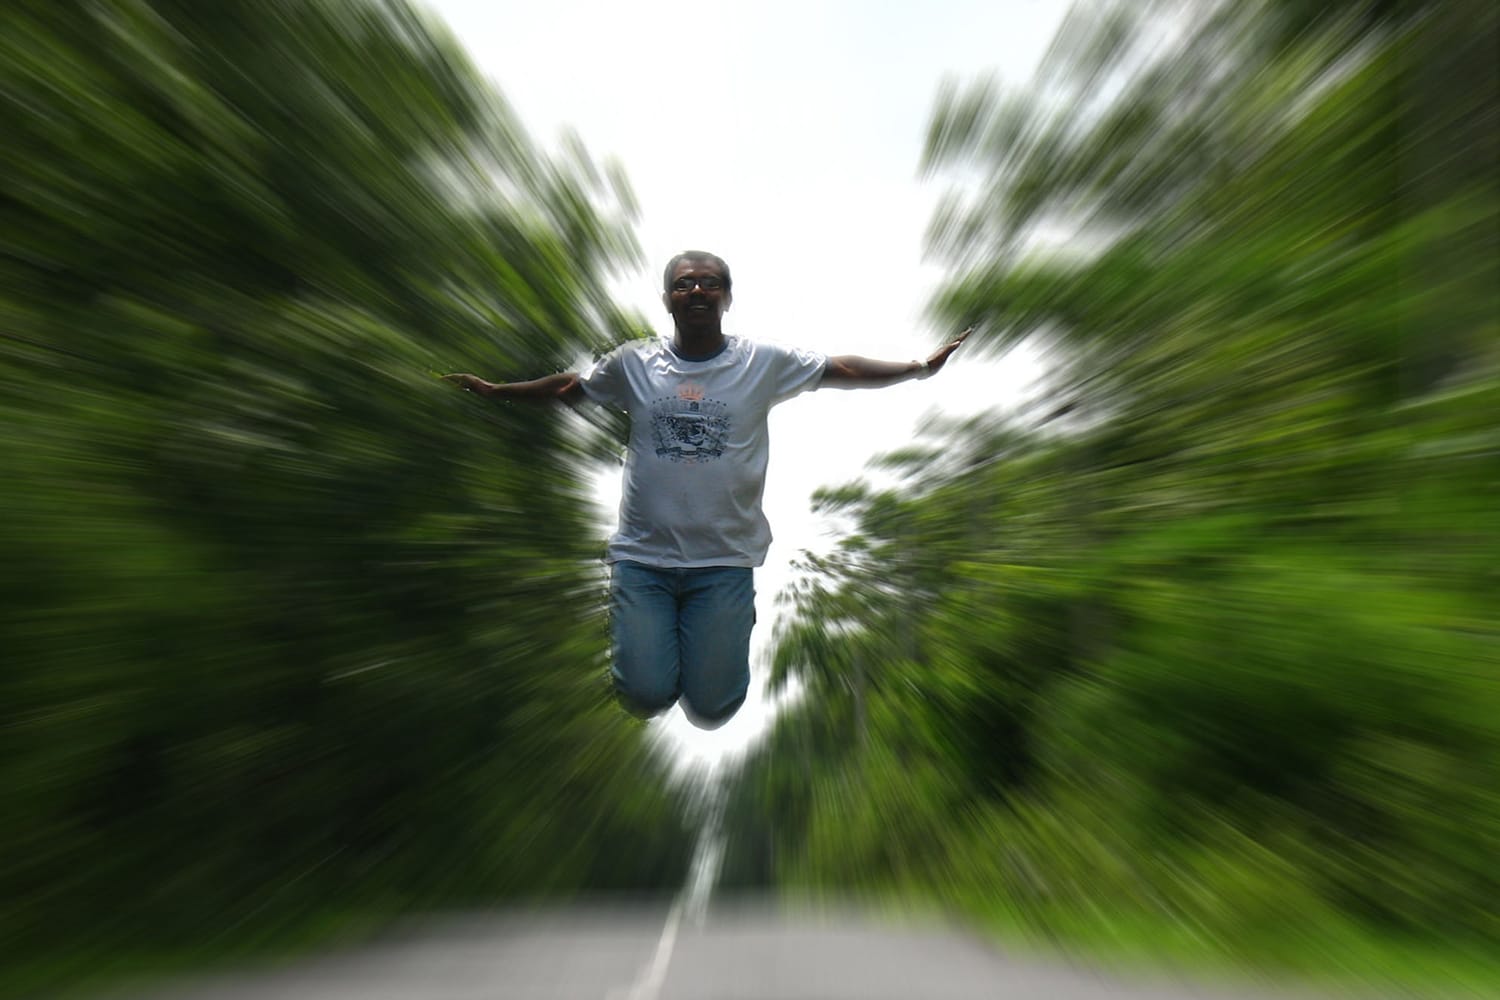
photo by Balamurugan Natarajan
Shutter Priority
To start with, it’s a good idea to try out shots using the shutter priority mode on your DSLR (labelled either ‘S’ or ‘TV’ on your mode dial). Using this mode allows you to concentrate on mastering the technique by just setting your shutter speed, whilst the camera sorts out everything else for you. Start by selecting a shutter speed of 1 second, but bear in mind you may need anywhere around 1 to 5 seconds for your shot.
As this method requires a slow shutter speed, you’ll need to put your camera on a tripod. This will prevent camera shake and will also help to keep the zoom lines straight.
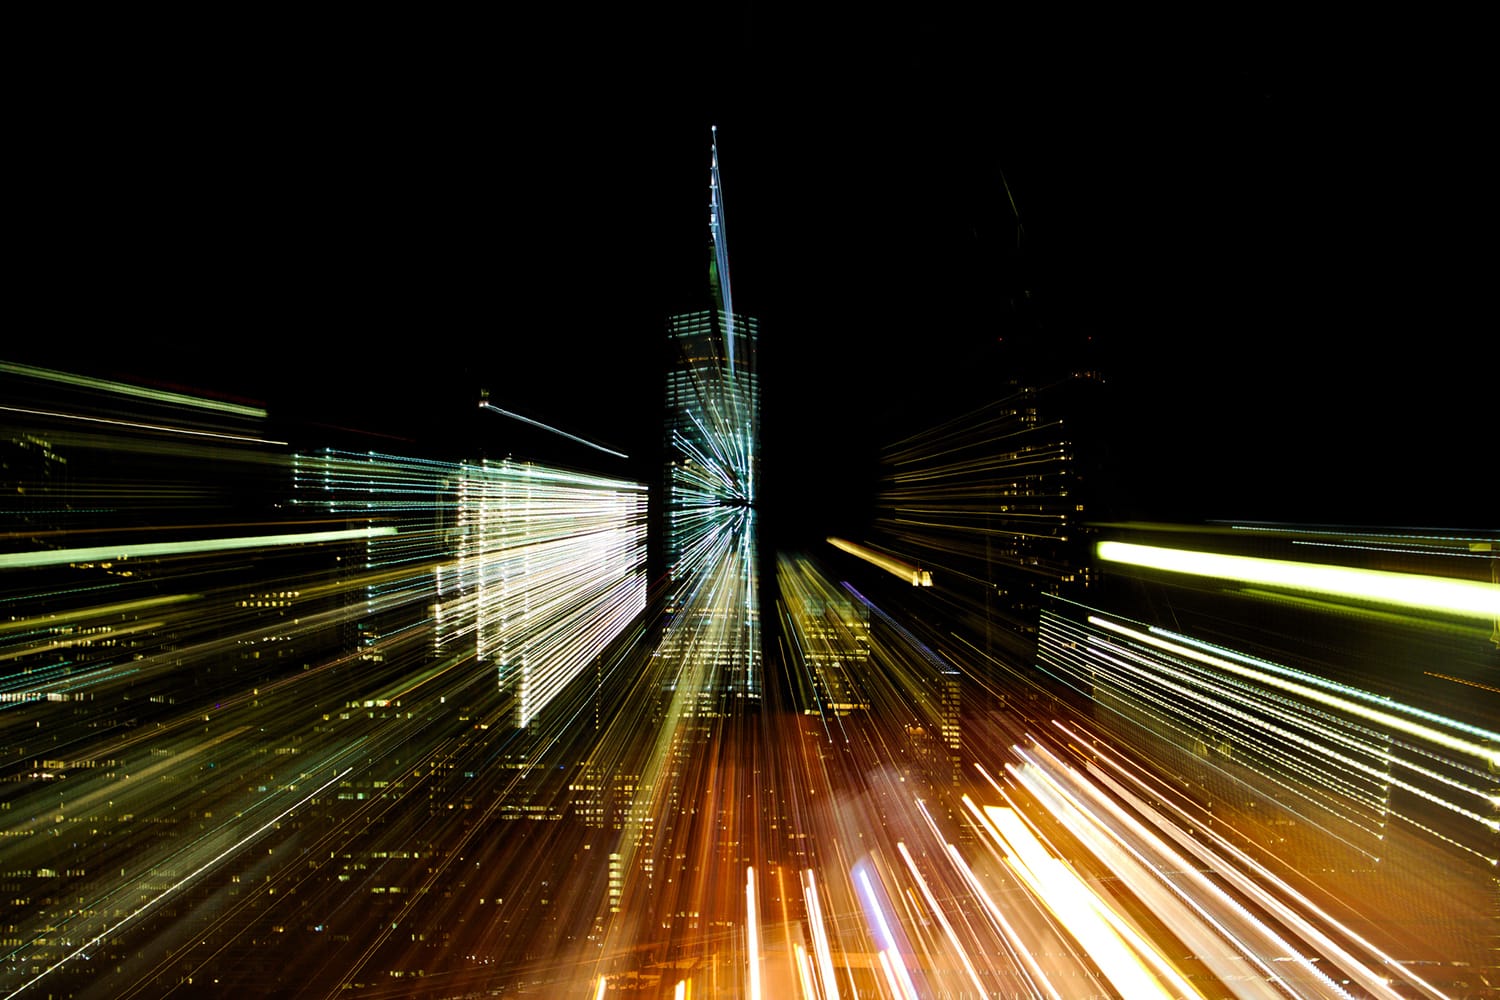
photo by Cassandre Derory
Now you need to zoom right in as far as your lens will allow and focus on your subject. Use the focus lock on your camera, so that the focus will be correct when the subject fills the frame. Next you’ll need to zoom back out to the widest angle you want in your shot. Set the self-timer on your DSLR and then, as the shutter is released zoom out as smoothly as possible, maintaining a constant speed as you do so. You want to aim to finish the zoom just before the end of the exposure (which takes a bit of practice or an accurate stopwatch!).
Alternatively, once the shutter opens you can wait for half to three quarters of the exposure and then zoom out in a far faster fluid motion. This can help to get definition into the subject matter and assists with keeping it sharp. Experiment with both methods to see which one you like the most. The great thing about this technique is the amount of scope it offers – there isn’t a ‘right’ and ‘wrong’ really, beyond getting the zoom blur lines into the image.
Full manual
To really control your results, you will want to try one of the above two methods with your camera set on full manual. To get the best results, you will need to set your DSLR with a low ISO of 100 or 200. This will prevent your zoom blur being distorted by any noise. Choose a small aperture of around f16/22 for two reasons. Firstly, this will give you a large depth of field, which will help keep your subject sharp.
Secondly, a small aperture will let less light into the lens, thus helping to prevent over-exposure of your image. Then set the shutter speed again between 1 and 5 seconds and meter at your main point of focus. Obviously, as you’re shooting on full manual, you’ll be able to get a reading from your camera and can adjust the shutter speed accordingly. Remember thought that you’ll need at least a 1 second exposure to give yourself time to zoom.
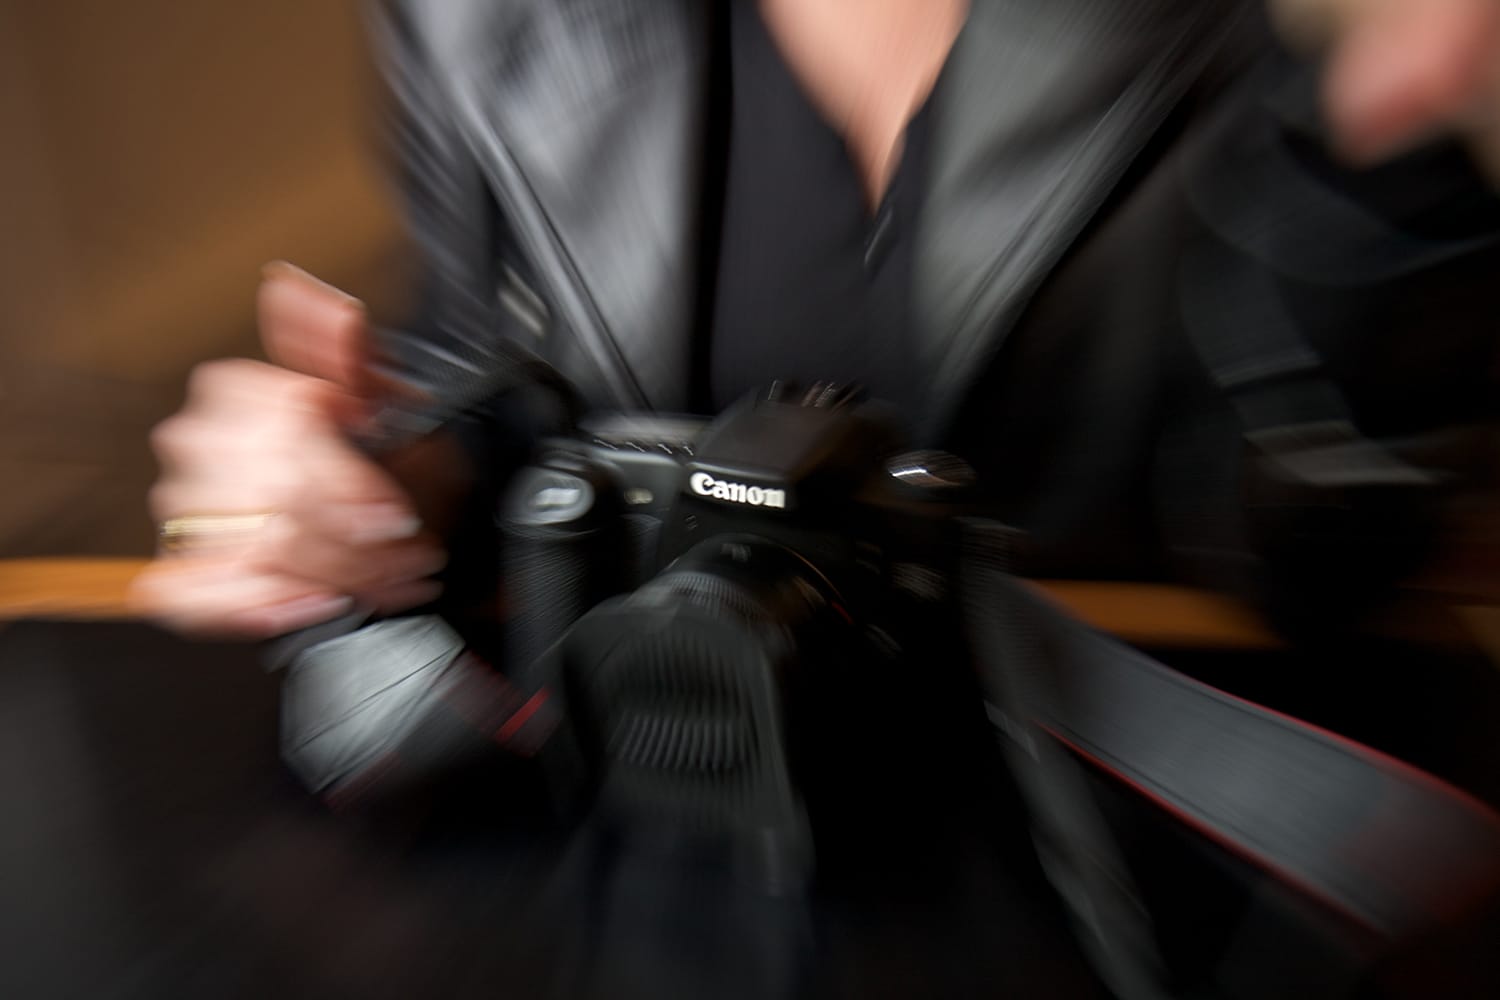
photo by Sascha Wenninger
Over-exposure
One of the problems with this technique is that you’re liable to suffer from over-exposure in some situations. This is because the long shutter speed and the low ISO are both letting light into the camera and the small aperture isn’t always enough to compensate for this. If you’re shooting in bright sunlight or in a situation with strong backlighting you could find that all your shots are coming out over-exposed. Obviously, the first step in this situation is to use a shorter shutter speed or set a lower ISO.
But if this isn’t possible, you can use a neutral density filter to reduce the exposure. Do remember though that you’ll need a normal full ND filter and not a graduated one! ND filters come in different ‘stops’, so you can buy one that reduces by 2, 4, 6, 8 or even 10 f-stops. Personally, I find the 2 and 4 stop varieties the most useful, but much of that is down to the fact that I live in the UK!
If you can’t afford a ND filter and already have a polarizer filter in your kit, you could use that to help. This is because most polarizing filters tend to stop down the aperture by one or two stops. Thus it will help prevent over-exposure.
Choosing your subject
Whilst you can choose any subject you want to try out the zoom blur technique on, those with bright colours and a pattern tend to work best. For example, you could try shooting autumn leaves or city lights at night.
Using flash
As mentioned briefly earlier in the article, you can also try using a speedlight to add a different dimension to your zoom burst images. This will freeze the subject in sharp focus, but still keep the blurry effect. As you’ll be zooming out it’s best to use the ‘rear curtain’ setting on your flashgun. This will make the flash fire at the end of the exposure, when you are fully zoomed in. That way the zoom blur will not be affected, but the subject will be frozen. This can work very well if you’re shooting a subject that isn’t entirely static.
The main thing to remember when shooting zoom blur photos is to experiment. This is a creative style of photography that lends itself to having fun and trying out the various techniques to see what style you like best.
About the Author: Jo Plumridge
Jo Plumridge is a UK based photographer, writer and lecturer. She specializes in portrait, corporate and travel photography, and writes photography, travel and comedy pieces for magazines, websites and books. You can see some of her work at her website, or follow her on Twitter.