How to Reduce Camera Shake When Shooting Hand-Held

Whether we realize it or not, many of us have shaky hands.
It’s a common phenomenon among photographers to have blurry photos, especially when shooting hand-held (without a tripod).
It’s undoubtedly one of the most significant drawbacks of hand-held photography. It hurts the most to photographers who capture landscape images, and a camera shake can easily ruin an image.
Although there’s no way to eliminate it, there are some best practices to minimize its impact significantly.

In this article, we’ll share some of the best measures to take to bypass camera shake when shooting hand-held.
1. Steadying Your Whole Body
Let’s start with the most feasible and least technical tip for hand-held shooting.
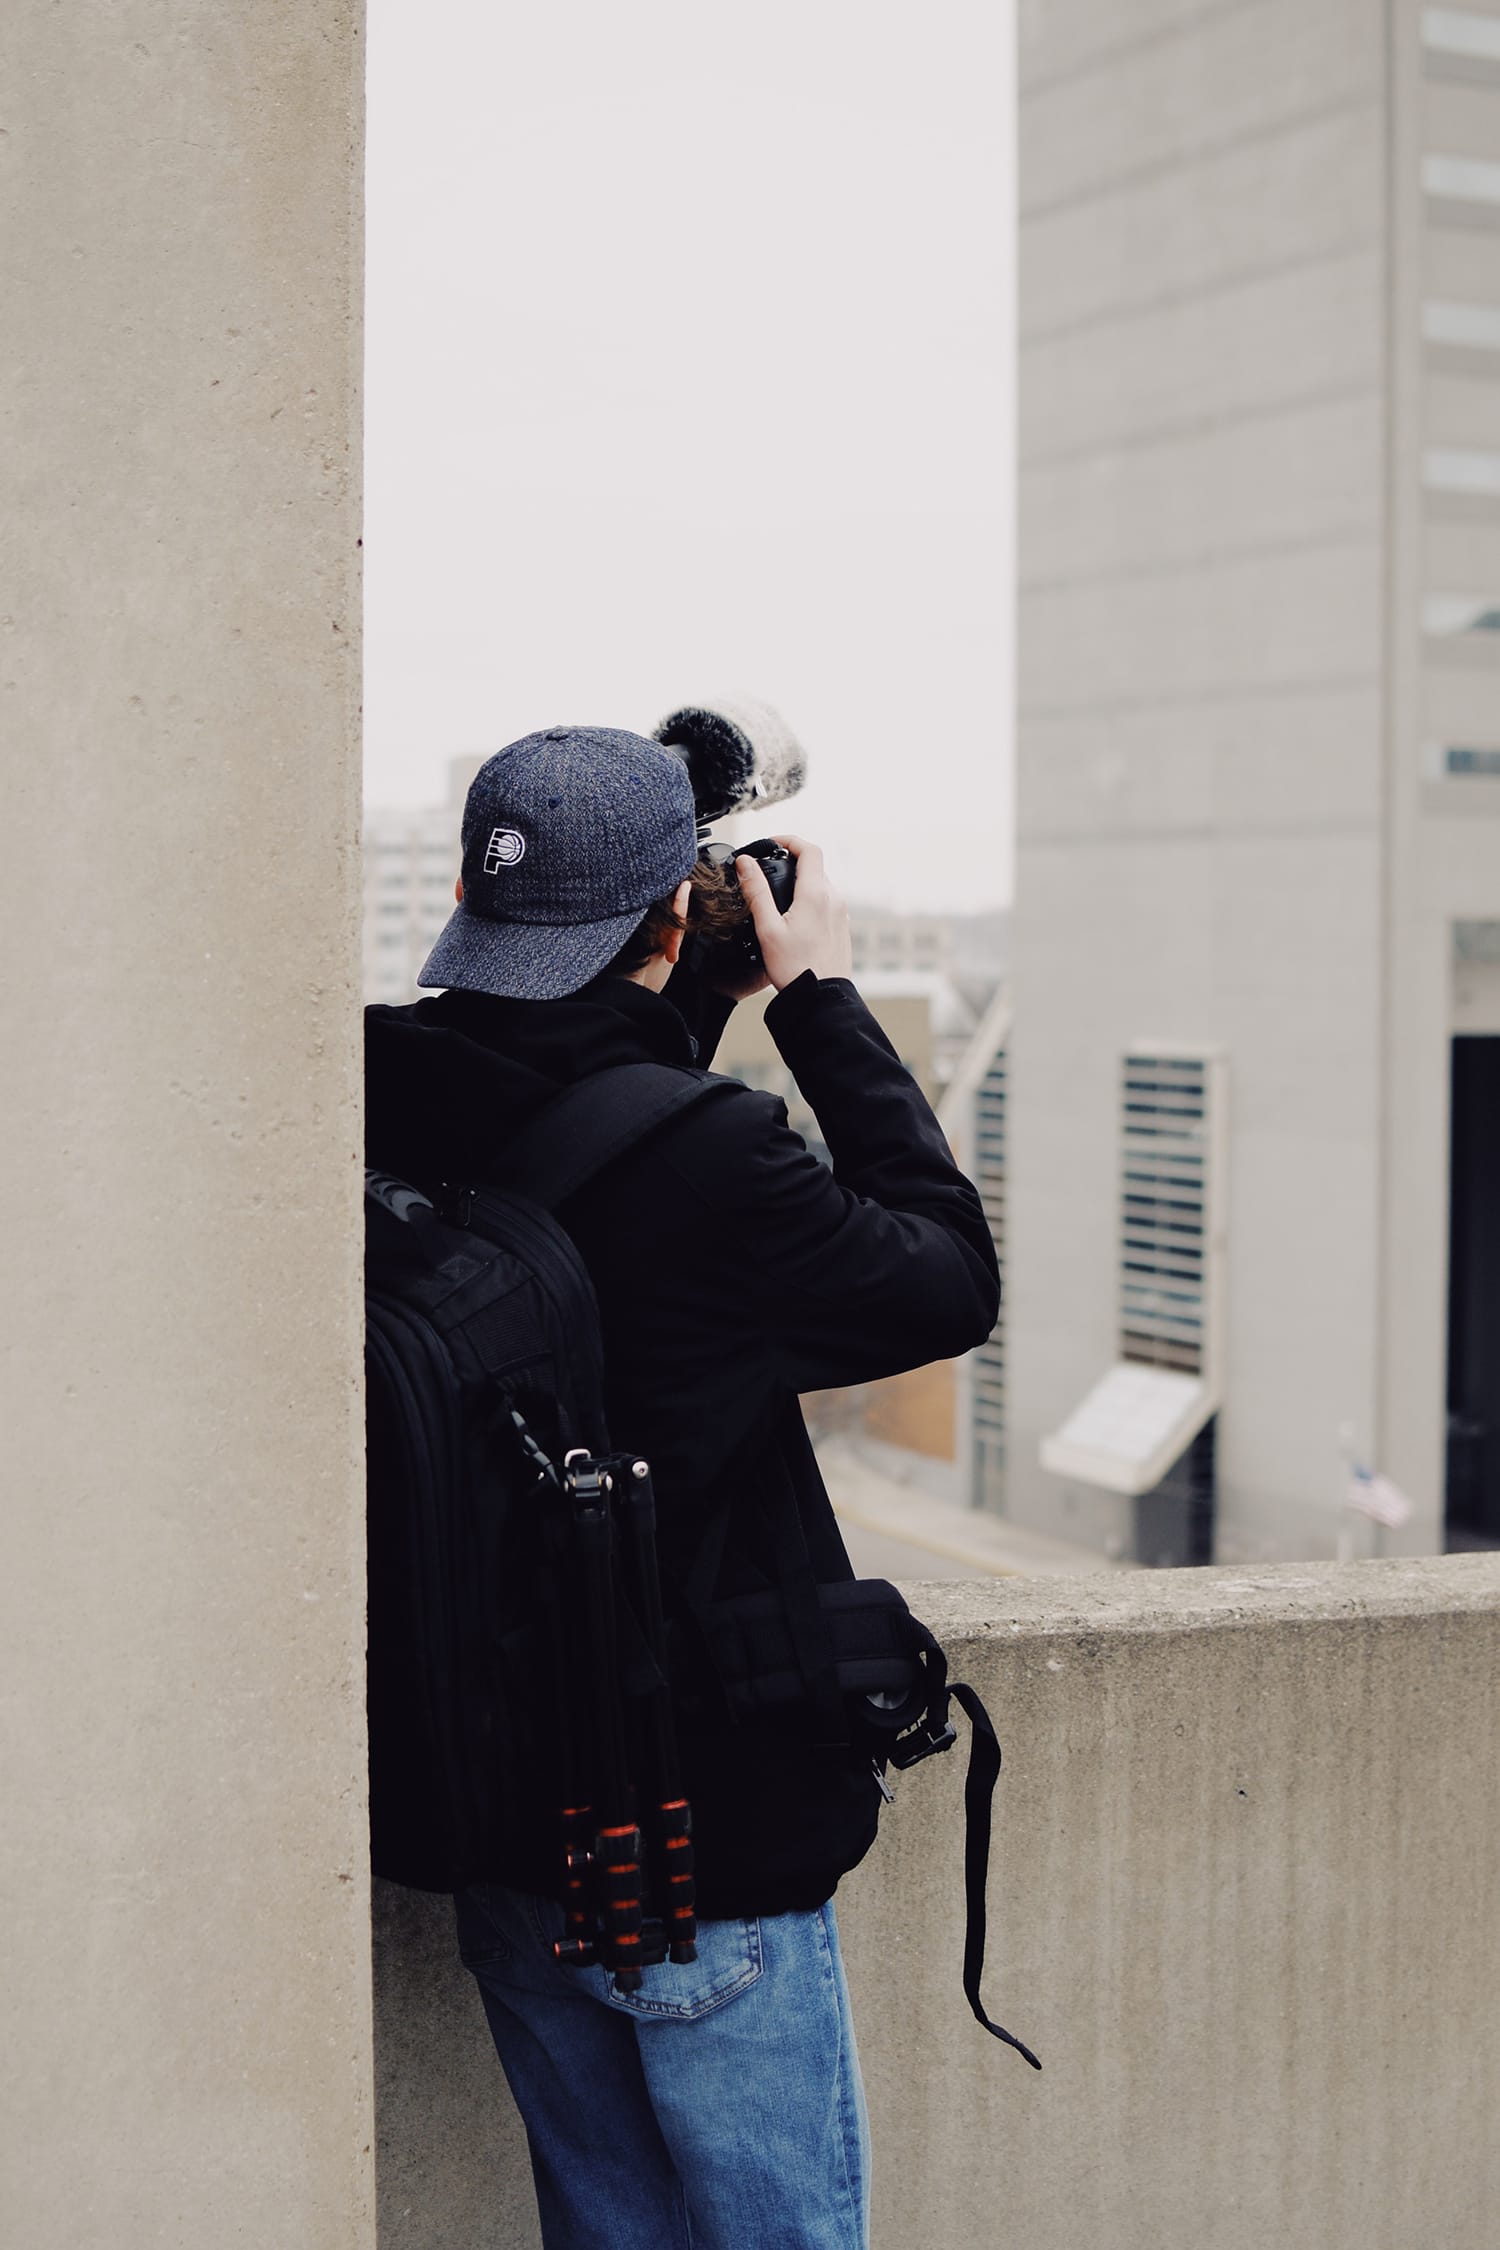
If you do not have a tripod, then becoming a human tripod by stabilizing your whole body against a tree or a wall is always a good idea.
You can even sit, crouch, or lay down to hold your body still, which essentially means stabilizing your camera and cutting down your camera shake.
2. Using Image Stabilization
Many modern camera manufacturers, like Nikon, Canon, and others, have built-in image stabilization technology. You can usually turn this feature on through a switch, which is often placed on the side of a compatible lens. Activating this feature activates the image stabilizing feature that compensates for possible jiggling during the exposure.
Some manufacturers, such as Pentax and Sony, for example, go the extra mile in some of their cameras by providing in-body image stabilizers. The most significant advantage of in-body stabilization is that you can use any compatible lens. It allows you to use a vast array of lenses to capture steady images.
3. Using the Self Timer
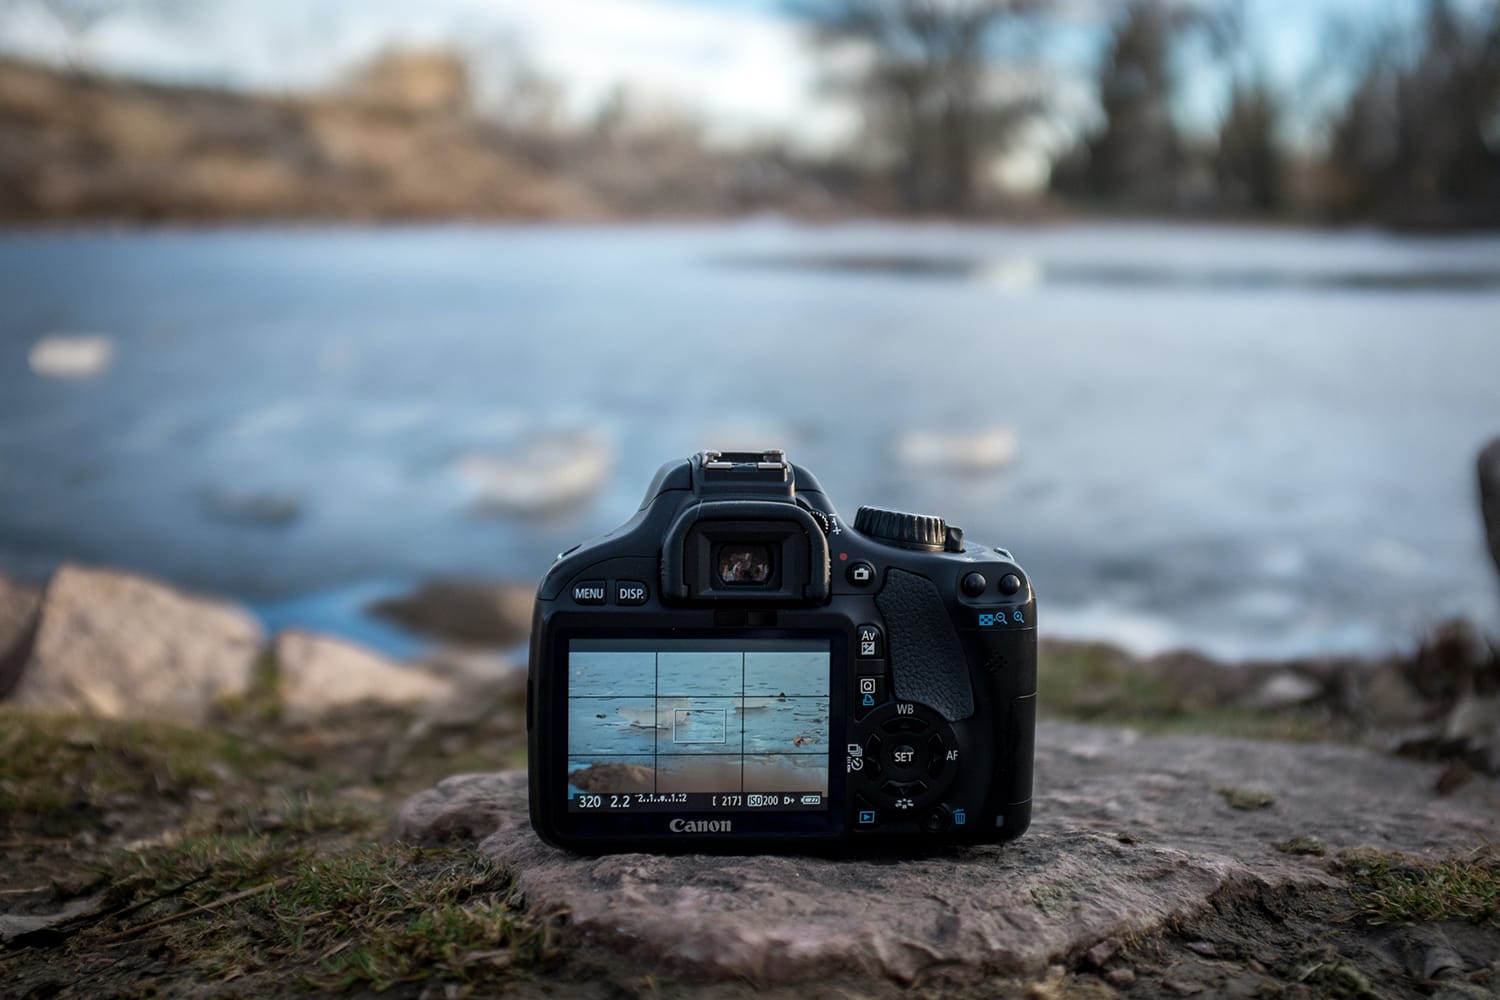
Whenever you press the shutter button on your camera, you introduce some very minor movement, which can result in blurry images. You can eradicate this issue by using the self-timer feature on your camera.
You can delay your camera’s shutter by setting up the self-timer feature, which can be set up to several seconds. When you press the shutter button, your camera waits according to the number of seconds you have specified and then takes the shot.
This essentially removes the need to touch the camera to press the shutter button and introduce some camera shake physically.
4. Using Fast Lenses
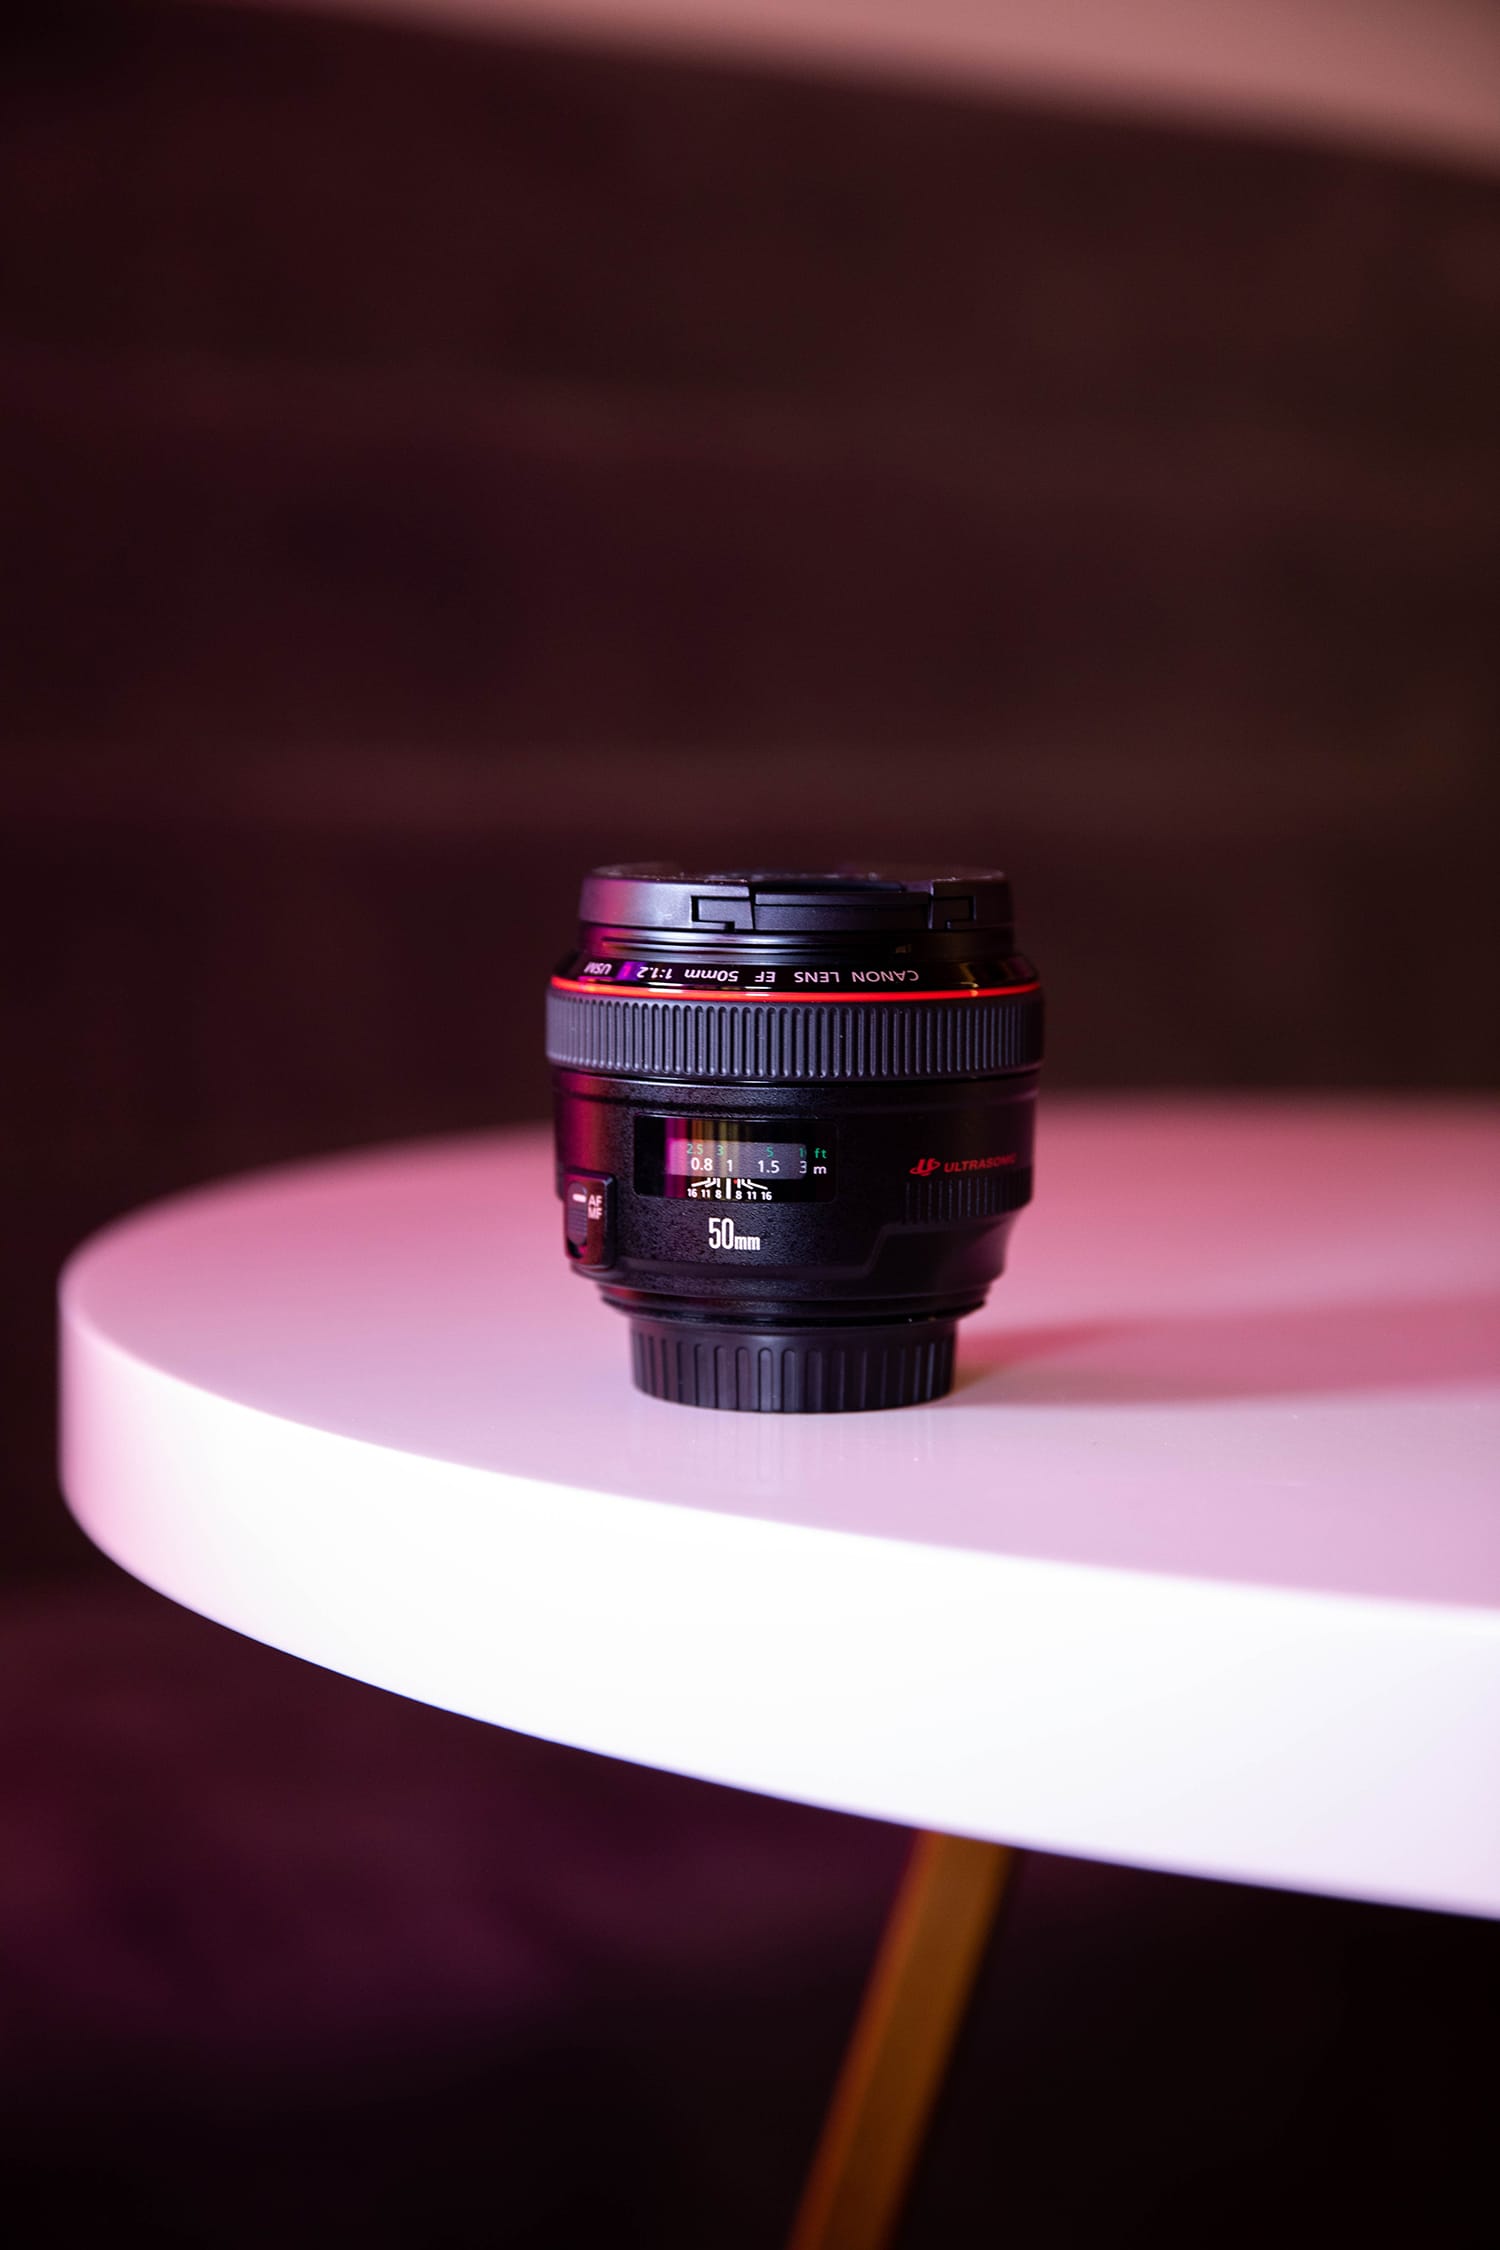
Increasing the shutter speed on your camera is one of the best ways to avoid out of focus images – that’s if the lighting conditions are right. You can either increase the shutter speed of your camera or use a faster lens. Usually, fast lenses have an f/2.8 aperture or less, like f/1.4 or even f/1.2.
Those lenses can cost a premium, though. But if you often find yourself shooting in poor lighting conditions where a faster lens can come in handy, then investing in fast lenses is a no-brainer.
5. Using Burst Mode
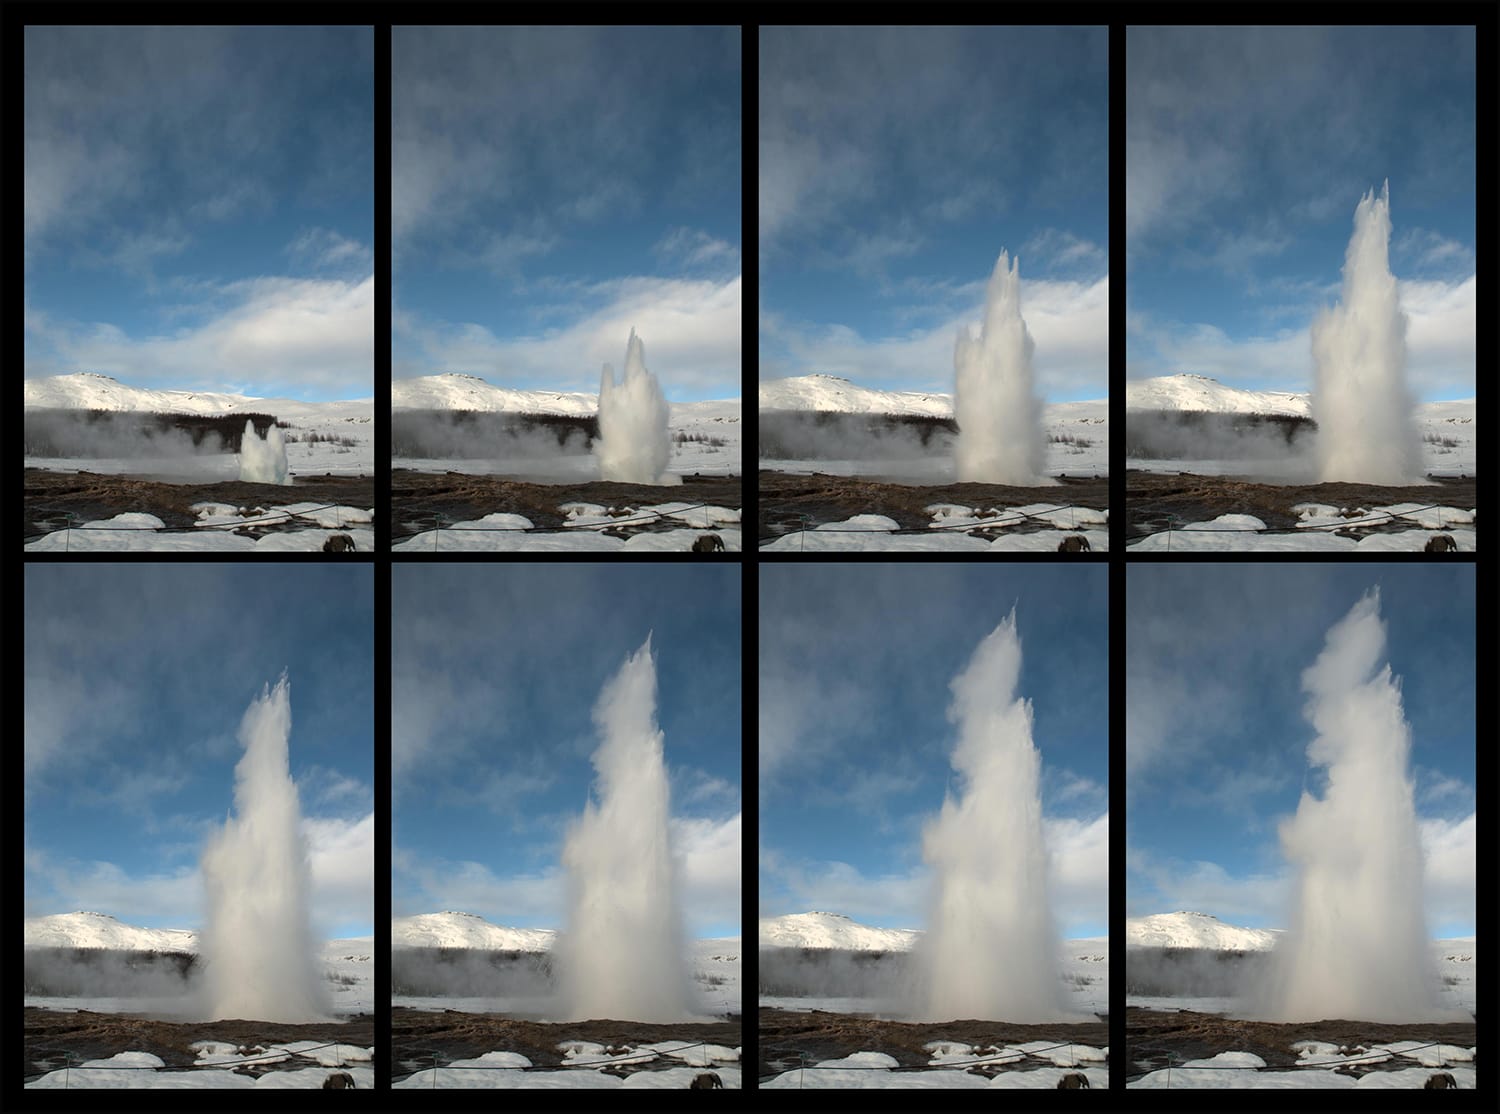
Image by Papa November
All modern cameras come with what is called a “burst mode.” This mode allows you to shoot multiple images in rapid succession. When you shoot in burst mode, you’ll hear a rapid-fire shutter sound when you press the shutter – that’s your camera capturing several shots in one go. You can then find the perfectly still and steady image from that collection.
6. Raising the ISO
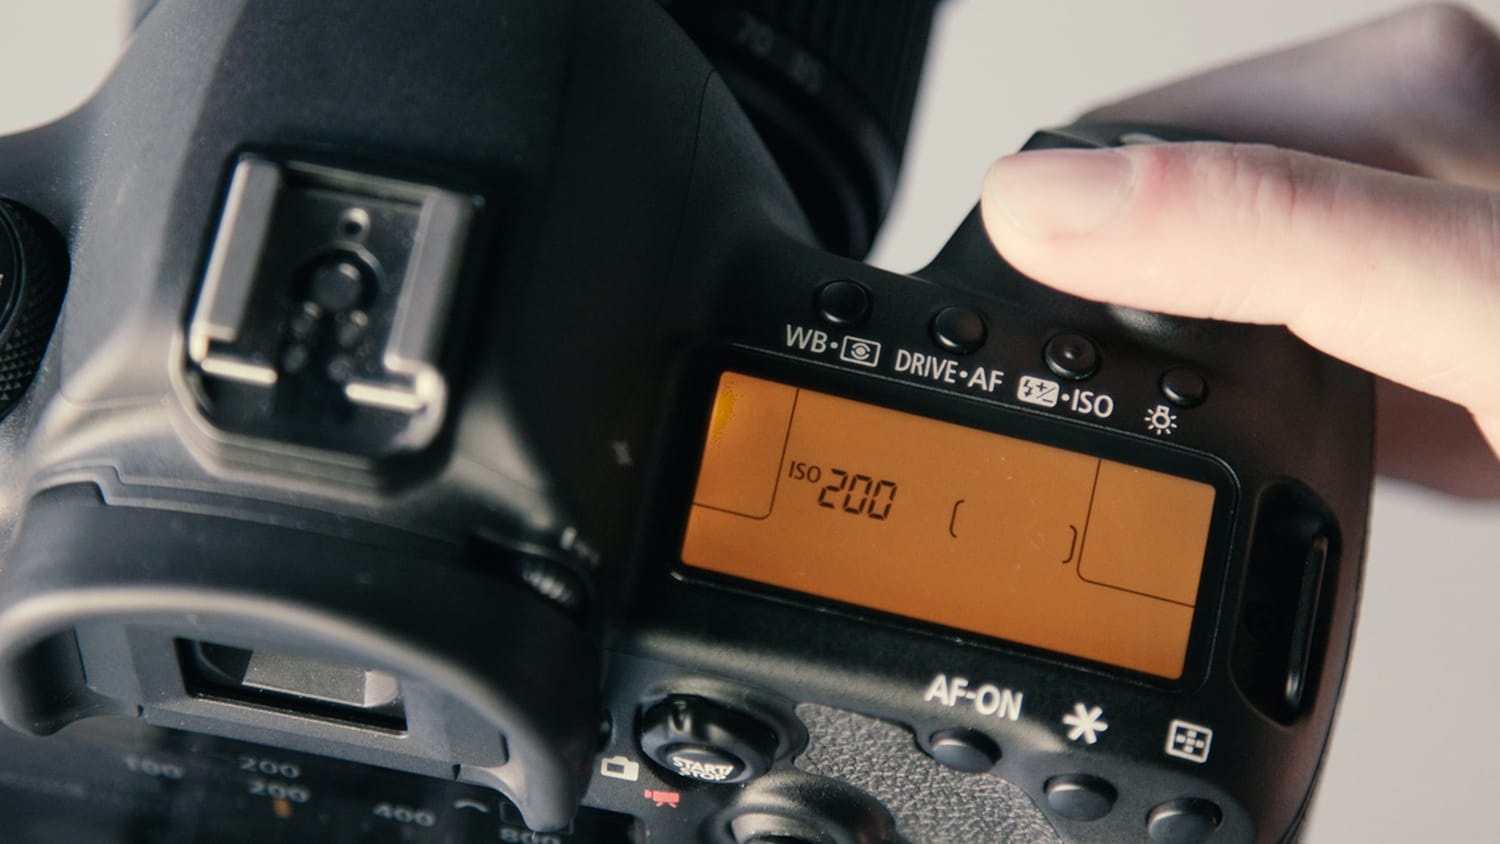
There’s a widespread misconception that ISO affects the sensitivity of the sensor of your camera to light. In reality, what ISO does is that it amplifies the signal electronically, which the sensor records.
Always keep in mind that the ISO value is directly proportional to the image brightness with added noise. A little bit of digital noise never hurt anyone, so consider the slightly noisier images over the blurry and out of focus ones.
My best suggestion is to increase the value of your ISO for comparatively fast and reasonable shutter speed only to get the right exposure. There is no point in bumping your ISO to 3200 when 400 would do.
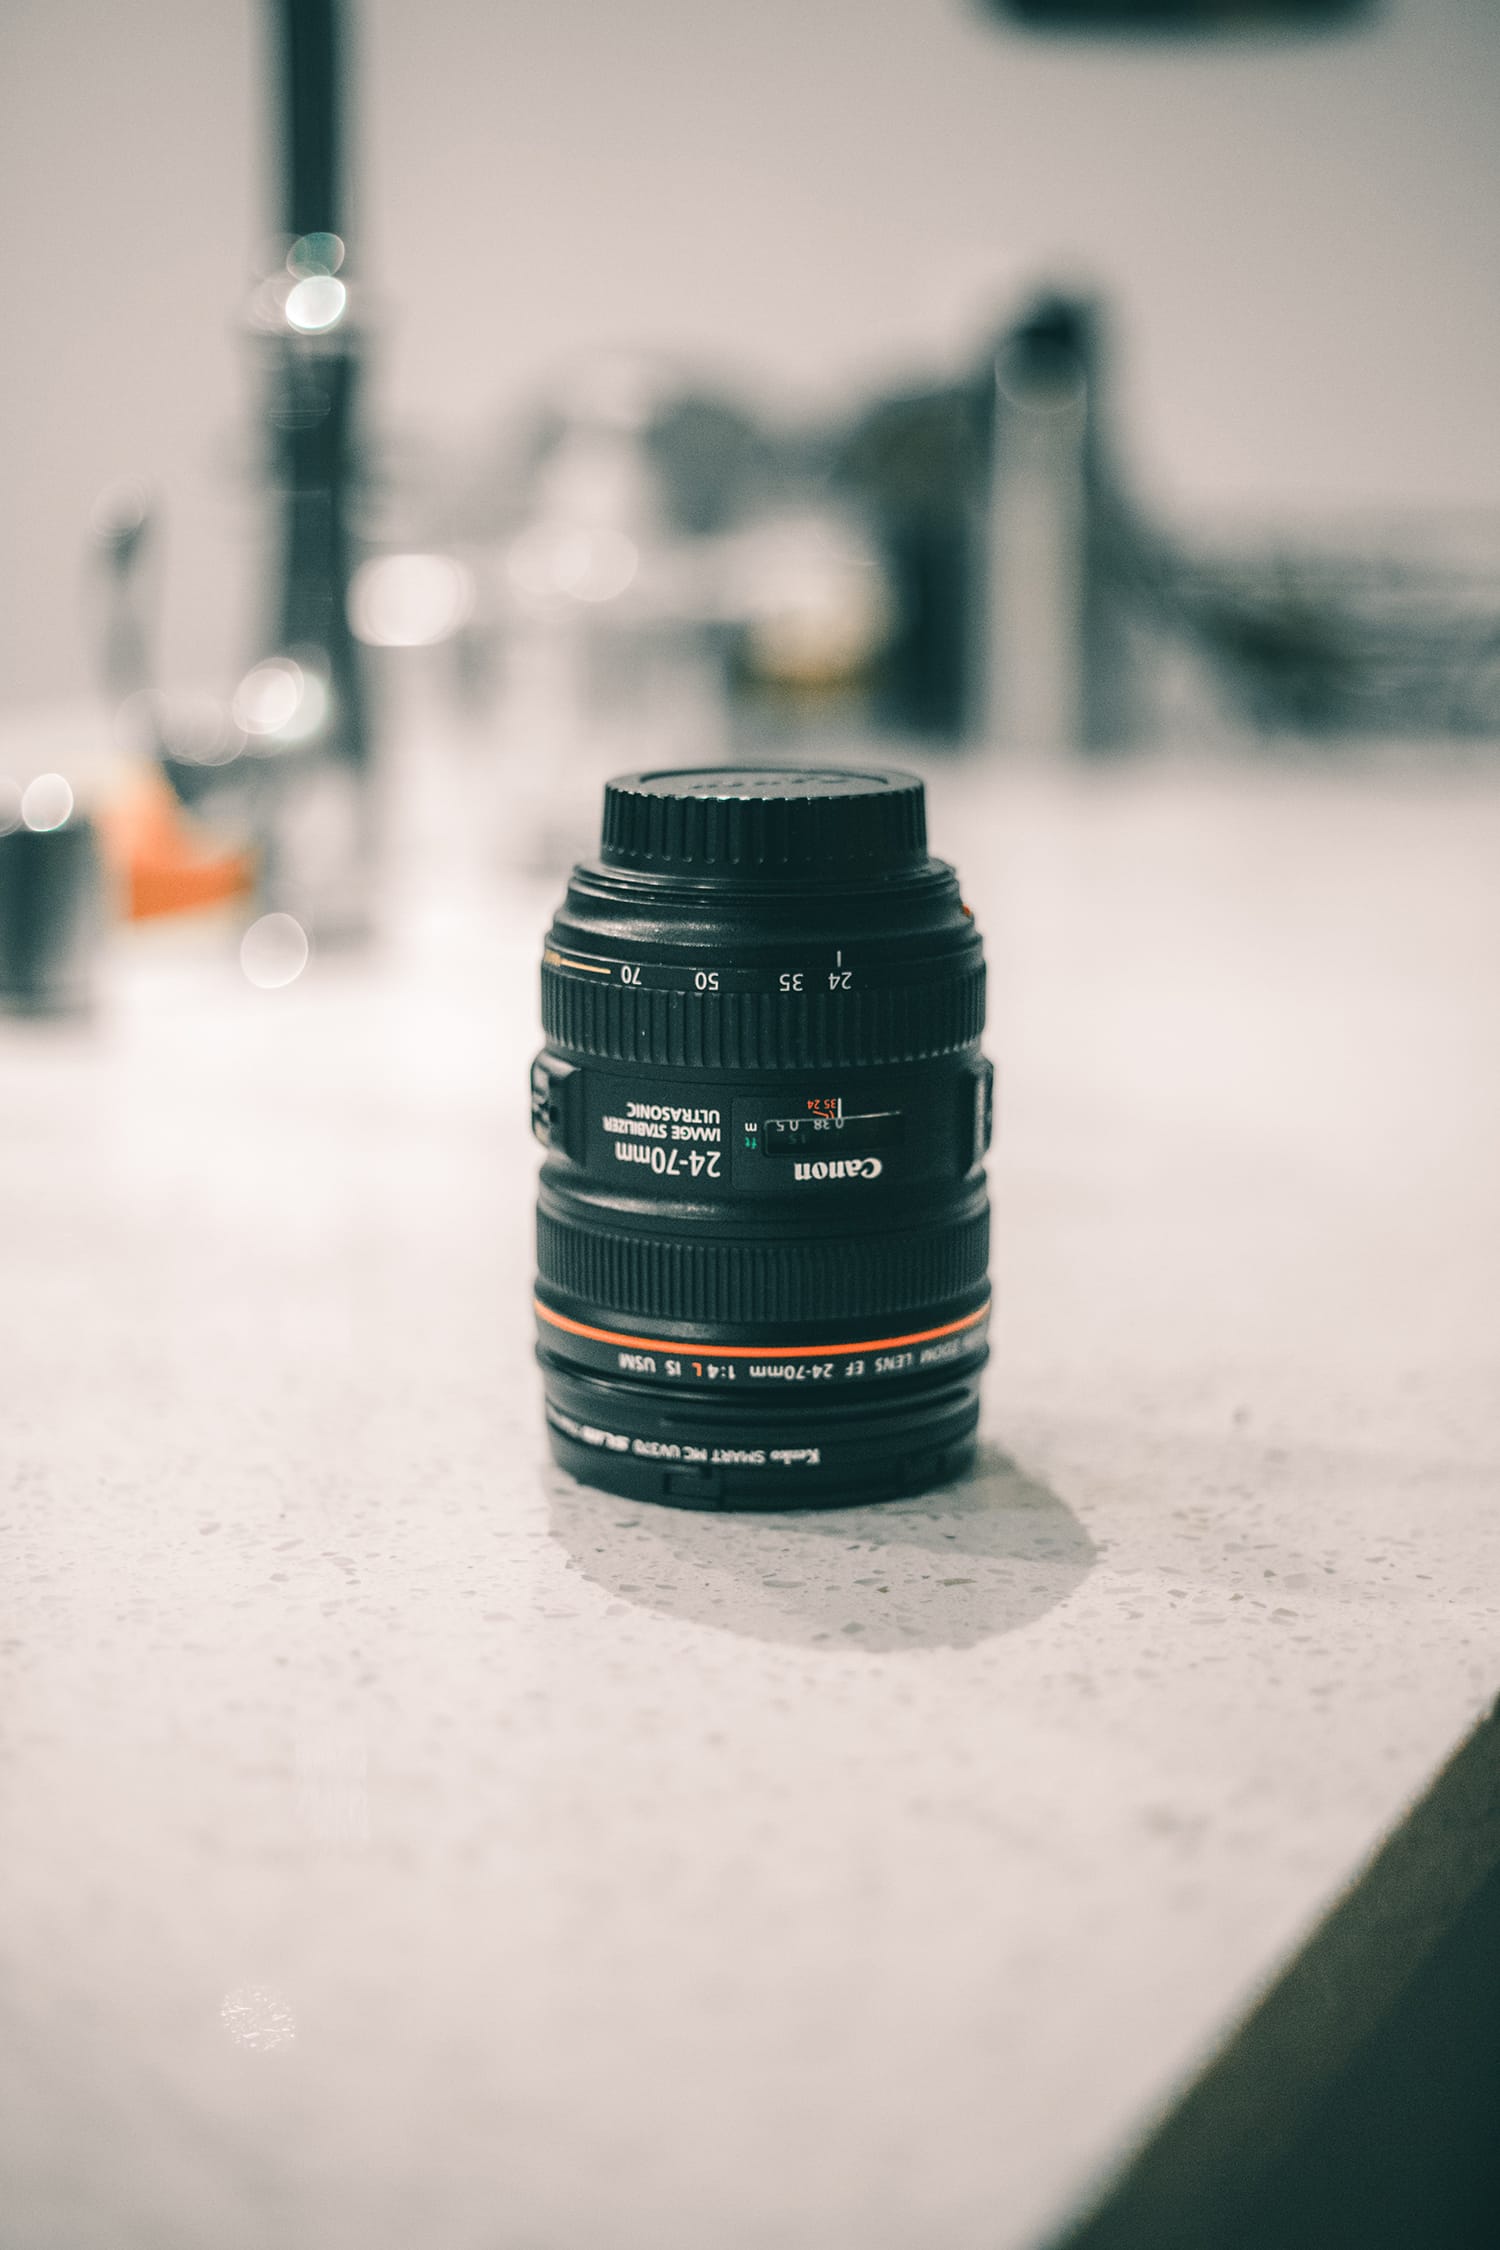
7. Avoid Zooming In
If you shoot with a zoom lens, it might be best to keep your lens at its minimum focal length. For example, if you shoot with an 18-55mm lens, the aperture is likely to be variable across the focal range. You might be at f/2.8 when shooting at 18mm, but end up at f/5.6 once you get to the 55mm focal length.
It’s obvious when your field of view is shortened, everything in your image will look more prominent. Also, remember that a long focal length will often require a faster shutter speed. Setting your shutter speed too slow will inevitably introduce some camera shake.
A good rule of thumb to follow is to try and match your focal length with your shutter speed. For example, if you’re shooting with a full-frame camera and an 85mm lens, you should set your shutter speed to at least 1/85th of a second or faster.
8. Capturing with Suitable Posture
Your posture plays a critical role in capturing still and steady images. You probably have seen professionals, leaning and crouching weirdly.
They do this to more easily brace or support the camera (as well as shoot for certain odd angles). The best practice is to keep the camera closer to your torso while tucking your arms into your body.
Avoid floating your arms in the air because it can cause muscle tension that will introduce some shake in your images.
9. Using the Camera strap
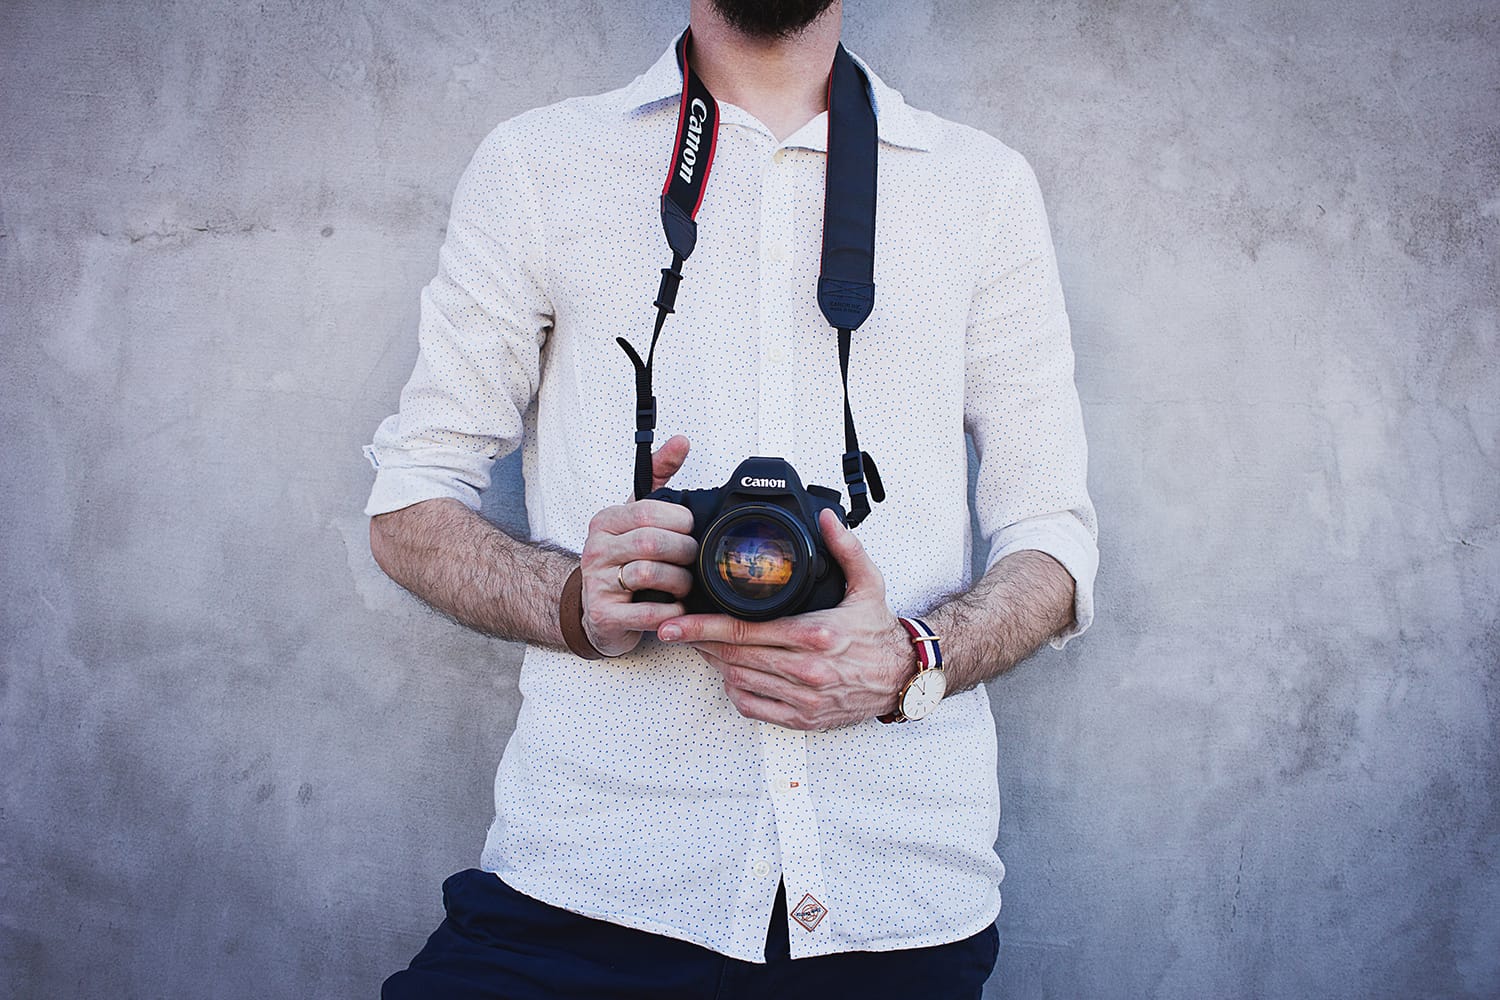
You can use the strap of your camera to avoid camera shake by wrapping the strap around your arm tightly. This way, the wrapped strap helps and works as a stabilizer and reduces muscle tension and shaking. If you have to take an image with a comparatively slower shutter speed, this technique can help you very effectively.
You can also use the camera strap as a way to add tension. If you shoot with the LCD screen, you can have the camera strap around your neck and extend the camera as far as the strap will allow, giving you a bit more stability.
This works well when shooting down low instead of shooting farther away from your body (i.e., extending the camera strap toward your hips and using the swivel LCD screen to frame your shot.)
10. Using a Remote Shutter Release
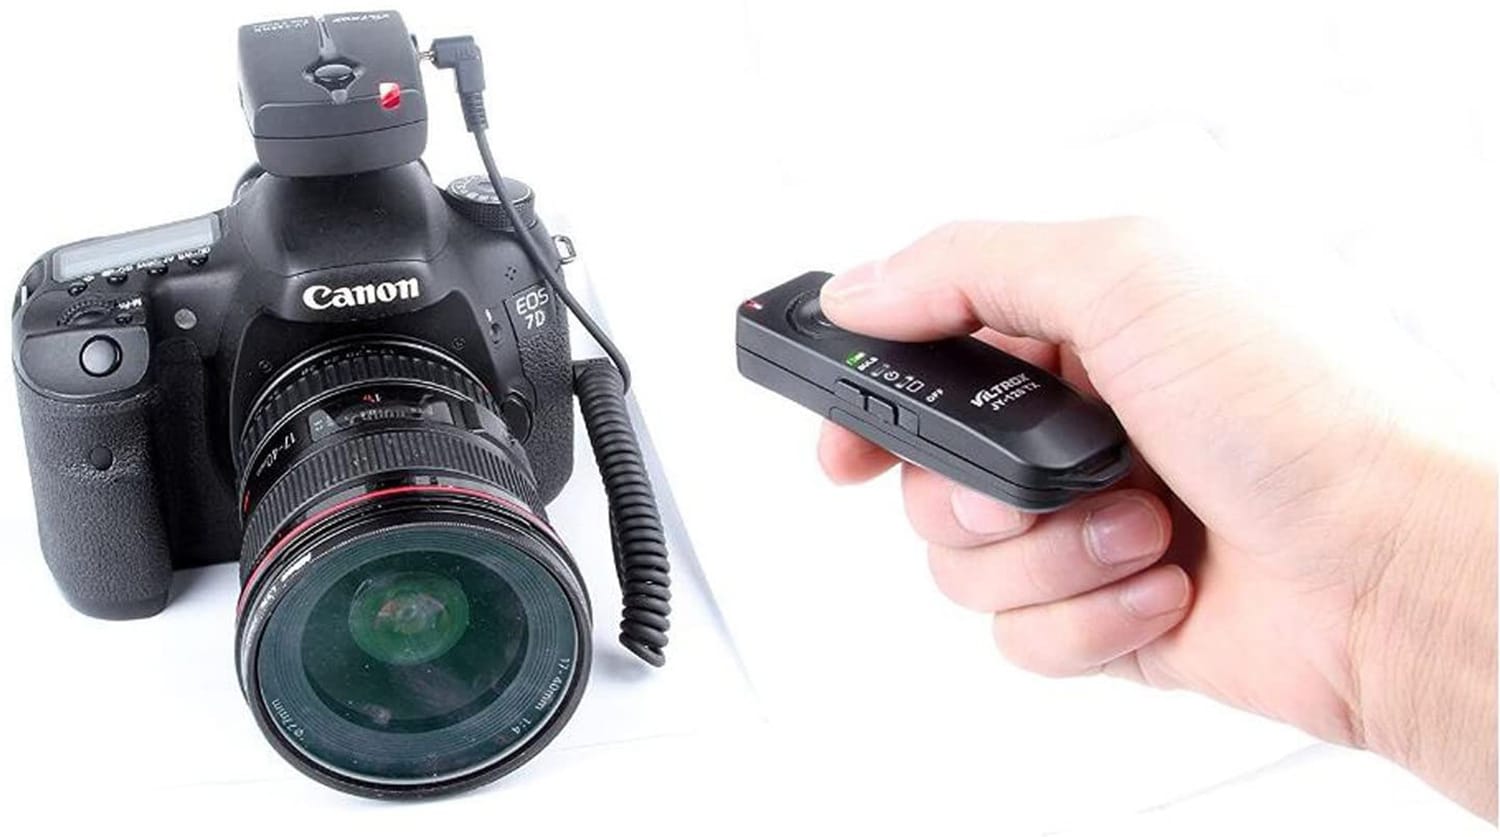
Last but not least is using a remote shutter release. If you have very shaky hands, it might be challenging for you to frame and capture crisp and clear images. That’s where a remote shutter release comes in to save the day.
Remote shutter releases come in many shapes and forms. The most common is a simple remote control that connects to your camera and allows you to hit the shutter button remotely without physically touching your camera. This works best when your camera is set on a tripod.
You can select your frame and put your camera on a safe and flat surface in the same direction. As the camera remains steady on the surface, you need to trigger a signal, and that’s it. You’ll get the image with perfectly stable and focused results. Many remote controls for shutter release comes in both wireless and wired versions.
Conclusion
I hope that these tips and tricks will help you with any shakiness issues when shooting hand-held and help banish your images’ blurriness. Remember to use these expert photography hacks while shooting hand-held next time you’re out shooting without a tripod.
About the Author: Jon C. Phillips
 Jon C. Phillips is a photographer, watch lover, product developer/designer, guitarist & musician, and all-around web nerd. He's the founder of Contrastly which he launched in late-2012. He also co-founded DailyPhotoTips and TheDailyPreset.