How to Setup Basic Three Point Lighting for Professional-Looking Portraits
 by
Contrastly
by
Contrastly

Three point lighting is one of the classic methods of lighting portraits.
It will give you full control over the distribution of the light, and allow you to control where the shadows fall and how harsh they look.
If you can set up basic three point lighting you’ll be able to snap much more professional-looking portraits.
But to do that you first need to know more about it.
Three Types of Lights
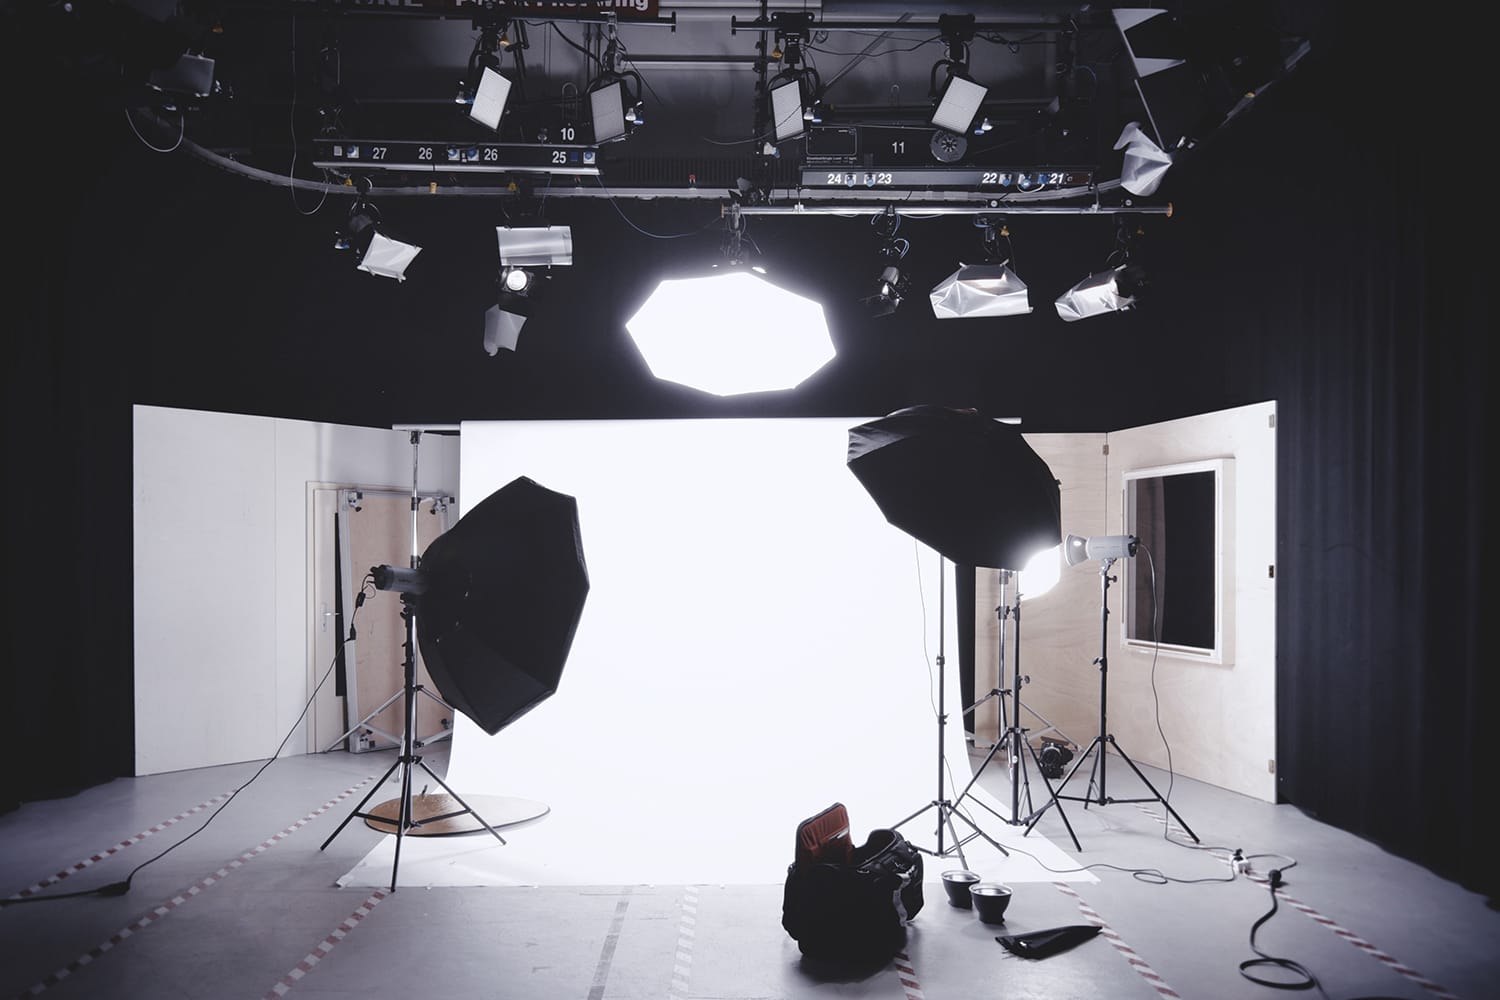
As you can guess, three point lighting consists of three types of lights that are positioned differently. The three types that you will need are:
-
The Key Light
As the main source of light that will be illuminating your subject, the key light is often the brightest light and will determine where the shadows lie. Conventionally it is placed at a 45 degree angle to the camera, and slightly above the eye-level of the subject and angles down towards them.
-
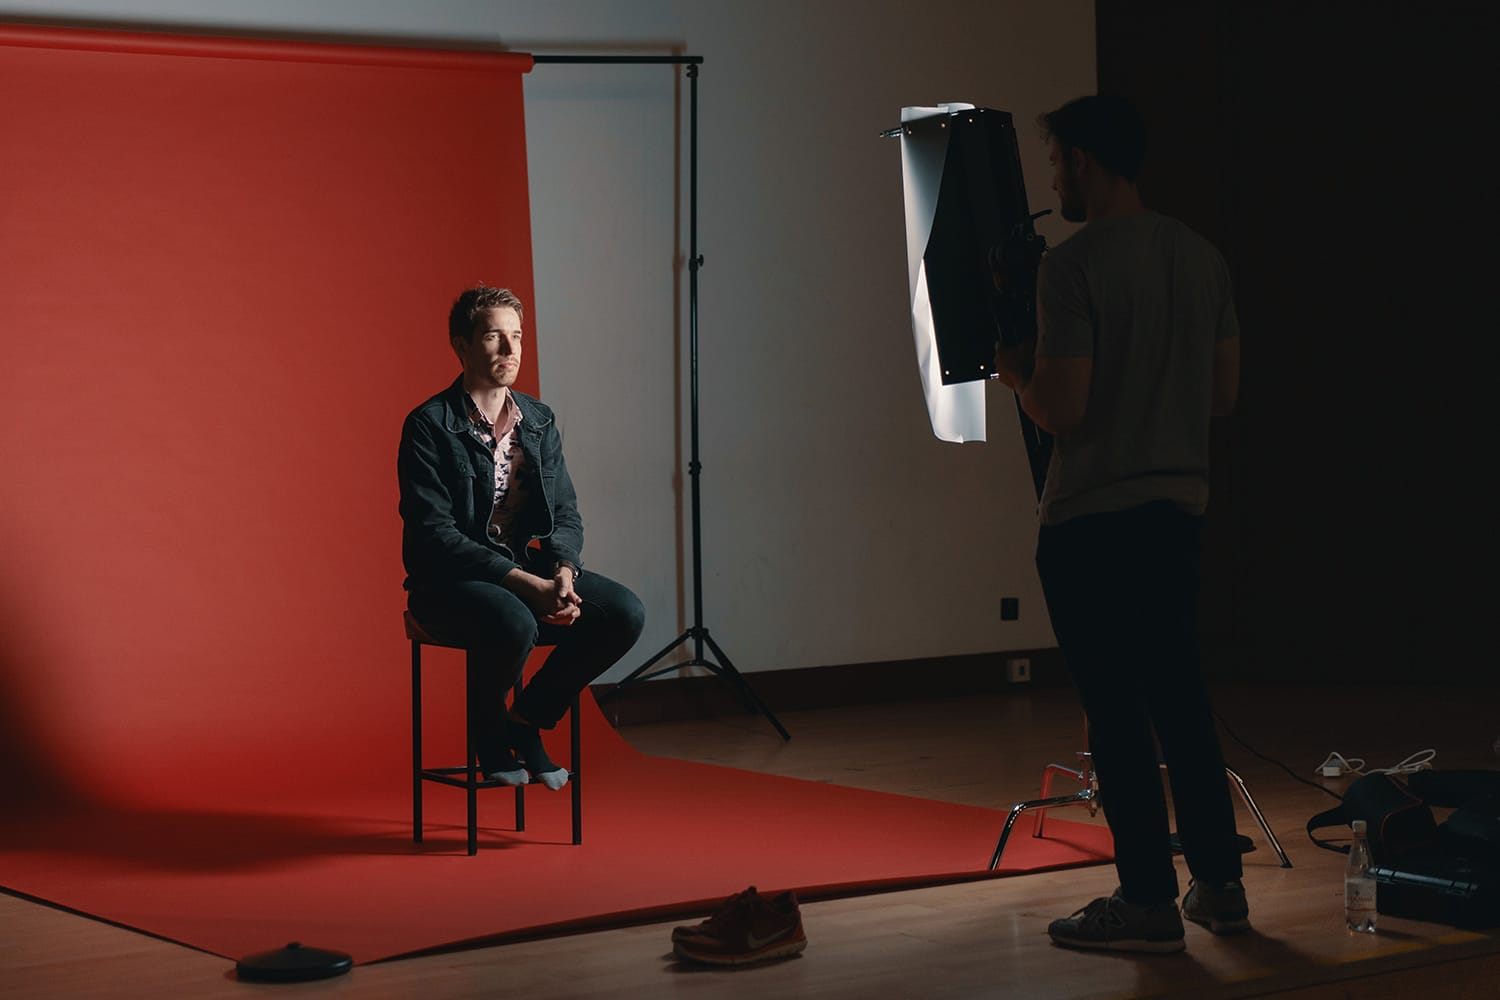
The Fill Light
Think of the fill light as the secondary source of light on your subject that will let you ‘fill in’ the shadows it casts and control their intensity. To fulfill that role it is normally placed at a 45 degree angle to the camera on the opposite side to the key light.
The fill light is normally half as bright as the key light, or less – and can be adjusted depending on how intense you want the shadows to be. In portraits it is often positioned at eye-level, to help fill out shadows under the eyes and jawline.
-
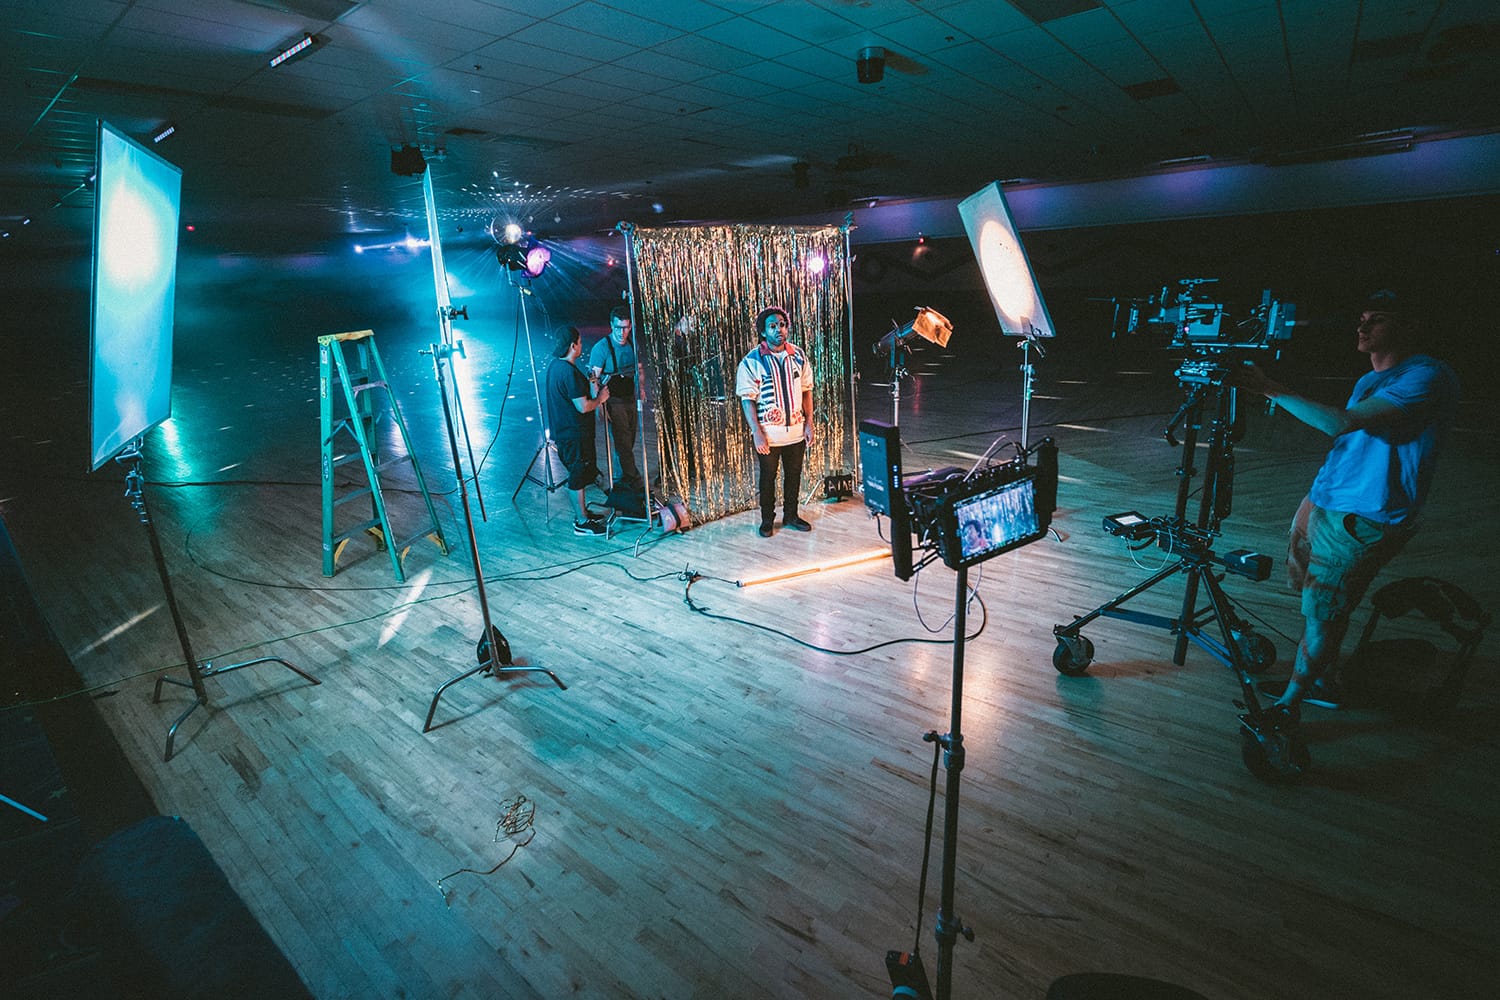
The Back Light
Sometimes known as the rim light, the back light is placed directly opposite the key light and is used to light the subject from behind. By doing so it will add a depth to your portraits.
Due to its position, the back light will put a ‘rim’ of light around the subject’s outline – typically highlighting the hair and shoulders. It is generally much less bright than the key light.
Now that you know the three types of lights that you need and how to position them, you should be able to start setting up the structure of three point lighting. However there is a bit more to it than that.
Factors Affecting Shadow Softness
Part of the beauty of three point lighting is that you can control the softness of the shadows in your portrait. To do that however, you need to understand the factors that affect it – and how to adjust your lighting accordingly:
-
Source size
The size of the light source itself relative to the subject will determine how hard or soft the light is. A large light source will provide a more diffused lighting that produces softer shadows, whereas a smaller light source will be more pinpoint, and cast hard shadows.
That is why in studios modifiers are often used on the lights, to diffuse them and make them a larger light source than the bulb itself would be otherwise.
-
Distance from subject
As mentioned above, it is the size of the light source relative to the subject that is important – which is why distance is important as well. A light source that is closer is relatively larger, and will produce softer shadows. On the other hand a light source that is further away is relatively smaller, and will produce harder shadows.
The best example of this is the sun itself – which is a huge light source but is so small away that it is relatively small, which is why direct sunlight can cast very hard shadows.
-
Intensity (i.e. brightness)
It goes without saying, but the intensity of the light itself will also affect the shadows – with brighter light casting harder shadows. However this is normally the easiest factor to adjust, as you can use various means to control the output intensity of your lighting.
By adjusting each of these three factors, you will find that you have almost complete control over exactly how hard or soft the shadows are in your portraits.
Final Words
Three point lighting can make a world of difference to your photos and how they turn out. Don’t expect miracles however, as there are lots of other factors involved as well. In fact in most cases it would be good to edit your photos afterwards regardless, and for example you could use Movavi Photo Editor.
All in all you should be able to set up your own basic three point lighting system at this point – without that much difficulty. Over time you can gradually improve it, and make it more and more studio-worthy.
About the Author: Contrastly
Our mission at Contrastly is to help photographers all around the globe improve their craft and learn new skills. We create unique Lightroom & ACR presets, Photoshop actions, ebooks, and video courses. We also publish a popular blog with instructional articles, reviews, and tutorials.
Follow Contrastly on Twitter, Facebook, and Instagram. And make sure you subscribe to the bi-weekly Contrastly newsletter.