How to Successfully Use Zone Focusing to Improve Your Street Photographs

There’s no arguing that having a solid focus is one of the most important aspects of photography, but we all know how time-consuming it can be to set that manual focus just right.
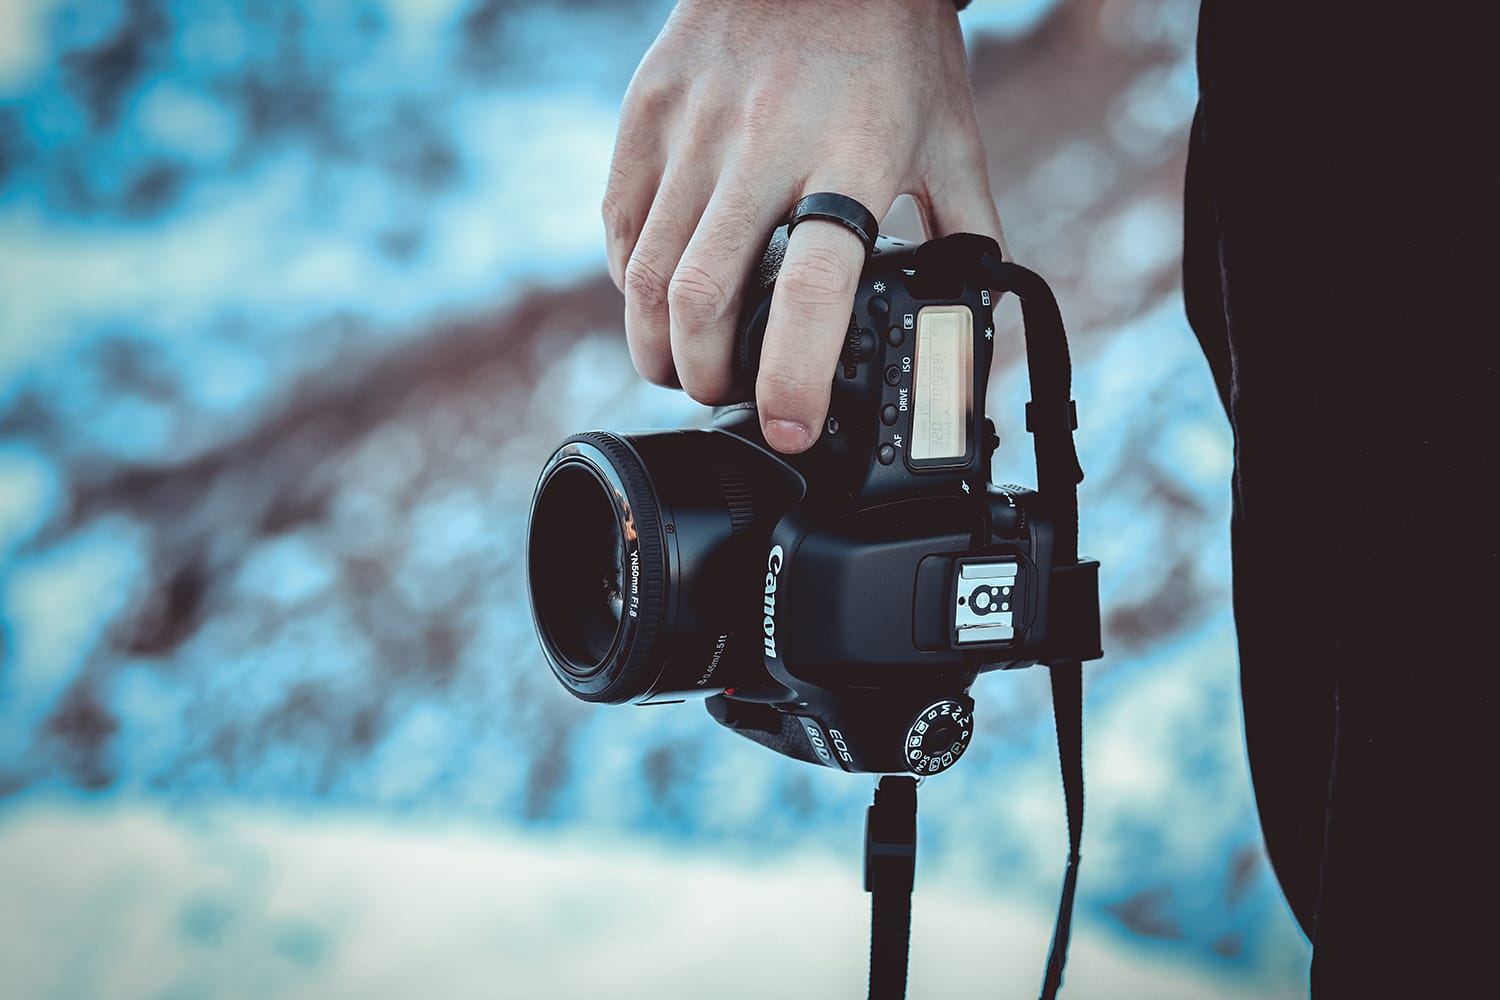
When we’re shooting in situations where we’re looking for quick, decisive, and candid shots (think street photography), time is of the essence.
That’s where a technique called zone focusing becomes invaluable.
What Is Zone Focusing?
Also called “scale focusing,” zone focusing is a technique that allows you to pre-focus your cameras at a particular distance by using the aperture setting, allowing you to quickly shoot an in-focus photo where the subject falls near that pre-set distance.
This prevents photographers from having to take time to focus manually and from being forced to rely on autofocus when the opportunities for good shots are fleeting.
Quickly, we’d like to add that zone focusing could be considered the opposite of another term you may have heard—hyperfocal distance. While hyperfocal distance’s farthest limit is at infinity, the far limit of zone focusing is somewhere much closer to the photographer.
This zone of focus can be set at a specific range chosen by the photographer. For instance, at particular settings, anything falling within 4 to 8 feet away from the camera will be acceptably focused.
When It’s Useful
As much as the autofocusing systems of modern cameras have improved over the years, they’re not always perfect. This means that, in certain situations, utilizing zone focusing is going to land you with more successful photos than you would have by relying solely on autofocus.
In particular, zone focusing is beloved amongst street photographers because autofocus tends to react too slowly to capture a specific moment–the “decisive” moment; you’ll often hear it called.
Zone focusing is also useful for:
- Any situation where you want to shoot candid shots or remain inconspicuous since you don’t necessarily need to hold the camera up to your eye to shoot.
- When you want to focus solely on composition and forget about focusing.
- Times when quick action is needed and manually focusing or relying on autofocus would waste precious seconds.
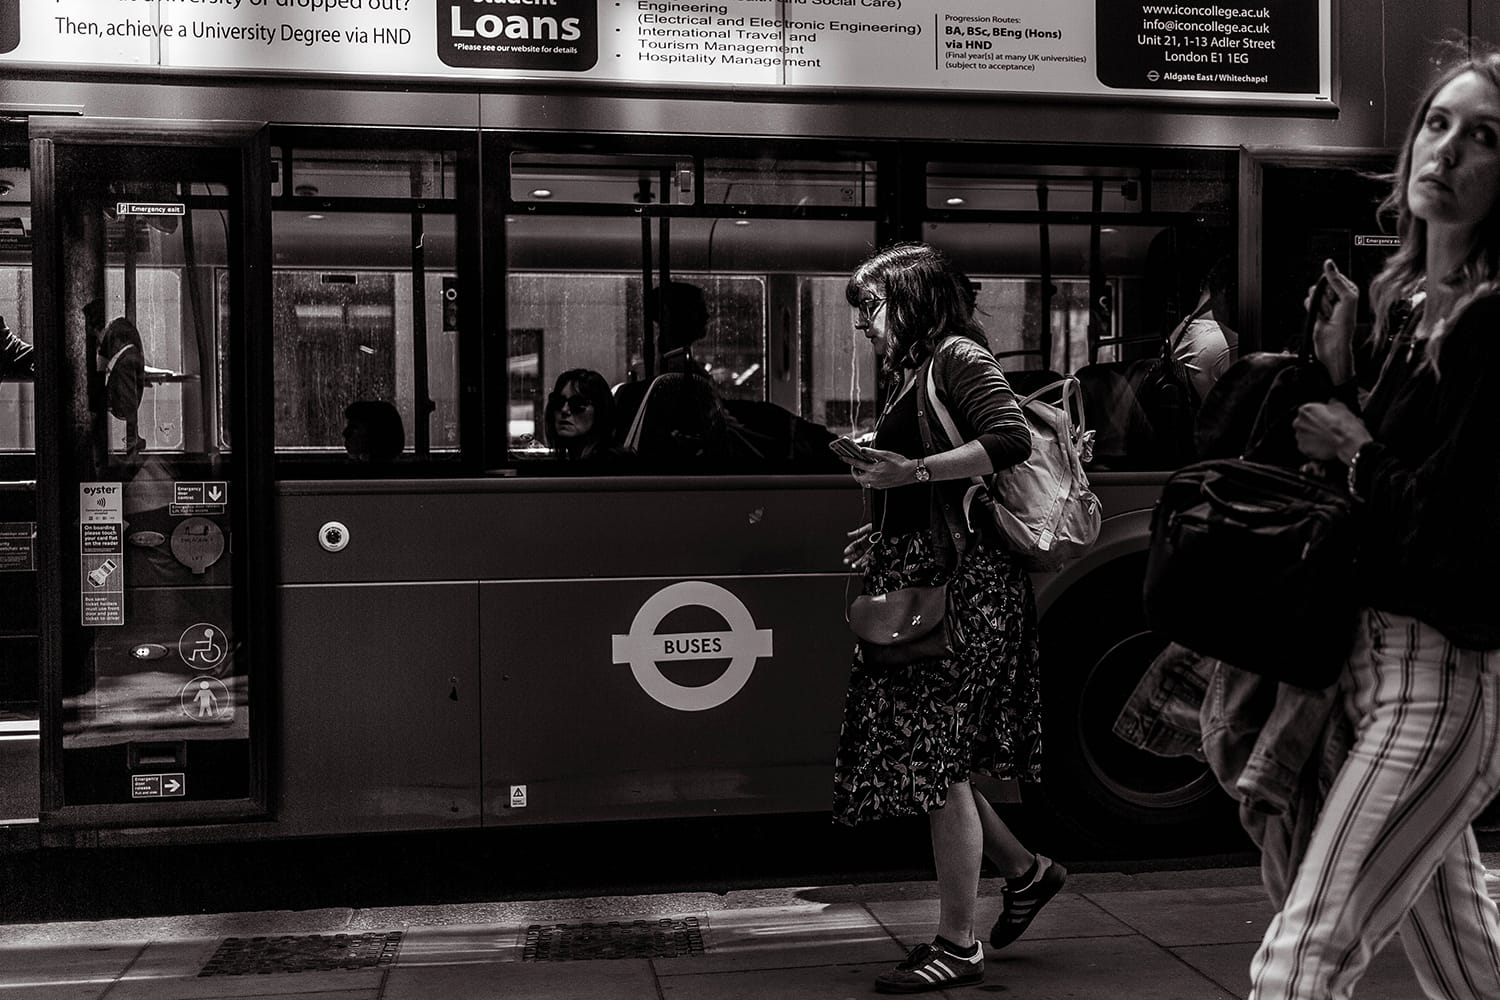
Taking the Zone Focusing Technique to the Streets
1. Use a wide-angle lens.
For the greatest amount of flexibility, you’d want to aim for a wide zone of focus. This allows for more error forgiveness when we aren’t entirely accurate in guessing the distance of a subject from the camera.
Generally, street photographers prefer wide-angle lenses anyway, because they can capture a more significant amount of live action. 28mm or 35mm lenses, for instance, will both serve you well.
2. Set your zone of focus.
Determining what you want your zone of focus to be, and setting that zone of focus may sound intimidating, but it’s quite simple. You may use:
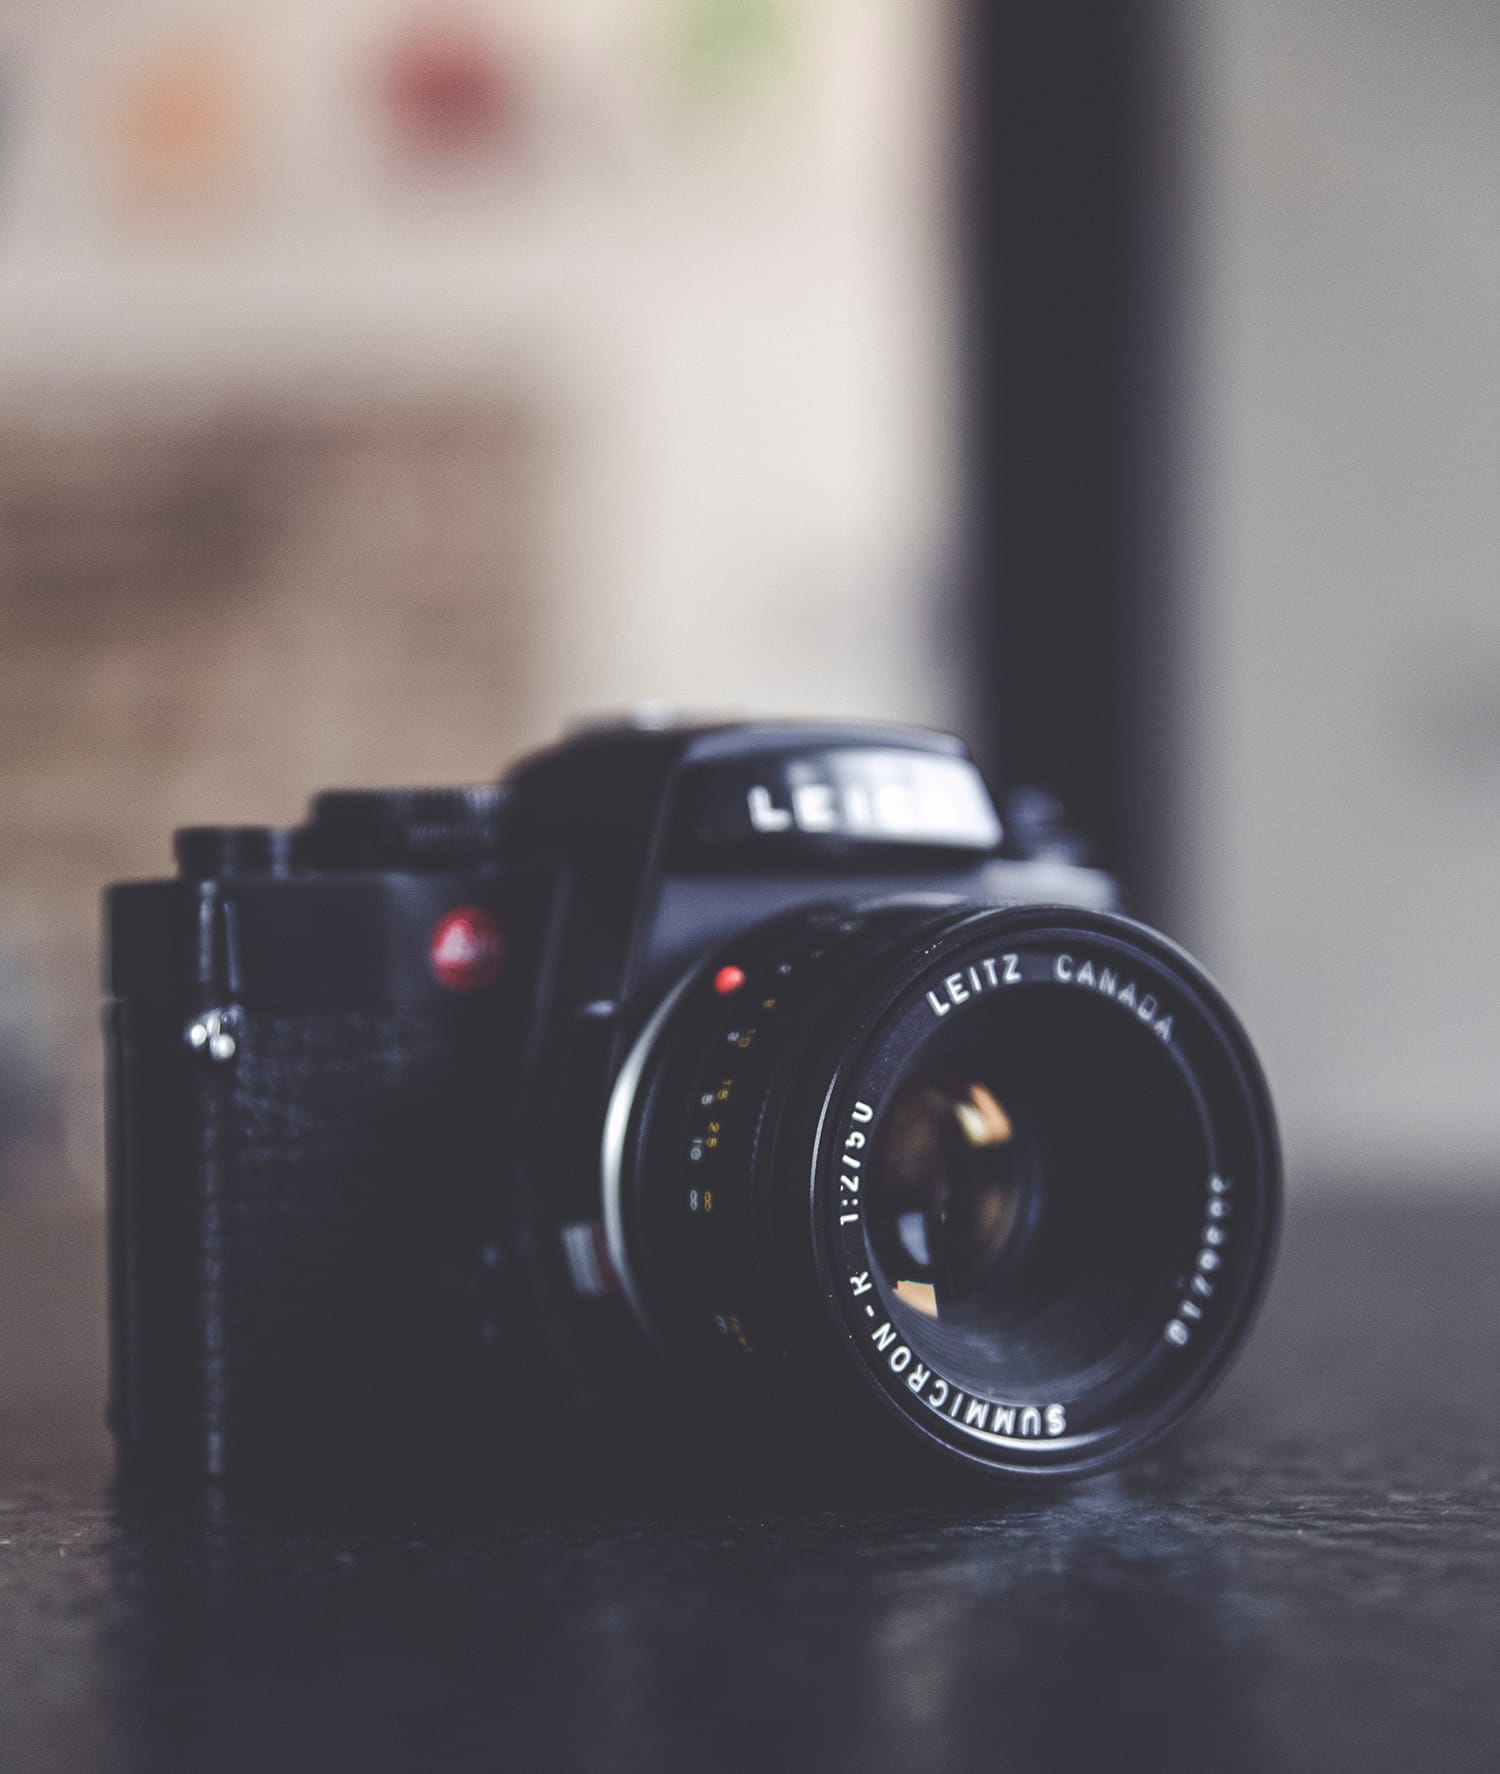
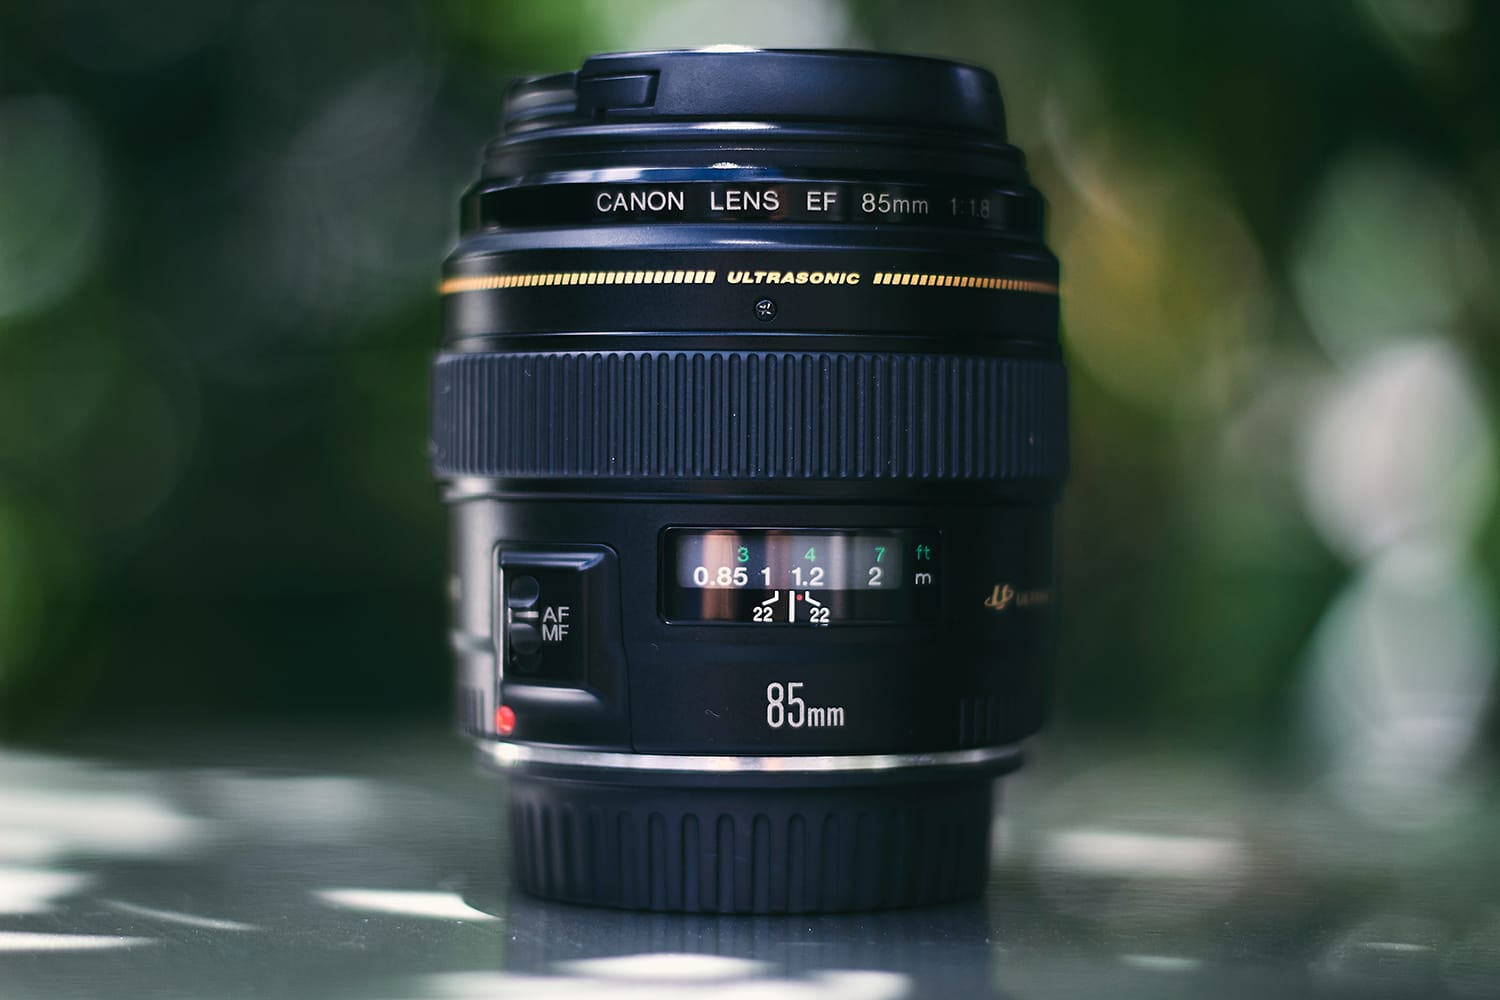
- A depth-of-field scale: Depending on the type of lens you are using, you may notice a depth of field scale or “distance scale” on the lens itself. Match your aperture to your zone of focus’s nearest limit, and the scale will give you the far limit and focal plane.
- Online tables or mobile apps: Many photographers prefer the ease of use and precision of zone focusing tables, which are easily found online or in apps downloadable to your smartphone. Provide information like the camera you’re using, your lens’s focal length, and your aperture to calculate the depth of field.
3. Understand and practice alternative methods.
A secondary, more straightforward way to use zone focusing for street photography is to settle into one spot and roughly determine the distance that most of your subjects will be from you. Then, manually focus on some object at that same distance before you begin shooting. Your camera will then be pre-focused for the zone you’ve chosen.
4. When all else fails, remember “35, 6, 11“.
If your lens doesn’t have a depth of field scale and you’re caught in the moment without your smartphone, you can remember three numbers for optimal settings. Set a focal length of 35mm, a focal distance of 6 feet, and an aperture of f/11. In general, this will give you a total zone of 8 feet, ranging from 4 to 12 feet away from you.
For street photography, this is generally an ideal zone of focus!
4. Don’t toss photos that aren’t perfectly sharp.
Many of us are perfectionists, and that’s okay! However, it can become tempting to undervalue photographs that aren’t entirely crisp. For instance, if your subject ends up a few feet beyond your focus zone, you won’t get a clear shot.
However, many photographers and viewers value the inclusion of components that are slightly out of focus, particularly in street photography. Therefore, don’t get too hung up on the range you’ve set for your focus zone, and let yourself shoot outside the field if you suddenly find yourself inspired.
Getting the zone focusing technique just right will take some practice, but it’s ultimately such a useful tool that we can’t emphasize enough how worthwhile your efforts will be.
About the Author: Jon C. Phillips
 Jon C. Phillips is a photographer, watch lover, product developer/designer, guitarist & musician, and all-around web nerd. He's the founder of Contrastly which he launched in late-2012. He also co-founded DailyPhotoTips and TheDailyPreset.