Getting Started (on a Budget!) With Product Photography at Home

Whether you’re one of those fantastic photographers whose breadth of hobbies doesn’t end with your camera or if you’re a full-time photographer looking to make some money from home in a new niche, product photography is undoubtedly an option you should look into.
With the popularity of e-commerce continuing to soar to new heights and new small businesses opening every day who require high-quality photographs for their brand, there’s always a demand for commercial/product photography work.
In fact, 93% of consumers prioritize the visual appearance of an item as the most critical factor determining whether or not they’ll make a purchase according to research from KISSmetrics.
This means that the images of these products are capable of making or breaking a business.
Whether you’re interested in shooting product photos for your own business or someone else’s, we’ve got some excellent news for you—you can become successful at product photography both on a budget and at home.
Here, we’ll show you exactly what type of equipment, techniques, and other practical know-how you’ll need to get started taking killer product photos.
1. Lighting is key.
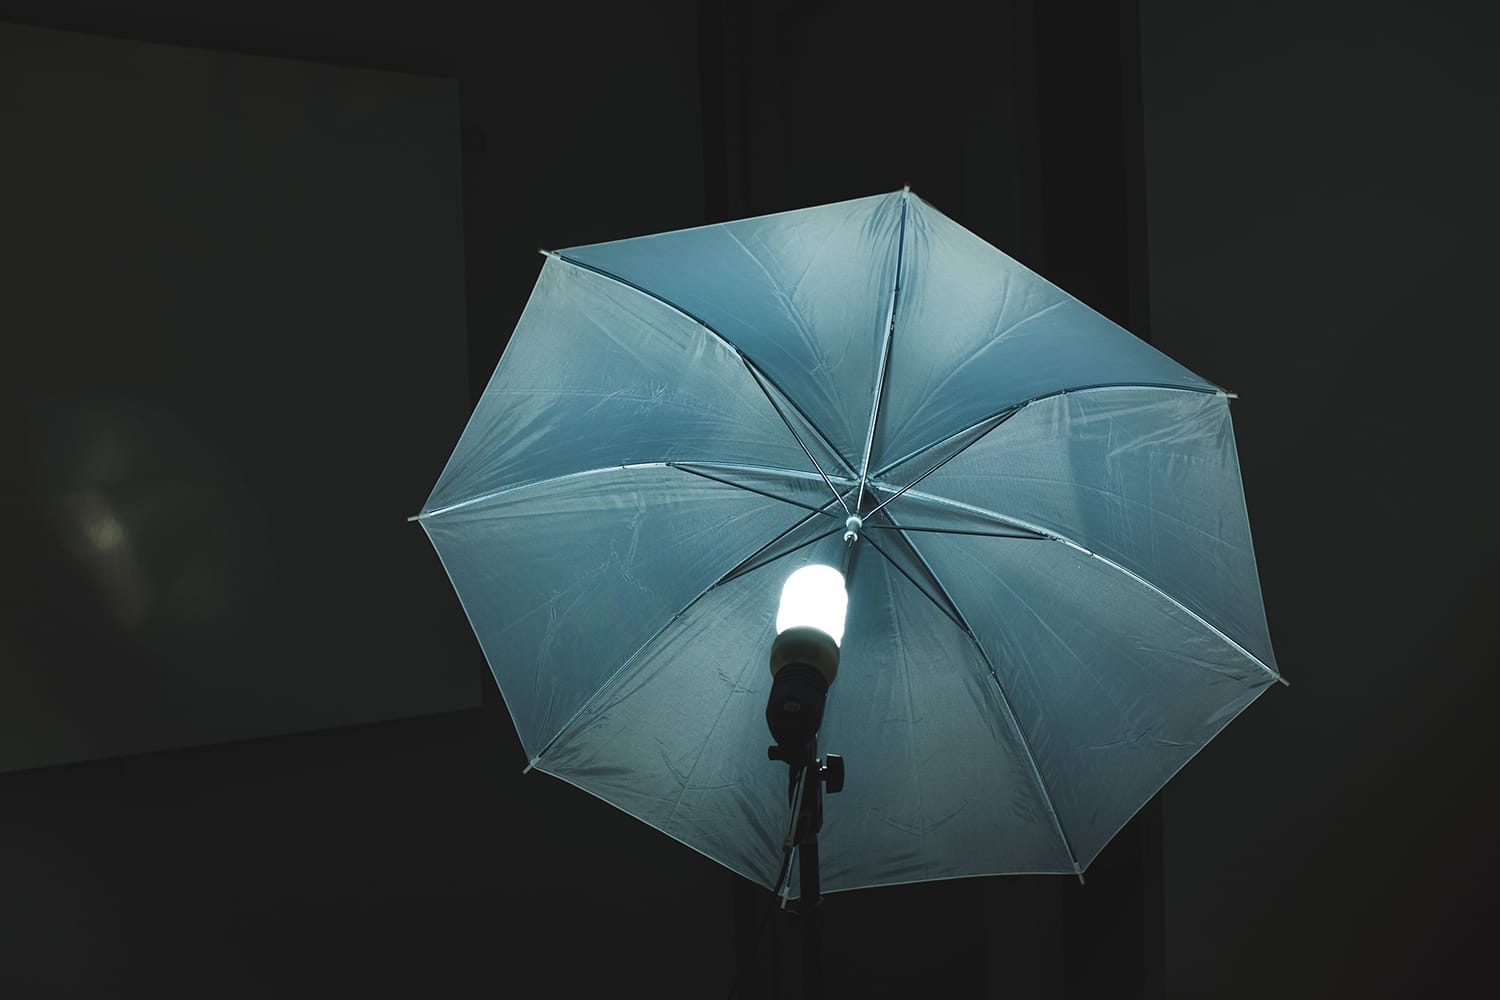
Remember just how important the appearance of an item is to consumers? Well, lighting can make or break this visual first impression. Orange or muddy light from a low-watt bulb can make images appear grungy or undesirable.
Still, too much sharp light directly from a camera flash may also cheapen the perceived quality of the product.
At the most basic level, you’ll want to understand when it’s best to use natural light for a photo and when you should rely on artificial light instead. This will depend mainly on the product. For instance, if the item is something that will be getting a lot of outdoor use, natural lighting may be best. If it’s highly textured or you want to emphasize detail, stick with artificial light!
Be careful not to mix artificial and natural lighting, as this usually won’t do you any favors. It’s best to commit to a single choice for each product.
2. Your home studio will need some strategic setup.
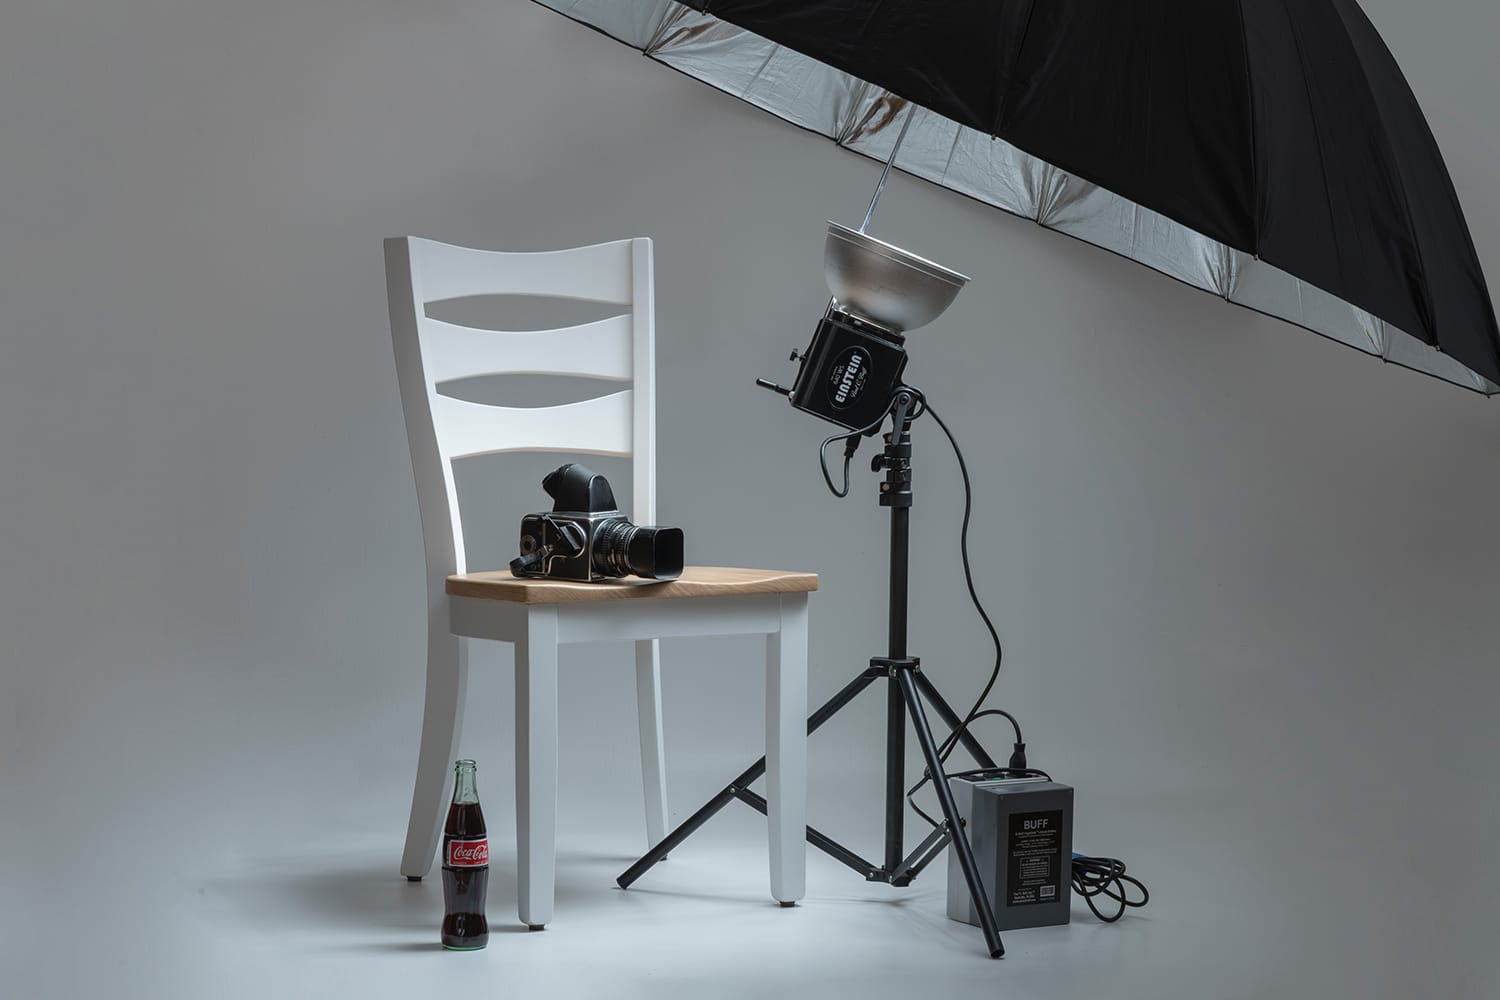
Don’t worry—”strategic” doesn’t have to mean expensive. The bare minimum studio setup that can get you off to a great start with smaller products will only require a shopping list of items from your local craft or hardware store. Aside from a camera and a tripod, you can set up a budget-friendly but effective home studio with:
- A white background (even white poster board will work)
- White foam boards to serve as bounce cards for reflecting light (or black foam boards if you’re aiming to make shadows deeper while shooting a white product against a white background)
- A table, a stool, or any surface that’s steady and clean to place the subject you want to capture
- Tape or any other tool to secure your boards to a table
Ideally, you’ll want to choose a room with windows beside a wall. Experiment with the location of your table, bounce boards, and backdrops to achieve the perfect balance of soft, natural light, and shadows.
However, by investing a little bit more in artificial lighting, you can truly create a studio setup in any room of your house (yes, even a garage, spare room, or storage closet).
3. A tripod is a must.
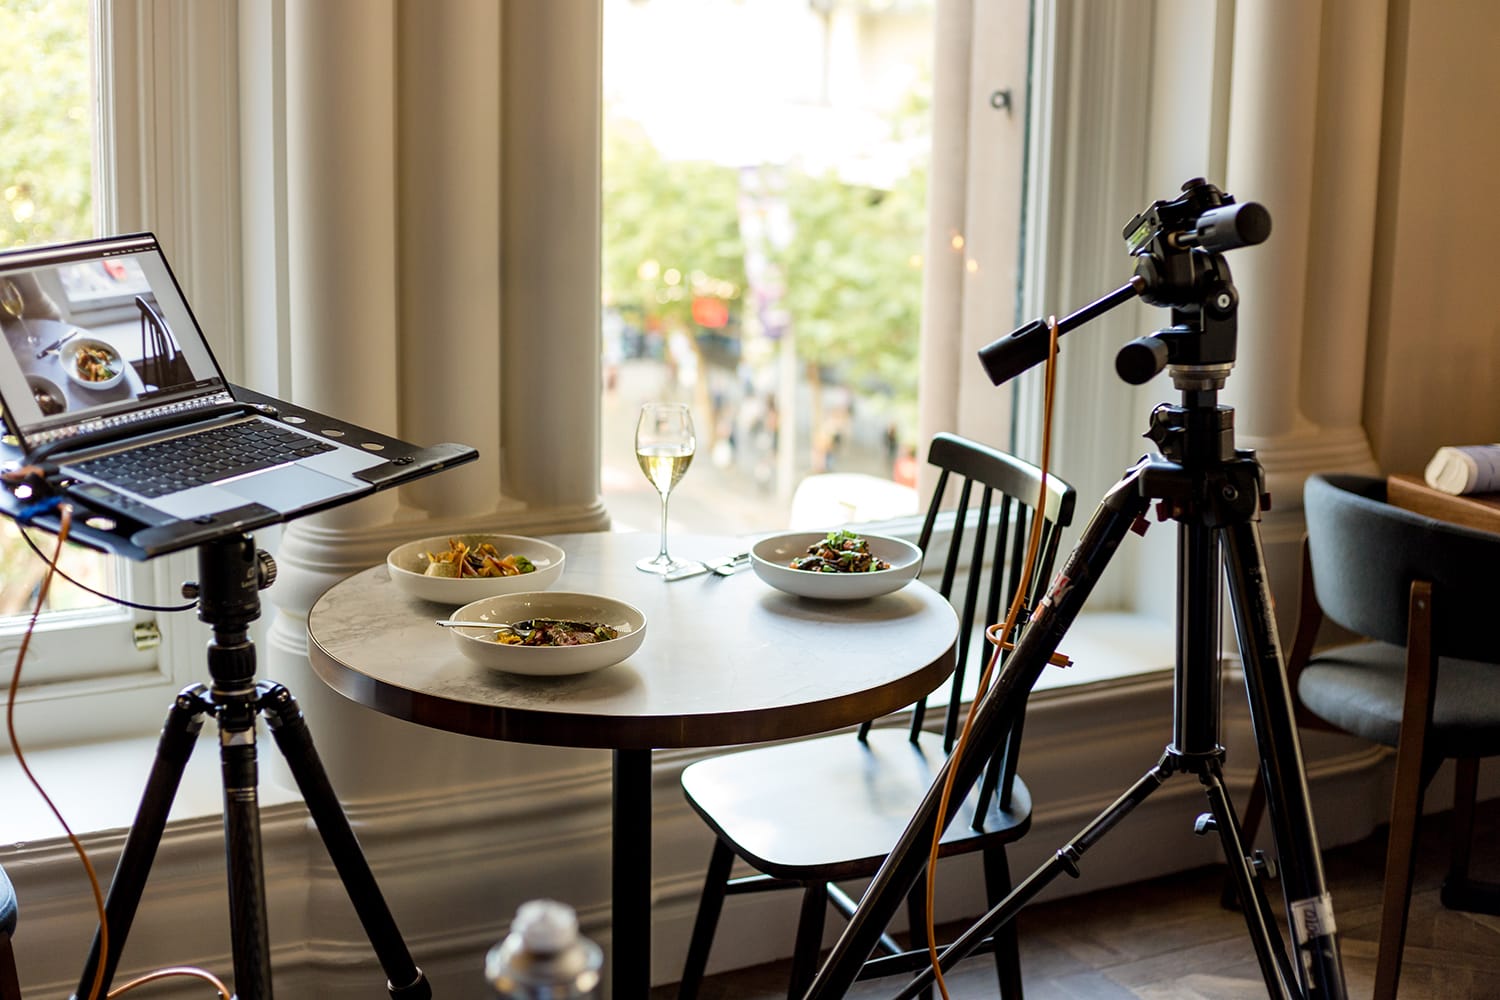
We’ve just talked about how important lighting is for product photography, meaning we can explain why having a tripod is vital. Even for advanced photographers, finding the perfect framing and setup for your shot can be a chore.
Once you’ve spent time perfecting the composition of your shot and have the product framed just how you like it, the last thing you’ll want to do is move to adjust the lighting.
With a tripod, you only need to get your framing right a single time. Then, even after you’ve spent time perfecting the lighting or fiddling with other minor adjustments, your camera will be right where it was when you left it.
There are tons of tripods on the market, but you don’t need to invest in the most expensive.
For at-home projects like these, any tripod that keeps your camera steady will do the trick. No need for a lightweight, weatherproof, or expensive model! After all, this will be used in a controlled environment, not in the wild where you’ll encounter rain, wind, and rough terrain.
4. Cleanliness is crucial.
After doing a few practice runs with a white background and focusing on keeping your photos as crisp and sharp as possible, you’ll quickly find that the picturesque clarity you work so hard to achieve will be so clear as to include specks of dust and debris, too.
This can be an especially challenging roadblock if you’ve chosen a storage room or a garage as your at-home studio. Still, we promise that taking the time to thoroughly clean every nook and cranny in and around your studio will make a massive difference in the outcome of your photos.
Keep some cotton swabs and a bit of alcohol on hand to brush away those tiny particles of debris and keep your product looking crisp.
Remember, the more perfectly clean your product appears during the photos you take, the less work you’ll have to do in post-production to correct errors.
5. Get friendly with Lightroom & Photoshop.

As much as we love Lightroom Classic for photo organization, management, and basic editing, its options aren’t always enough for the demands of commercial product photography – but you can surely include Lightroom Classic as part of your editing workflow for those organizational features alone.
If you are pursuing product photography as a business, you’ll benefit significantly from learning even just the basics of Photoshop.
Start by learning just a few editing techniques but learning them very well. For instance, you’ll get plenty of use out of the spot removal, clone stamp, and healing brush tools to perfect tiny blemishes and make your photos perfect for an online storefront.
If you’re starting out on a budget, don’t worry—you don’t need to invest in the entire Adobe Creative Suite. Instead, you can purchase only Photoshop for a month at a time to suit your needs.
Even after post-production fixes, you’ll still have some work to do by optimizing your photos for an online presence. Using an appropriate file name to describe the image, adding metadata such as keywords, and reducing the size of your picture as much as possible without sacrificing quality are a few useful tricks to keep in mind when prepping your photos for posting.
Otherwise, the steps we’ve described are genuinely all you need to get a stunning start with professional-quality product photography in the comfort of your own home with a minimal budget.
About the Author: Jon C. Phillips
 Jon C. Phillips is a photographer, watch lover, product developer/designer, guitarist & musician, and all-around web nerd. He's the founder of Contrastly which he launched in late-2012. He also co-founded DailyPhotoTips and TheDailyPreset.