How To Successfully Work With Natural Light
No matter what type of photography you’re doing, the lighting is one of the most important things to consider. The light will have a significant impact on your resulting images, and, often it’s what separates mediocre images from ones that are truly spectacular.
But while we all love shooting images during the soft light of golden hour, or just after a storm when the light is dramatic and beautiful – these opportunities are all too fleeting – and few and far between. Fortunately, though, you’re not limited to just working during these lighting conditions, there are great opportunities to be had at almost any time of day, and during any lighting conditions.
If you’re looking to enhance your images, paying attention to the available light and learning to make the most of it can help you to create some breathtaking shots. With this in mind, here’s how you can capture some amazing images during different lighting conditions.
Types of Natural Light

Natural light, as the name suggests, is the light that comes from the sun. The intensity – or, quality of available light – will depend on a number of factors including the time of day, cloud cover, and of course, whether there are any objects – such as mountains – that are blocking the light.
Bright, midday sun will result in harsh lighting, whereas a cloudy, overcast day will cause the sunlight to be softer and more diffused, and often, easier to work with.
Midday Sun (Harsh Lighting)

The harsh midday sun is has a reputation for being difficult to work with. It casts deep shadows, and can lead to overexposed images. But while harsh lighting isn’t without its challenges, it’s ideal for capturing certain types of images. If you’re photographing the sea, for instance, the bright, overhead light will allow you to see into the shallows, making for some fun and unique images that showcase the ocean floor.
It’s also a good chance to get creative with your portraits. Have your subjects throw on some sunglasses, and use a reflector or even a fill flash to bounce the light back onto them, filling in those harsh shadows. During bright lighting conditions, you can always look for the shade – buildings and trees work as impromptu diffusers – helping to soften the light.
Finally, perhaps one of the best things about harsh lighting is the fact that bright, sunny days are often followed by beautiful, golden evenings. Waiting until the sun’s a bit closer to the horizon will give you the opportunity to capture some spectacular images that are evenly lit, and bathed in a beautiful, soft glow.
Overcast (Diffused Lighting)

On a cloudy day, the light from the sun is gently diffused, and evenly dispersed, meaning that everything looks clear and crisp with no harsh shadows to get in the way! Diffused lighting is ideal for portraits or macro photography, since you’ll be able to capture the subject in its entirety – no need to worry about shadows or blown out highlights.
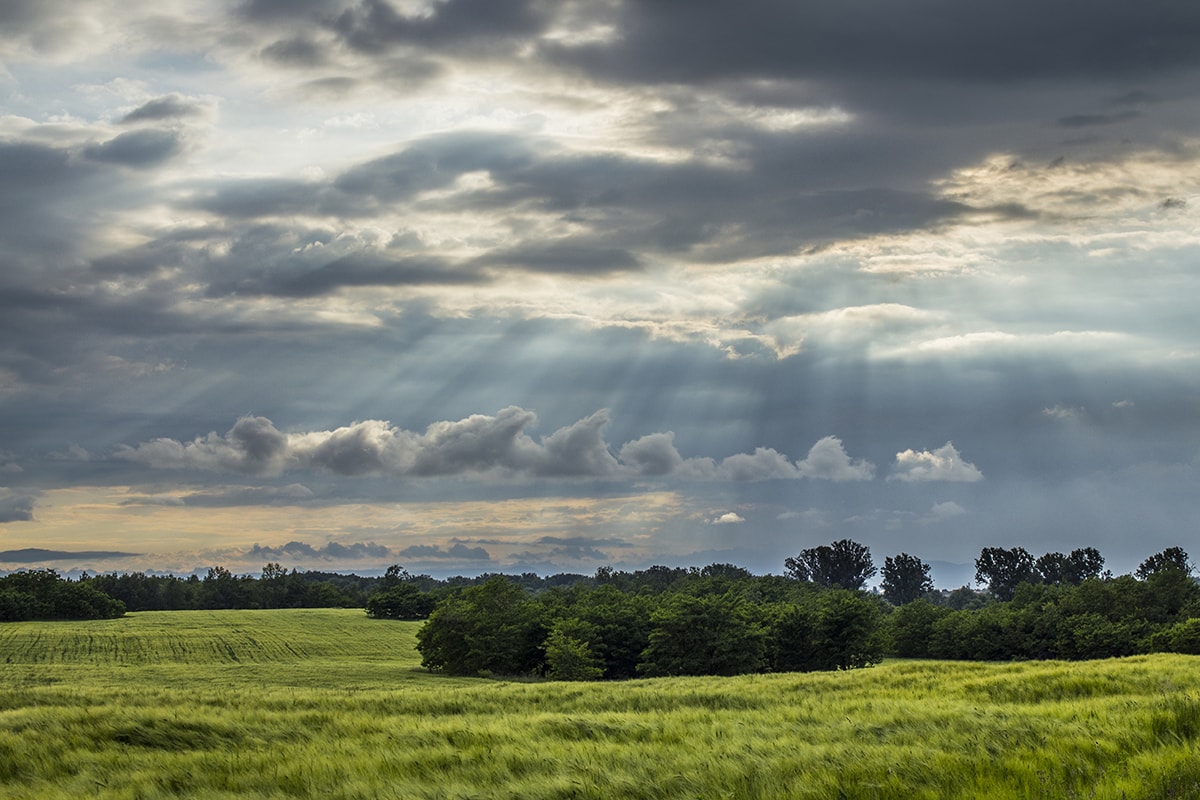
If the cloud cover is a bit heavy or otherwise dark, consider using a reflector to help bounce some light back onto your subject. Cloudy days are also an ideal time for landscape images. The diffused lighting can help to draw out the colors in a scene, making them appear brighter, and more saturated. You’ll also want to keep an eye out for a dark, foreboding sky. The sun breaking through the clouds is an excellent opportunity to capture some beautiful and dramatic images.
Direction of Light

You’ll also want to understand the impact that the direction of light will have on your image. This will allow you to position yourself to capture the best results possible, and if you’re doing portraiture, it will also help you to adjust your subject’s position to get the results that you’re after.
-
Back Lighting
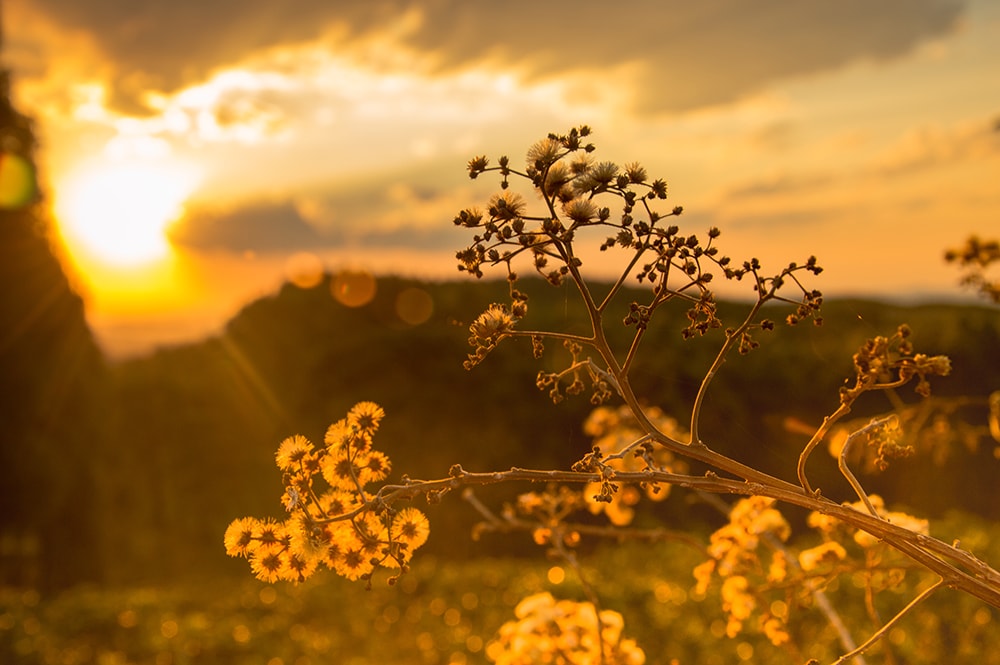
Back lighting is often used to add a sense of life and drama to a composition. During golden hour, positioning your subject with their back to the sun will create a beautiful, glowing effect around them. When the sun is low enough, back lighting can also be used to create a silhouette effect.
-
Front Lighting
Front lighting is often preferred by photographers since this type of lighting can result in an evenly lit subject with fewer shadows. Unfortunately, though, the absence of shadows means that front lighting also runs the risk of being flat. And, of course, all of that front light can also cause your subjects to squint! Generally, the softer the light – such as in the morning and evening – the better it is for front-lit images.
-
Side Lighting
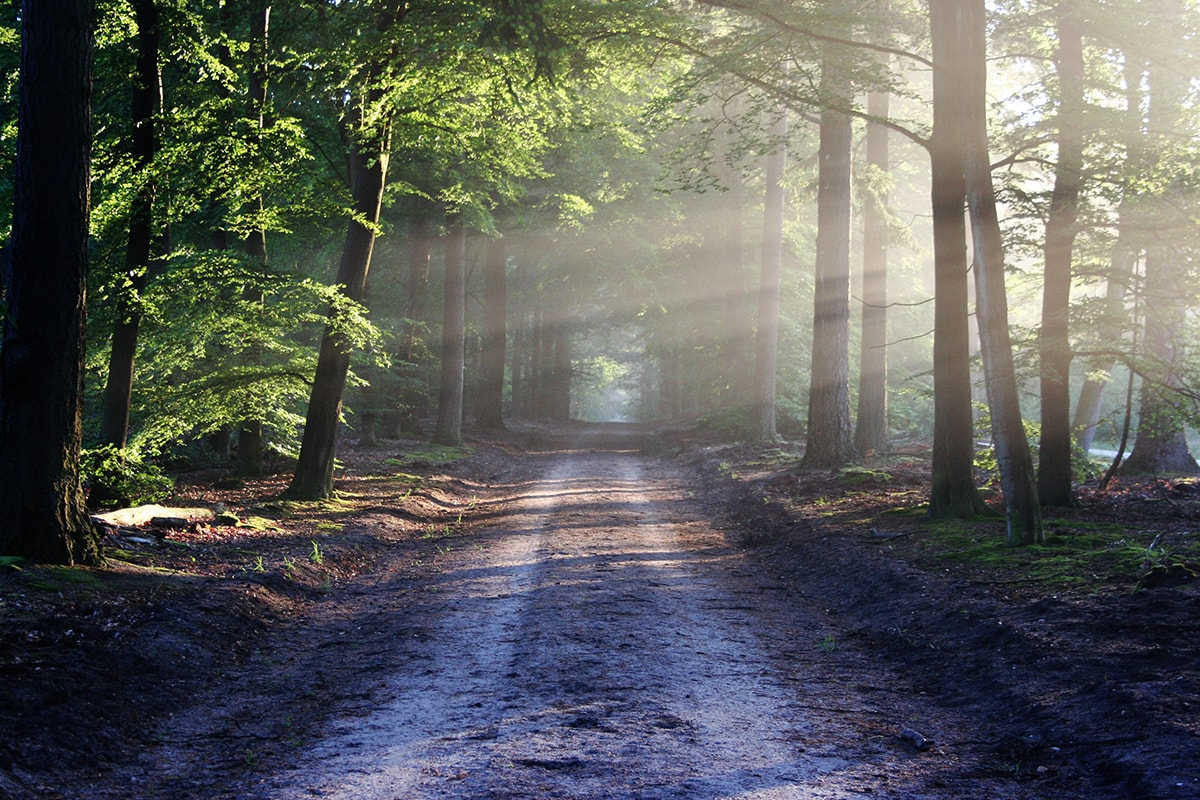
Finally, side lighting is ideal for portraits as well as landscapes. Unlike front lighting which can be flat, side lighting often creates both highlights and lowlights, resulting in images with more depth and dimension. For landscapes, side lighting can help to highlight the texture of the land, making for some interesting and dynamic images. Side lighting is also ideal for “window portraits” – images taken indoors, using a window as the light source.
Working With the Light
No matter what the lighting conditions are like, you can make them work for you by being aware you have, and composing your images with the light in mind. You’ll also want to note that different lighting conditions can lend a certain mood to your images – from lighthearted and free to dark and brooding, so keep this in mind when composing your shots.
Finally, when doing portraiture, don’t be afraid to manipulate the light and work with it for the best results. Diffusing or reflecting the light can help to soften it, fill in shadows on your subject, or otherwise make it more appealing.
As you can see, there are plenty of different lighting conditions that you’ll face as a photographer. While you can choose when to go, track the weather, and be prepared, there are some cases where you may find that you’re met with conditions that you weren’t expecting. Being able to roll with the punches, and make the most of the available light at hand is an excellent skill, and one that will open up tremendous opportunities for you to capture some different and rewarding images.
What are your tips for working with natural light? We’d love to hear them! Please share your tips with us on Twitter or Facebook.
