How To Use Drones To Shoot Stunning Aerial Photographs

Aerial photography has become easier because of drones, those small unmanned aerial vehicles that fly high above the sky to take photos. For many photographers, drones have become the perfect photoshoot buddy, allowing them to do the impossible, like taking aerial shots without having to actually fly in a chopper or any similar mode of transportation.
But, using drones for aerial photography is not as simple as clicking a point and shoot. Real time has to be invested, especially in learning how to take creative shots with it.
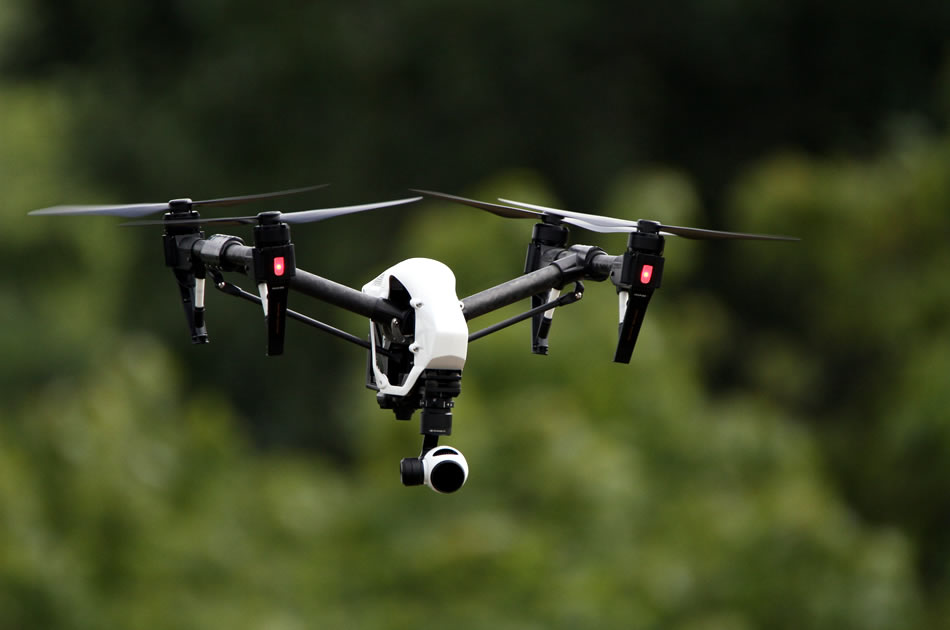
Photo by DFSB DE
Tips and Tricks to Consider
Even if you haven’t had professional drone photography training, you can take great aerial shots. You must, however, be willing to practice and learn by considering the following tips and tricks.
Camera
The first thing you need to think about is choosing the right drone camera. Without the proper equipment or tools, you won’t be able to carry out your plans. Since a good drone can be quite pricey, you should start saving the minute you decide to try out drone photography. If you don’t have that much money to spend, or if you can’t afford to splurge, you can always go for more affordable versions of the original one you want to buy. Be sure, though, to check out and test the drone’s capabilities before purchasing it.
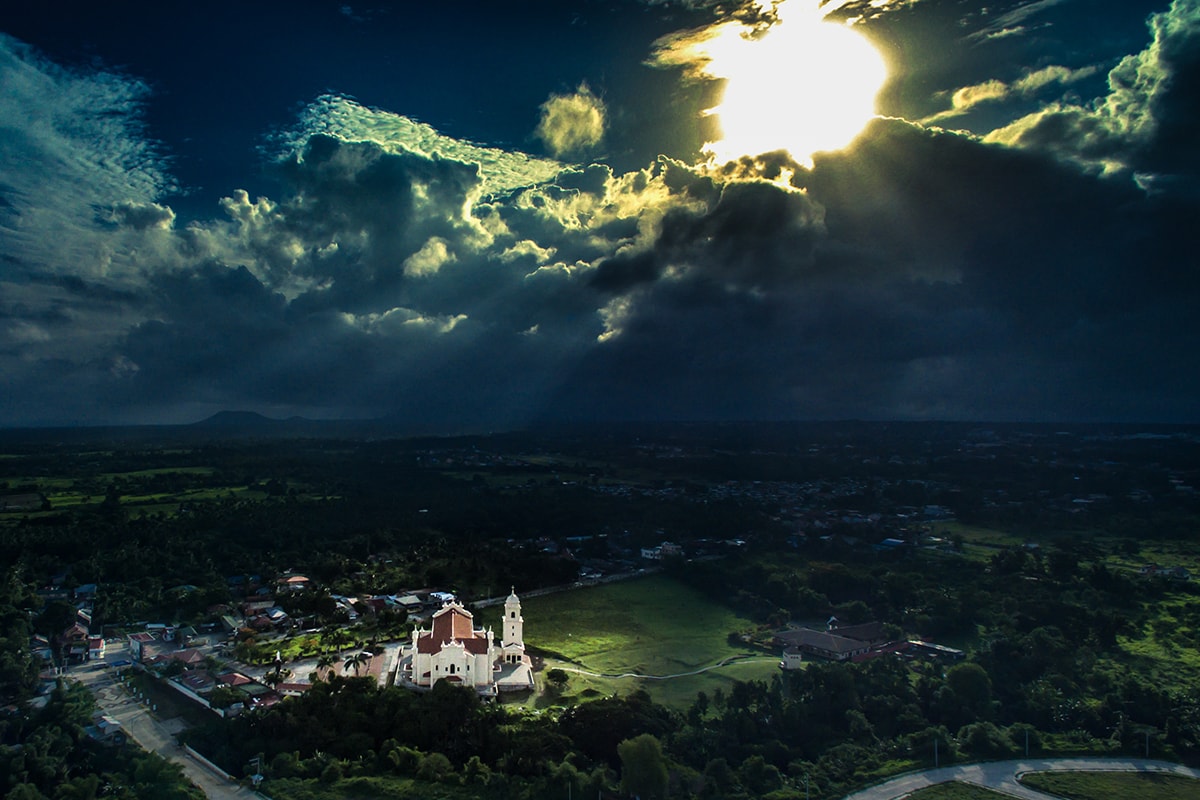
Photo by Michael Gabriel
A good option would be the DJI Phantom 3 Professional or Advanced, which is guaranteed to take clear photos and videos without the high price. If you want the cheaper option, pick the Phantom 3 Standard model. It’s inexpensive but you’ll have to live by its limited features.
If you have the money to splurge, buy the DJI Inspire 1 model. It’s like the big brother of the Phantom 3 series. It has a fancier camera, has more features and can withstand heavy-duty use.
Weather
The next thing to consider is the weather. If you’re doing a commissioned shoot, you’ll have to adjust to the current weather and use whatever resources you have. But, if you can schedule the shoot yourself, be sure to check out the weather before marking your calendar. As is expected, the most natural and colorful photos come out during the golden hour (just before and after sunrise or sunset). Don’t take aerial landscape photos when the sun is high up in the sky or at noon.
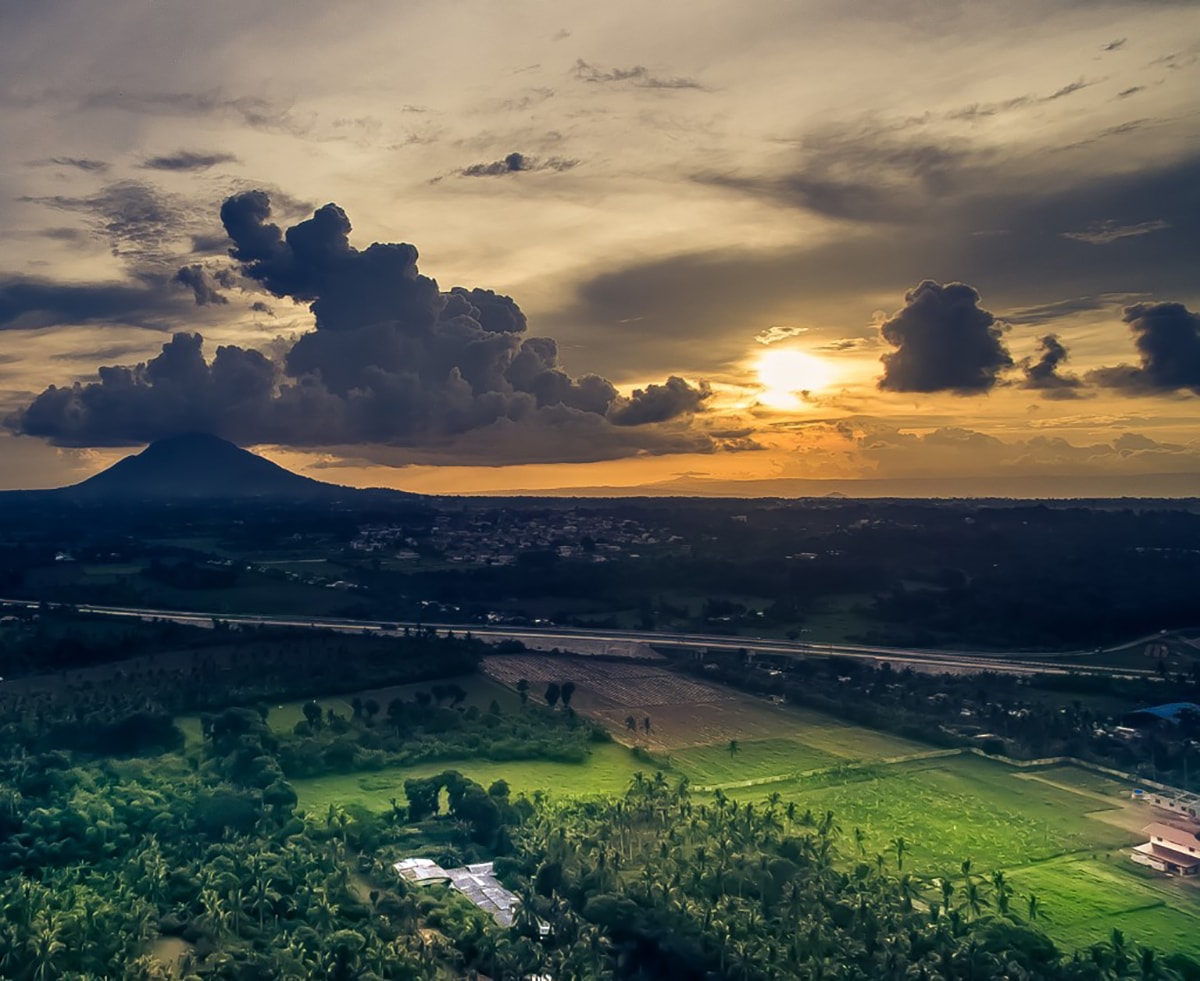
Photo by Michael Gabriel
However, there are times when you would want to take photos that tell more stories; more dramatic stories, the kind you can get when the weather is quite gloomy and the sky is a bit overcast. You’ll have to be at your creative best when choosing which time of the day to shoot.
Checking the weather is also important for drone photographers because of the wind conditions. If it is too windy outside, this might be a problem when you fly your drone. So, the best day for aerial landscape photography is when the wind is calm.
Focal point
Tip number three is all about choosing a good focal point, one that will help you tell the story you want to share. The right focal point will help add the desired effect to your landscape photo. It does not need to be anything big or spectacular. It can be a simple building or a tower, or probably a small body of water.
To help you determine where to find your focal point, you need to follow the rule of thirds.
The sky is an important element in aerial landscape photography because it can contribute to achieving the effect you want. The sky can add some color or vibrancy to the whole image.
You can consider the cloud formations, the sky colors, and other eye-catching elements that you might see when you look up. Find a way to incorporate these into your photos.
Time of the day
Effective aerial landscape photography won’t be that effective if you do not consider the time you want to shoot. As I’ve mentioned before, go with the golden hour. Specifically, you can shoot during one of the calmest times of the day: when the sun is setting or is about to set. All the colors that come out at sunset will add more visually stimulating effects to your photos. And this is especially true if you’re taking a landscape aerial shot.
Capturing the sky at sunrise will also give you quite interesting images, with the sky turning into a glowing yellow or orange. Perfect for a landscape canvass.
Viewpoint
Another thing you should consider is the viewpoint of your shot. Take time to do this, so you’ll be able to establish a good one. You don’t need to take your drone higher to get a good picture; all you need is to choose a viewpoint that will showcase your shot, so that people will really stop to look at the photo. This is like finding one thing that will make your viewers/audiences go “oooohhh!”.
Don’t rush when taking aerial photos. Let your drone fly and explore. After all, you have over 20 minutes of flying time when shooting. Remember, in photography, it is OK to experiment. So, take time to experiment on different angles to find the best viewpoint.
The right tools
The next thing you want to consider is how to keep your drone safe when you need to take landscape photos that are quite on the tricky or risky side. By using a propeller balancer, you’ll be able to make sure that your drone flies well and safe. A drone that does not have a propeller balancer will easily succumb to wear and tear. In addition to this, it will also be difficult to use when taking videos. If one blade is heavier than the others, this will cause problems for you.
If you cannot afford to buy a propeller balancer at this time, there are different DIY tips on how to balance them without having to use a commercial balancer.
You should also use the right photography software, such as Adobe Lightroom. In aerial landscape photography, you can take several photos and merge or stitch them into one final image. Lightroom has a “Merge” tool wherein you can join two or more photos together and make a panorama shot.
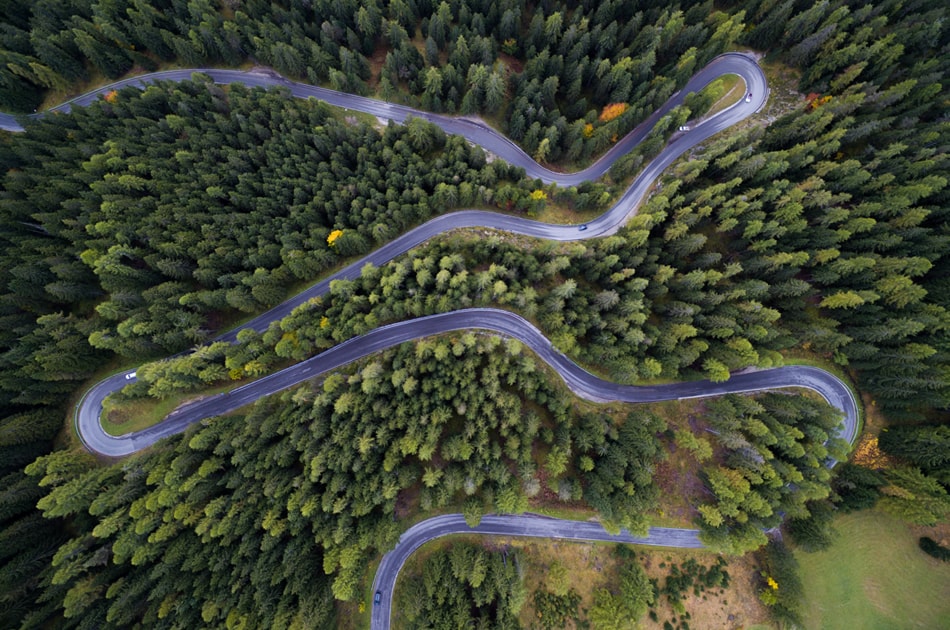
Add some movement
Finally, even if you’re shooting aerial landscapes, you should not limit yourself to taking still photos. Try to add a little movement into your images. If you’re shooting an urban landscape, for example, do not be afraid to take photos of moving vehicles. If you’re out to shoot a rural landscape, maybe there are streams or rivers – or any body of water – that you can shoot. Moving water, like waves, can sometimes add a more dramatic effect to a photo.
Once you master these tips and tricks, you’ll be on your way to taking great aerial photos that can tell interesting and colorful stories. As always… practice, practice and practice :)
About the Author: Michael Gabriel
 Michael Gabriel L. Sumastre is an experienced writer who loves to take pictures of the countryside as well as aerial photographs. He maintains his professional writing portfolio at TheFinestWriter, and you can visit his photography portfolio at Sumastre Photography. Michael was hired by Booking.com to photograph 10 of the most beautiful beaches in Palawan, Philippines.