How to Use Natural Light for Family Photographs

Some photographers worry about the lack of certainty with natural light – what if it’s a grey day? What if the family’s home is dark?
Here are some simple tips that will help you make the most of natural light to take great family photographs.
Find the best light first
Look around the family’s home before you take any photographs. It’s easy to get drawn into what’s happening and start photographing there and then, but you might never see the rest of the house.
Bear in mind that the higher up the house (if they have more than one storey), the better the light will be. Living spaces are often at ground level, but it’s worth venturing higher up the house for better light.
Think about which side of the house the sun is currently at – it goes without saying, but the sunny side of the house will have the best light, and the opposite side will be gloomier. Choose the rooms you’re photographing in accordingly!
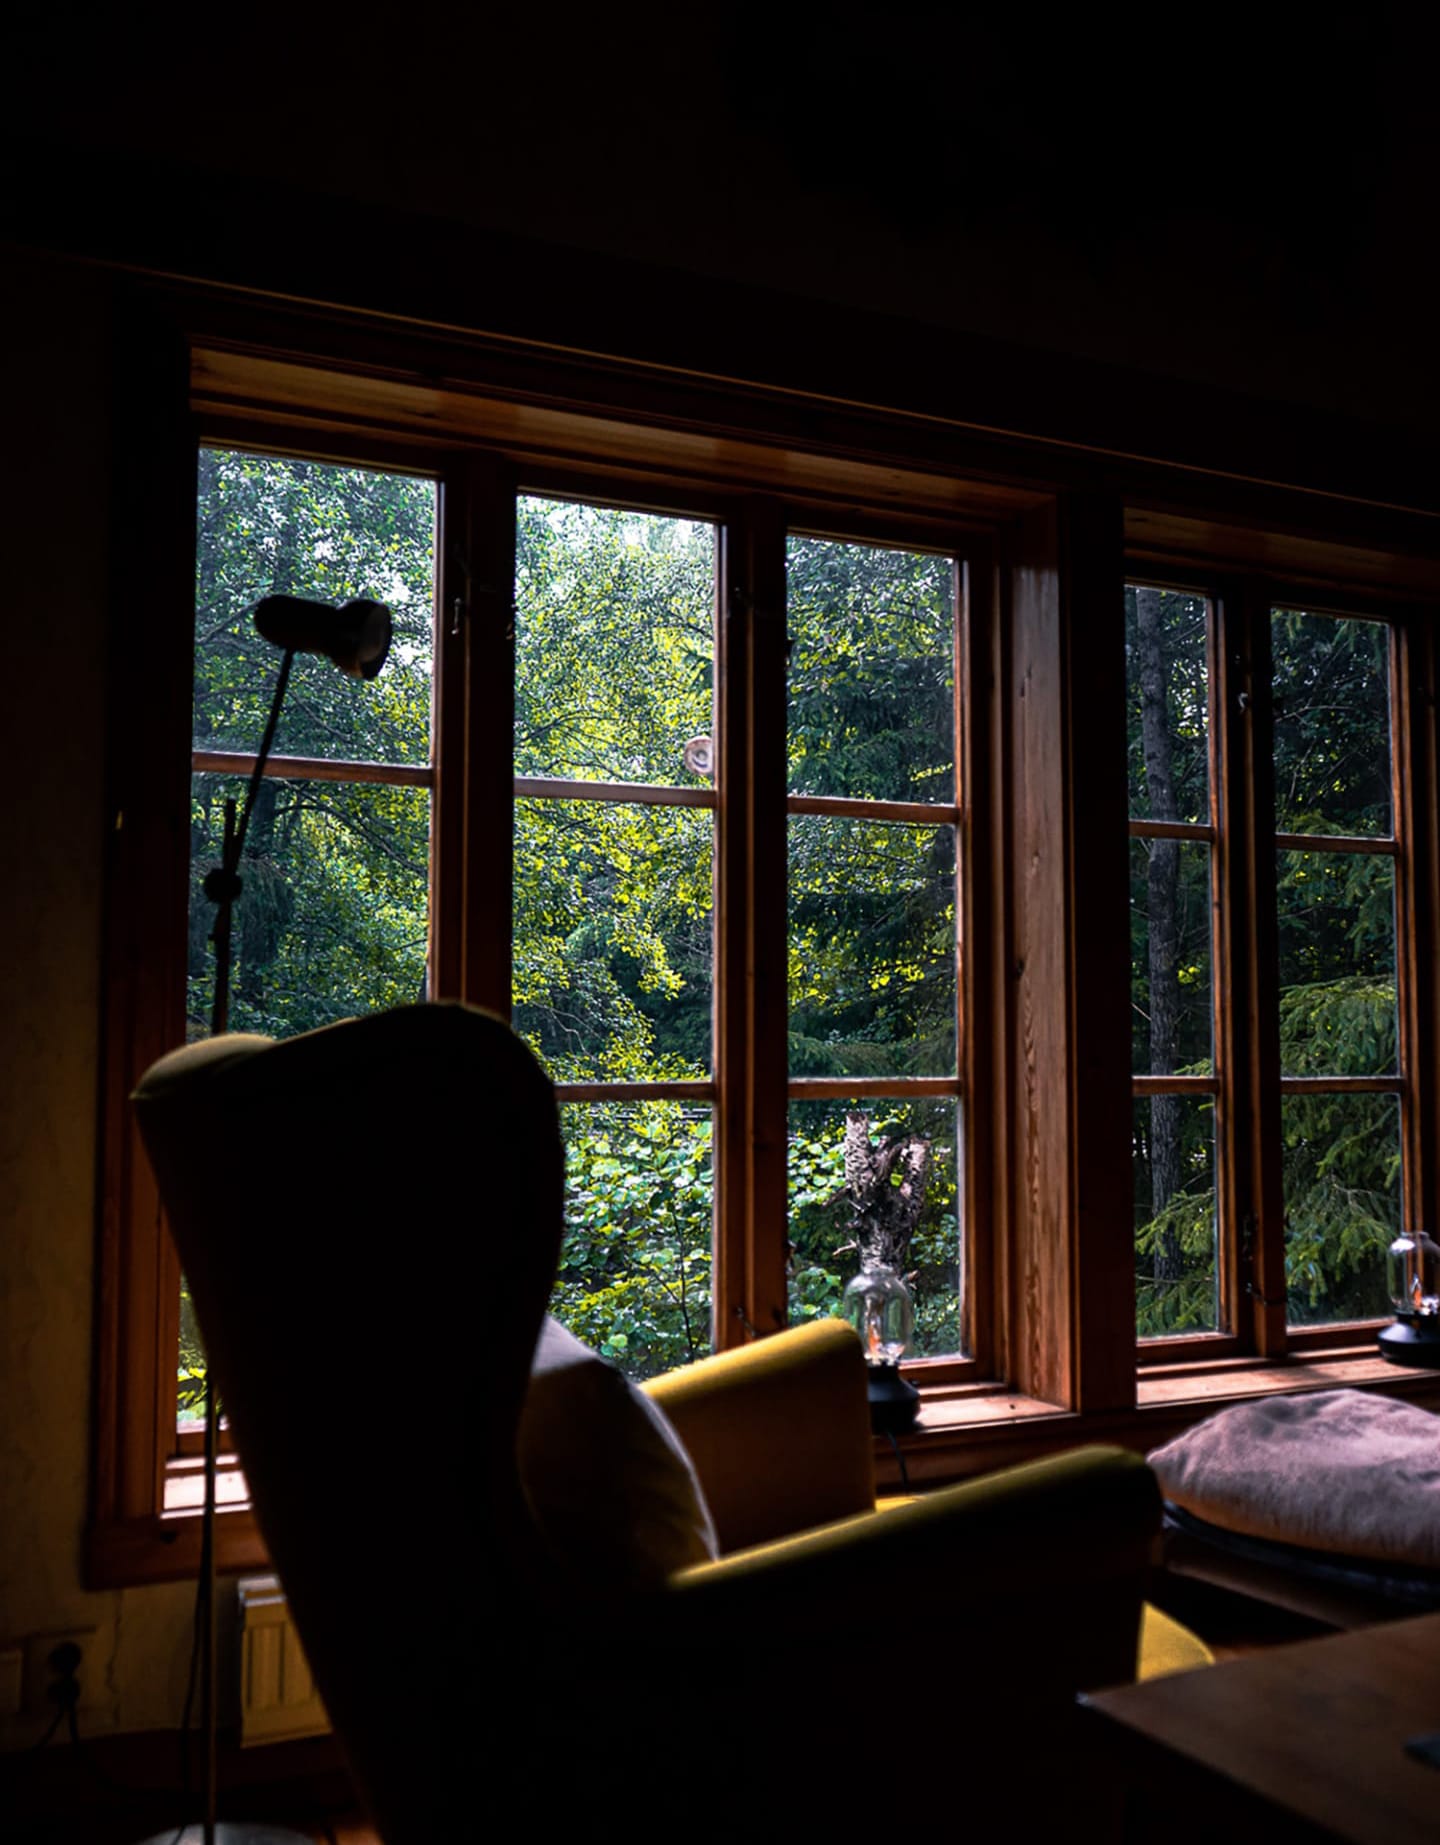
If it’s a dark day and the rooms are dimly lit, this is an excellent opportunity for some moody and atmospheric shots. Include more of the room in the composition to use this to your advantage.
If possible, choose your equipment carefully
Ok, it’s generally not possible to start with the best lenses and a pro-level camera. If you can’t invest in a better kit, don’t worry.
The tips in this article will help you make the most of the natural light in a family’s home no matter what equipment you’re using. But if you can, do yourself a favour by using a good camera and fast lenses.

Cameras
As far as possible, though, use a camera that operates well at high ISOs, as there may not be much available light inside the home. For individual portraits, with a wide aperture, you may not have to go much higher than ISO 1600 for which most cameras are fine. For a family group shot, with a narrower aperture of say f/4.0, you may need a much higher ISO – beyond ISO 2000 in many cases.
Bear in mind that although photographs can look ok on your screen, and even on a small laptop screen, the digital noise can be quite extreme, and families may well be unimpressed by that.
I found I needed the Canon 5D MK III for anything higher than ISO 1600, and even with the Canon 5D MK IV, I don’t use it beyond ISO 4000 unless I need to.
Lenses
Be aware that certain lenses can be slow to focus in low light conditions. For example, the Canon 24-70mm might not be the fastest.
I prefer to use prime lenses (fixed focal length) as I find they focus much better indoors and choose fast lenses (that allow you to use wide apertures), which are great for individual portraits but will also allow you to work in low light conditions.
Window light
Direct window light
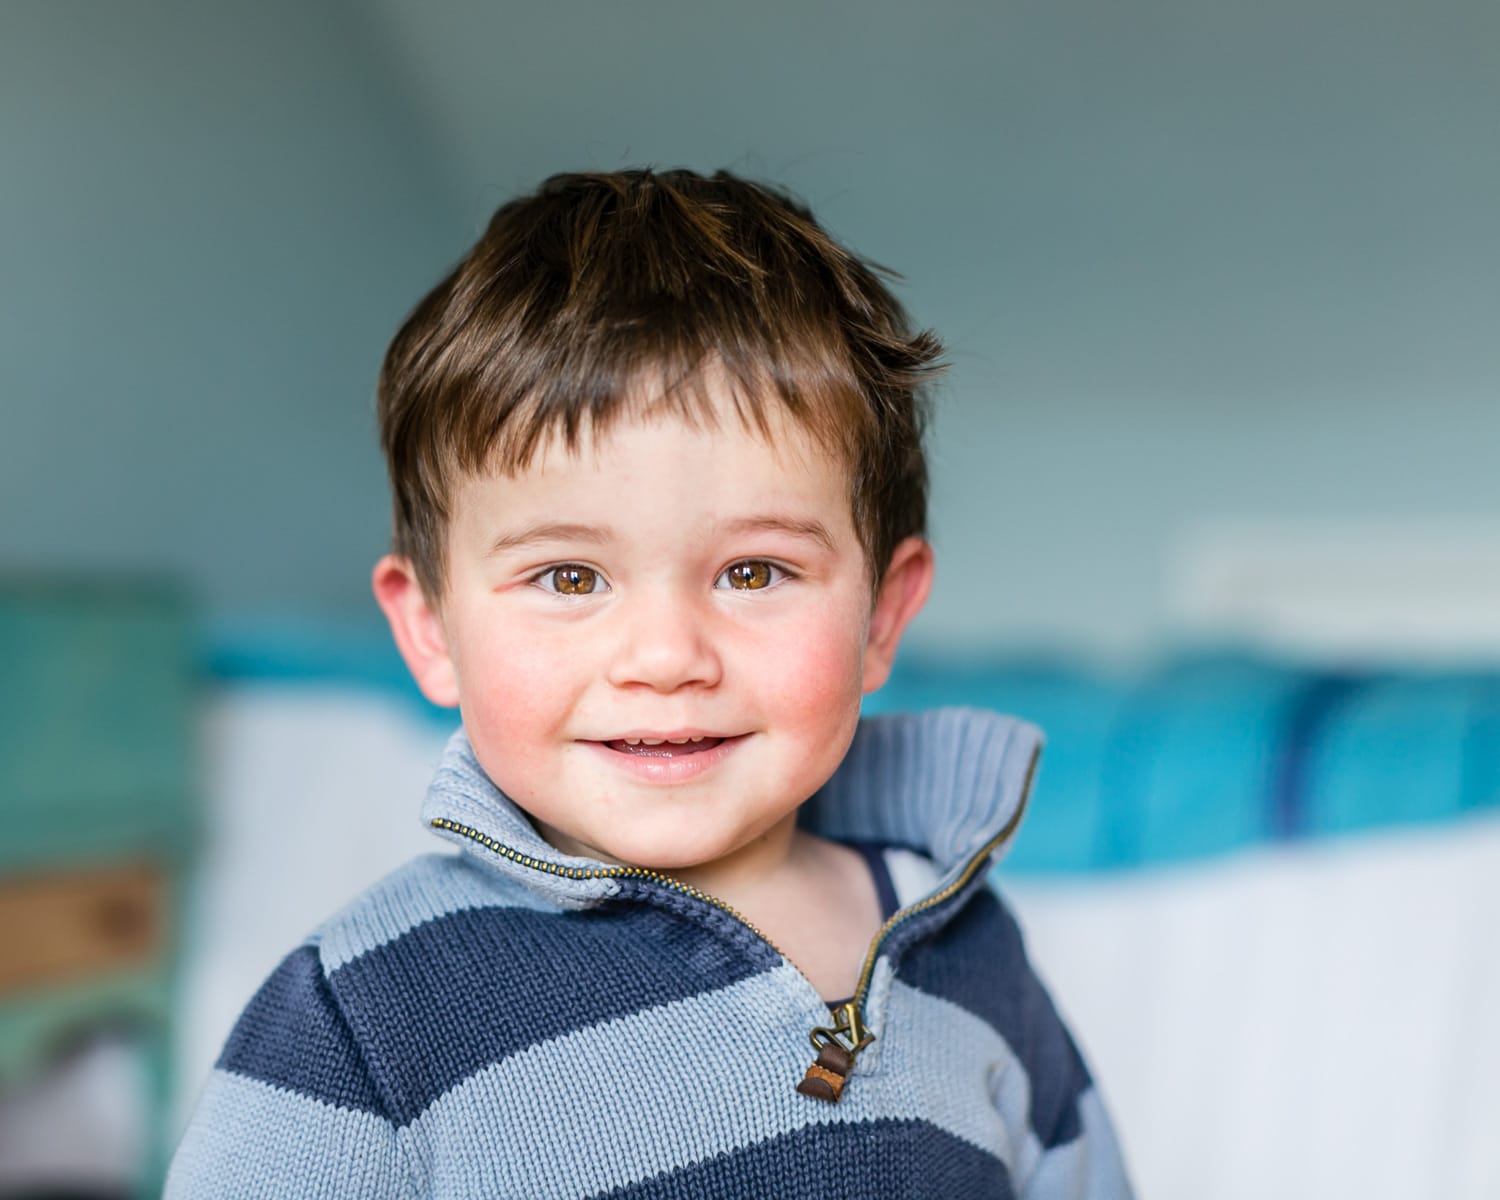
For individual portraits, encourage children to come to the window. If you have them turn towards the window, and then look over to you, you’ll have daylight falling gently on their face, and some of that should also illuminate their eyes.

Direct window light. Image by Louise Downham.
Indirect window light
Invite the family to stand a couple of metres away from the window for consistent, soft light across the image. This works well for full-body shots of babies. If it’s a small room, the wall will bounce backlight towards you.
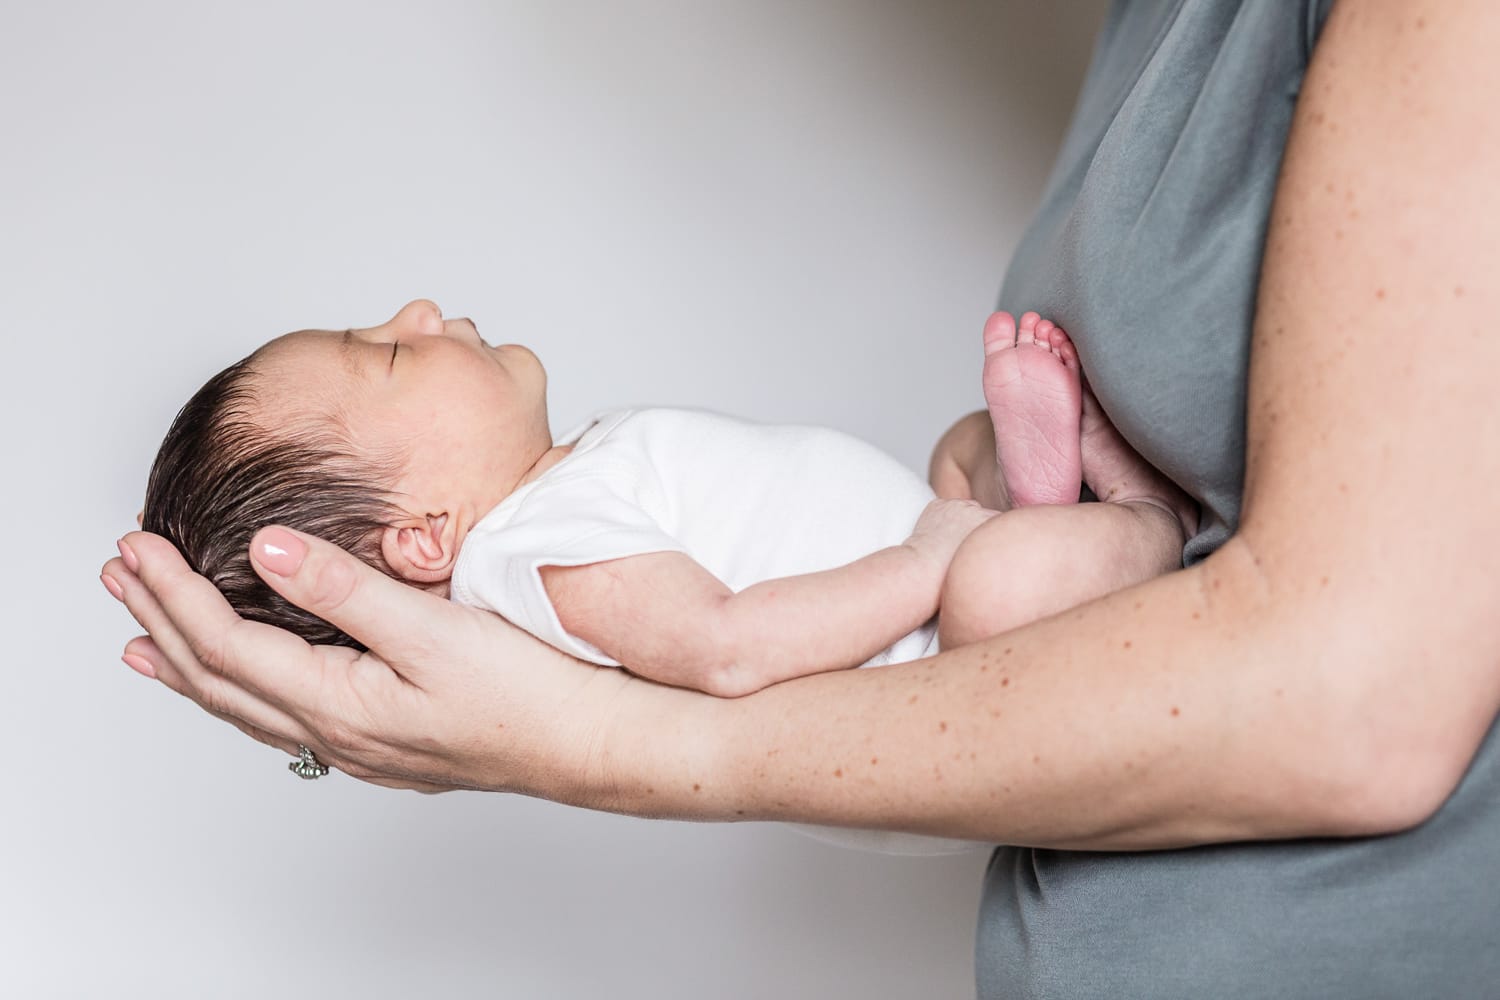
A couple of metres from the window. Image by Louise Downham.
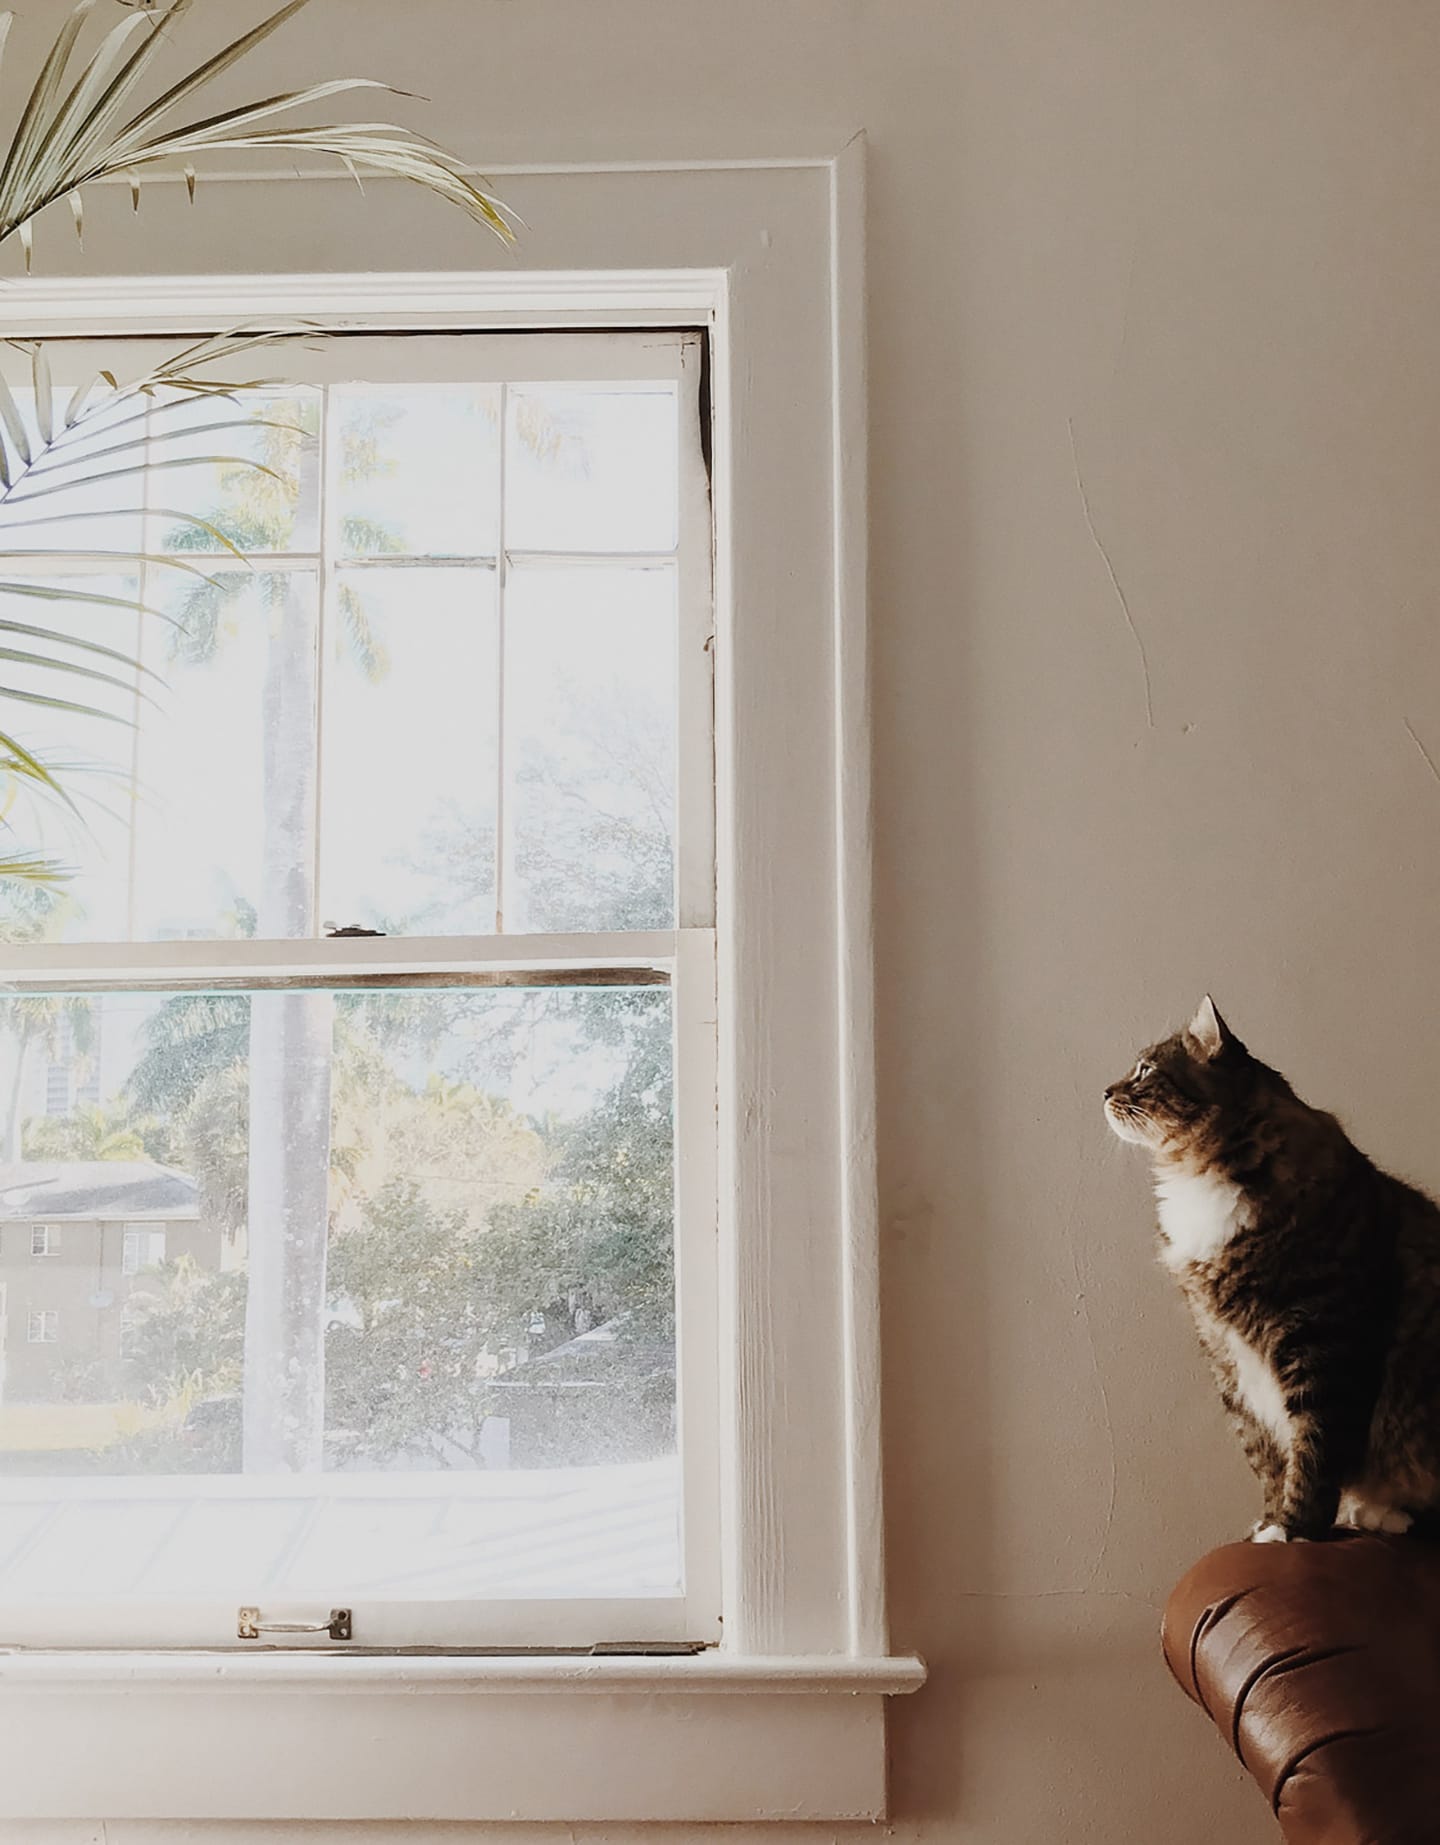
Facing the window
If it’s a big enough window, you can stand (or more likely, crouch) between a child and the window without blocking too much light.
Photographing a child with the window light falling straight on their face creates a wonderful effect, and the catchlights in their eyes will sparkle.
Facing the window. Image by Louise Downham.
Skylights: Top-lit
It can be difficult to photograph a baby lying on their back, with catchlights in their eyes using only natural light. Rooflights or skylights are a great solution for this. Lay the baby underneath the window, and the light will fall on their face even when the baby is looking straight up at the camera.

Skylights: Top-lit. Image by Louise Downham.
No skylights? Use the ceiling as a reflector
As long as the ceiling is not particularly high, it can act as a reflector and bounce light back onto the baby.
Lay the baby on a bed, which brings them closer to the ceiling, so the effect of the ceiling as a reflector is increased.
You’ll need some light falling on the baby from the window, so position the baby carefully – a little tweaking of the angles will make a big difference.

Ceiling acts as reflector. Image by Louise Downham.
Difficult lighting
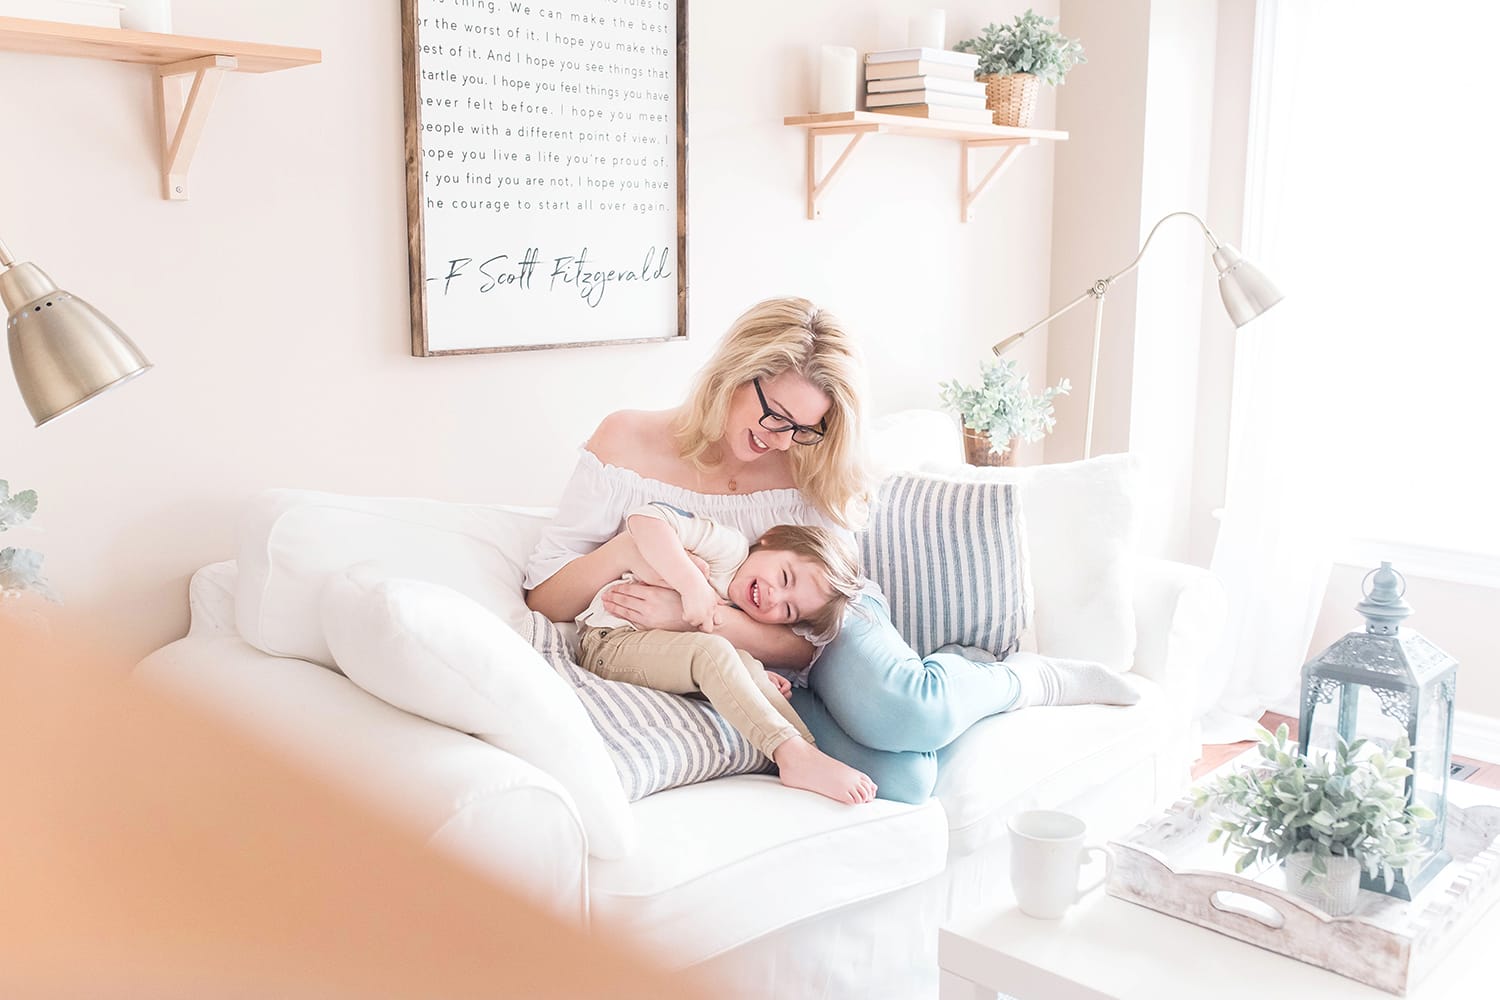
Use a chair
Sometimes there’s a pretty spot in a house, but the lighting’s not ideal – using a chair can be a good solution here, as you can angle the chair just so to catch some workable light. It can also be a flattering angle for photographing a mother with her baby, as you’ll be shooting from above.
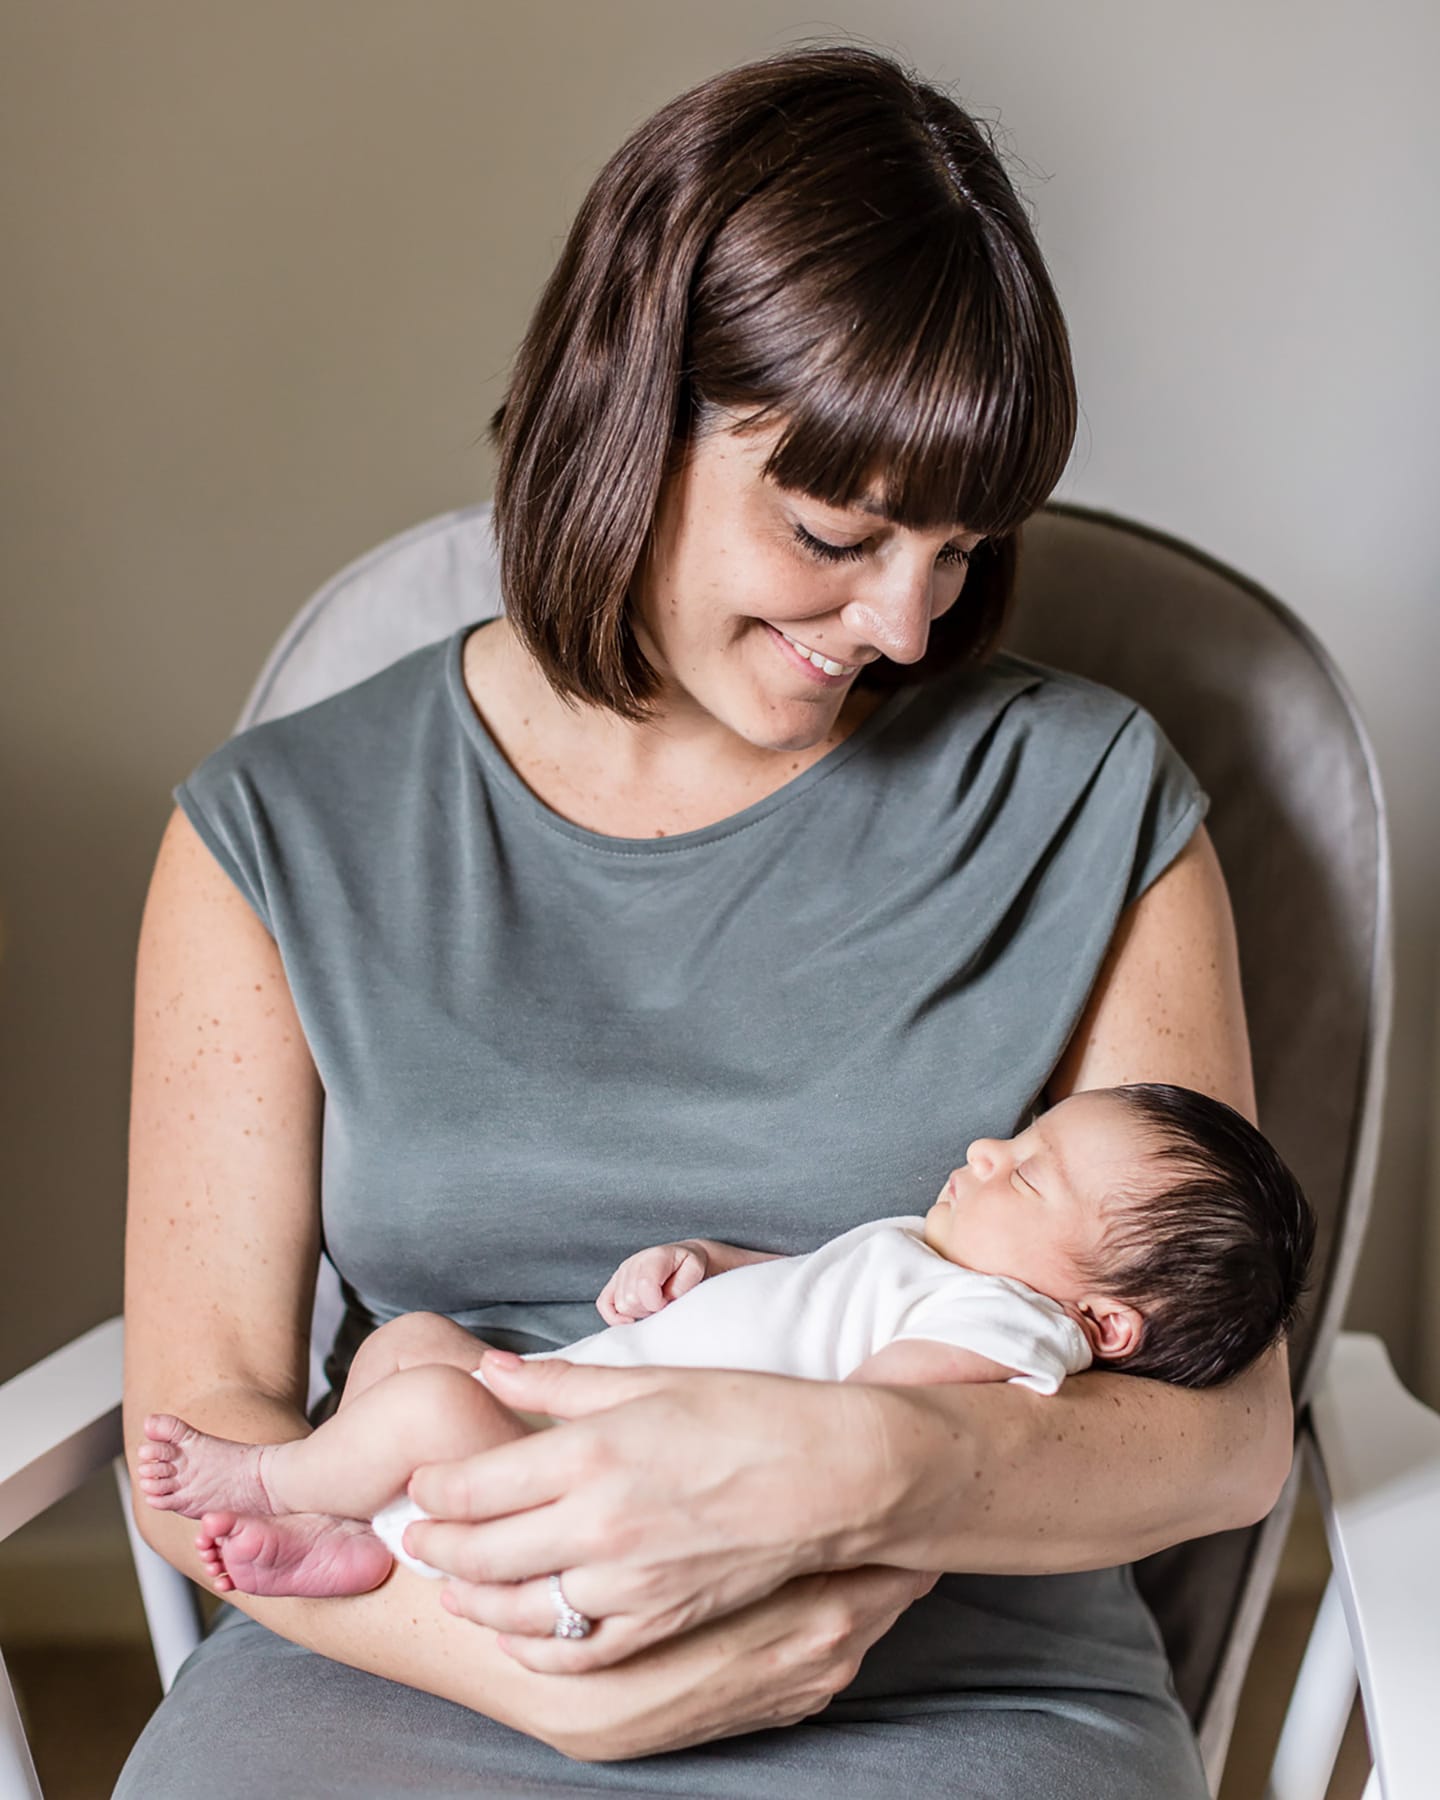
Use a chair. Image by Louise Downham.
Be flexible
In some homes, there may be a small corner available to photograph the whole family – if the light’s not great, it’s still doable. Think outside the box – for example, one parent could be on the edge of the bed and the other parent next to the bed. Or, if there’s room and the parents are amenable, move the furniture so everyone can be in the good light!
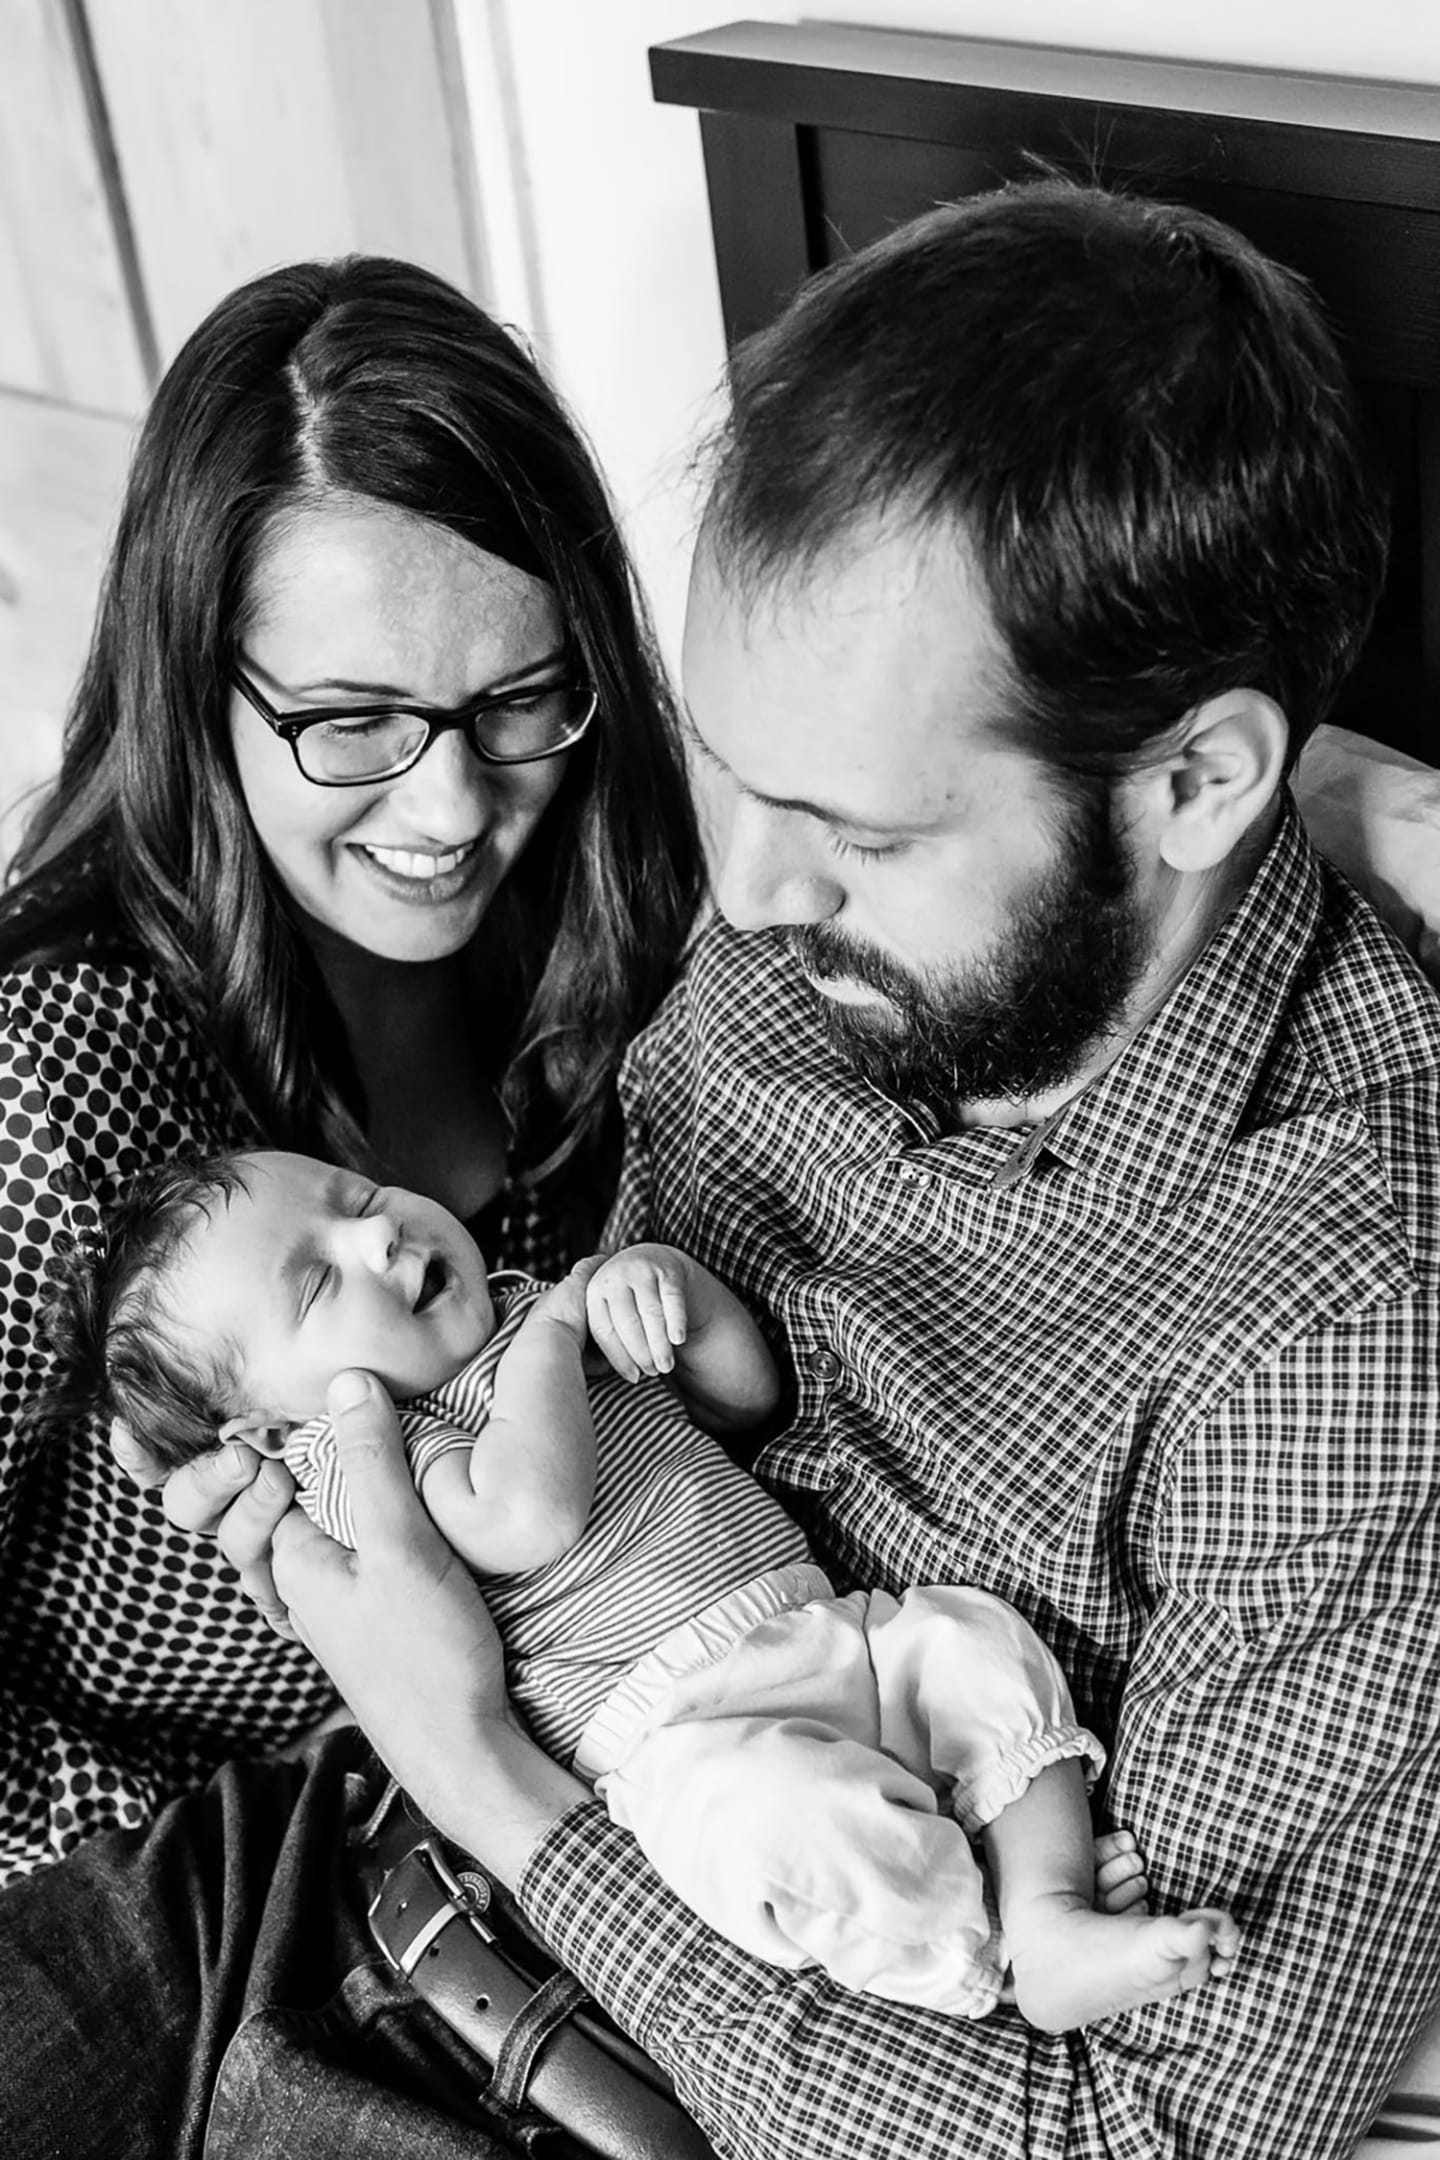
Be flexible. Image by Louise Downham.
Natural light is incredibly beautiful, and I can’t imagine a time where I won’t be a natural light photographer. It’s soft, flattering, and slightly magical. For me, it’s natural light every time. Yes, it poses challenges, but photographers are creative people, and we can not only solve those problems but use them to our advantage!
By thinking through the scenario, where the light is falling from and where it’s landing, it’s always possible to take beautiful family photographs using natural light.
About the Author: Louise Downham
 Louise Downham is a family photographer in the UK, specialised in natural yet striking portraits at home and outdoors. You can usually find her camera in hand, or dragging her daughter out for a walk.