How to Use Neutral Density Filters for Long Exposures
 by
Jo Plumridge
by
Jo Plumridge

Since the advent of digital technology, filters have become a far less popular part of a photographer’s kit. A lot of the effects created by filters can easily be replicated in editing programs such as Photoshop and Lightroom. But one filter that’s still a useful and, in my opinion, pretty essential piece of kit is the Neutral Density (ND) filter.
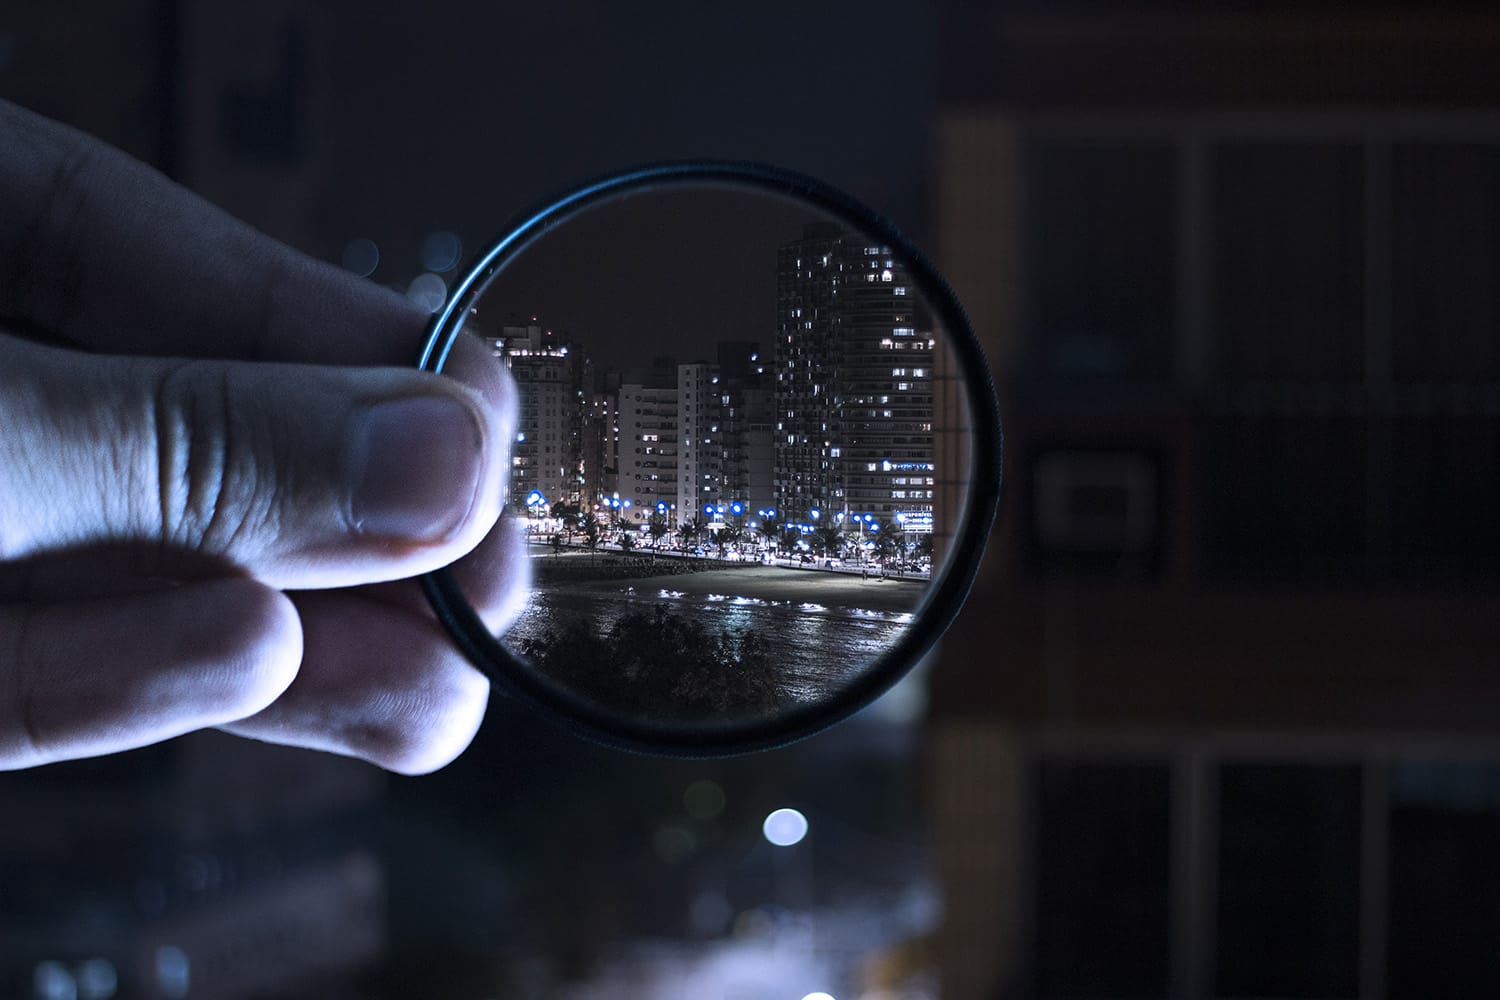
ND filters reduce the amount of light that reaches your camera’s sensor and are particularly useful in landscape photography. They allow you to experiment with lighting effects without running the risk of your image ‘blowing out‘ and being drastically over exposed. Let’s start by looking at the types of filters.
Types of ND filters
In this article we’re talking about solid ND filters, as opposed to graduated ND filters. You’ll find ND filters come in two main types – circular and square/rectangle (100mm). Rectangular filters attach to your lens with a special mounting bracket, and are most commonly made by brands such as Cokin and Lee.
The advantage of rectangular filters is that you can stack them to increase the strength of the ND effect. Circular filters are undoubtedly easier to work with, but you must make sure that you get the right size filter for your lens. Different lenses have different filter thread sizes, and you’ll find your lens’ filter size printed on the rear of the lens cap.
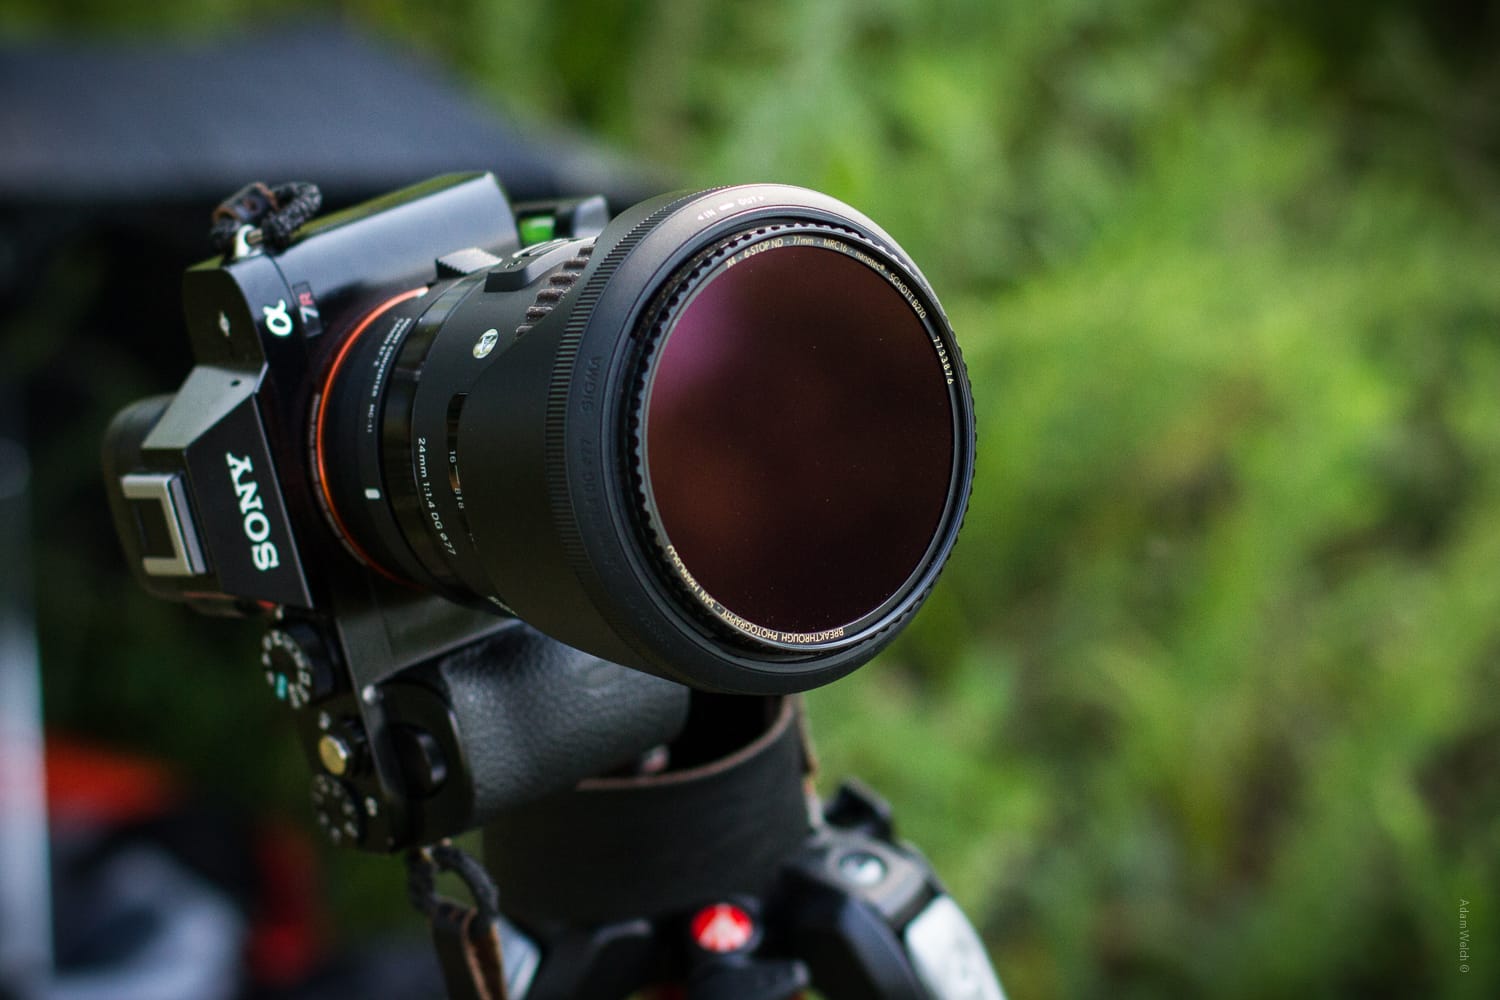
Photo by Adam Welch – Review of Breakthrough Photography’s X4 ND and Dark CPL Filters
Strengths
ND filters are classified by the amount of light they block, so by how dark the glass is. The greater the optical density, the more light it will absorb, meaning that you’ll sometimes see ND filters classified in terms of density – 0.1, 0.2, 0.3, 0.4, 0.5, 0.6, 0.7, 0.8, 0.9, 1.0, 2.0, 3.0, 4.0 etc.
ND filters are also measured by the reduction in f-stops. Thus, the more f-stops a ND filter reduces, the less light it will allow to pass through it – i.e. a 2-stop ND filter blocks double the amount of light of a 1-stop ND filter.
The thing you really need to remember is how the number of a ND filter corresponds to the number of f-stops you’re losing. So a ND2 is actually a 1-stop ND filter, meaning that it allows 50% of light to pass. ND4 is a 2-stop, allowing 25% of light to pass and an ND8 is a 3-stop, with 12.5% of light passing through and so on. So, the higher the number on your ND filter, the more light it will block.
Equipment
When you shoot with ND filters, you’re immediately going to be working with longer shutter speeds and long exposures. And this means one thing is going to be essential – a tripod! Your shutter speeds are going to be far too slow to handhold your camera, so a sturdy tripod will make sure that your images are sharp. In addition, a remote release is also a useful investment, as it means you don’t have to touch the camera and risk camera shake when you’re depressing the shutter.
Also, bear in mind that if you use a rectangular filter, you’ll need to buy a filter holder and adaptor rings to attach it to your lens.
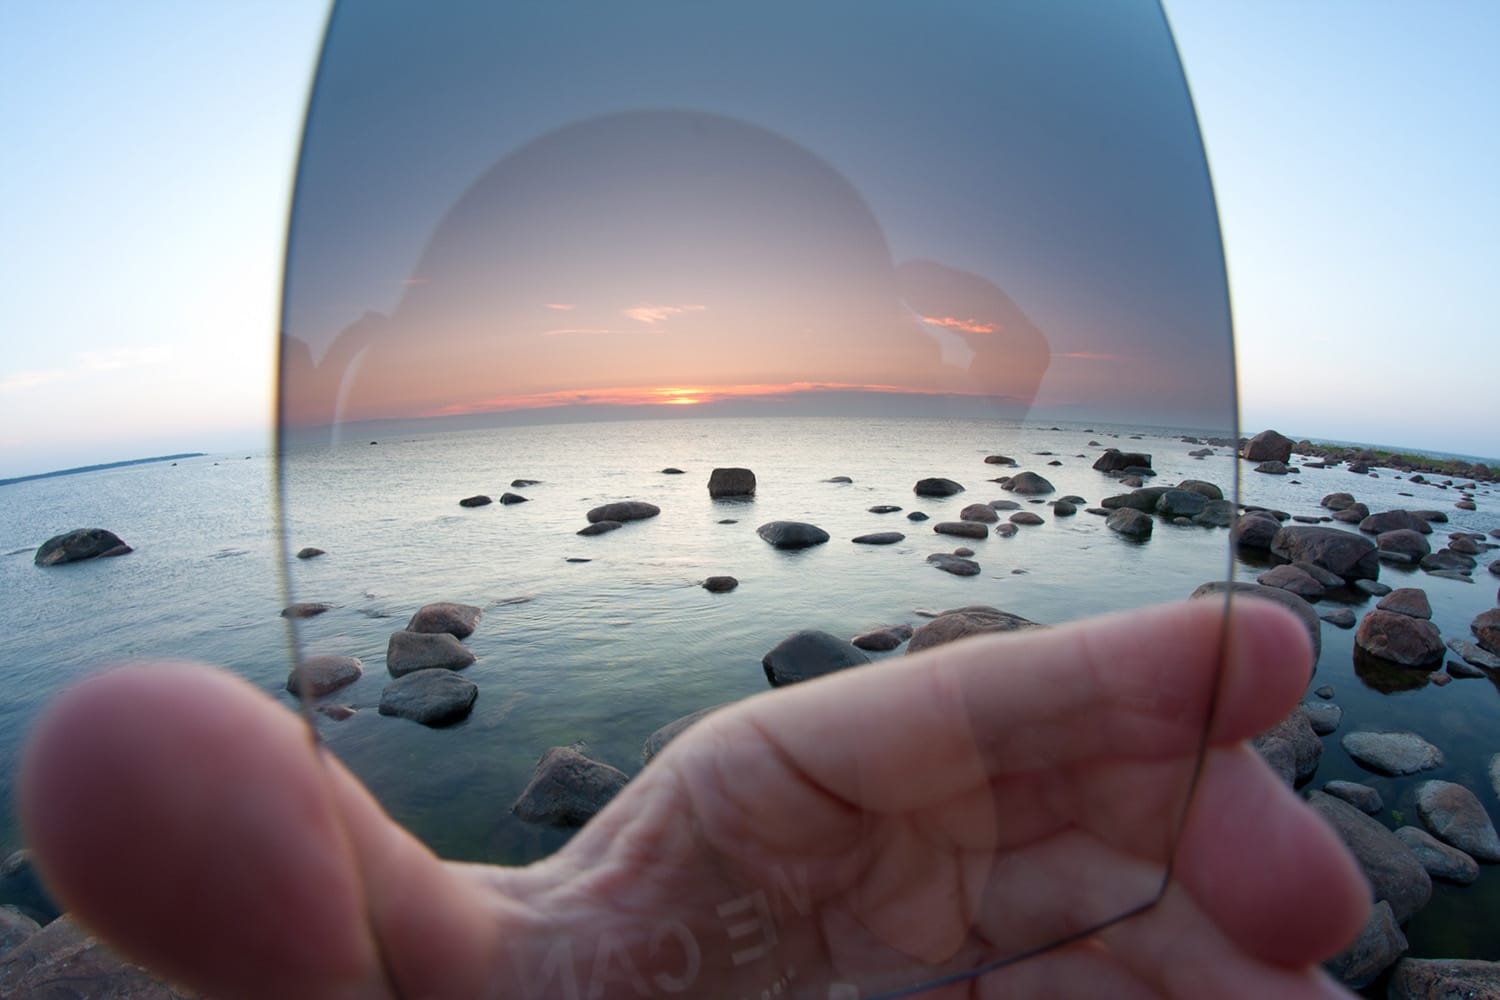
Image by Kain Kalju
Calculating exposure times
The challenge when it comes to using ND filters can be working out your exposure times. It can seem complicated! But it’s actually not too complicated. Let’s presume you’re using a 10-stop ND filter, the strongest single ND filter on the market. Without any filter and shooting in full sunlight, let’s presume you’ll be using a shutter speed of 1/250th of a second. Your shutter speeds would alter as so:
- 1-stop down: 1/125th of a second.
- 2-stops down: 1/60th of a second.
- 3-stops down: 1/30th of a second.
- 4-stops down: 1/15th of a second.
- 5-stops down: 1/8th of a second.
- 6-stops down: 1/4th of a second.
- 7-stops down: ½ second.
- 8-stops down: 1 second.
- 9-stops down: 2 seconds.
- 10-stops down: 4 seconds.
So, with a 10-stop ND filter, you’d change your shutter speed to 4 seconds. However, this might not be long enough to achieve the look you want from your ND filter. Obviously, you can make the exposure longer by using a small aperture, such as f22. But, for really long exposures, you’ll want to look at ‘stacking‘ your ND filters – hence the use of rectangular filters. This way you could combine a 10-stop filter and a 6-stop filter, for example, to allow you to get far longer exposures.
Things to remember before you start shooting
- Is it actually worth using a ND filter? Not all scenes need a long exposure and filter. Long exposures work best when there are fast moving clouds or running water, which help to create a more dramatic scene.
- Are there people in your shot that you want to eliminate? Remember that you’re going to need a very long exposure to eliminate them entirely, although you may be happy with just reducing them to shadows.
- It’s best to shoot in RAW with ND filters, as many have a slight colour cast on them, which you may want to eliminate in postproduction.
- Shoot in manual mode, so that you have full control over your image and use an ISO of 100, as noise can be really obvious in longer exposures.
- Consider investing in a blind for your viewfinder, as light can leak in over longer exposures.
- Use Live View for composing your images, as you’ll be able to see more this way and can zoom into areas of the shot to check they’re sharp.
- Use your camera’s internal spirit level or attach one to the hotshoe to ensure your horizons are straight.
- Make sure your tripod is stable and push it slightly into the ground if necessary.
Shooting with your ND filter
Using a ND filter can add a dreamy and ethereal look to your landscape images, but you need to take care when shooting. For starters, a 10-stop ND filter is really dark! You, and your camera won’t be able to see anything through the viewfinder, and possibly only a little through the LCD screen in Live View.
Because of this, your camera will be unable to focus once you’ve attached the ND filter. Therefore, you’ll need to set your focus before you attach the filter. You can do this in one of two ways, once you’ve composed your scene. Either switch your camera to back button focus, which will hold the focus indefinitely, or compose your scene with autofocus and the traditional half press of the shutter and, once your scene is sharp, switch the lens to manual focus. Then attach the ND filter and take your shot without altering the focus.
Another side effect of the ND filter is that it will confuse your camera’s internal light meter. Therefore you need to set your exposure before you put the filter on. Take an exposure reading for your scene and set your exposure manually. Then, once you’ve attached your ND filter, adjust your shutter speed to compensate for it. Remember, if you need to go below 30 seconds, you can use the Bulb setting on your camera, which allows you to keep the shutter open for as long as you choose.
Remember that you can experiment with different settings to control the amount of creative ‘blur‘ you apply to your image.
One final thing to note. If you’re photographing with water, you may come across a situation such as shooting water with a boat on it. In this case, you’ll want to add the ethereal blur to your water, but keep the boat sharp. The simplest way to do this is to take two images – one without the ND filter to get a sharp image, and another with the ND filter to get the blur on the water. You can then simply combine the two shots in postproduction.
In Conclusion
ND filters really are an absolute essential in any landscape photographer’s kit. They help to add depth and beauty to images, and create an almost magical feel to photos. This simple piece of kit can add a professional look to your images instantly. Have fun experimenting!
About the Author: Jo Plumridge
Jo Plumridge is a UK based photographer, writer and lecturer. She specializes in portrait, corporate and travel photography, and writes photography, travel and comedy pieces for magazines, websites and books. You can see some of her work at her website, or follow her on Twitter.