Ice Photography - A Helpful How-To Guide

There are fewer genres more appropriate for the winter season than ice photography. The stark, natural beauty of frozen water makes it the ideal subject for this time of year. As the temperature outside begins to dip lower and lower, your opportunities for snapping memorable pictures only get greater and greater.
Instead of being deterred by the colder weather outside, turn the scenario on its head. You’re being healthily challenged to try your hand at a little-explored subset of photography that you can only indulge in just once a year.
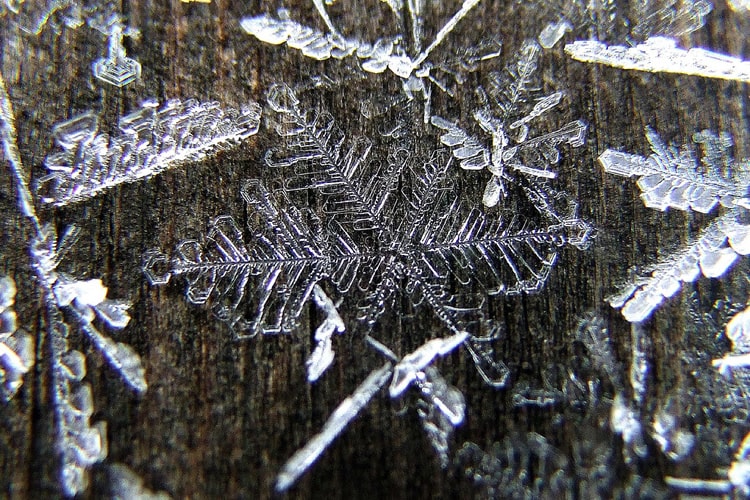
image by LadyDragonflyCC
What makes frozen water such a powerful subject is many factors including its texture, its reflective properties and its sheer shapes. To take awesome pictures of ice that can really boost your portfolio, just read on.
The Cool Equipment
You really only need three pieces of equipment to have a great chance at nailing ice photography:
- A macro lens
- A good tripod
- A flexible head, preferably a ball head
Either a 1:1 or 1:2 macro lens will do the trick, so that you can take awesome, close-up shots. The tripod is there to ensure your close-ups will be free of that dreaded camera shake, and the flexible head’s meant to give you more freedom and flexibility when you want to change position with your tripod.
Alright, now that you know what basics to take along with you on any given ice photography shoot, we’ll get right into the techniques you should use to get the best results.
Use Light in Your Background
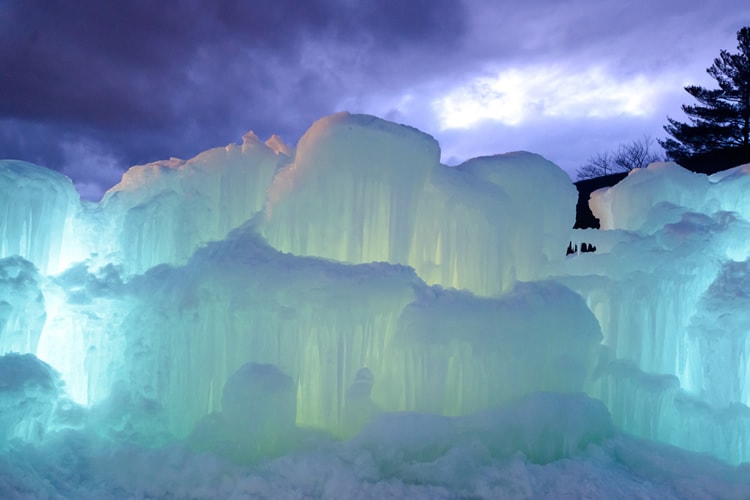
image by Eric Kilby
Ever notice how ice just seems prettier when there’s a light source involved? Transparent ice is what you want for this effect because you’ll want the background lit up, but not the actual ice itself. A shallow depth of field works better for this technique since that will only put the ice into focus while leaving the background a blurred mix of tone or color. Of course, you can just as easily use a bigger depth of field to actually view a clearer background right through the ice.
Either way is good, though, and it’s totally up to your whims. Any time you take a picture through ice to a better-lit background, you’ll always get dramatic results.
Look to Bodies of Water
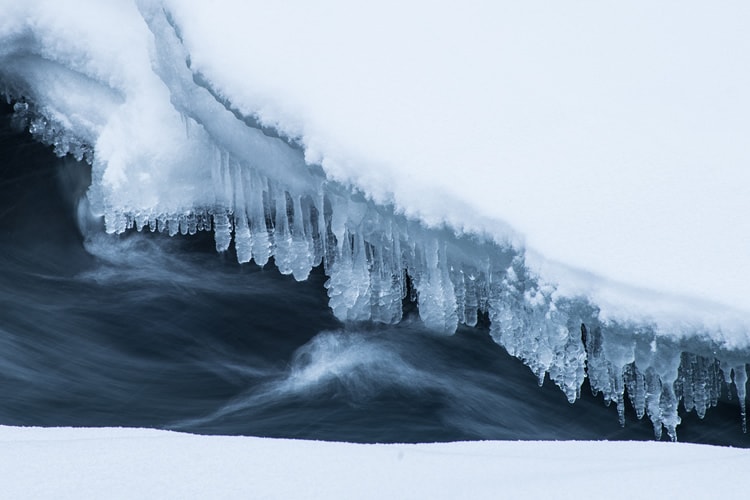
image by Lyndsay Esson
Some bodies of water like ponds, lakes and even puddles will be frozen in the wintertime, which makes them ideal targets for ice photography. Take our word for it: As soon as one freezes, examine its edges because there you’ll see objects the ice has frozen in it.
Look closely, and you can normally spot things like twigs and leaves right beneath the surface of the frozen-over water. If you’re really lucky, you’ll even get to see added bonuses, such as air bubbles or even impressive patterns that have been frozen into the very ice itself.
Of course, don’t get too carried away with this activity, even though the results can be quite interesting and aesthetically appealing. It’s better to be careful when you venture out over frozen ice: just don’t go too far into a frozen lake, for example.
Check for That Awesome Refreeze Action
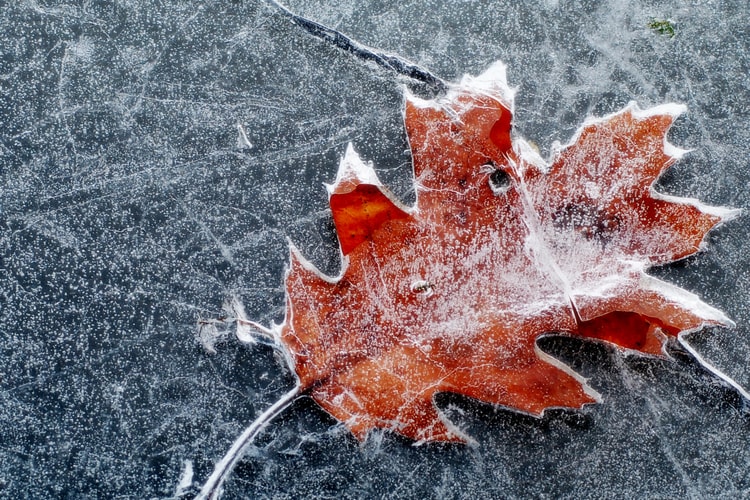
image by Kasia
Refreezing is a process that allows you to take some pretty special ice pictures. It’s definitely worth paying attention to the weather in the winter to take advantage of this situation.
It usually goes down like this: Snow falls, then the weather becomes milder, and it starts to rain. After that, the weather abruptly turns colder again. When this weather pattern happens, start evaluating the roadside ditches as well as the depressions.
What you’ll likely see is snow that’s been somewhat shaped by both the melting snow and the runoff. In addition, it’s also been encased with leaves and other debris in the very clear ice that came about from the cold snap and the rain. This results in some highly unique visuals, making it perfect for ice photography.
Try to Show Scale When You Can
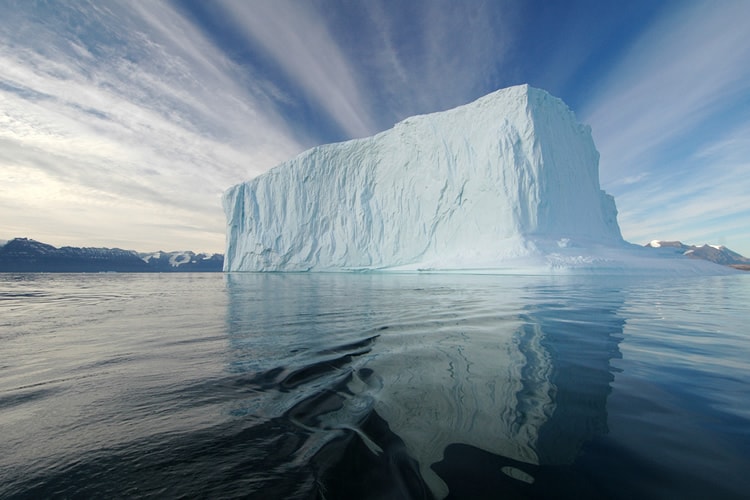
image by Rita Willaert
Earlier, we said that you should use a macro lens to get in really tight in your shots, but there’s an exception to every rule including this one. What sometimes works well with ice photography, too, is showing scale, and you accomplish this by zooming out in your shots.
When we say “show scale,” we mean to include people in your ice photography, for example, so your viewers can see exactly how grandiose the ice is and how much area it’s covered.
Another option you can try is to use a wide-angle lens as an alternative. Let’s say that there don’t happen to be any people in the ice shot you’re taking—not a problem.
With your wide-angle lens, you can include a foreground object and then include the background in context. Again, another neat way to show scale.
Working With the Ice in Your Shots
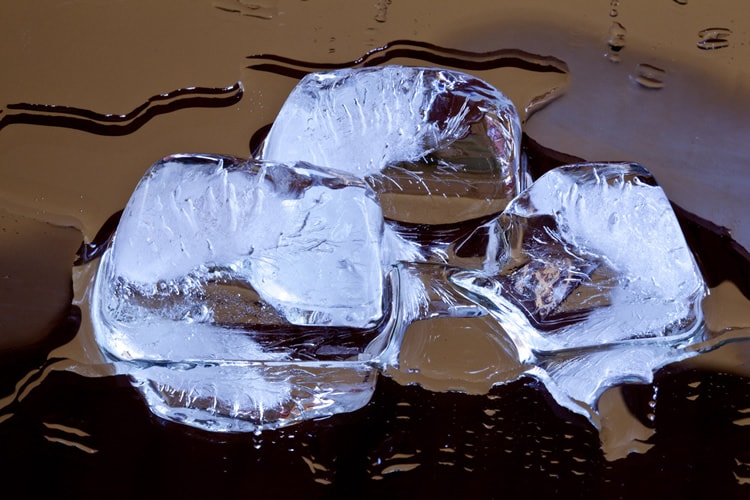
image by jar ()
Sometimes, you’ll have to manipulate the ice you’re dealing with a little bit in order to get a really spectacular shot (or just one to your liking). If you’re taking a picture of a subject that’s been frozen solid by the ice (like a leaf), then use sandpaper on it to give it some much-needed texture that will look nice in an image. On the flipside, if you desire a very clear appearance in your images, then just pour some cold water on the ice you’re shooting to remove any undesirable crystals. While we’re on the subject of textures, you can also try this: hit the ice a few times with a blunt object to give it some character in your shots.
A Dazzling Sight
Your chance at ice photography only comes along once a year, so make it count. When conditions outside are cold and you’d maybe rather stay inside and snuggle up with your cat, try the opposite instead. Go outside, bring the equipment we outlined above, and add some memorable ice shots to your photography portfolio.
Being around the ice can be magical, especially if there’s lighting going on. You want to capture that sense of the magical in your photos. Succeed at that, and you’ll easily have a series of wintery images that people will remember for years to come.
About the Author: Marc Schenker
 Marc is a copywriter and content marketer who covered photography. These days, he runs The Glorious Company, a content marketing agency.