Jazz Up Your Photos With These Inexpensive Upgrades
 by
Imran Zahid
by
Imran Zahid

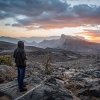
I’m a big believer that it’s the eye rather than the gear that creates good photographs. But still, we can’t deny the importance of gear as it lets you try different things and keeps you inspired during your dry spells in photography.
We all start our photographic journey with basic some equipment (a DSLR with a kit lens, or maybe a compact camera) but quickly it becomes a bit stagnant as we start comparing our photographs with those who have been doing it for some time. That’s where we start feeling limited by our gear.
You don’t have to spend a fortune to try different things in photography. After spending quite a bit on gear, I realized that certain things are actually cheap and give good value for your money. This list is for people who are starting out or who want to spice up their photographs without spending a whole lot on gear.
1. Photoshop or Lightroom tutorials / workshops
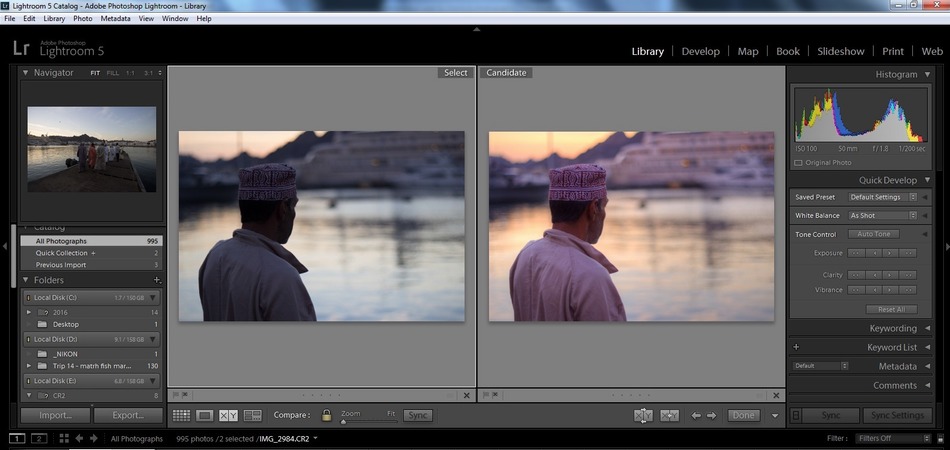
I couldn’t emphasize more on thoroughly learning everything about post-processing using Lightroom or Photoshop. If you don’t buy anything on this list and just spend your money on learning post-processing (by purchasing a good book/video tutorial or attending a practical workshop), it’s still worth more than anything.
Post-processing makes a huge difference. It’s not that post-processing can transform a bad picture into a good one, but it can turn a decent picture into something really awesome. Once you learn how to handle highlights, shadows, sharpness and noise, a whole new world of possibilities will emerge in front of you.
2. Tripod or Gorilla pod

Camera shake is the number one reason for not having sharp images. You can’t photograph at a shutter speed of 1/500th of a second all the time. Also, you can’t bump your ISO indefinitely.
A tripod (or gorilla pod for mobility) gets rid a lot of unwanted shake and can make your pictures much sharper. Of course, it will not help you enough for street or candid photography, but if you are into landscape, portraits or product photography, etc. it will make a huge difference in the outcome of your photographs.
3. Nifty Fifty (50mm f1.8)
If you just bought a DSLR camera and you started with a kit lens, then your very first upgrade in the glass department will naturally be a 50mm f/1.8 lens, also known as “nifty fifty.” It’s relatively cheap (under $250 new, and even cheaper if you go with a used one) and has an excellent value for the money. It’s not razor sharp corner to corner, but it’s a significant improvement from a kit lens.
Stop it down to f/2.8, and you have a very fast and efficient low light lens with a decent amount of background blur. Since it’s a prime lens, optics are often better than zoom lenses, and it makes you use your feet more and lets you think carefully about your composition.
4. Reverse Ring or Extension Tubes
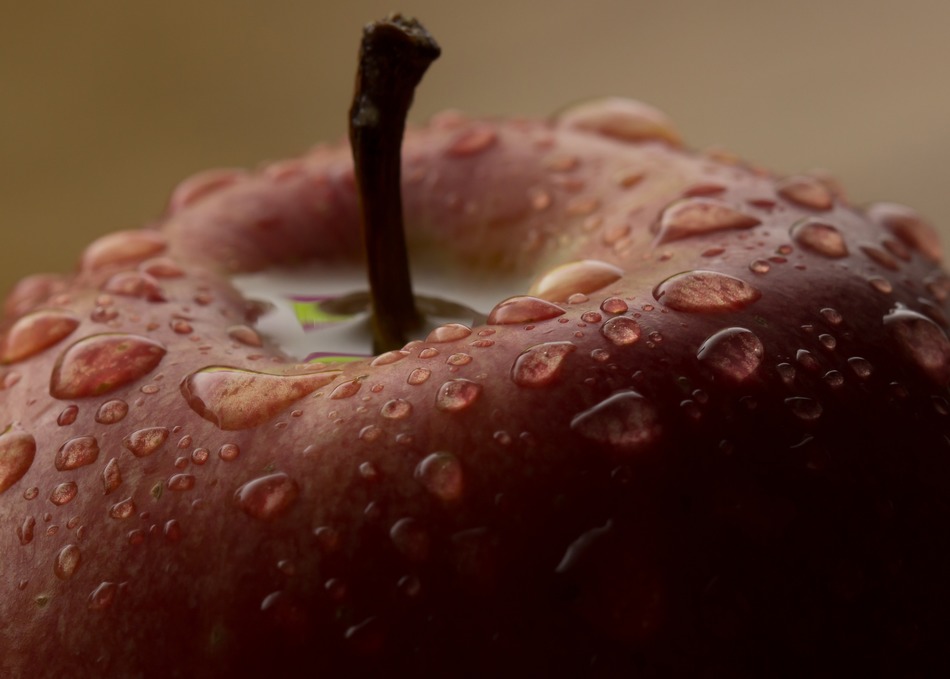
Dedicated macro lenses are typically more expensive compared to other lenses. Achieving a decent macro shot is difficult with a kit lens because of its limitation in terms of the minimum focusing distance. Macro is something that requires a lot of practice and dedication, and it’s not everyone’s cup of tea.
Reverse rings or extension tubes are the best options for beginners who want to start with macro photography with a limited budget. They come with both electronic and manual connections. The manual ones are cheap. They have their limitations as you will lose all electronic assistance from your camera and you have to adjust everything manually, but you will learn a lot while practicing with these and of course they are damn easy on your wallet.
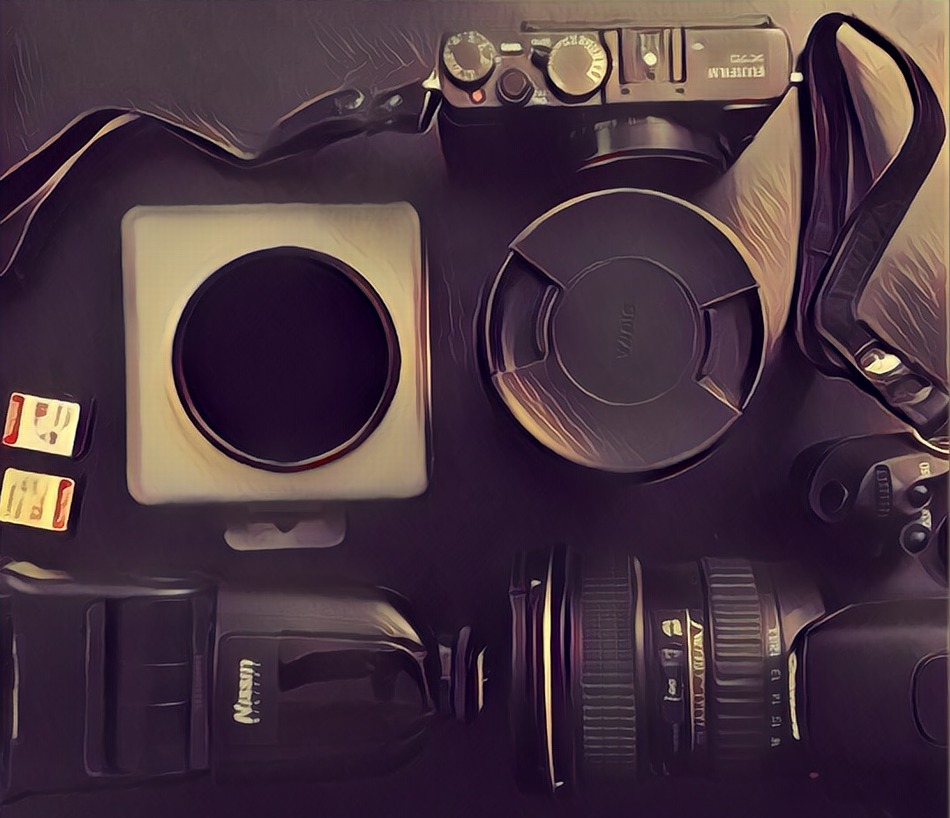
5. Speed lights

If you are into portraits, whether you prefer outdoors or indoors, then a speed light is a must have for you. Go with third party brands like Yongnuo or Nissin for example. They’re cheaper but can still make a world of difference. You can use them both indoor and outdoor. When you’re outside, you can use a speed light as a fill flash to brighten up shadows or create contrast with the background. Indoors, you can bounce it on the ceiling to get some flattering soft light.
6. Memory Cards
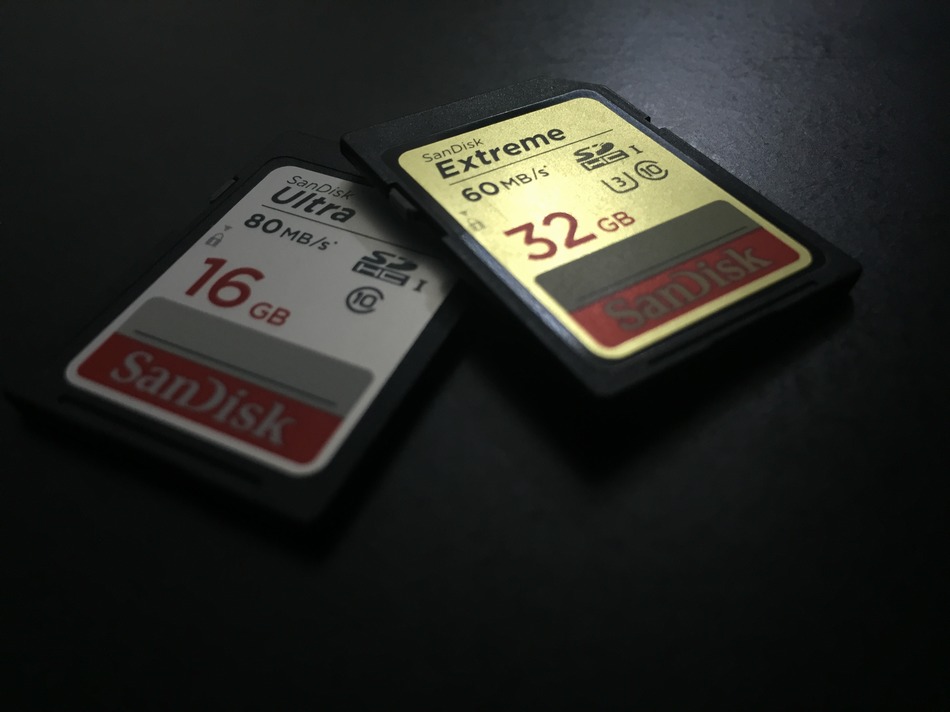
A lot of beginners shoot in JPG instead of RAW because of space and, let’s be honest here… laziness (hey, processing RAW files take time). Shooting in JPG surely is a speedy process, but it limits your options in post-processing. If you are detail-oriented and want your pictures to be perfect, always shoot in RAW.
Having a bigger and faster memory card lets you shoot RAW+JPG, which is an option available on pretty much all cameras these days. This way, you’ll have a JPG ready for sharing as well as a RAW file on which you can work later to produce a picture as per your own taste.
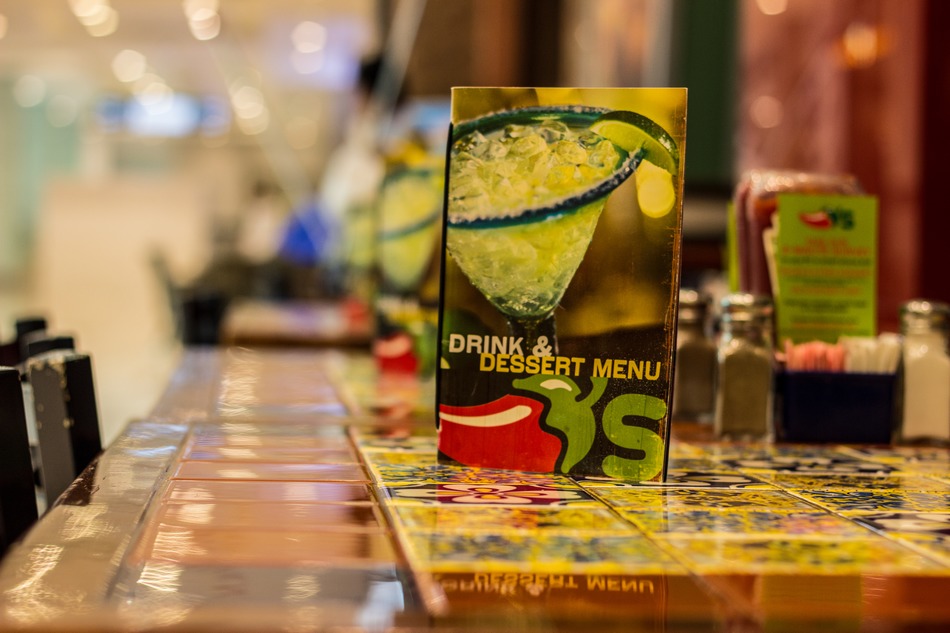
7. ND Filters
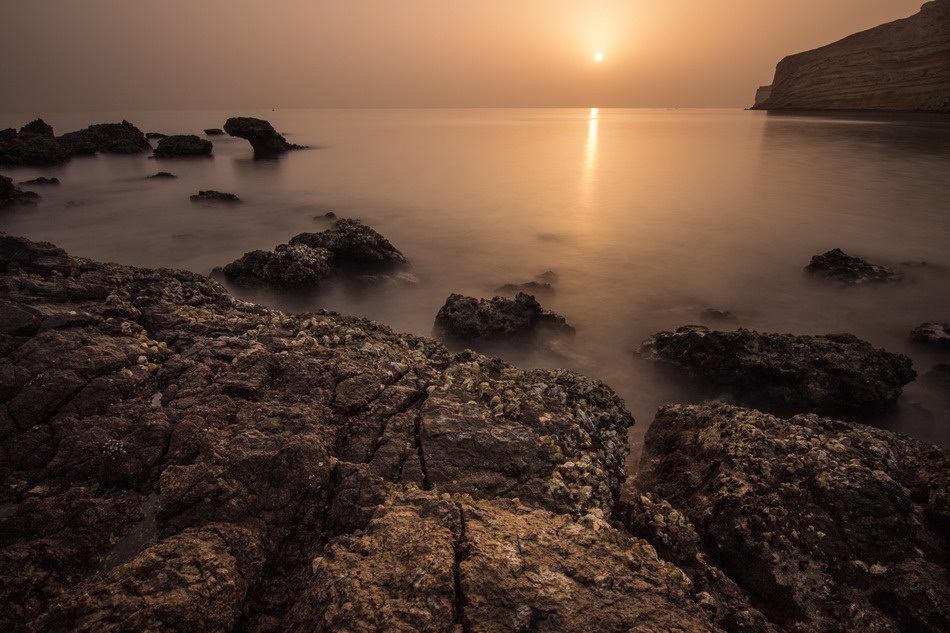
Nothing creates drama in your landscape photographs more than shooting at long exposures. A ND filter lets you shoot at your desired shutter speed at any time of day and in all conditions. Waterfalls, seashores, and traffic light trails look so dramatic when shooting at shutter speeds spanning for several seconds. This is something you cannot fix or create in post processing.
With ND filters, you can manage a proper exposure when shooting in bright conditions like in the middle of the day when the sun is up. They come in multiple stops (varying degree of light-blocking goodness). Buy a few of these, and they will transform your landscape photos entirely.
8. Universal Mobile Lens kit
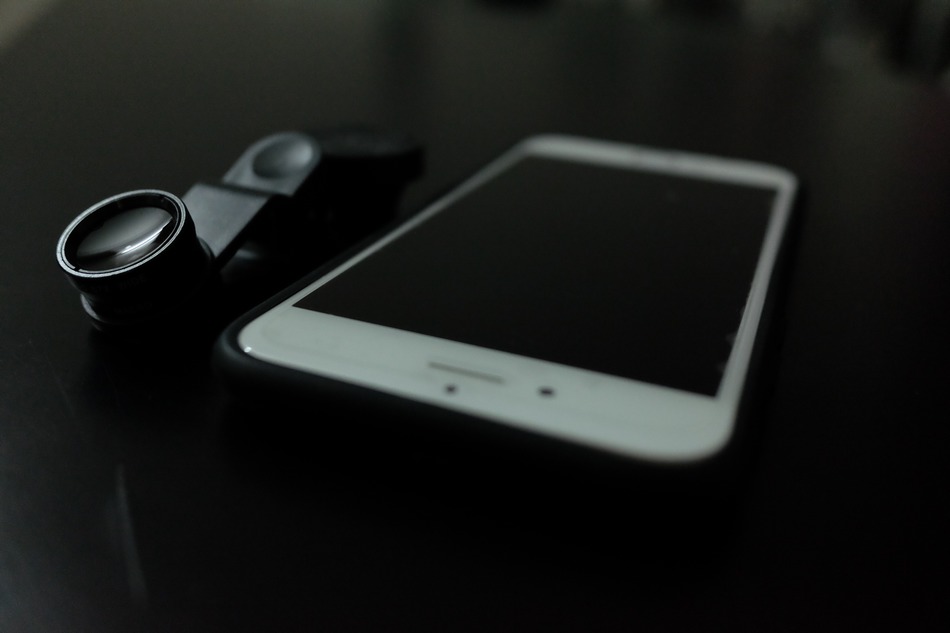
There is a saying that the best camera is one that is with you when you need it. Your cell phone is one such camera that’s always with you whether you are. But smartphone cameras are quite limited. Thus, lots of people don’t use it to its full potential. To spice things up, you can carry a universal lens set that has fisheye, wide and macro attachments for your phone and use it during your non-photography trips to improve your vision and composition.
I use these all the time to capture images when I don’t have my camera with me. Sometimes after getting a good shot with these, I go to that same place again to capture the scene with my actual camera gear so I can get all the quality I want in my photo to be used in magazines or professionally.
Conclusion
Using these inexpensive upgrades lets you experiment with various genres of photography you are not sure whether you are interested in or not. With these, you can start cheaply, and if you feel motivated and passionate enough, you can dig deeper and go with all the bells and whistles you need to produce excellent work.
But keep in mind, photography is all about training your mind and eye, and your gear’s purpose is to help you achieve your objective quickly and painlessly.
About the Author: Imran Zahid
Imran Zahid is a self-taught, part-time photographer. It's his lifetime passion and he really enjoys documenting human life in street, documentary and environmental portrait forms. Check out his Instagram Portfolio or his Blog - The Shades Photography to see more of his work. You can contact him at im.zahid@hotmail.com