Kite Aerial Photography 101: What You Need to Know

Drones are not the only gear you can use to create fascinating and breathtaking aerial photos. Kites; those cloth, paper, or plastic-covered frames we used to fly as kids; are also capable of giving you a unique aerial view – one that offers a different perspective!
In fact, quite a lot of photographers use kites to help them achieve the aerial shots they want. Kite aerial photography or KAP has long been practiced although it has remained a bit low profile, unlike drones, which have captured the limelight for quite some time now.
Needless to say, KAP is the more conservative version of drone photography. Basically, the concept of kite aerial photography is to attach a camera to a sturdy kite using a rig.
KAP became a popular hobby sometime in the mid 1980s. But there are aerial photography photos that were taken years earlier, at the time when photography was first introduced, sometime in 1858. Frenchman Gaspar Felix Tournachon (Nadar), a balloonist and photographer, experimented for three years before successfully using a hot air balloon that flew around 80 meters above the ground. Years later, in 1888, a photo that featured an aerial shot of Lagrabruiere, France used a kite-lofted camera.
Another popular KAP photo is the one showing the aftermath of the 1906 San Francisco earthquake. The photographer, George Lawrence, used around 17 kites in capturing the panoramic shot.
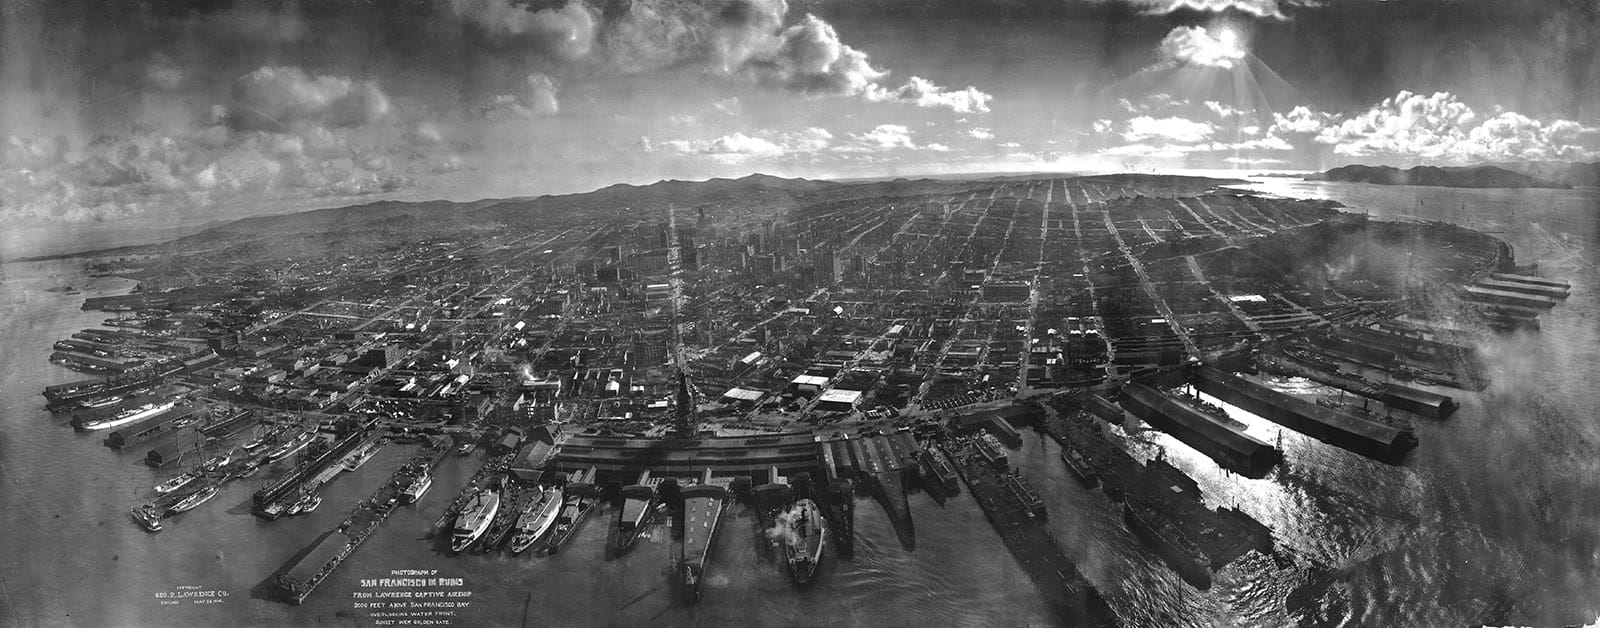
Image by George Lawrence, 1906
Kite Aerial Photography: How It Developed
Before KAPers – or kite aerial photographers – started using kites for commercial photography purposes, the technique went through several phases.
In its earlier years, KAP was a big help to the military. Many of the improvements in KAP were actually contributed by the military as they did quite a lot of experiments using its techniques. In addition to this, in 1882, a meteorologist named E.D. Archibald experimented with a string of kites and a camera attached.
But it was a non-military photographer, Arthur Batut of France, who was recognized as the first one to formally use a kite – a diamond-shaped one – in taking aerial photos.
However, it was in the 1980s when KAP grew in popularity. This was the time when KAPWA, an organization of kite aerial photography enthusiasts from around the world, was formed. Its primary function was to come up with events and activities, as well as find useful resources for hobbyists and KAPers.
Today, kite aerial photography has developed and advanced quite significantly, especially since photographers now use digital cameras and stabilizers that help counteract kite movement while the photo is being captured.
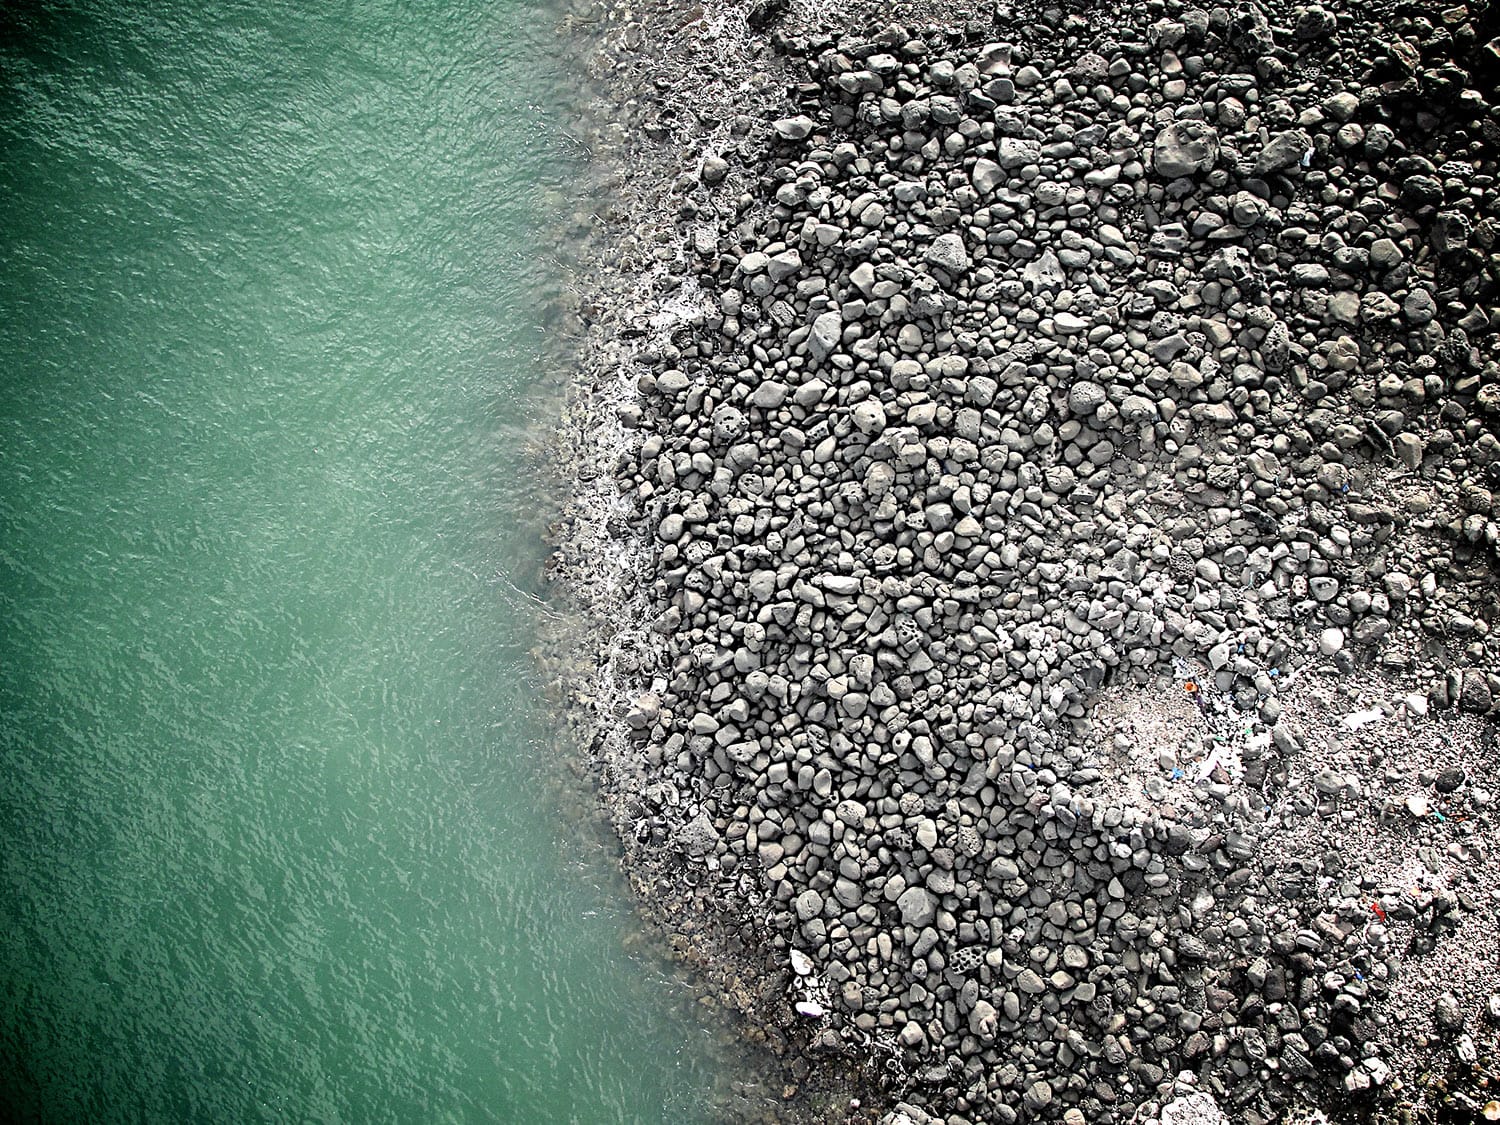
Image by Jeff Attaway
KAP Kites
Kites have been around for several thousand years, with some dating even back to as early as 500 BC. Over the years, kites have metamorphosed from simple triangular frames to bigger and better-shaped ones. Kites used by KAPers, however, need to have at least two major characteristics.
- Loft is something you can get if you choose to use a big kite.
- Stability is a characteristic that depends on the design of the kite.
One of the ideal varieties is a framed kite, which possess close to exceptional loft qualities. These kites usually float up in the sky and if you fly them at around 60°, they will continue to float, albeit to the ground, even if there is no more wind.
You can also use frameless soft foil kites, which are built for stronger winds. It can be flown at angles shallower than those of framed kites. Their only disadvantage is that they do not continue flying and will crash to the ground if there are no winds.
Both of these types are good for KAP. The best thing to do would be to have one or two of each to make sure that you’ll know which to use depending on situations, like weather and wind conditions.
KAP Cameras and Rigs
Unlike most drones available today, kites do not come with built-in cameras. Therefore, it is important to choose the right one for your project. As such, your camera should not only allow you to take good photos but also allow you to attach it to the kite without having to worry about its weight.
As previously mentioned, loft and stability are important in kite aerial photography. So if you were to choose one, you should go with a camera model or brand that has good to exceptional loft qualities. Some of the best examples are the Nikon D850 and the Sony a7 cameras.
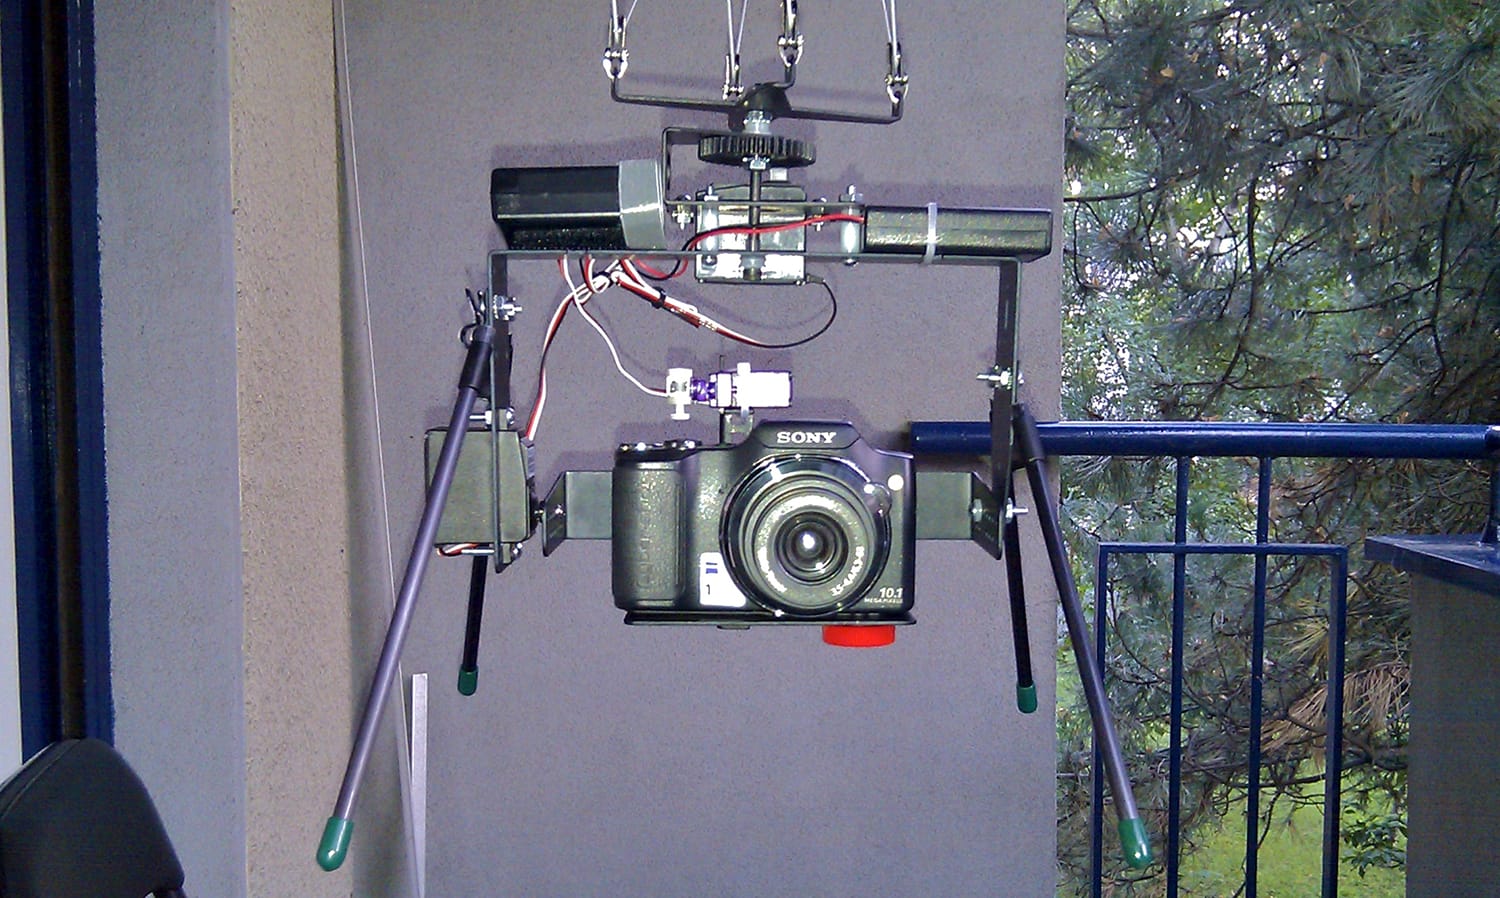
Image by Jeff Attaway
Aside from a sturdy kite and a good camera, KAPers also invest in a rig. This is what helps them easily attach the camera to the kite. Some photographers prefer to make their own rigs, while others like to buy from their favorite dealers and suppliers.
The most common materials for DIY rigs include paper clips (the heavy duty variety), aluminum rail or bracket, and hard wire, among others.
If it is your first time to try kite aerial photography, however, the best thing to do would be to experiment first using your old camera – even a compact one will do – and whatever kite you have with you (make sure it’s sturdy though). For your first rig, choose one that’s not only affordable but also light and small. This will help make things a bit easier for you. As you progress, you’ll gradually move to more complicated versions of the camera, rig, and even the kite.
Advantages and Disadvantages of Kite Aerial Photography
The biggest advantage of kite aerial photography is its affordability. For photographers who cannot afford a drone, it is the best alternative.
Another advantage is that it gives you a different perspective on aerial shots. Some images can even show more detailed patterns, shadows, and textures. And these photos are just as colorful, stunning, and interesting as the ones taken using a drone. Of course, it helps a lot if you have a good camera!
Compared to drones, kites can fly longer. Most drones used in professional photography and videography stay up only for as long as 30 minutes, while kites can fly as long as there is wind. Some photographers have their own techniques for getting their kites to stay up and fly for long periods. A good example is hiking. As you walk and hike up, your kite continues to fly high while you take all the photos you want. In this manner, kite aerial photography can also be meditative and relaxing.
Although kite aerial photography could require quite a bit of hard work as the preparations can involve a meticulous process, it is the more cautious, uncontroversial, and “law abiding” alternative to drones. As we should all know by now, drones have undergone a lot of scrutiny from authorities over the years and as a result, users need to abide by several rules and regulations.
KAPers belong to a community that follows policies. They follow rules because, for them, being “small and safe” is okay.
Finally, kite aerial photography also helps hone creative skills. There are no kites with built-in cameras available in stores, so photographers do a lot of DIY in creating their gadget. And many of them like this; they like the idea of tinkering with things and assembling their kite and rig.
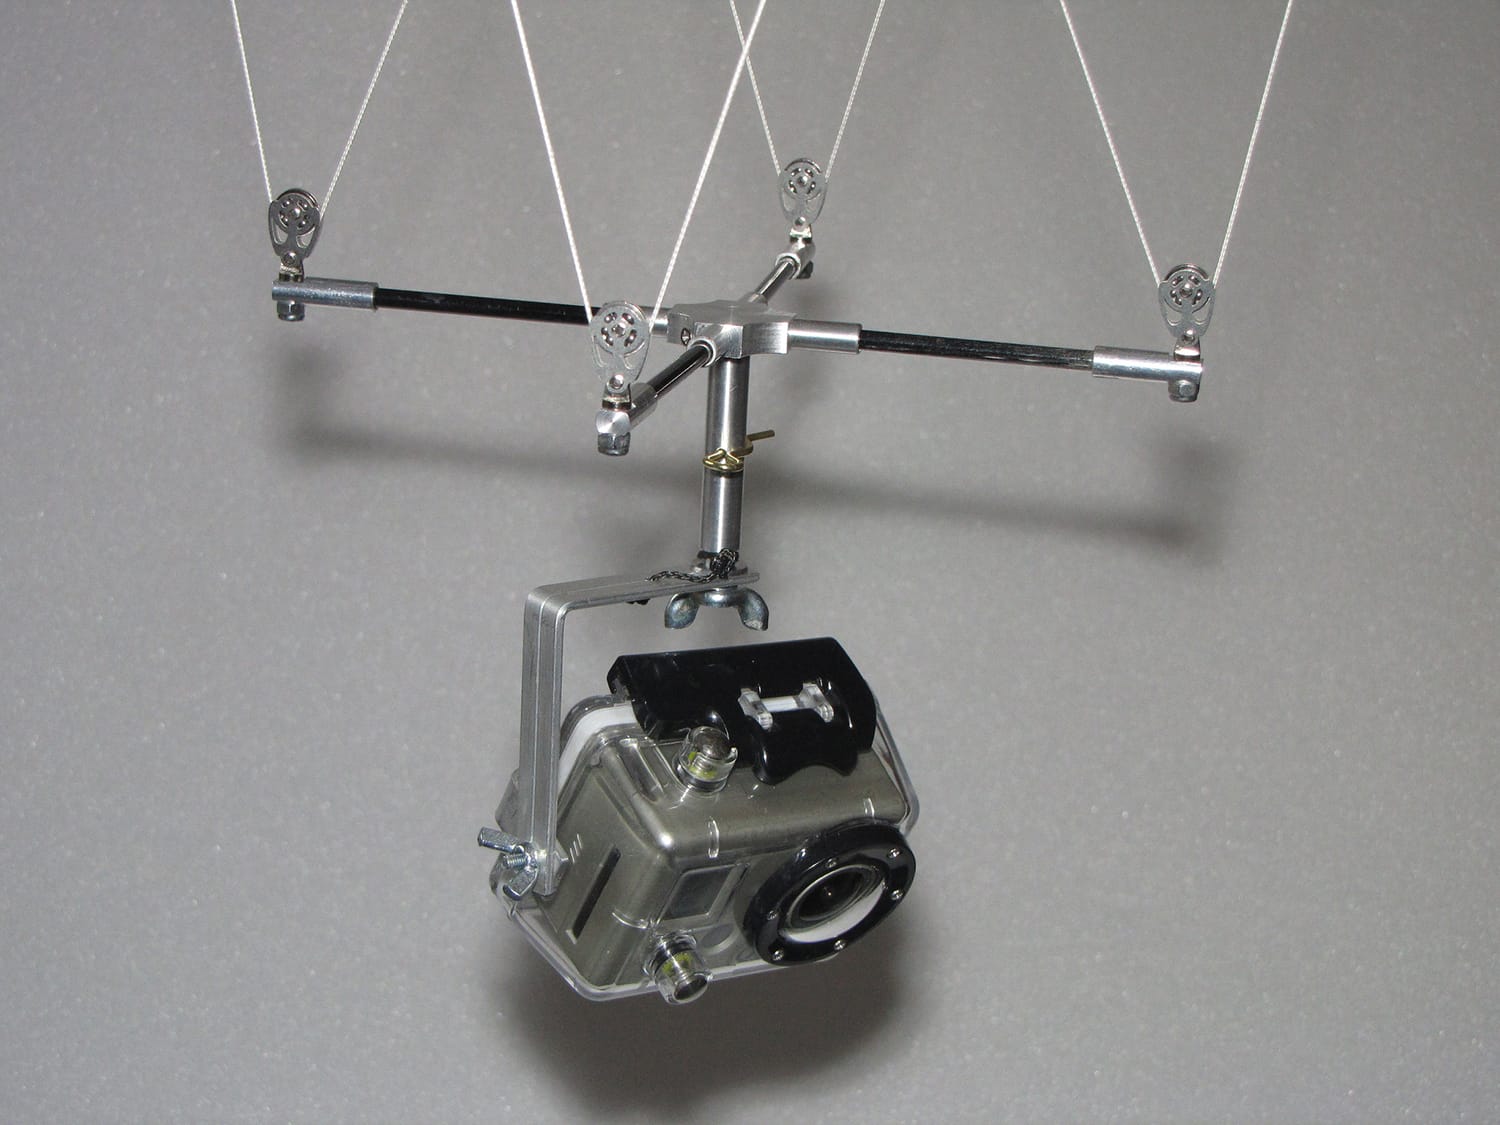
Image by Marcus Ertl
The only disadvantage to kite aerial photography, the major one, is the fact that it is not for the faint of heart. Just thinking about hoisting your expensive camera on a kite, way up in the sky, can already make you panic and think of the unexpected. Then again, if you practice flying kites (continuously), there really is nothing to worry about. Of course, it’s very important to build a strong and sturdy rig!
It may not be as hi-tech as drone photography, but it can give you aerial photos that are just as stunning and interesting. Remember, it’s always okay to go “out-of-the-box” from time-to-time, especially if you are serious about your craft.
About the Author: Michael Gabriel
 Michael Gabriel L. Sumastre is an experienced writer who loves to take pictures of the countryside as well as aerial photographs. He maintains his professional writing portfolio at TheFinestWriter, and you can visit his photography portfolio at Sumastre Photography. Michael was hired by Booking.com to photograph 10 of the most beautiful beaches in Palawan, Philippines.