How To Effectively Light A Scene With Inexpensive Equipment

One of the most important aspects of photography is lighting. Achieving the right lighting though, can seem like a difficult task, especially if you are just starting out or don’t have a large amount of cash to spend on lighting equipment.
Fortunately though, there’s a great middle ground: lighting a scene with equipment that’s homemade, or inexpensive. You don’t have to compromise quality or your pocketbook to reap the benefits of a well-lit scene.
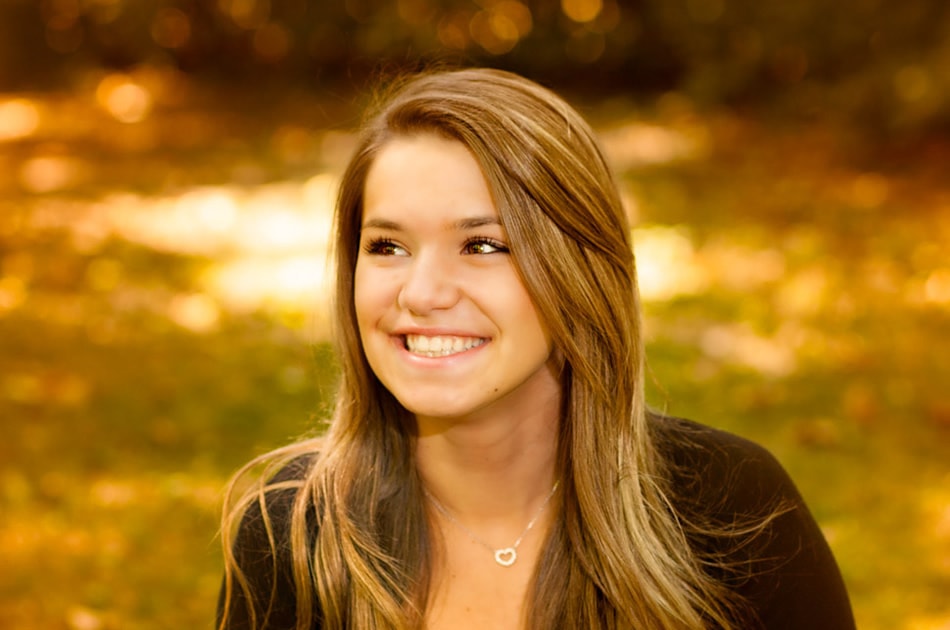
Photo by Phillip Dodds
Many DIY and inexpensive lighting solutions are capable of producing great results. Whether you’re looking to capture portraits, still life images, or macro photography, here are a few alternative options that will help you to light up a scene – and get some great photos.
Reflectors: Bounce the Light
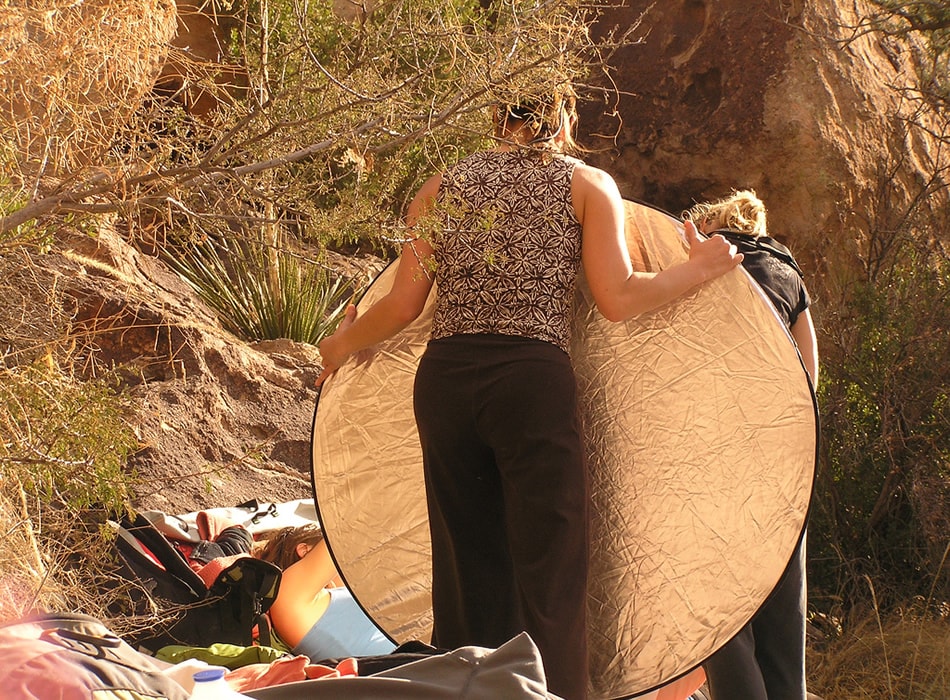
Photo by Laurel F
A reflector is one of the most important tools that you could add to your photography arsenal – especially if you do portrait photography. Reflectors bounce the light back onto the subject, eliminating dark shadows, and illuminate the subject – helping to separate them from the background.
While you can make a reflector yourself easily enough, you may want to consider buying one. Reflectors are portable, so they’re easy to bring with you to shoots, and they aren’t too expensive (think: $20-$40) yet they can go a long way towards adding a professional touch to your photography.
Flash Gun: Control the Direction of Lighting
Speed lights vary greatly in price – but you can usually get a decent one without breaking the bank. A speed light is a great source of additional light as you can control where the light goes and can bounce it easier as well. While on its own it produces harsh light, there are plenty of attachments that you can use, such as a softbox, ring light, or diffuser, to help soften the light.
Diffusers: Soften the Light From Your Harsh Flash
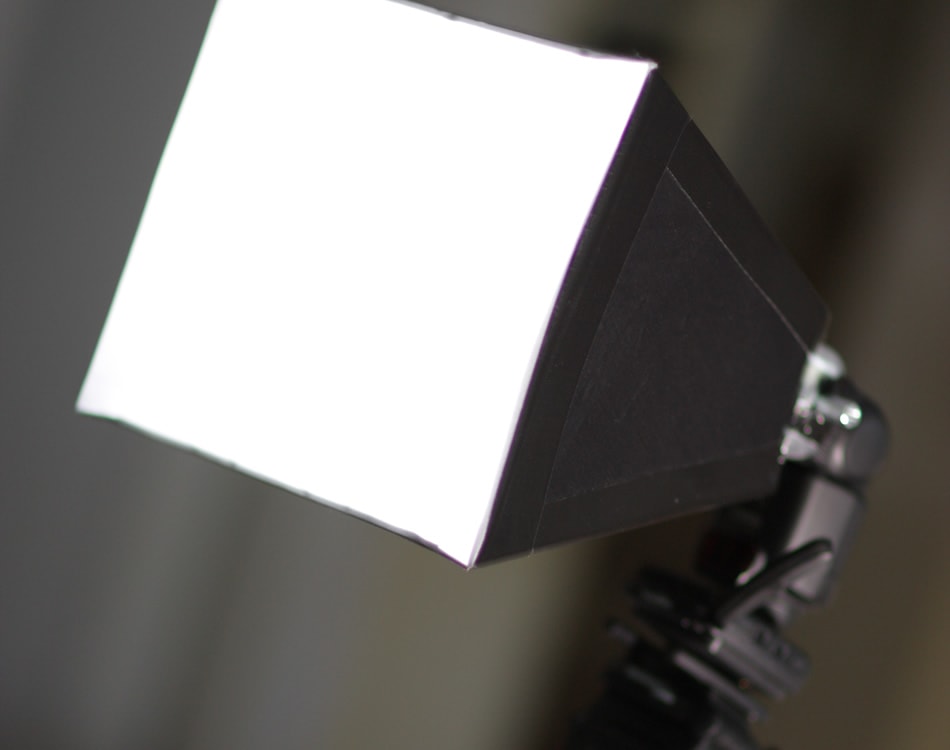
Photo by Nick Allen
We’ve all been there. In a dark or dimly lit room and faced with the prospect of your photos turning out a dark and fuzzy mess, or using your on-camera flash and giving your friends a deer-in-the-headlights look.
Fortunately, you don’t have to choose! Using a flash diffuser for your on-camera flash, or external flash is a great way to soften the harsh light, and get some great shots. Diffusers start at anywhere from around $10 and go on up from there. You can even make your own diffuser using various items like a piece of white card, a section of a milk jug, or even the bottom section of a translucent rubbing alcohol bottle.
-
Dome Diffuser
A dome diffuser attaches to your flash and diffuses the light, scattering it evenly and softening it as it’s reflected around the room. It’s worth noting though, that a dome diffuser is ineffective outdoors – you need something like a ceiling or walls, to bounce it off of. While Fong’s LightSphere is one of the more popular flash diffusers, there are cheaper options available. Or, you can make your own.
-
Diffusion Softbox
Similar to a dome diffuser, an on-flash softbox is another way to diffuse your camera’s flash. On-flash softboxes are basically small versions of the soft boxes that are found on studio strobes. You can pick up an Opteka flash box diffuser for around $10 – or of course, make your own if you’re so inclined.
-
White Card
Don’t forget about the white card trick. In a pinch, you grab a piece of white card to diffuse the flash and prevent it from blinding your friends and family. For your on-camera flash, take a business card and stick it in front of the popup flash to redirect the flash to the ceiling. For an external flash, rubber band an index card below the flash so that it bounces the flash onto the ceiling, filling the room. Alternatively, you can pick up the professional version of a white card here: DEMB Big Flip-it! Reflector.
Flashlights
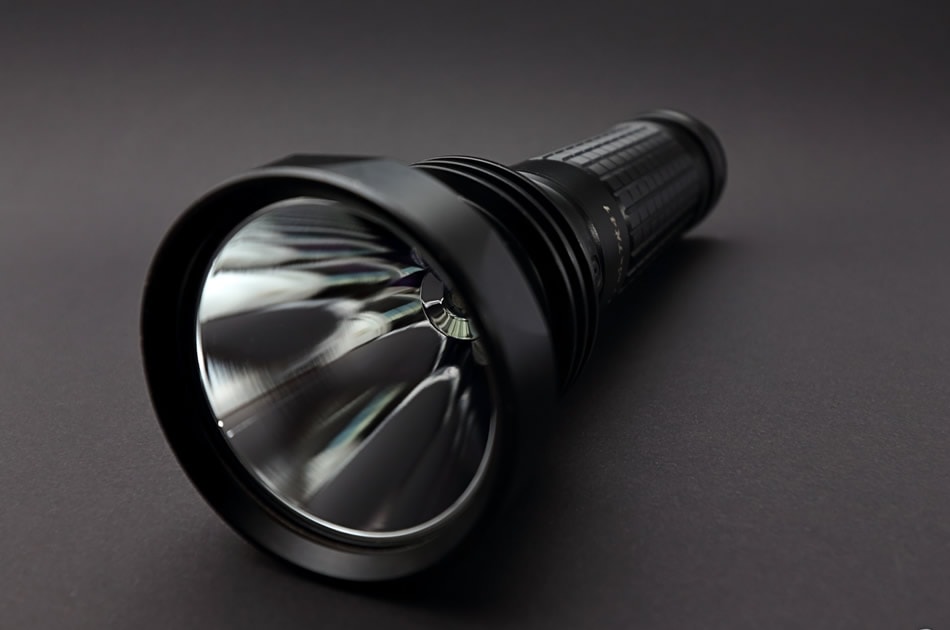
Photo by Abgeda
Believe it or not flashlights are making it into many photographers’ bags. Flashlights can be great sources of light for situations where you require targeted light in hard to reach areas – like with macro photography. As a bonus, you can also get creative with flashlights and use them for light painting.
Work Lights
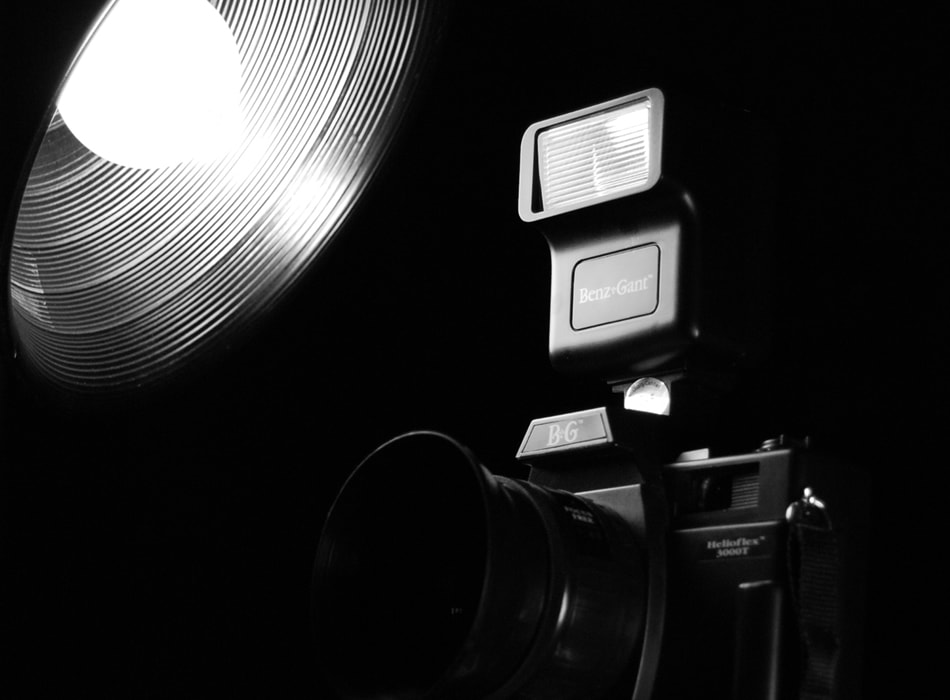
Photo by r. nial bradshaw
Need to set up for a photoshoot? While we’d all love to have our own set of studio quality strobe lights in our home, for many of us that’s not really an option. Fortunately, you can create your own studio with work lights. Pick up some halogen or compact fluorescent lamps (CFLs) at Home Depo and arrange them to provide side lighting – and backlighting.
Keep in mind that these lights get hot, so you won’t be able to use them for long stretches of time. They also produce hard light that’s not always ideal for portraiture, so you may want to use a scrim to diffuse and soften the light. Also, different lights come in different color temperatures, so they don’t always mix and match too well.
Natural Lighting
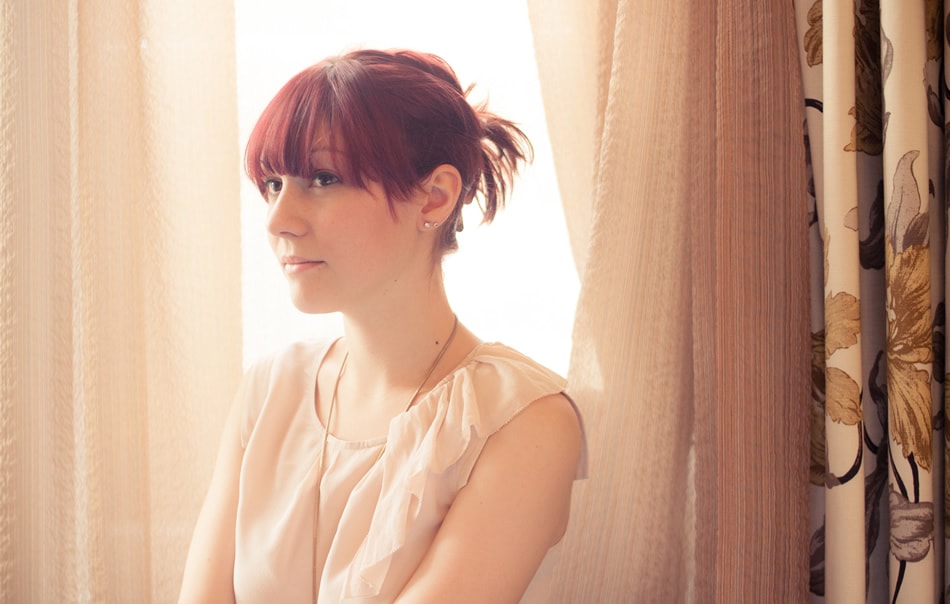
Photo by Nathan O’Nions
Natural lighting is the obvious choice for inexpensive lighting – but the quality of natural light can vary considerably depending on the time of day and cloud cover. The key is knowing how to make the most of natural light. For indoor shots, bring your subject over to a wide window and have them face the light, or stand sideways to it. For outdoor shots, take advantage of morning and evening light – during golden hour, for superb light that’s ideal for photography.
On an overcast day, you’ll want to bring along a reflector to help bounce the light back onto your subject. For a bright, sunny day – eliminate harsh shadows by using a scrim, or having your subject stand in the shade. On a sunny day, you can also use a flash, even the on-camera one, to cut through harsh shadows.
If you’re feeling discouraged about your lack of lighting equipment – don’t be. You get some great results with relatively inexpensive equipment. This will give you a chance to experiment, and find out what type of photos you enjoy taking, and which gear works best for you. As your photography needs expand, you may want to upgrade some of your equipment, but these options should give you a great place to get started without breaking the bank.
What DIY lighting projects have you done? We’d love to see them! Feel free to share your projects with us on Twitter of Facebook.
About the Author: Christina Harman
 Christina is a part time blogger and full time photography enthusiast living in Southeast Alaska. She enjoys travel photography and has taken pictures in countries such as Mexico, England, France, and China. She likes sunny days, new lenses and drinking good coffee. You can visit her at Tangled Thoughts.