Panorama Photography Shooting Methods – Tutorial

Panoramas are wide-format photography that capture images that feature elongated fields of view. Typically, specialized software or equipment is used to produce this aesthetic effect.
Panoramic photography goes back to the 18th century, and in the ensuing time, the technology behind creating amazing-looking panoramas has naturally grown more and more sophisticated.
Today, you don’t have to be a professional with expensive equipment and sophisticated knowhow to produce the most breathtaking panoramas. All it usually takes is simply your home computer, your time and useful software. However, before you get to the computer-editing phase of the panorama process, you still have to know how to take pictures that will be conducive to churning out effective panoramas.
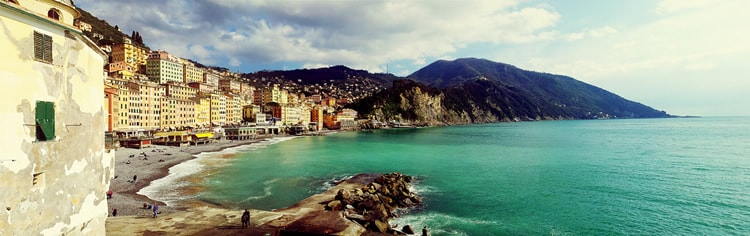
photo by Fredi Vallina
After all, you can’t take subpar photographs and then expect to magically “correct” everything with even the fanciest software! So the best way to come up with great panoramas is to focus on how you take your pictures in the first place… as you’ll see.
Be on the Lookout for Movement
Be wary of any movement in the scene you’re shooting. Movement can wreck what would otherwise turn out to be a very impressive panorama. To be sure, at certain times, it’s perfectly okay to have a small blur or even a double-vision effect involving vehicles, people, planes, etc. Now, having one or two blurs in the scene is generally acceptable.
The movement really becomes a panorama-ruining dilemma when there is an excess of blurs in the picture. Blurry spots, in general, are created when your computer detects portions of a panorama’s overlapping sections where objects don’t really line up. A smart way of dealing with the hazardous possibility of too much blurring is to take your shots quickly. Also realize that movement can occasionally be unavoidable – especially with urban scenes.

photo by zwennie
Panorama Mode? Use It!
Use your camera’s panorama mode if it has one. This is such a no-brainer! In most situations, a purchase of any point-and-shoot camera beyond the most basic type will get you a mode especially for panoramic images. The thing is that not many people even know about such a mode because it’s really only for panorama enthusiasts. This kind of mode serves quite a bunch of different, nifty functions.
Number one, this mode takes advantage of the camera display to show the latest photograph that you’ve snapped and then the live view of your next photograph. This lets you line up your pictures to overlap them. The camera will also be adjusted, so that it doesn’t change exposure settings between your shots (as it would otherwise do). As a result, your photographs will benefit from even lighting throughout.
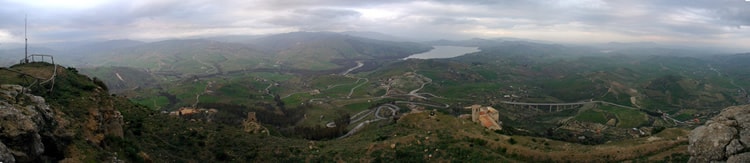
photo by Roberto Zingales
Be Wary With Super-Wide Angle Lenses
Shooting panoramas with super-wide angle lenses is a mistake, so avoid it. An excessively wide lens will create havoc in your panorama shots. It’s easy to understand that some photographers will believe that more is better, which is why they’ll take a chance with a super-wide angle lens. Remember, though, that a really big, wide-angle lens doesn’t guarantee awesome panoramas.
Much of the time, it’s actually a smarter idea to simply sit back and let your stitching software work its magic: to perform multiple passes of the very same scene. The stitching software will also use more than adequate overlap, so that your photograph turns into a panorama masterpiece.
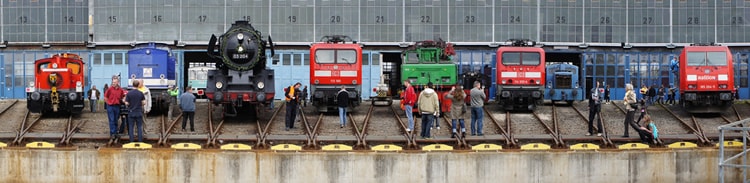
photo by HD N
Use Overlap Intelligently
Overlap was referenced a couple of times already, so you’re probably cluing in to the fact that it’s super-important when it comes to panoramas. To give you an idea of how crucial it is to use overlap just right, consider this: Insufficient overlap will destroy all attempts at a nice-looking panorama. It’s that cut and dry!
If you fail to overlap properly, your panorama can have unsightly blemishes like a white stripe running right down the middle of it! Who wants that?
To be on the safe side, be sure to be extra generous with your overlap allowance. 30% every time is a good starting point; you can always increase that overlap, too. Another good idea would be to perform trial-and-error with your camera to determine the most suitable overlap.
Overlap comes with a major benefit: It helps to lessen the likelihood of something called flaring. Flaring is an adverse phenomenon that occurs when your software has no choice other than to utilize all of the image frame.
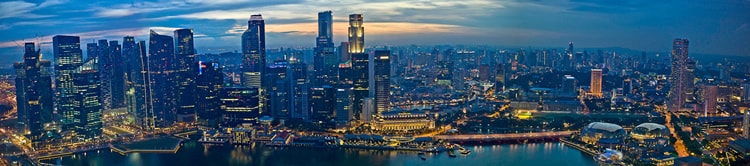
photo by Qi Wei Fong
Be Smart About Picking Metering
This is especially pertinent to folks whose cameras don’t have the valuable panorama mode discussed above. It’s smart to set your metering to manual in such a circumstance. If you don’t, you may end up with detestable exposure inequalities in the panorama.
In addition, you’ll also want to even your metering out. This means to scan the whole area after you pay attention to the shutter speeds and aperture that your camera is proposing. You should then choose a pair of settings located somewhere in the middle or even a bit darker, just to ensure that the smallest detail gets preserved in the final image.
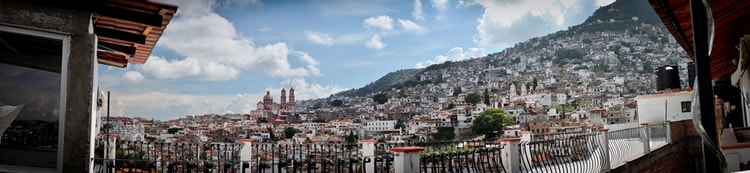
photo by Emigdio Hernández
Vertical Panoramas Shouldn’t Be Left Out!
When we say “panoramas,” we mostly automatically think about the horizontal kind. That’s such a myopic view to take because you can easily expand your photographic horizons and explore vertical panoramas, too. All of the basic ground rules above that apply to horizontal panoramas also apply to vertical ones.
For vertical shots, feel free to actually turn your camera on its side. At the same time, don’t limit yourself only to this position. Do whatever works. For instance, it may be equally helpful to keep your camera in a horizontal orientation.
Great candidates for first-time vertical panoramas include the obvious suspects: waterfalls and buildings. After you think you get the hang of waterfalls and buildings, increase your confidence by looking for other vertical subjects to snap.
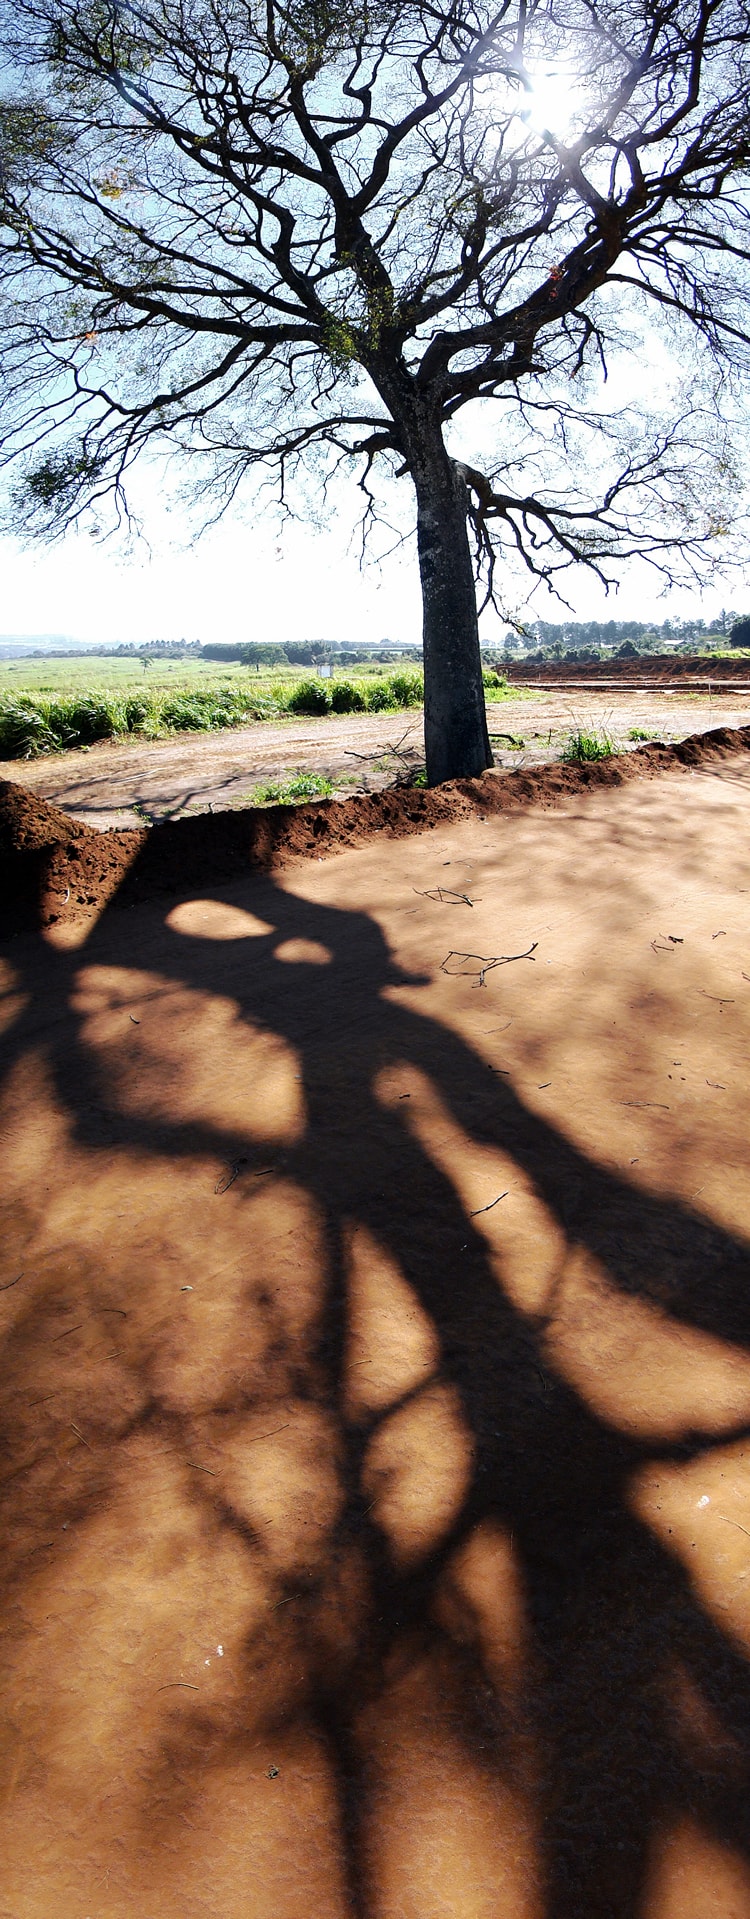
photo by Marcelo Braga
Panoramas Are Easier Than You May Expect
As with many things in photography, panoramas are actually simpler to pull off than you may think. The helpful advice in this article should empower you to a very solid start with panoramas. Sure, there are more complicated things you could do, but, at the very least, these ground rules will help you avoid many errors that quite a few panorama enthusiasts still make!
What’s your opinion on panoramas? Are they for professional photographers, or are they accessible for everyone to experiment with these days, provided, of course, they have some great editing software? Tell us all about it via Twitter or Facebook, and remember to keep checking Contrastly for all the best photography tips, tutorials and advice on the web!
About the Author: Marc Schenker
 Marc is a copywriter and content marketer who covered photography. These days, he runs The Glorious Company, a content marketing agency.