Seeing In Black & White: Photo Tips And Tricks
 by
Jo Plumridge
by
Jo Plumridge

Black and white photography dates back to 1839, when Mr. Daguerre found a way to fix images made inside a camera obscura, calling this the Daguerreotype. “Photography” was suggested as a term by astronomer Sir John Herschel.
At much the same time, William Fox Talbot also came up with a similar process in the form of paper based calotype negatives and salt prints. By 1884, George Eastman had developed dry gel on paper (more commonly known as film) and his Kodak camera was on the market by 1888, becoming commercially available in 1901 with the introduction of the Kodak Brownie.
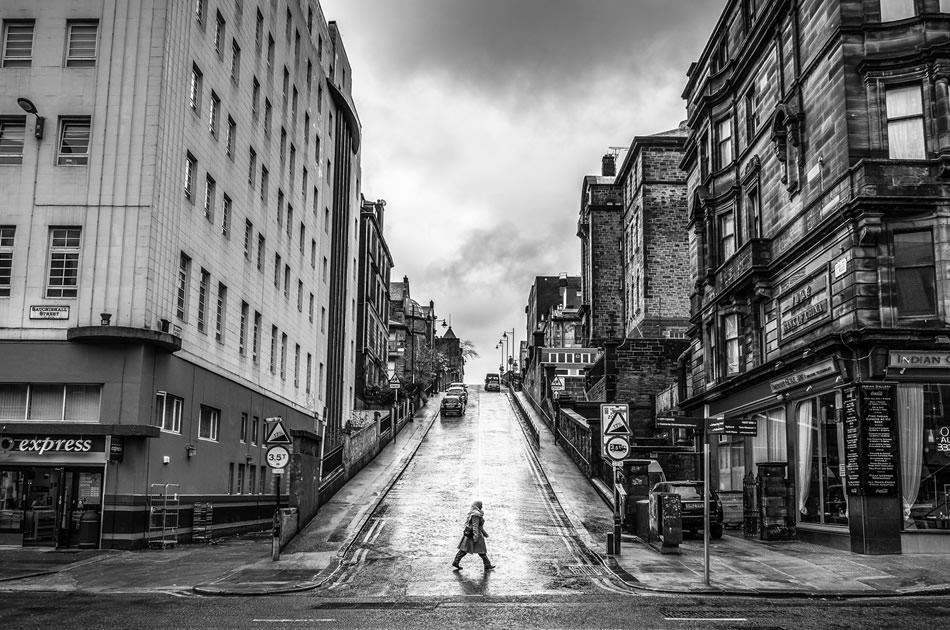
photo by Giuseppe Milo
From this very brief potted history grew a huge range of black and white films, each producing subtly different renditions of the same scene. Black and white photography was a real art form and produced stunning results in the right hands. And then, along came digital.
Hello Digital
Many modern digital cameras come equipped with a black and white (or monochromatic) mode, which users often believe is the best way to capture black and white. But there are problems with this method.
The monochrome setting usually only gives you the option of shooting in 8-bit JPEG mode, and this means you’re losing a lot of detail. To get the most detail to work with, it’s best to shoot in colour, RAW mode and at least 16-bit. This way you have plenty to work with and the added advantage of having a colour image as well if you fancy it!
How To Photograph And ‘See’ In Black & White
In this digital age, one of the key skills you need to learn is how to ‘see’ your colour images in black and white. The easiest way to do this is to try and discard the colours and look for the shapes, tones and textures in the image.
You need to look for a main subject that will be a strongly different shade of grey to the background, so that it will really stand out. You can then add in more tone and texture. Do remember that you still need to bear your white balance in mind, because capturing an image without any colour casts is vital to successful black & white imagery.
So, what are subjects that make good black and white shots? Firstly, look for subjects that have strong lines, shapes and are fairly simple. Keep an eye on shadows as well, as these will define shape and form. At the same time, great b&w images need strong compositions to make them work, so look for leading lines to add depth. Whilst we’re on the ‘strong’ subject, you also need strong lighting which will help to bring out the textures and add interest to your shot.
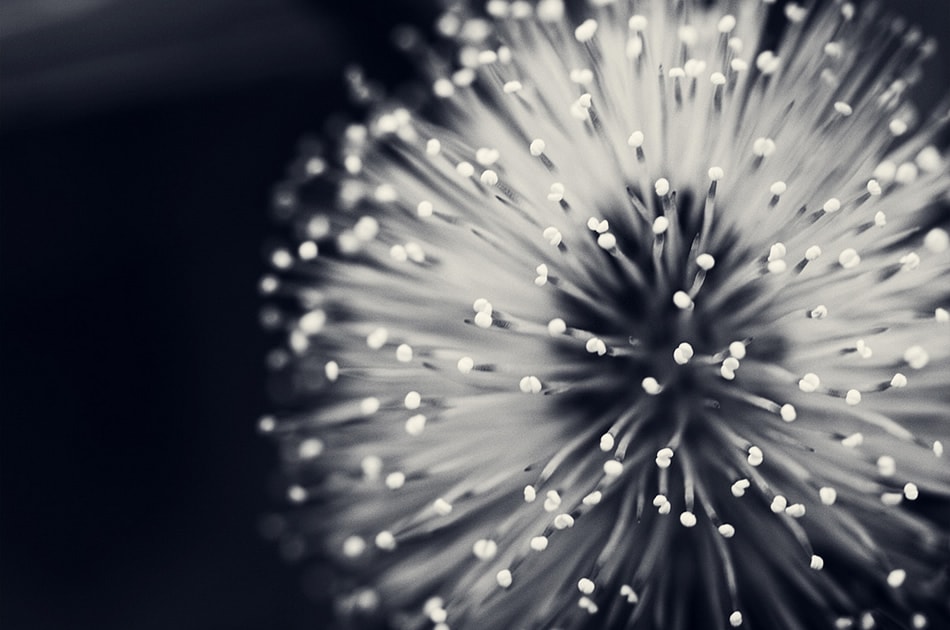
photo by Vinoth Chandar
Of course Ansel Adams produced some of the most stunning black & white imagery on record, also came up with the Zone System, which details every shade of grey from pure white to pure black. It’s this range of greys that will really add the subtlety to your shots and looking for a range of tones is the easiest way to start producing great black and white shots.
Try and avoid shooting with really bland skies, or taking shots with just two contrasting colours, as these will just blend into one when converted.
You also need to keep a very close eye on over and under-exposure. High-key subjects can, for instance, appear really under-exposed in black & white. Try dialling in a little positive exposure compensation to balance this out. Keep your ISO low as well, as digital noise introduced by higher ISO settings really doesn’t look attractive in the way that film grain did or what you can achieve in post with Lightroom!
Black And White Conversions
There are a million and one ways to convert colour images to black & white using Photoshop or Lightroom, and also a number of plugins, presets, and actions available. Whichever one you choose, it’s often the little tweaks you make afterwards that produce a really great image. Photoshop also comes with a much improved b&w conversion tool (found in Image > Adjustments > Black and White), which allows for specific colour channel adjustments. Once you’ve used your conversion, you can then make further adjustments.
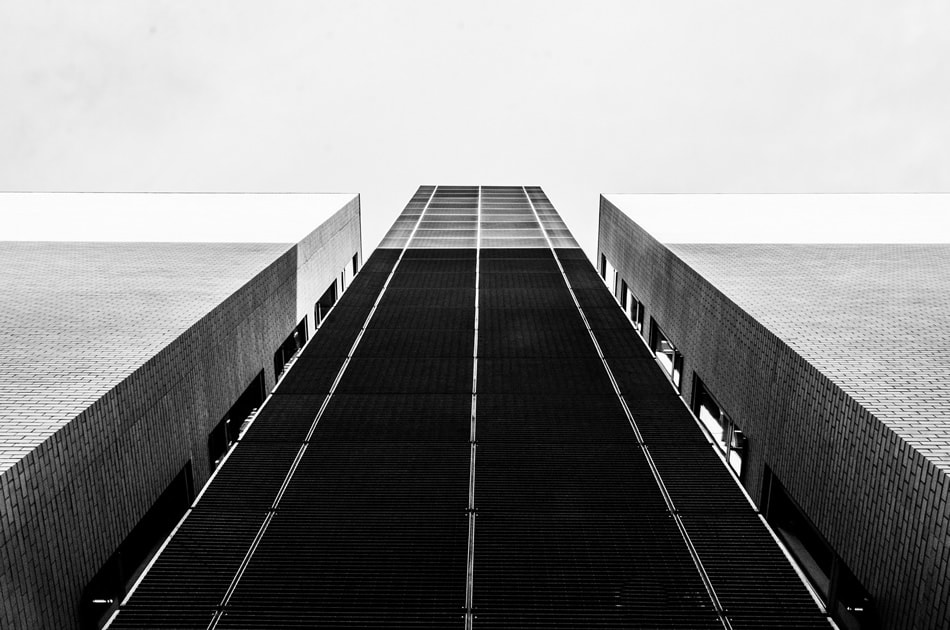
photo by Mike Kniec
Back in the days of the darkroom, we used to use a technique called dodge and burn to either lighten or darken specific areas of an image. Fortunately, Photoshop and Lightroom have a specific dodge and burn tools and this can often be your best friend when it comes to producing strong black & white images, allowing us to lighten or darken areas of an image and bring out more tonal qualities.
Another technique that dates from the darkroom days is the use of contrast. In the darkroom, graded filters were used to add contrast to an image, which is pretty vital for black & white imagery. In Photoshop and Lightroom you can go a step further and use a Curves adjustment layer to selectively increase the contrast in the areas of the image that you want it.

photo by Holley And Chris Melton
Finally, black & white imagery often benefits from being slightly sharpened to bring out the fine detail. You can do this quite safely using the Unsharp Mask filter in Photoshop or learn to sharpen your images in Lightroom (there’s also some excellent LR presets to help with that on the Contrastly store) as the lack of shadows makes noise far less noticeable.
By following those tips, you’ll start to produce some really stunning black and white imagery! Oh, and don’t forget that you can always use the monochrome setting on your camera to trial the kind of result you’ll get when you’re starting out.
Happy shooting!
About the Author: Jo Plumridge
Jo Plumridge is a UK based photographer, writer and lecturer. She specializes in portrait, corporate and travel photography, and writes photography, travel and comedy pieces for magazines, websites and books. You can see some of her work at her website, or follow her on Twitter.