Shooting Sun Flares 101

Dramatic, eye-catching and gorgeous, sun flares can be that extra something special in your images that prompt viewers to take a longer look.
Understandably, modern camera equipment is designed to reduce flare as much as possible (I guess manufacturers never stopped to think that flares can also add an interesting effect to photos!). Yes, you’ll have a small uphill battle of sorts to therefore make flares appear in your shots, but the following tips and tricks will help you get around this small predicament in no time flat!
Get a Hold of a Reflector
The purpose of a reflector is to reflect the sunlight back to the subject you’re shooting. It’s no surprise that getting flares in your shots is made easier when a reflector’s nearby.
Normally made from a fabric, a reflector is pretty versatile. You can hold it right in your hands, put it on the ground for stability, or hang it from a freestanding base.
You’ll get the best results from a reflector meant to promote sun flares if your subject is in the shade.
Block Out the Light
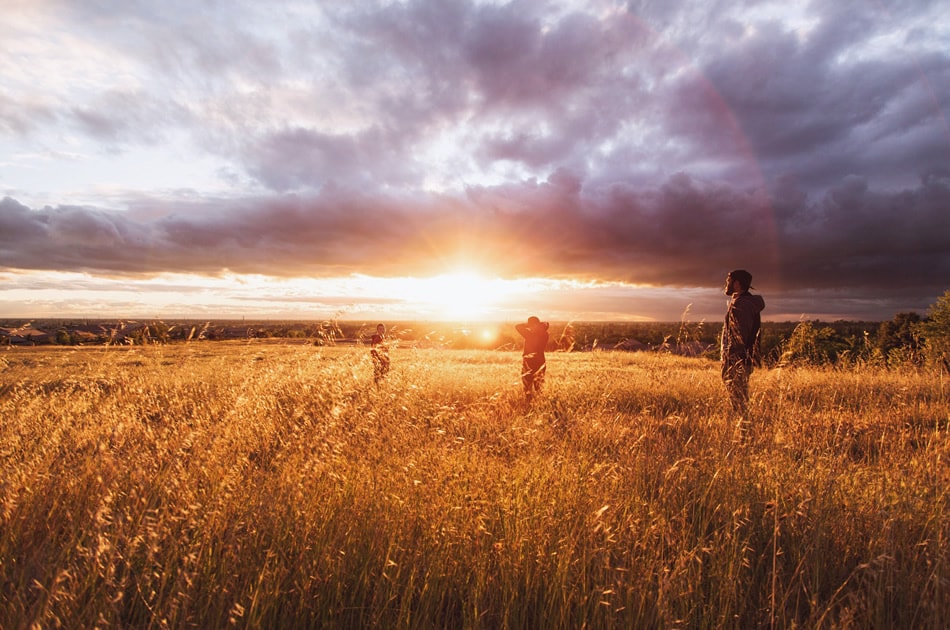
An adversity of shooting for sun flares is the sheer amount of natural light that ends up directly hitting your lens. When the light is streaming into your lens this way, it’s going to be very challenging to properly shoot your subject. The answer is blocking out the light, so you can focus properly. Even something as basic as just putting your hand up to shield your face will do the trick, yet there are also other solutions that you can try.
You can position your subject so he or she is blocking out the light. You can also use something in the scene of your frame, such as a big building or a tree to block out some of the light.
If you go with the most straightforward choice of using your hand, just hold your hand out over your lens. Then, block the light getting into your lens, focus on the subject, take away your hand, and finally recompose the shot to your liking.
Try Different Times of the Day
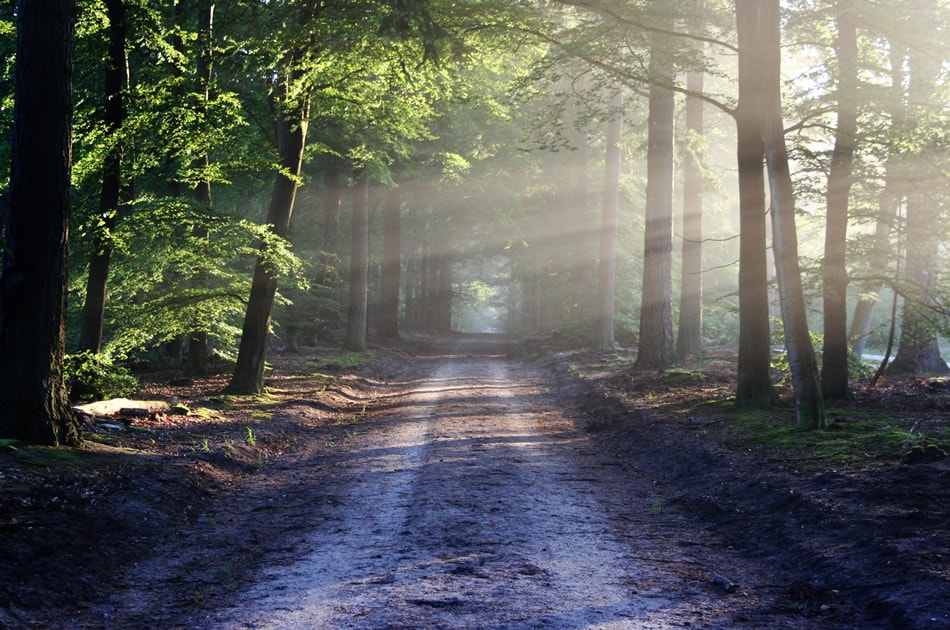
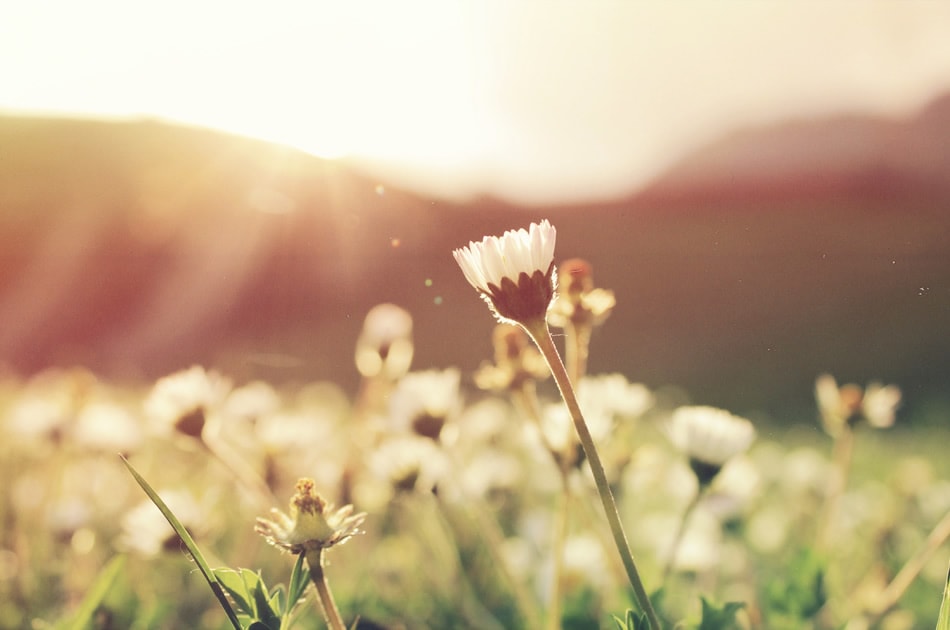
When you shoot at different times of the day, you get different effects. In particular, during sunset and sunrise, the sunlight will stream in at memorably unique angles. As a result, the sun flares you’ll capture at these times will give off a warmer and golden color. On the flipside, shooting during the middle of the day produces cooler tones that are more neutral than anything else.
This is a perfect example of how sun flares can look quite different from each other. Just because you’re shooting light from the sun doesn’t mean that it’s going to always be consistent in terms of color and feel.
Do Some Manual Shooting
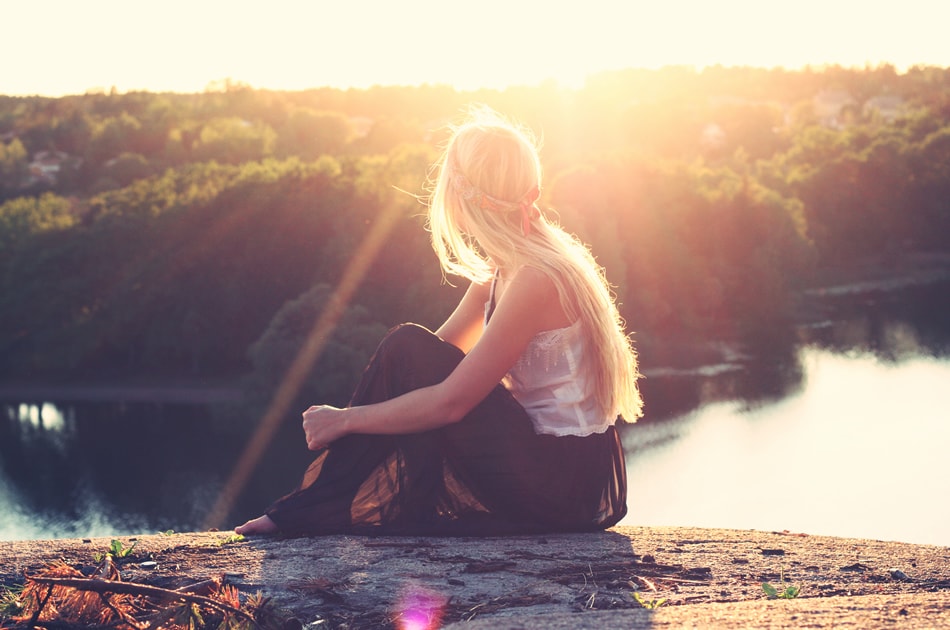
Help your sun-flare shots come out well by shooting on manual. When you shoot in auto, there’s always a tendency for the subject to come out underexposed. This is due to the reflective meter of your camera seeing all of the light that’s streaming right into the lens.
What does this mean in practical terms? The more sun flares you get in your shot, the more your subject will become darker. Too much sun flare, and your subject could even end up looking like a silhouette of sorts.
To avoid this issue, it’s better to stick to manual when shooting sun flares!
Utilize Filters
Filters are tools that can make your life a bit easier when taking shots of sun flares. Filters help to regulate the light, thus helping to keep your colors more vibrant. There are three kinds of filters that can make a difference.
First up is the UV filter. This filter can guard your camera’s sensor when it’s pointed up at the sun.
Then, there’s the graduated neutral density filter, which is darker on top and lighter on the bottom. Here’s what you should know: It can keep a portion of your image from looking blown-out, which tends to happen when you’re looking right into the sun.
Finally, there’s the polarizing filter. This one is perfect in your quest of getting various effects when you shoot. When you rotate it, the filter will also help to raise color saturation and lessen reflections. Experimenting with this type of filter to see how exactly it impacts the sun flares is always recommended.
Use Your Surroundings
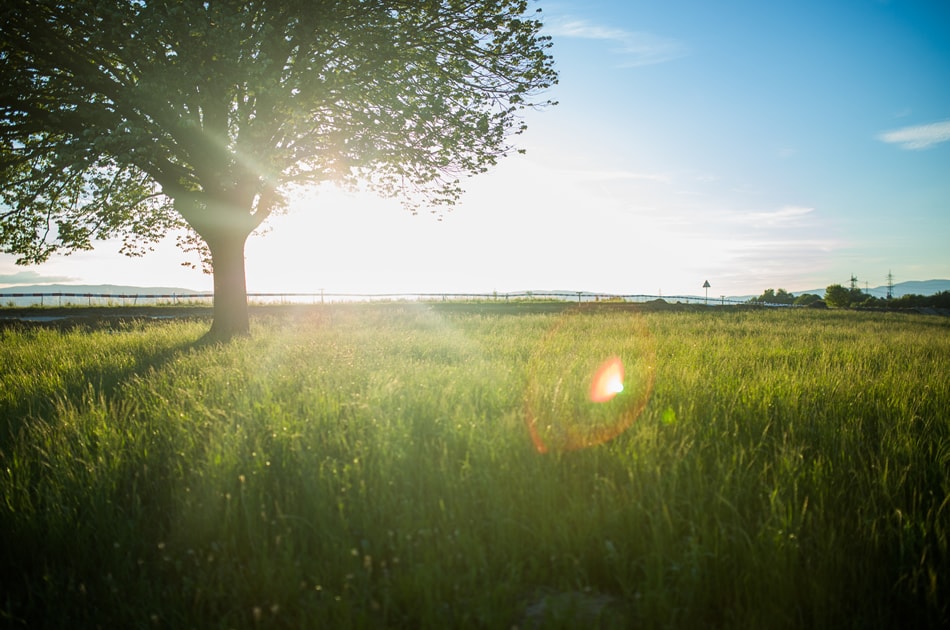
Photographers know that using their imagination sometimes yields great results. This is especially the case with sun-flare photography! Play around with your environment to see how you can use it to maximize the flares in your shots.
One neat idea is to have your subject work alongside objects that the sun can shine through. Have your subject move their body in such a way to complement these objects. It’s also a remarkable way of promoting fundamental composition techniques into these sun-flare shots.
Try the Tripod Plus Remote Shutter Release Combo
Putting your camera on a tripod reduces camera shake. You’ll definitely want to do this if you’re already using a smaller aperture setting for a sharper, better-defined flare shot. However, the downside to using a smaller aperture is the longer period of time it’ll take for your camera to actually shoot. This extra time is what increases chances of camera shake.
So use your tripod if you’re going with a smaller aperture. Now, you’ll get sharper shots of flares without blurry images from camera shake. That sounds like the best of both worlds!
A Touch of Drama
Add a touch of drama to your images! Sun flares are a neat addition to any photograph. These give viewers an additional treat for looking at your photo. Yeah, they’re unnecessary, but they look really interesting and offer your audience an unexpected effect that can become a conversation piece in and of itself.
Of course, you have to shoot sun flares correctly, or else they’ll just be an annoying mistake. With our tips above, you’re guaranteed to take shots of sun flares that will only increase the aesthetic value of your images.
Interested in adding flares and light leaks in post? Check out our Lightroom Presets and Photoshop Actions!
About the Author: Marc Schenker
 Marc is a copywriter and content marketer who covered photography. These days, he runs The Glorious Company, a content marketing agency.