How to Take Good Pictures With Your Smartphone
 by
Contrastly
by
Contrastly

Cell phone cameras have come a long way since their inception in Sharp’s J-SH04 phone back in 2000. Even the phones with relatively low resolution today, dwarf the Sharp’s 0.11 MP.
Although much has changed, what hasn’t changed, whether you are using a point-and-shoot, a mirrorless camera, DSLR, film or your smartphone, is good photography techniques.
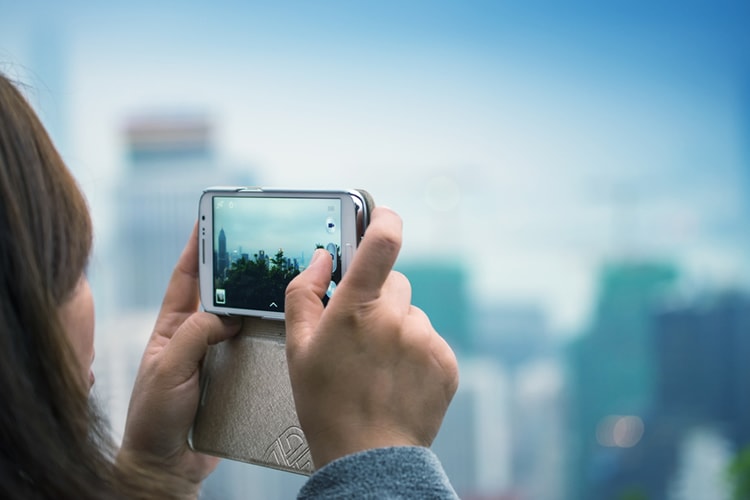
There is a famous quote by landscape photographer Ansel Adams that goes, “The single most important component of a camera is the twelve inches behind it.” You still want to use the best equipment, so CNET lists the best camera phones for 2015, including the new Galaxy Note 4. Once you have your phone on your person all the time, you might as well learn how to use it well with these basic photography rules.
Framing
Framing your photo is one of the first concepts you should learn. The frame simply is what your image is within the edges of your camera or screen. It is important what you as the photographer choose to keep in the picture and, just as importantly, what you chosse to leave out.
One of the most basic rules of photography is the rule of thirds. Strictly speaking, this rule divides your frame into thirds either vertically or horizontally. By placing a subject along one of these imaginary divisions, your image will be more visually appealing because the human eye is naturally drawn to these divisions.
Another aspect of framing is how much of the subject fills the frame. Generally speaking, our eyes are drawn to the largest, brightest object in a photo. So, if you follow this guideline, you can make your photos more visually striking.
Most smartphone cameras have enough resolution that you can crop your images after the fact to properly frame your image. However, in doing so, you lose the detail that the extra megapixels afford you. This rule also applies to any sort of digital zoom that your camera might have because it essentially takes an image that is cropped from the beginning. Instead of zooming in, move closer to your subject to get the proper framing to get better results.
Lighting
Much of the time, when you’re taking pictures with your phone, you have to work with whatever lighting is available to you at the time. Although this is fine or unavoidable most of the time, you should try to optimize the lighting you have. If possible, move your subject to eliminate any hard shadows that form around the eyes, nose and neck. If this isn’t possible, using the flash, even in some daytime situations, can help to smooth the shadows out.
Color
If you ever have a picture that looks very orange inside or very blue outside, that means that your white balance is not set properly. Many smartphones have a way to color balance or eliminate blue or orange casts that lights give off. Make sure you set the white balance to your situation. If you’re not sure how to do this, many phones have preset options to best suit different types of environments.
“The best camera is the one you have with you,” and today, the cameras in our phones are only getting better. Don’t be afraid to take pictures with your phone. Instead, learn how to take better pictures by treating it like the camera it is.
About the Author: Contrastly
Our mission at Contrastly is to help photographers all around the globe improve their craft and learn new skills. We create unique Lightroom & ACR presets, Photoshop actions, ebooks, and video courses. We also publish a popular blog with instructional articles, reviews, and tutorials.
Follow Contrastly on Twitter, Facebook, and Instagram. And make sure you subscribe to the bi-weekly Contrastly newsletter.