The Art and Style of Architectural and Interior Design Photography
Architectural and interior design are two of the most innovative fields photographers can embrace. They may not be as mainstream as street, portrait or fashion photography, but they offer a level of artistic and professional fulfillment that’s way beyond the ordinary.
Before clicking the camera, there are some things that must be learned about architectural and interior design photography. First off, it is best to consider the two as one despite being different in certain aspects.
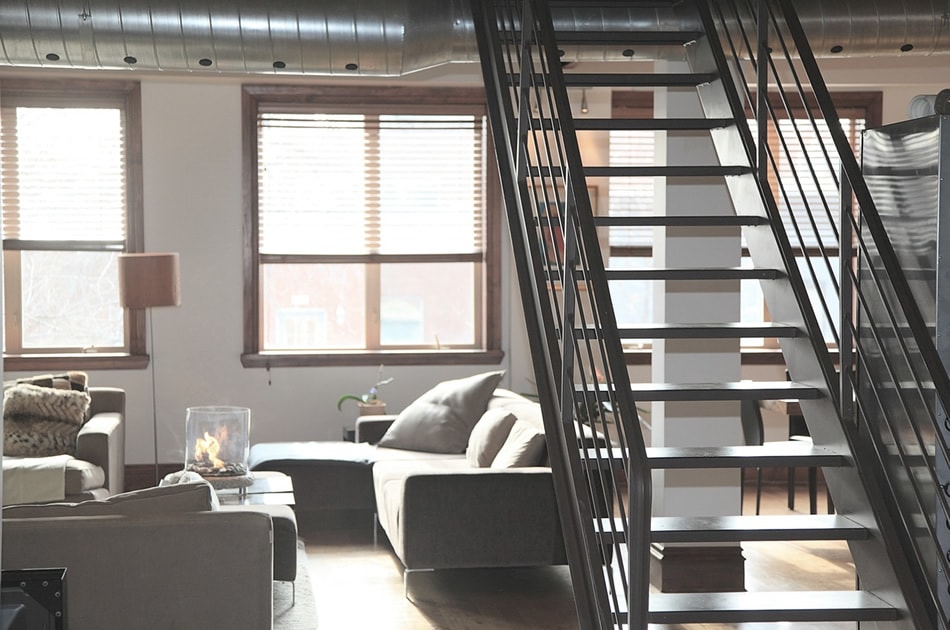
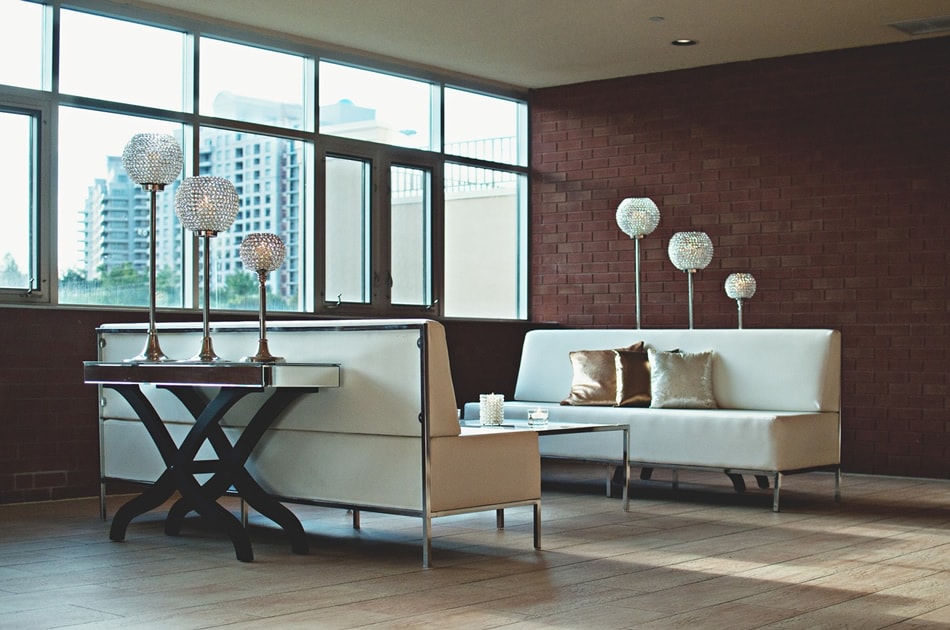
As you know, architectural photography deals with particular architecture aspects of a structure or place – like the renderings of a circular stairway. Interior design photography, on the other hand, focuses on the interiors of that structure, including the pieces of furniture, the walls and decors sprinkled around the place. Taken as one, they complement each other.

Basically, both are used to take photos of a home, building or any similar structure. When you take interior design shots, you also feature the architecture of that particular place.
Tips and Techniques
One of the reasons why architectural and interior design photography has become popular is the many websites catering to architecture and interior design services. These may be established companies, startups or individual businesses. Since they need to advertise their services, many of them hire photographers to shoot their finished projects.
Additionally, architecture and interior design magazines also abound the market, which could also become venues for photographers to showcase their work.
However, it is not enough for one to have the right camera equipment and gear. One has to have a good eye for details, a natural attraction to anything creative and extraordinary, and more than enough knowledge about architecture and interior design photography.

Here are some basic tips and techniques that can help you or anyone who wishes to seriously consider architectural and interior design photography.
- If you plan spontaneous photography trips, always have your camera ready with you. You never really know when you will find a place or structure worthy of your camera’s attention. If you know that you are going somewhere that is surrounded by buildings and interesting structures, prepare a list of scenes that you might find there and shoot. However, make sure that you follow rules and regulations. As much as possible, ask permission from the building management before you shoot. This should always be number one in your things-to-do list.
- Architectural and interior design photography normally uses wide angle or ultra wide-angle lens. Be sure to invest in any of the two, or in both. You may also want to consider a lens that allows you to take fish eye angles or shots, especially if you want some drama in your images. Do you have more than enough money to burn? Try the tilt-shift lens. They’re more expensive than the ultra wide-angle lens, but they have many uses. You can’t only take wide-angle shots, you can also “tilt” some angles for that extra perspective. More on tilt-shift lens below.
- Interior design shots are best taken when you are standing in the corner of the place you are shooting. This is the best way to get the widest and most creative perspective of the interiors. To make sure that you get the best angle, practice shooting from different corners of the room or place. Be sure, however, that you are not facing the wall when you do this. You can, like other photographers, place your camera against the wall so you’ll get a wider angle.
- As is the usual in photography, good lighting is important. Be sure that everything is well-balanced; not too dark, not too bright. Whatever light source is available to you, be sure to take advantage of it. So, if there are lamps or fireplaces, make use of them. The best kind of light is the natural one that comes from an open door or window. Try shooting during the golden hours – very early in the morning as the sun rises or late in the afternoon, before or as the sun sets.
- Vertical lines are essential in architectural and interior design photography. They are important because they need to be avoided as much as possible. When you move your camera in an up and down motion, the tendency is for vertical lines to come together. If this happens, the building, home or whatever structure you are shooting will appear as if it is about to fall off. This will not give a good impression to the architect or interior designer. You can keep vertical lines “vertical” by using a tilt-shift lens.
- Find time to “choreograph” and organize your shots. Do not just click away and shoot. If the interiors of a house you are shooting are not properly arranged, find time to fix them up. If you want fluffy pillows on the carpeted floor, place them there. If you want the neon sign of the building to light up, ask someone to turn it on for you. Again, the magic word is please. Always ask permission first.
- Play with the aperture of your camera. This is especially important if you want something in the background to be blurred out or in focus. Remember, depth is a valuable word for any photographer, in any photography assignment or project. For bigger spaces (indoor shots), set your camera to a larger f-stop to achieve sharp focus. Usually somewhere between f7.1 to f11 will work great.
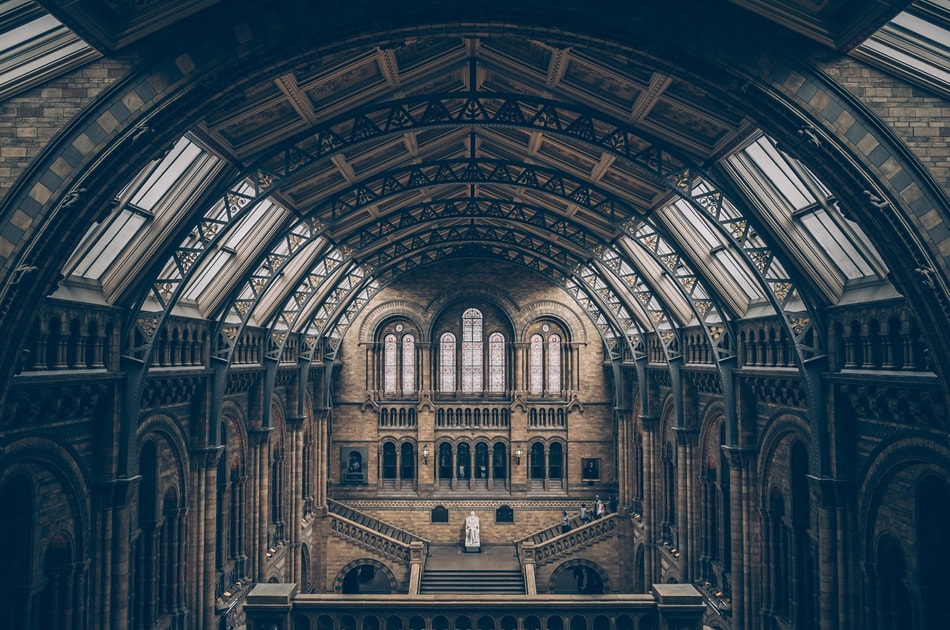
- Aside from shooting from the sides, you can also choose to shoot from high up the place/space. You can use a staircase, or if there is none, a ladder. This will be especially helpful if you want your photo to achieve a grand effect. Be sure to check your frames and shots so the image will not be cut or edited out.
- You can also shoot from below like when you are crouched or lying on the floor looking up. This will not only give you a bug’s eye view, but also a breathtaking image.
- Lastly, do not be afraid to use props. If you need an extra couch or some colorful flowers, look for things that you can use. Some photographers invest on their own props, so you can do the same, too.
Do not be afraid to practice and experiment with your shots. Several days before the actual shoot, go to the location and check out the place and building/structure. Take some practice shots. This will give you an idea of what to do when the actual shoot happens.

Moreover, do not hesitate to use software and do post processing work. This is essential if you want the right sharpness, color and contrast in your photos. Add more saturation, clarity and warmth to your photo.
Once you have mastered these tips and techniques, you will be ready for any architecture and interior design photography project thrown your way.
