The Ultimate Guide to Improving Your Exposures in Landscape Photography

While most cameras today do a fairly decent job of properly exposing the scene at hand, they don’t get it right all the time.
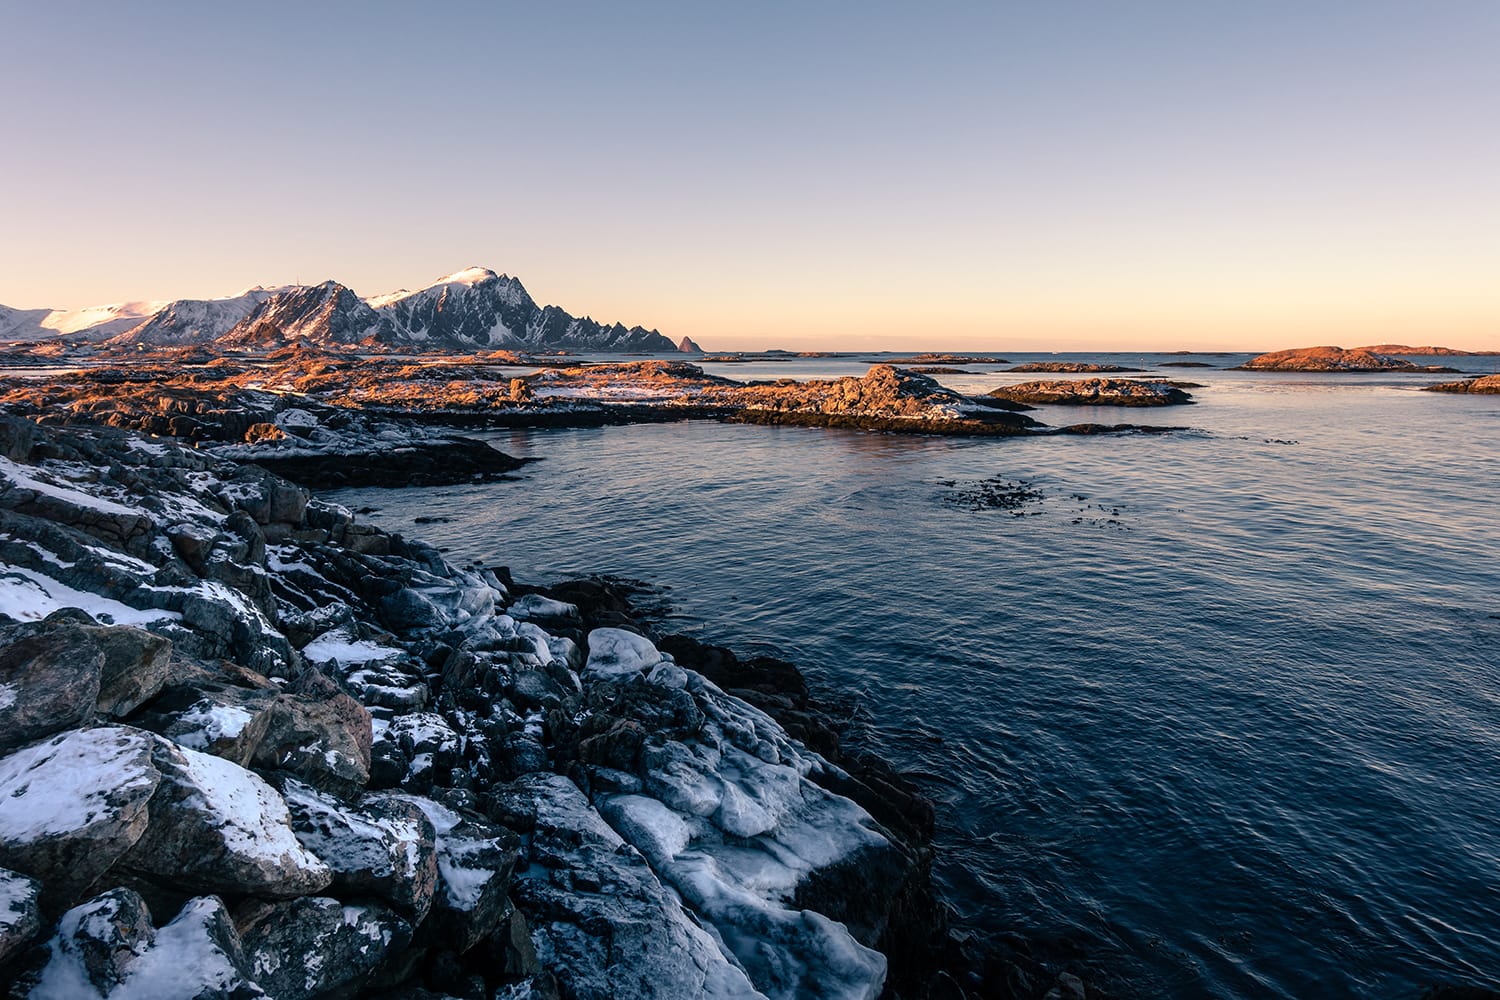
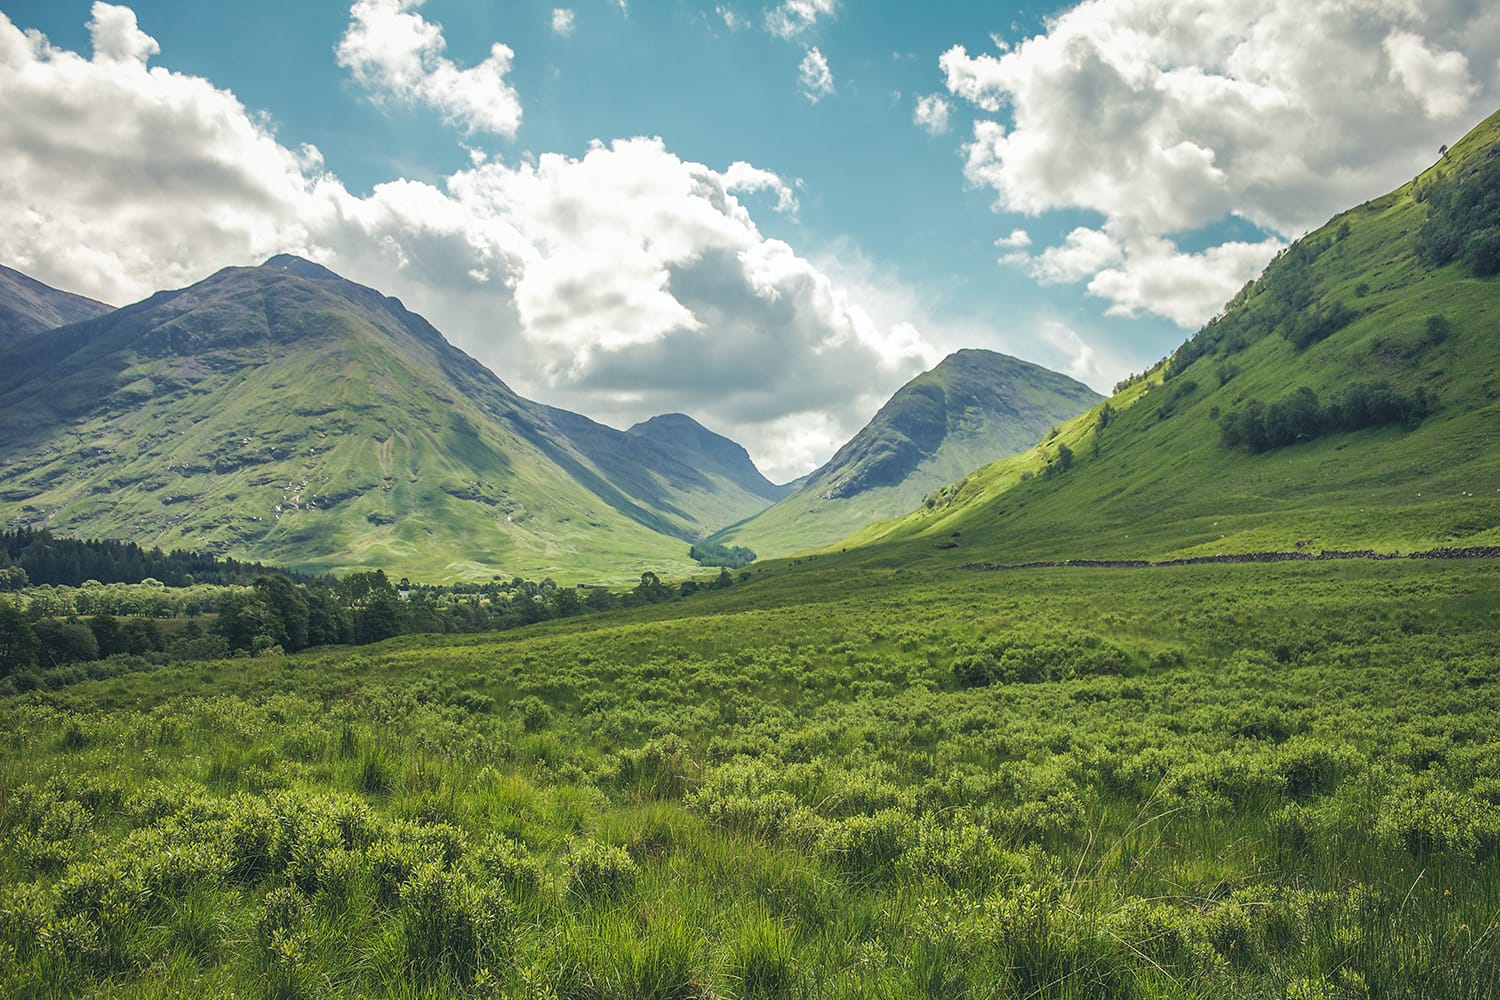
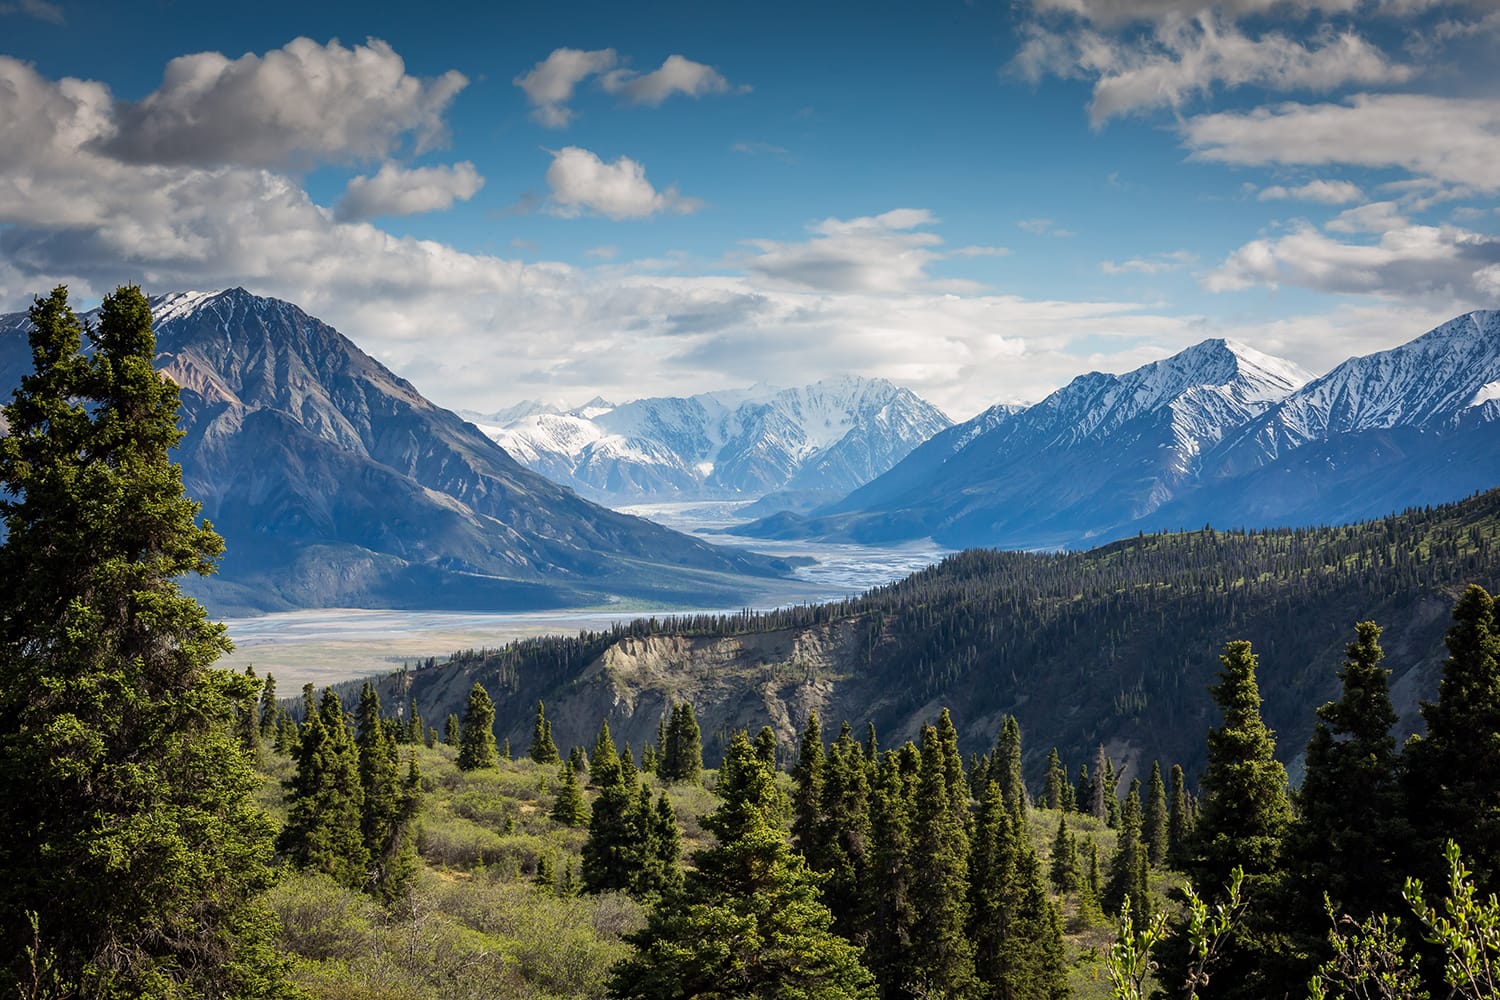
This is especially true for landscape photography, where quickly changing lighting conditions – and compositions that include both dark and light areas can often result in images that are too light or dark – or where part of the scene is underexposed while the sky is blown out.
In tricky lighting situations, it’s easy for your camera’s light meter to get confused, resulting in an over or underexposed image. In other cases, where you may intentionally overexpose to draw out certain details or underexpose to create a certain mood, leaving the settings up to your camera isn’t a good way to get the results you’re after.
No matter what type of images you’re going for or what effect you’re looking to create, having a clear understanding of exposure and knowing how to adjust your camera’s settings can help you get the results you’re after every time.
With this in mind, let’s look at how you can adjust your exposures for different situations and use tools that can help you capture those excellent shots.
Understanding the Exposure Triangle
First, let’s take a look at exposure itself. Exposure is based on three main components: aperture, shutter speed, and ISO. These variables work together to allow light to reach the camera’s sensor, influencing the resulting image. Understanding these three components will give you to control your images’ exposure better.
- Aperture: Aperture is the size of the opening that allows the light in to hit the sensor.
- Shutter Speed: Shutter speed is the length of time that light is allowed through the aperture.
- ISO: ISO is similar to the gain setting on an amplifier. It can brighten or darken your image (*contrary to popular belief, it does not make your sensor more or less sensitive to light.)
All three of these components work together to create what’s known as the exposure triangle. When you adjust one, you must adapt another to compensate.
The Metering Scale
Most cameras today use a process known as TTL metering, or through the lens metering, which means that the camera examines the light coming through the lens and adjusts the settings accordingly.
You can see your camera’s meter readings by switching to manual mode and looking through the viewfinder. The meter is usually found on the bottom or side and often appears as a number scale with a tiny triangle pointer above the numbers that indicates whether an image is properly exposed. The scale will have a 0 at the center, with numbers on the right to indicate overexposure and on the left for underexposure. Getting the pointer as close to 0 as possible is usually ideal as this means proper exposure.
If you depress the shutter halfway, you will engage the meter, and as you move the camera around, you’ll notice the meter readings change, depending on where you’re focusing. This is because different objects are lighter or darker.
While the metering scale is great, it only gives you a partial story. It tells you how much light you are getting, but it doesn’t show you where in the frame it is coming from or how much is coming from where. This is where metering modes come in.
Measuring the light or brightness of a scene is crucial for finding the ideal exposure for your image. Your camera should have several different ways that it can measure incoming light. Here’s a quick look at how they work.
-
Matrix or Evaluative Metering
Matrix or Evaluative Metering is your default camera setting. With this setting, your camera will look at the light in the entire scene and average it, giving it what it considers to be the best lighting. This is a great mode for evenly lit scenes or for those you’re unsure what exposure to use.
-
Spot Metering or Partial Metering
With Spot Metering, your camera focuses on a small area at the center of the frame and measures only the light in that specific space. Spot Metering is helpful for situations where the subject you are trying to capture is much brighter than the background and is especially ideal for photographing backlit subjects and for situations where you have a specific area you would like to have the exposure based off of.
-
Center-Weighted Average Metering
With Center-Weighted Average Metering, your camera looks at light from the entire scene and averages it while emphasizing the center of the frame. This method is ideal for portraits since most subjects tend to be in the center of the frame and often proves to be the most effective way to get the right exposure.
The mode that you chose will depend greatly on your desired focal point, available lighting, and of course, the type of image that you’re looking to create. Be sure to check your camera’s owner manual to find out how to change these settings on your camera.
Use Exposure Bracketing
Using exposure bracketing to take a series of different exposures is a great way to increase your chances of capturing an image with the right exposure. With bracketing, you can capture a sequence of images with different exposures, resulting in a series of slightly lighter and darker images than normal. You can also use the resulting images to create an HDR composite in post-processing later if you’d like to.
Check Your Histogram
Your histogram can be a useful tool for determining if your photo is over or underexposed. Take a shot, then check your camera’s histogram. A well-exposed landscape that includes a lot of colors will give you a nice curve, rising in the middle and going back down toward the right.
If most of your pixels are on the left, chances are your image is underexposed; too many on the right, and it’s overexposed. However, in many cases, you might prefer a slightly underexposed image since the colors you see will be deeper and richer, so keep this in mind when reading your histogram.
Use an ND Filter
Using a graduated neutral density (ND) filter is a simple way to capture properly exposed landscapes. ND filters reduce some of the light going into the lens, making them ideal for photographing images that include a bright sky and a darker foreground.
While getting your exposures right takes a lot of practice, it’s worth spending some time brushing up on your knowledge of the exposure triangle and the different metering modes that your camera is capable of.
Once you’ve mastered the basics, you’ll be able to capture images that are well-balanced and more in line with your creative vision and won’t be caught out by tricky lighting situations again!
How do you ensure that your landscapes are exposed properly? Let us know on Facebook or Twitter!
About the Author: Christina Harman
 Christina is a part time blogger and full time photography enthusiast living in Southeast Alaska. She enjoys travel photography and has taken pictures in countries such as Mexico, England, France, and China. She likes sunny days, new lenses and drinking good coffee. You can visit her at Tangled Thoughts.