Tips & Tricks for Creating Double Exposures That Rock

Double exposure is a technique that has been used by many photographers for years. It combines photographic skills, imagination and creativity.
So what exactly is a double exposure?
Simply put, double exposure is a combination of two different images in one frame to create a unique photo. Taking double exposures means overlaying or superimposing two exposures in one frame.
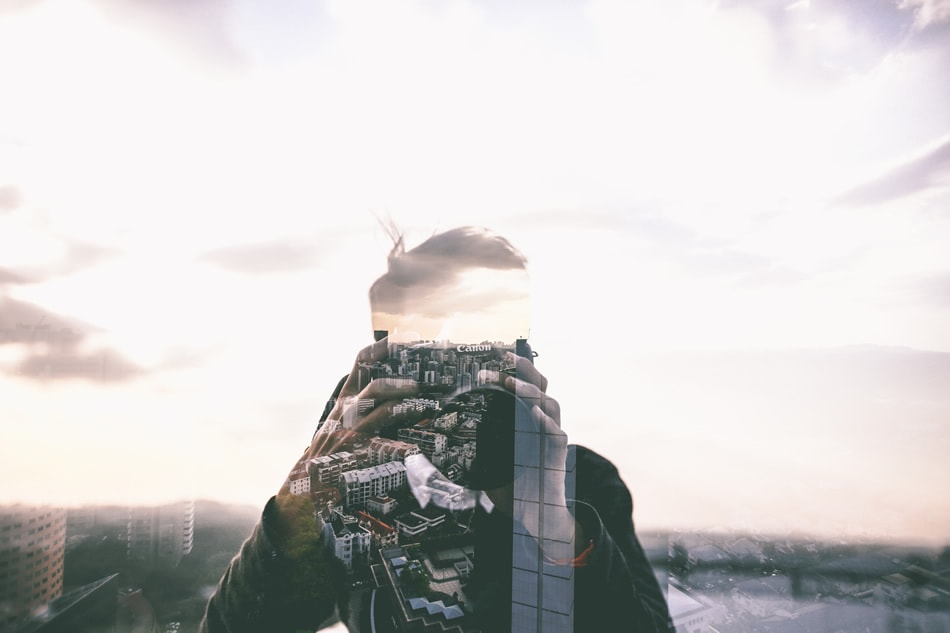
In creating double exposures, a photographer can combine a nature scene with a city scene, or a portrait with greens from a park. The idea is to come up with thought provoking, awe-inspiring and unique photos that will make people marvel at the level of imagination and creativity of the photographer. Most double exposure photos come out as dramatic, dreamlike or avant-garde (just like a painting).
Creating a double exposure photo normally requires one to take an initial round of shots and then a second round to create the superimposed images. Years ago, this was done using a film camera and a dark room for developing the images. DSLR photographers can easily also come up with double exposures, although not all digital cameras have this function or capability.
In a DSLR camera, creating a double exposure image can be done with the help of several camera settings. As previously mentioned, though, this function is not available in all DSLRs (and those functions may be available in other types of cameras such as mirrorless cameras). Some of those that can be used for double exposures include Canon and Nikon DSLRs; the OM-D line of cameras by Olympus; the X-Pro1/2, X-T1/2 and X100 cameras by Fujifilm; the A6X and A7 cameras by Sony; and so many more.
Changing your camera’s settings to get double exposures may sound easy, but there are actually other things to consider aside from that. As such, it is important to know the basic tips to follow when shooting double exposures, especially if you are a first timer.
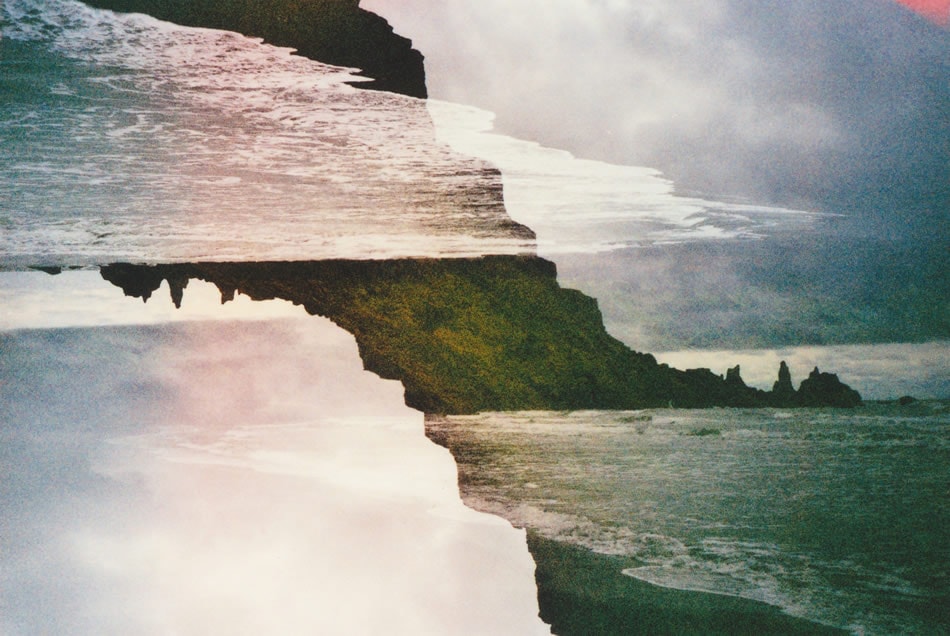
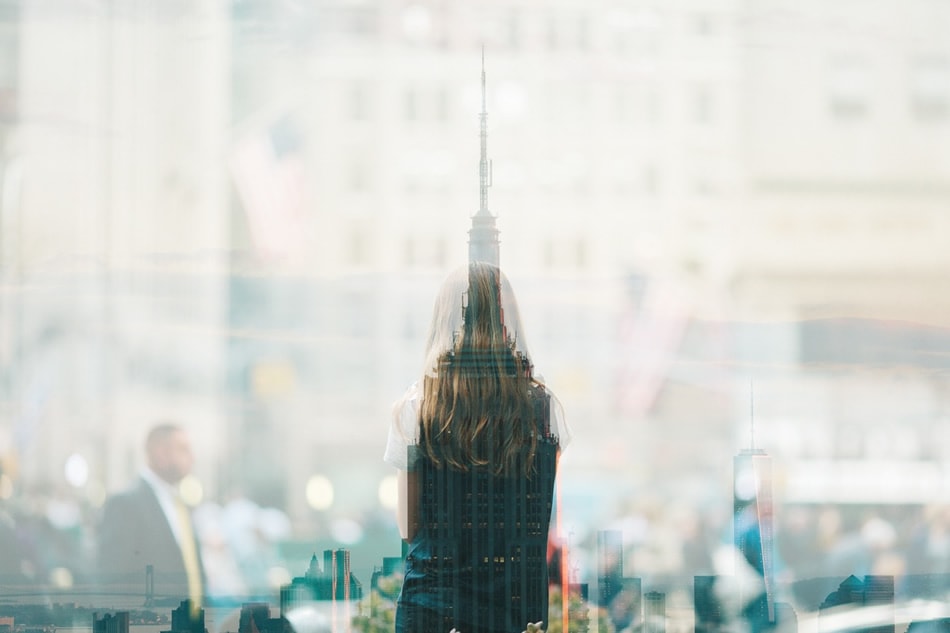
Photo by Richard P J Lambert
Shooting Double Exposures With A Film Camera
Whether you’re using a digital or the traditional film camera, you need to be absolutely sure that you have the right equipment. So, this is the first thing that you need to consider. Next, check your photoshoot location.
Come up with a shot list or a prospect for the shots you are going to take. Be sure to specify which ones are initial shots and which ones are the second shots. Additionally, you have to check the weather forecast for the day of your shoot. This will help you determine if you need to bring extra equipment and if you need to do some adjustments with your planned shots.
Before you start shooting, remember that everything in photography is unplanned. Even the most choreographed photo session often sways from the original plan. So, keep your shot list with you, but always be ready to innovate and think out-of-the-box.
Shoot Proper
You will be shooting two images with your old school camera. The first image will be your primary subject, while the second image will be the supporting or supplementary. Normally, first images have the light or sun behind them. The second image, on the other hand, can either be a landscape, figures, flowery items or a textured backdrop.
Decide which images you want to be primary and secondary and try to imagine what they will look like when superimposed. This will give you an idea of how to execute the shot.
Now, you’re ready to shoot!
Since you are using an old school camera, you will be shooting on film. Thus, you have to set the ISO to 200 to 400. In addition, since you will be exposing the film two times, you have to underexpose it by one stop.
Once your camera is set, shoot one whole roll of first images. These will be your silhouettes. After finishing the roll, rewind it and then reload. You are not yet ready to shoot over the silhouettes. If you want to take note of your shots, have a pen and paper ready so you can write down and describe the images you took.
Carefully develop your roll of film in the dark room. It’s safer if you do the developing yourself as commercial developers might not print the superimposed photos (because not all of them actually know what these are).
Shooting Double Exposures With a Digital Camera
As previously mentioned, it is important to have the right equipment before going out to shoot. For digital camera double exposure shoots, having a shutter release cable, a flash and a tripod will greatly help. Likewise, be sure to bring with you a plain black or white cloth or anything that can be used as a backdrop.
The next thing you should do is find out where your camera’s multiple exposure features or settings are. You have to be familiar with how it works. It will be a good idea to read the user’s manual and to do a simple research online. It will also help if you practice before going on an actual shoot. You can do this at home or anywhere you want to, as long as you are able to practice using two images in one frame.
What you can do with the images depend a lot on the type of digital camera you use. For example, the Canon 5D Mark III is more flexible than most DSLRs because you can shoot more than two exposures in one image. On the other hand, there are DSLRs with limitations. Take time to study your camera and familiarize its functions.
Once you are familiar with your camera, it’s time to shoot. Set your DSLR to Multiple Exposure mode and start shooting the first image or layer. You can also choose to use an image already saved in your memory card.
The next step is for you to shoot your second image. Be sure to position and frame it well so it does not cover the entirety of your first image. The two images should blend well. To do this, experiment with the angles so you’ll know which scenes complement each other well. Do not be afraid to experiment; this is what double exposures are all about.
Some Tips & Tricks to Remember
The actual steps for taking double exposures may be simple, but you will still need to follow some tips and consider some tricks that can help you.
- Although there are no set rules for double exposure photography, it is important to follow some techniques. For example, you need to know that using lighter or brighter subjects is not recommended because this will affect the details of the image. Instead, use darker scenes or subjects. The best advice? Use silhouettes. They work best for double exposures.
- However, it is also important to go a little extraordinary. You can, for instance, use a dark silhouette over a bright or shining white background. The effect will be quite dramatic, with the white washing out the image and creating an interesting scene.
- You can also choose to shoot double exposures that come out like ghostly apparitions. To do this, simply position your subject away from the frame. This will create a translucent illusion.
- Of course, some DSLR photographers, especially those who are busy, prefer to create double exposures with the help of a software. But, where’s the fun in that? It’s always exciting to try out something new in photography.
If you want to make really good, thought provoking, innovative and awe-inspiring double exposures, start practicing now. As they say, practice makes perfect, right?
About the Author: Michael Gabriel
 Michael Gabriel L. Sumastre is an experienced writer who loves to take pictures of the countryside as well as aerial photographs. He maintains his professional writing portfolio at TheFinestWriter, and you can visit his photography portfolio at Sumastre Photography. Michael was hired by Booking.com to photograph 10 of the most beautiful beaches in Palawan, Philippines.