Understanding the Depth-of-Field Scale on Manual Camera Lenses

Working with modern cameras using manual lenses provides photographers with extraordinary control to create sharp and crisp photos. However, placing the focus in an image where it precisely belongs requires an extra critical observation.
In photography, the sharpness of the subject matter expands behind and in front of the point of focus, which means that it doesn’t only exist on a plane. This expansion is also known as the DoF (depth-of-field).
It’s one of the most important concepts in photography. If you want to better control a scene’s bokeh and details, understanding the depth-of-field scale is a must. This tutorial will discuss the depth-of-field, its scale on manual camera lenses, and practical and actionable tips to capture sharp images.
Depth-of-Field Scales on Manual Lenses
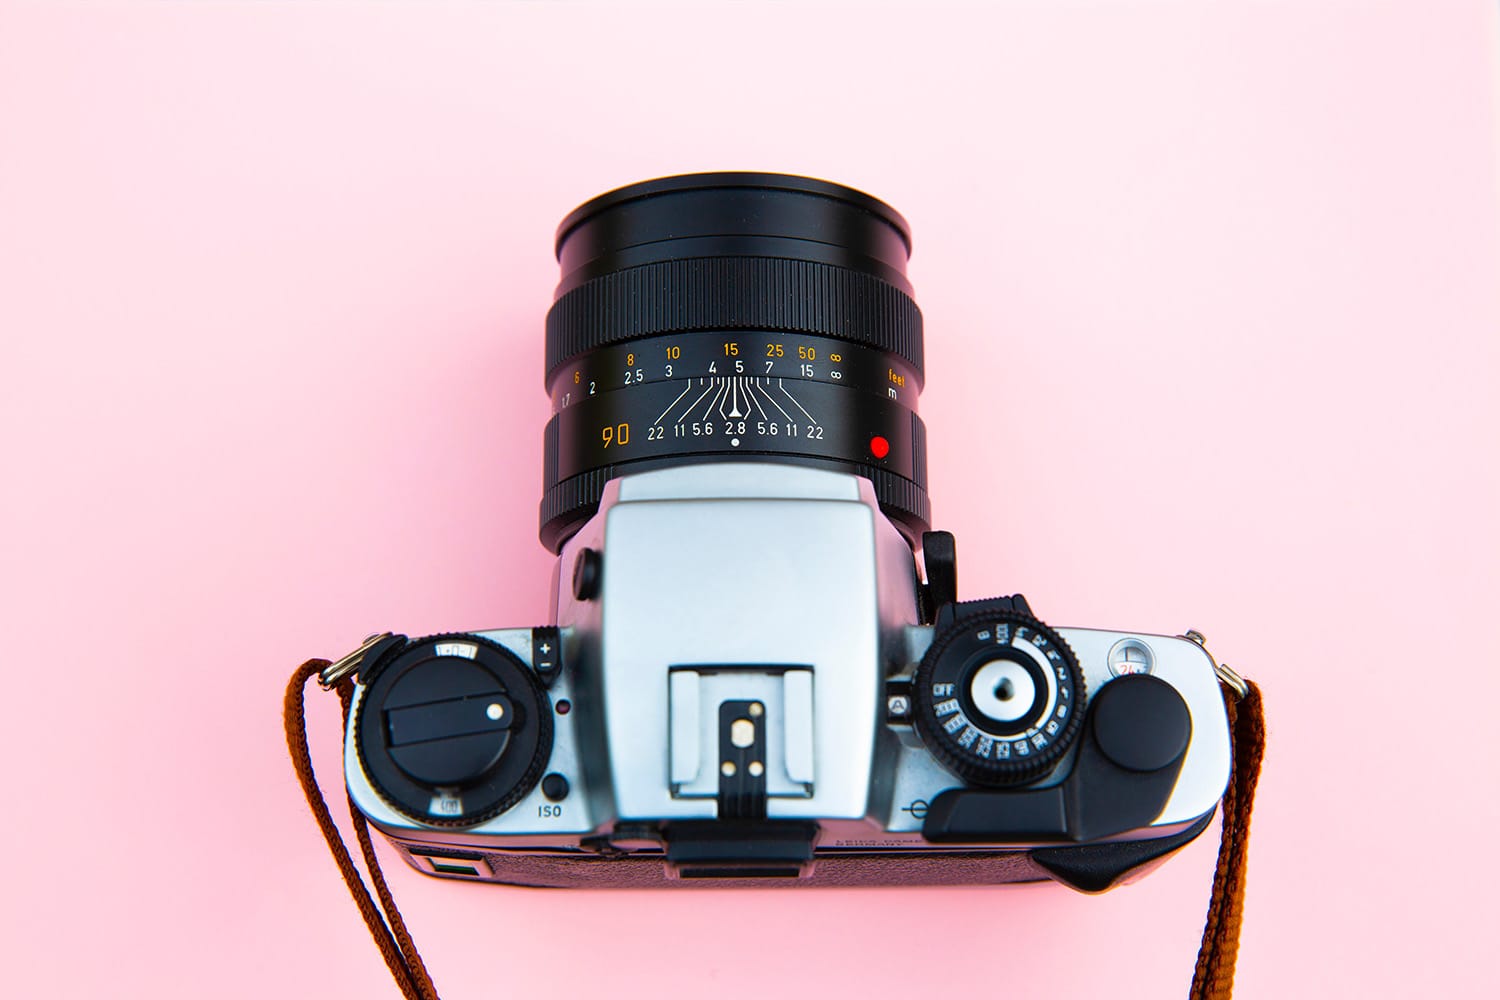
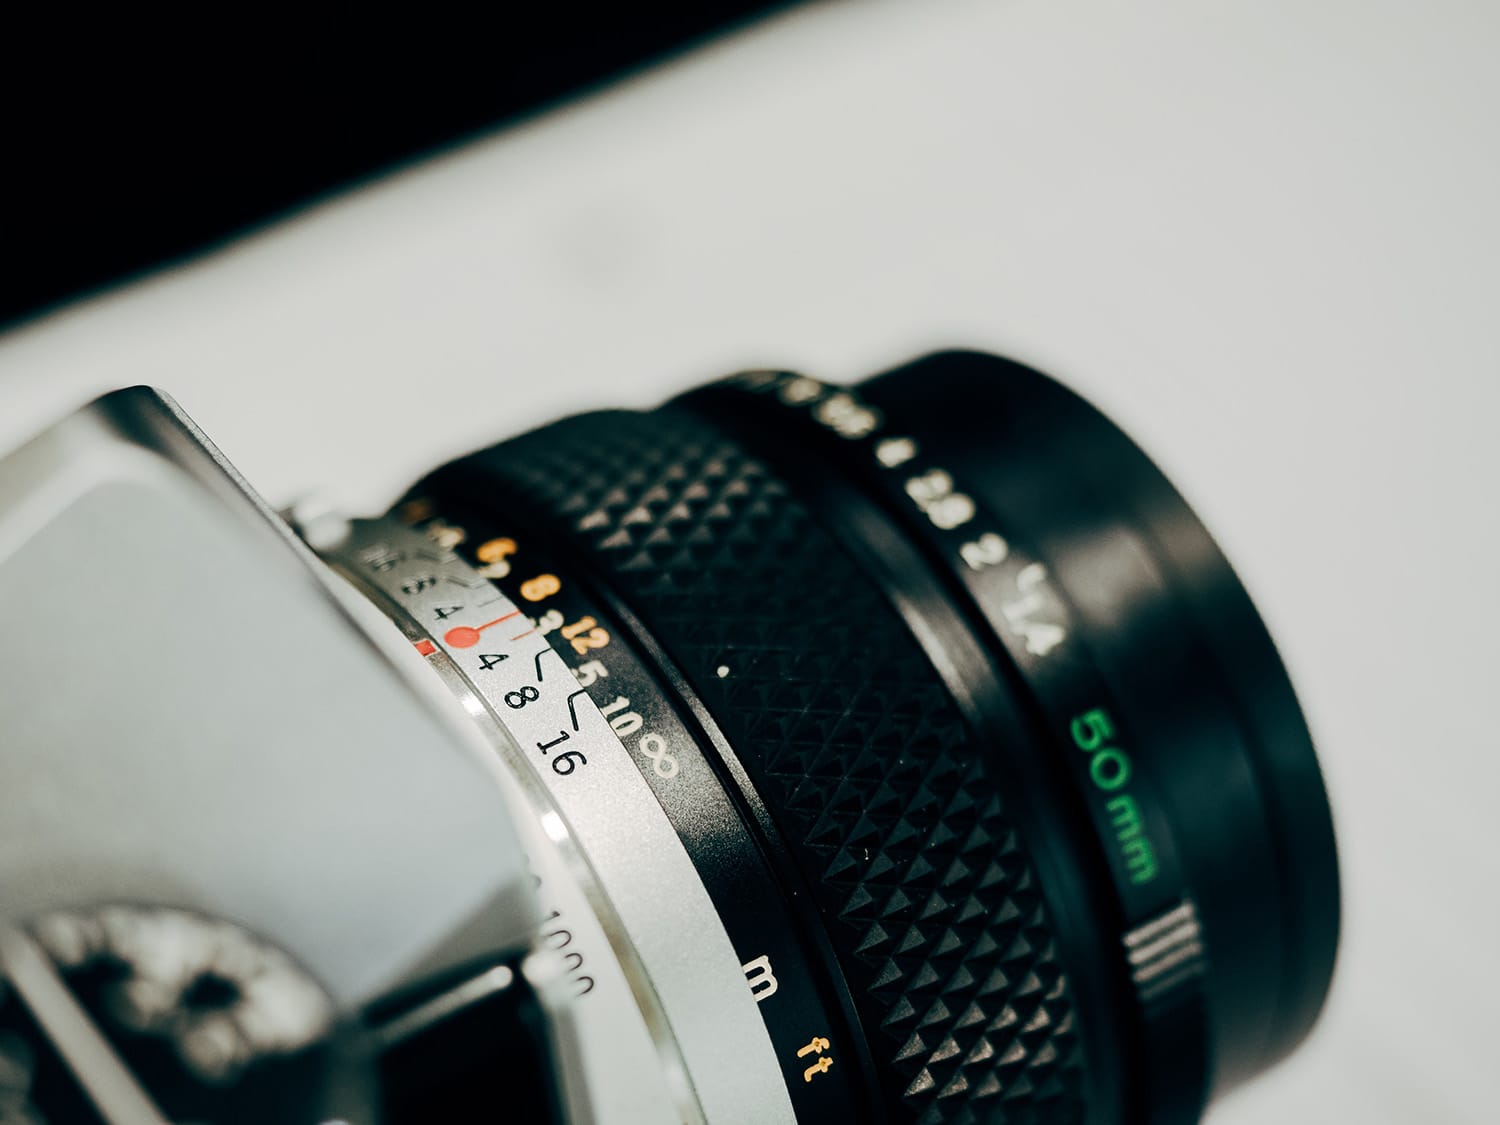
In the manual lenses, the DoF (Depth-of-Field) scale has a couple of important settings. On one side, the scale shows stationary f-stops, and on the other side, you’ll find a couple of scales for the distance that moves as you change focus. You can refer to the following image to understand both of these settings clearly.
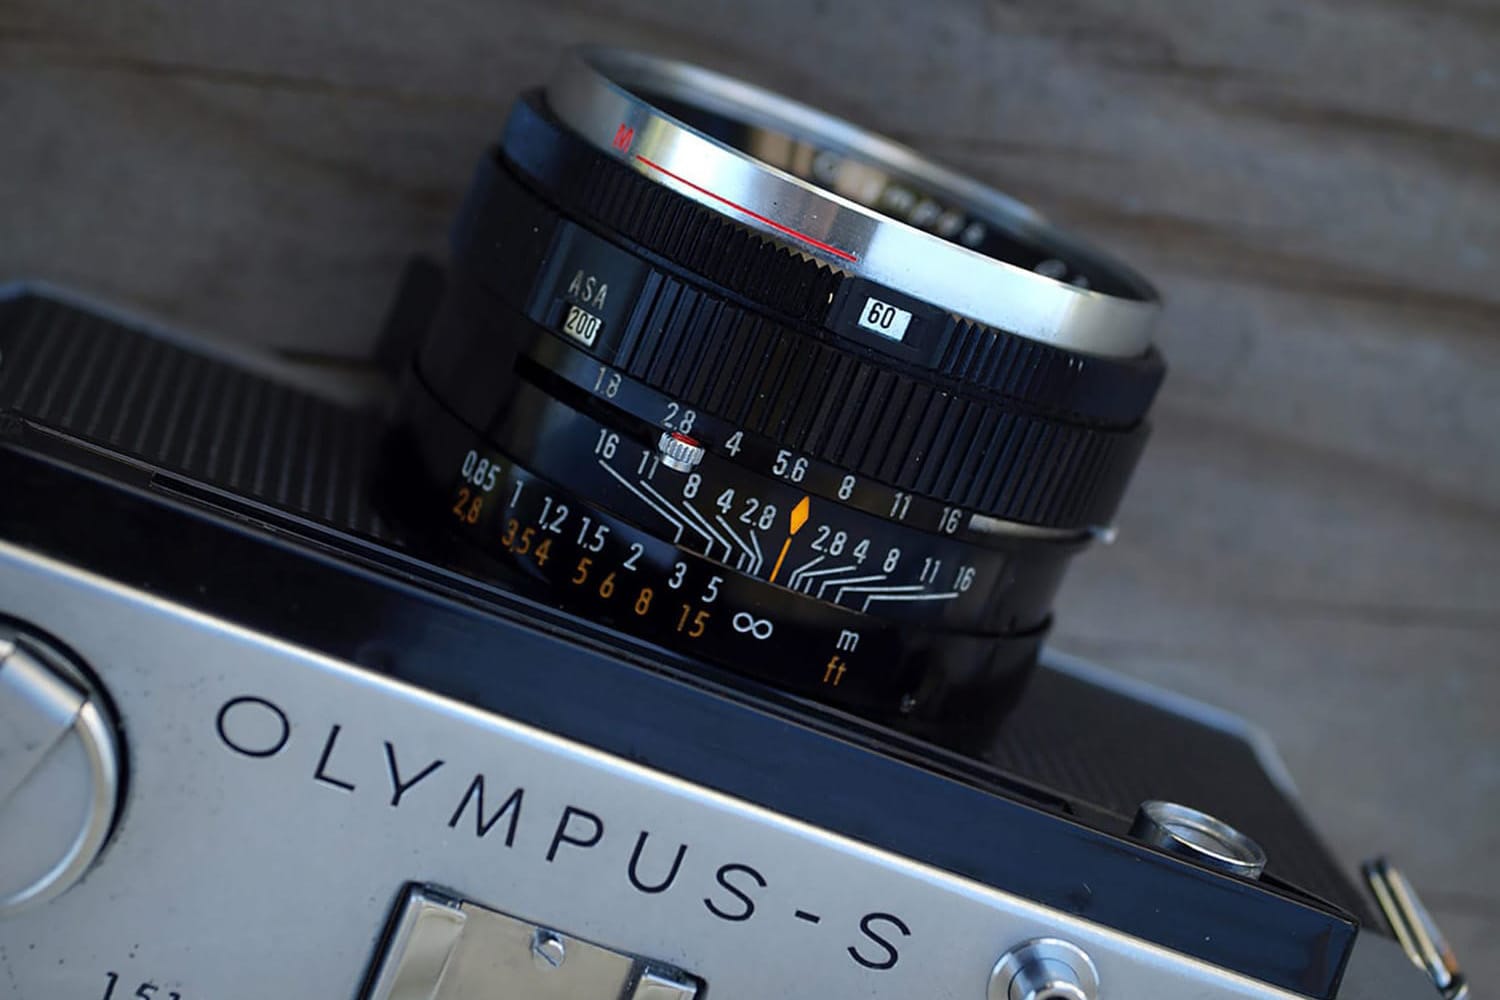
Image by orion
On the bottom scale in the above image, you can see an orange diamond, indicating the point of focus. According to the current settings, the lens will focus to infinity, but you can also clearly see the distance scale in both feet and meters below that.
Almost all manual lenses have similar scale settings that allow you to control and change the depth-of-field settings. It’s mostly located below the focusing ring around the setting index of distance. The depth-of-field scale allows you to read how far the DoF stretches.
DoF Display
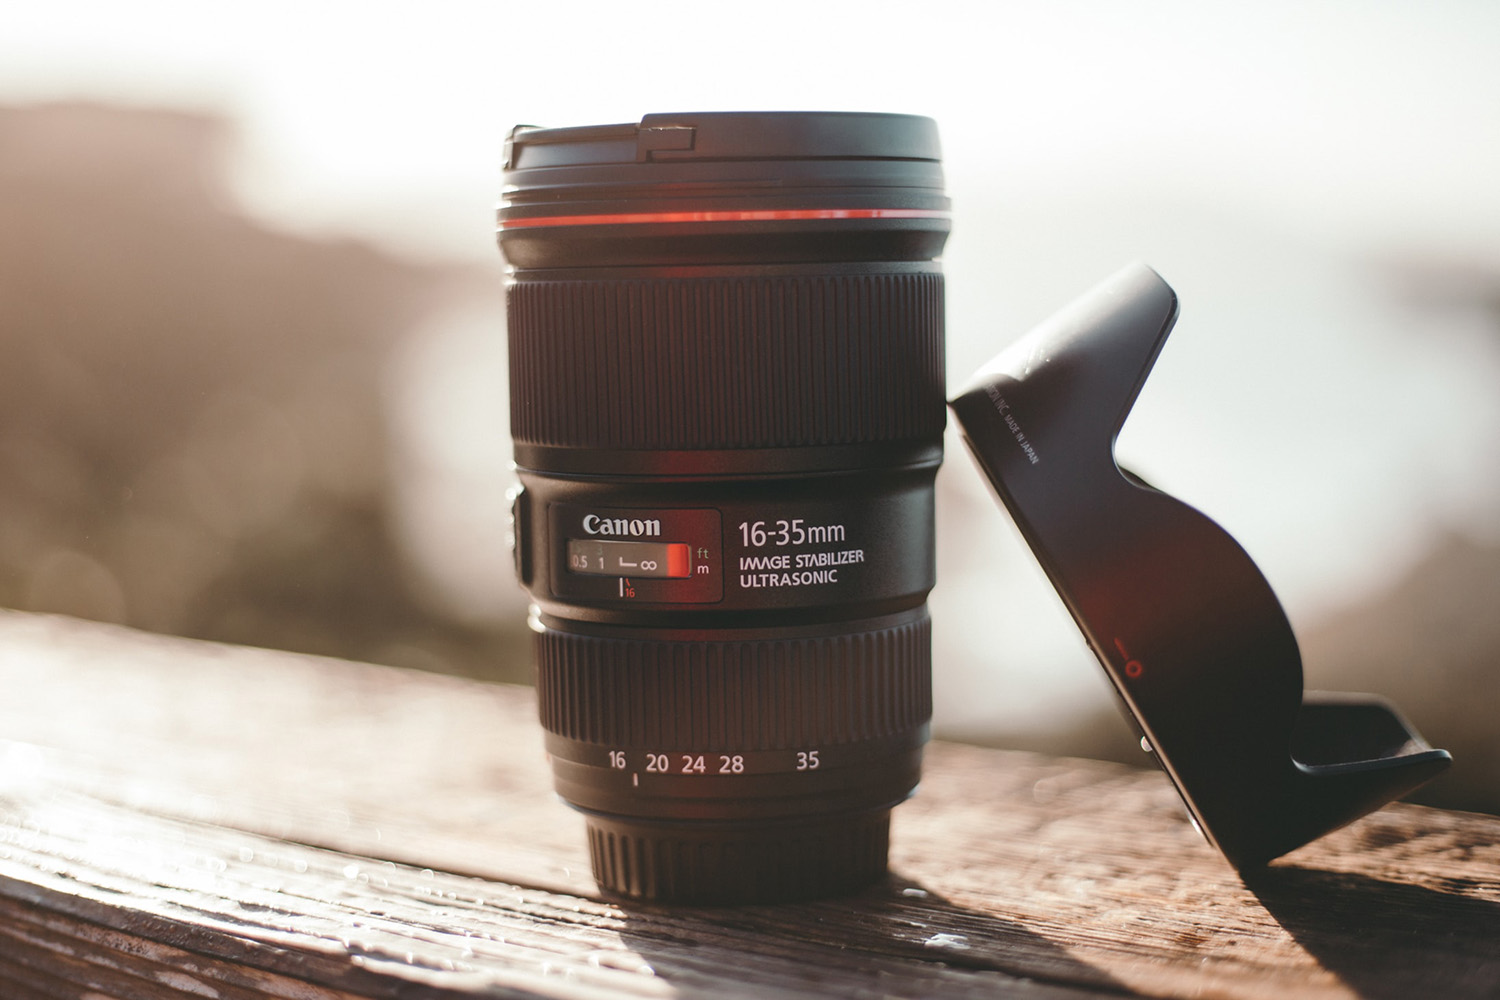
Some lenses come with a depth-of-field display that allows you to read the setting more conveniently. That goes for both manual and auto lenses, but not all lenses have such a display. On auto-focus lenses, the distance scale can be very useful when shooting in manual focus mode.
Depending upon your shooting distance, lenses with a DoF display provide you with all the required information. For example, at regular and larger distances, for a specific f/stop setting, the display provides you with the set distance information below and in the middle of the DoF limits. On the other hand, at short distances, the DoF information is shown in a plus/minus view with centimeter accuracy.
DoF Preview Button
Many modern DSLR cameras come with a dedicated DoF preview button. You can use it to assess the DoF information quickly in the viewfinder before capturing the photo.
DoF Calculator
To calculate DoF, you don’t need to take plain paper and a pen in the field (though you could). That’s because there are many apps and online tables that you can use to calculate the depth-of-field.
Factors Affecting the Depth of Field
Primarily, four main factors affect the depth of field.
1. Circle of Confusion
All the subject matters located in your point of focus will appear sharp on your camera’s sensor. Everything located farther away from the camera or closer to it will be focused on points located in front of or behind the sensor in different places.
The light doesn’t follow a dot-like cross-section line between these two points (the subject and image), but it moves as a cone-shaped ray bundle behind and in front of the lens. The cross-sections of these light cones appear in circles where they hit the image sensor. These circles are known as the COC (circle of confusion).
They’re essentially defocused blur spots. The size of the blur sport mainly depends upon the aperture setting, subject distance, and focal length.
2. Aperture
Without changing your frame, you can control the DoF by adjusting the aperture settings. You can control how narrow or wide the light cones will be by closing or opening the aperture. This way, you can decrease the size of the circles of confusion to make them appear as a dot.
3. Focal Length
The lens’s focal length affects both the depth of field and your field of view. It’s the distance from the lens’s rear nodal point to the point of focus. The longer the focal length of your lens, the shallower the depth of field and vice versa.
4. Focus Distance
Focus distance, as the name is the distance between the focal plane and your camera’s lens. The shorter focus distance generates a shallower depth-of-field. On the other hand, the farther the focal plane from the image plane, the longer the depth of field.

Practical Tips to Create Sharp Photos
Depending upon the area you want to highlight and the subject type, you’ll need to deal with DoF differently. It’s undoubtedly an essential creative tool that allows you to guide the eyes of your viewers. You can use the following practical tips to control it to create sharp images.
Approach Slowly
First things first, you’ll need to use the DoF scale of your lens or the digital display (if available) to control it effectively. Moreover, if your camera features a depth-of-field preview button, using it in test shots or live view mode is also recommended.
Perform Experiments
It’s important to note that measuring DoF figures with centimeter accuracy can be a challenging task. Both DoF calculating apps and tables provide precise numbers that DoF expands from point A to B and suggest that all the other points farther or closer than those distances won’t be in focus. We recommend you capture multiple test shots to understand how it works.
Improvise According to Your Viewing Conditions
Before pushing the shutter, you should decide what kind of photo you want to capture. You’ll need to consider your viewing conditions, and you might also need to stop down further to incorporate the required DoF in your photos.

Avoid DoF Overkill
It’s never advisable to stop down any further to achieve the desired DoF than what you require. Keep in mind that too much depth-of-field can significantly reduce the overall quality of your photos. Moreover, the smaller the aperture of your camera, the more diffraction your images will have. Therefore, it’ll make your whole image softer than required.
Aperture Bracketing
When the type of your subject matter requires the depth-of-field, but you’re not fully confident about what DoF setting to choose, consider using the aperture bracketing feature on your camera if it is equipped with it. Consider capturing multiple photos of your selected subject matter by changing the aperture setting each time.
This way, you’ll be able to choose the best possible depth-of-field setting. Moreover, you’ll also have multiple photos to choose from.

Final Words
Regardless of the type of photography you like, understanding the concept of depth-of-field and how to use the DoF scale is essential. We hope this guide will help you understand how to use the DoF scale on manual camera lenses. All you need to do now is grab your camera and start practicing to improve the quality of your images with depth of field.
About the Author: Jon C. Phillips
 Jon C. Phillips is a photographer, watch lover, product developer/designer, guitarist & musician, and all-around web nerd. He's the founder of Contrastly which he launched in late-2012. He also co-founded DailyPhotoTips and TheDailyPreset.