More Than Ordinary: Four Tips for More Compelling Images of Water
Water. It is the most precious and life-giving of elements. At times peaceful and serene while at other times bringing great devastation and destruction. It has long been a favorite subject matter for photographers simply because it possesses so much potential for creating an interesting image.
Waterfalls, rivers, streams, the ocean. They all long for an artistic soul to come along and make a photograph.
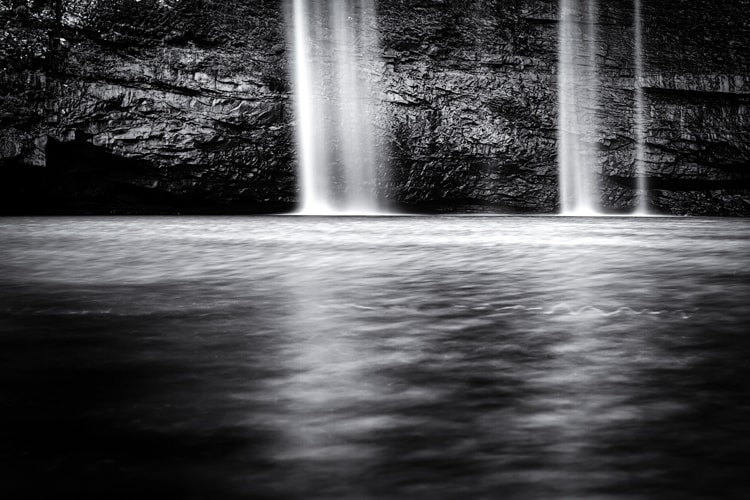
However, the fact that water is so common means that it has been photographed to the point of exhaustion. Sometimes it seems to be somewhat “overdone“. It’s easy to get discouraged and think you simply can’t take a photo of water that doesn’t feel tired and artistically redundant.
Well, I have good news. Take heart my weary and downtrodden camera jockey. Water is still an outstanding subject for you to shoot and is also an excellent way to expand your photographic creativity.
Now, let’s look a few tips that can help you blow some bubbles of life back into your water photography. With any luck, I will also be able to include no less than three ill-placed puns about water within this article…
Try a Long Focal Length Lens
Let’s jump right in and talk about the two main choices you will face when photographing a waterscape. Should I shoot wide or should I shoot close? Of course by shooting “wide” it means that you are using a short focal length (wide-angle) lens and shooting “close” means you are using a long focal length (telephoto) lens.
Generally speaking, I consider anything under 50mm to be wide-angle and anything over 50mm to be tele. That’s not something I read in a book somewhere but rather just a personal assertion and guideline. I only mention it to give you, the avid and appreciated reader, some frame of reference as to what I consider to be wide-angle.
If you’re just getting your feet wet with shooting water scenes you might assume that the wider your lens, the more likely you are to include more elements into your composition. You are not wrong in this assumption but neither is it always true.
I have found that more and more I go with a longer focal length for almost all of my water photography. This is especially true when I’m shooting my waterfall images. The reason being that wide-angle lenses tend to remove a lot of presence from your main subject unless you can position yourself extremely close to the action. In an effort to give a sense of magnitude and scale you can, unfortunately, accomplish the exact opposite.
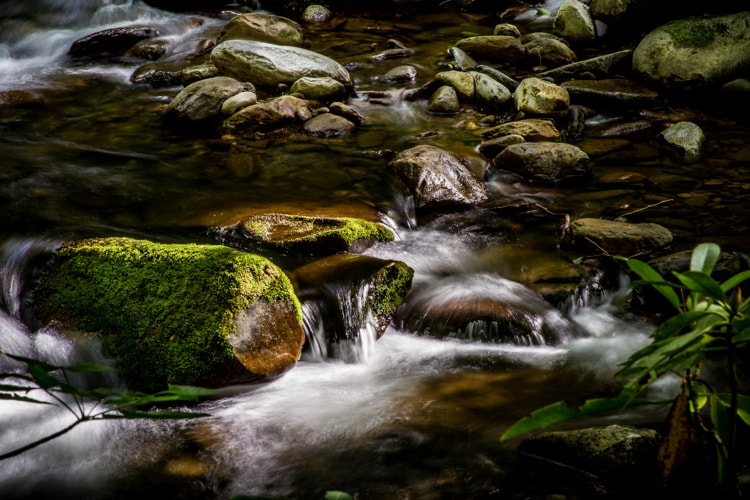
This image above was shot relatively tight; at 112mm and at long distance. It really brought out the contrasts of the light and the detail of the stones. All of which would have been unnoticed at a wider angle.
Another reason to give longer focal lengths a try is that it often forces you to look beyond the initial appearance of the scene and search for unique beauty. Look for small areas and try to approach the scene with a more abstract mindset. It’s easy to simply take a straightforward picture of an entire waterfall or just make a wide exposure of a pretty spot in the bend of a river. That’s all well and good but it lends itself to making less impactful images and that’s not the business we’re in, right?
Utilize Color
In my opinion, this is one of the most overlooked aspects of photographing any type of waterscape. Color is all around us. Before you say “well yeah” and skip over this section, it is my earnest hope that you will take a moment to hear what I have to say. It all comes down to using color more effectively.
It’s not always apparent exactly how much color is present within a given scene. Water is especially notorious for its ability to hide color from the naked eye. Thankfully there are ways for us photographers to look beneath the surface and liberate these elusive chromatic nuances through the magic that is post-processing.
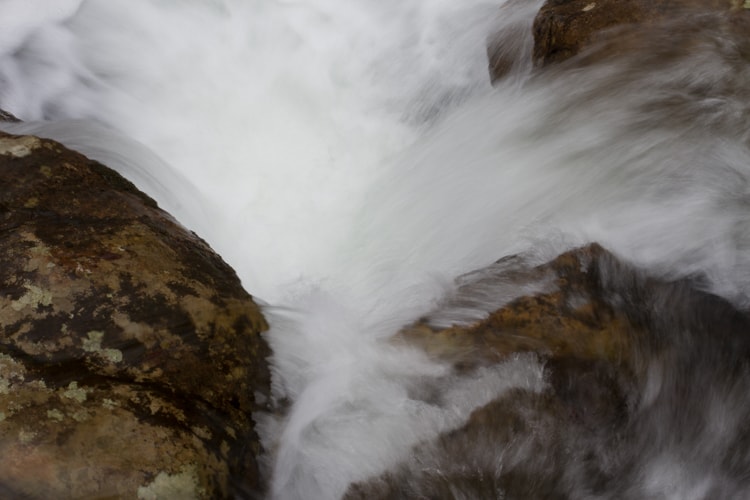
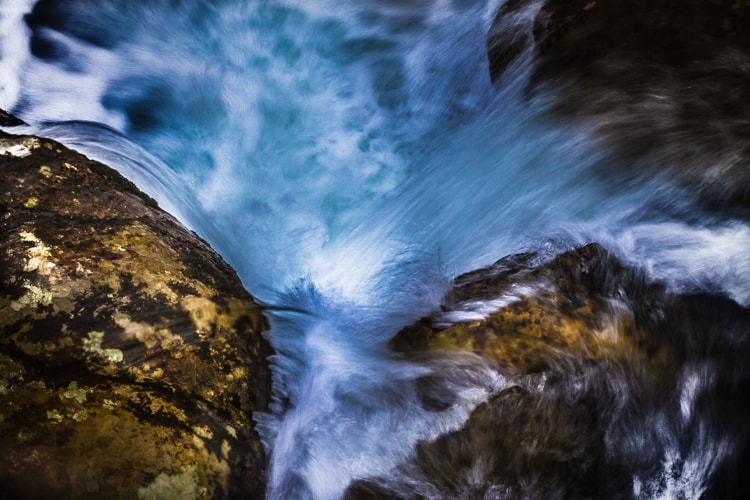
Here is a before and after comparison of an image where bringing out the color really made the photograph.
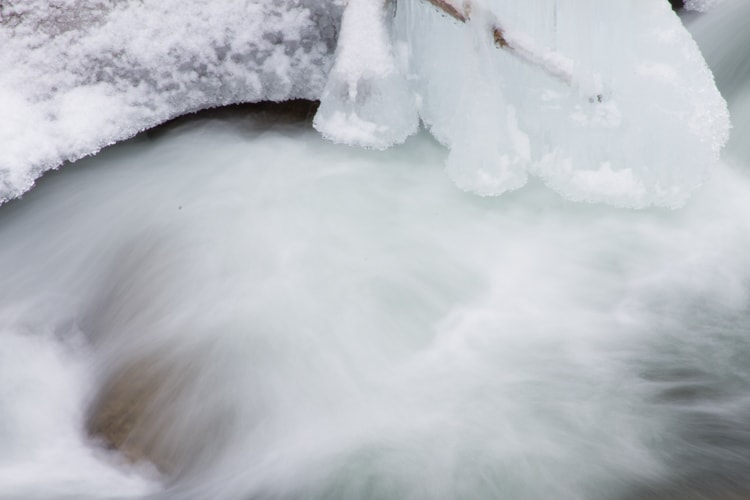
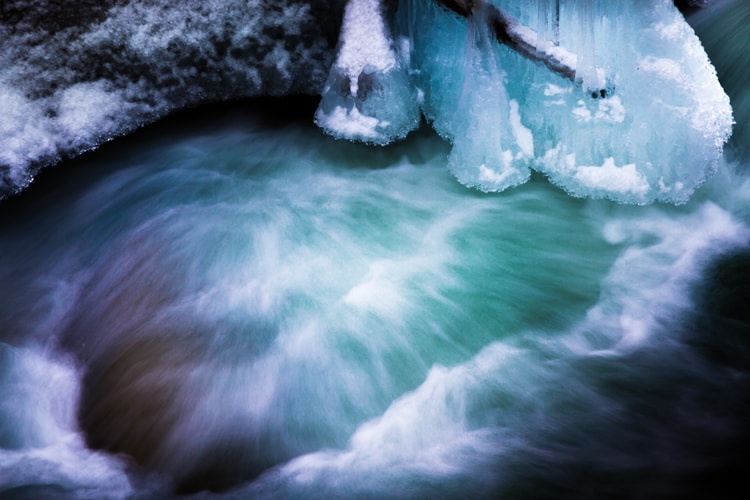
The first and biggest step you can take towards bringing out the color within your waterscapes is to always and I do mean always shoot in RAW format if your camera is capable. Shooting RAW allows as much information as possible is recorded by your camera’s sensor. It will give you a much greater range for performing color modifications and other adjustments over JPEG.
The next and equally important step for bringing out the color of your images is to become unafraid to let your imagination run free. The colors are there so use them as you see fit. Use selective white balance to change the hues and tints. Make use of your saturation and vibrance sliders until you have an image that really shows the beauty of the moment as you saw it in your mind’s eye. An otherwise drab composition can be made exceptional simply by using color more creatively.
Here’s another example of the power shooting RAW gives you in bringing out color. It’s easy to see the dramatic difference. The colors were all there. All I had to do was chip away at the image and let them show.
Look Beyond the Water
As counterintuitive as it may seem, a powerful waterscape image doesn’t always emphasize the water. In our efforts to go beyond the ordinary and make better photographs of water we sometimes have to look around and see what else is available to enhance the scene.
These “enhancements” could be anything: a rock, a tree, a person, an animal, or simply focusing on something other than the obvious. When you begin to understand that you have control you will gradually be able to see more than you did before not only with your waterscapes but in all aspects of your photographic work. In the end, it just depends on what you’re trying to accomplish.
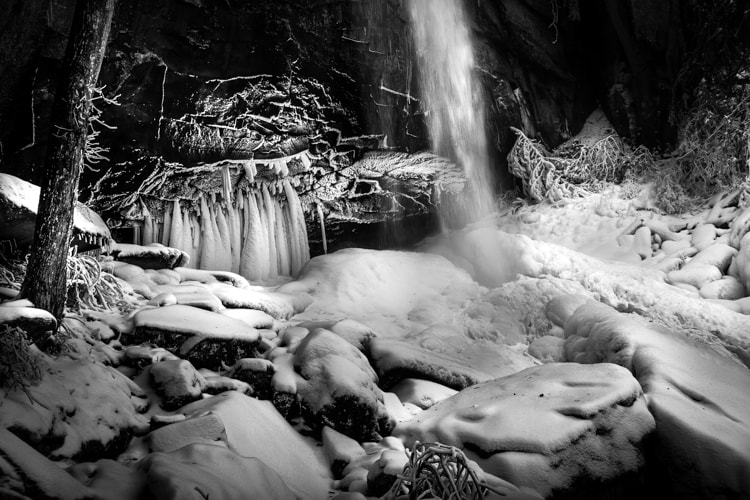
In the image above we see the frozen base of a waterfall in the dead of winter. Notice how the ice and snow and all the textures and formations are really the main focus of the photograph.
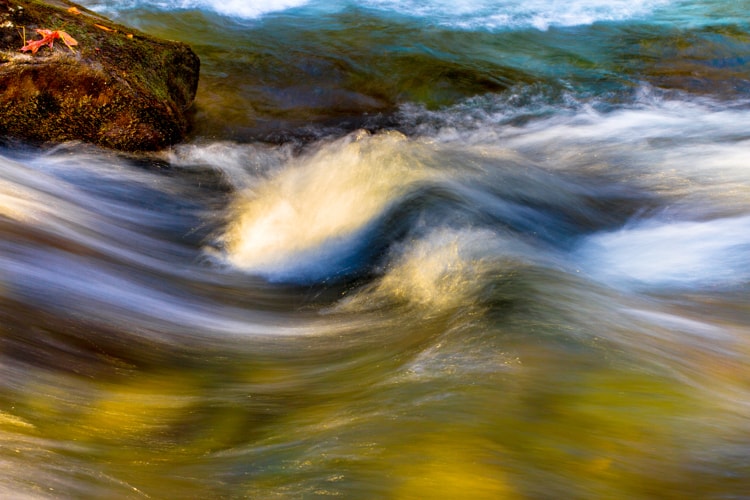
And there’s the above image, which is almost an abstraction of the Autumn colors of a mountain stream.
Forget Your Comfort Zone
The original version of this article included only three tips for making better waterscapes. Still, as often is the case, I felt like there was more to say. I thought to myself, “Self, what’s the one thing your most popular water scenes have in common?” That’s when I realized the obvious answer.
What made the images successful really had nothing to do with technical perfection. Without exception, each one of the photos that received the most attention were the ones that I had to really work in order to make. To make an image unlike anyone else’s means that you have to shoot the image differently than anyone else… and that often means pushing yourself past your current level of comfort.
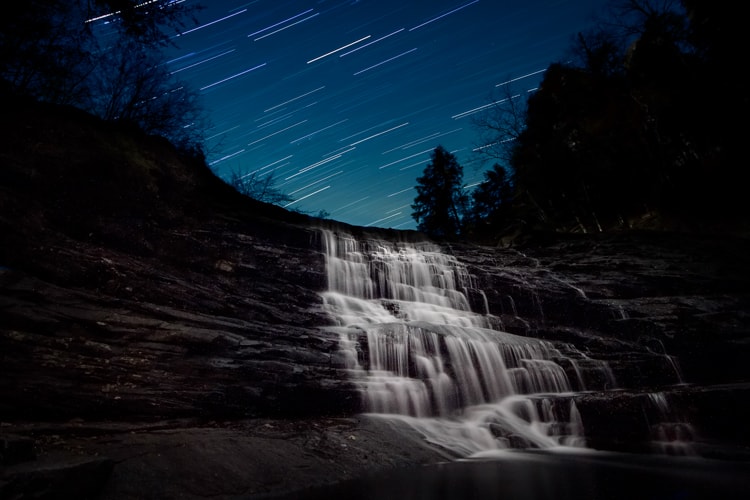
I obtained special permission to photograph this scene at night. This allowed me to obtain a photograph of an extremely popular location in a way that had not been accomplished until then.
So, how does this relate to helping you make better images of water? Simply put, it means you have to look for ways to present water that aren’t commonly experienced. You will have to be bold… but not reckless. Try shooting a water scene in winter or even at night. Make a long hike to a remote section of river in order to photograph something never before seen. The key here is to always know when and how far to bend the boundaries of your own skill so you can grow as a photographer.
I would like to extend a hearty “thank you!” to the Rangers and staff of the Laurel/Snow SNA Wilderness Area and Fall Creek Falls State Park where the majority of the images included in this article were made. Without their assistance and accommodation those photographs would not have been possible.
