White Balance 101 – How to Get It Right
There are a lot of factors that you need to consider if you want to be a good photographer. One of these factors is white balance; something that not all photographers are all familiar with (especially when starting out).
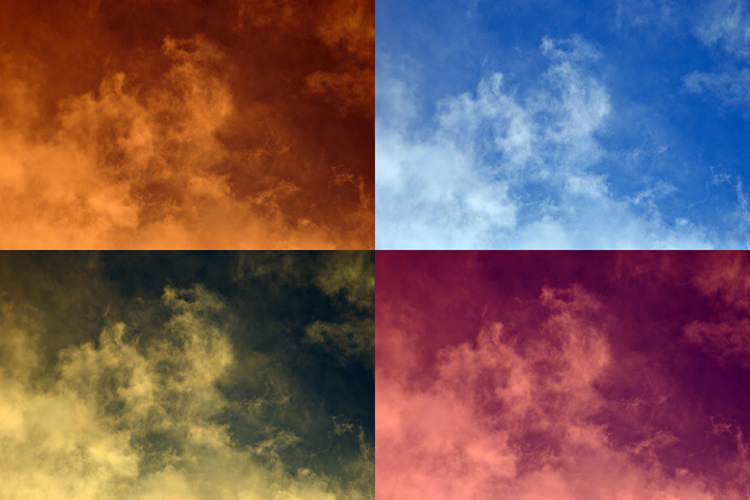
White balance is important if you don’t want your photos to look unnatural. You don’t want subjects and skin-tones that look too yellow. You don’t want your camera’s flash casting different colors when you take shots of your subject. Sometimes, they can appear reddish; other times, blueish.

image by theilr
So, if you’re taking a photo of someone surfing in deep blue waves, without proper white balancing, your captured image will have colors that are different from the actual or correct ones. Your blues can turn orange or red. You don’t want that, right? Let’s see how you can prevent this and get the right white balance every time!
What is White Balance?
The main function of white balance is to help you create images with precise colors and reduce or remove unwanted color casts. In digital photography, white balance refers to adjusting the colors so that the images you create will look natural. This is needed because the majority of light sources possess some kind of color temperature. As such, when you produce a photo, there are instances that other colors will come out instead of the expected natural ones.
To understand this, let’s do a little experiment. Get a clean piece of snow white paper. Put it down on a table or tack it to a wall. Get yourself a pair of sunglasses that have a yellow tint. Put them on and look at the paper; it will appear yellowish, right? Look at it longer and it will eventually appear white. After you take off your sunglasses, however, it will come out in a different color until your eyes have adjusted properly. This experiment demonstrates what happens when you take photos. The camera has to actually determine the color temperature, and sometimes, this does not come out accurately.
Photos taken in a location that’s has natural daylight will have close-to-natural colors. But, if you take photos indoors or under an incandescent bulb (the ones you probably se at home), the tendency is, your photo’s natural colors will change. Photos will appear too orangey. If the light in your location comes from a fluorescent source, the photos will come out blueish. This is why you need to know how to properly use and apply white balance.
How to Use White Balance in Your Photography
There are several ways you can use white balance properly. Some cameras actually have built-in White Balance or WB buttons. If this is the case for your camera, all that you need to do is press the button and then move the rear dial in a counterclockwise direction. You will also need to access your menu settings.
Auto settings will usually help a lot, but there are other options that you can choose from. These are what we call White Balance “modes”.
- If you are shooting indoors, under fluorescent lighting, use the Fluorescent Mode. Choosing this will allow you to take photos that are brighter and more natural than the light cast by the fluorescent.
- Shooting under the sun or outdoors will require you to switch to the Daylight Mode. This allows you to take photos in a normal light setting.
- Shooting under tungsten lighting means switching to the Tungsten Mode. This is usually a good choice when taking indoor photos. This will help you produce “cooler” photos with colors that are close to natural.
- You can also set your camera to Cloudy Mode if you have no choice but to shoot on a cloudy day. Using this mode, your camera will be able to come up with more precise color rendering; the subject and background will both come out warmer.
- For shoots in shaded areas, the Shaded Mode is ideal. Photos in this mode come out bluer; thus, it is perfect when your subjects and surroundings are covered.
- Finally, you have the Flash Mode; one of the most commonly used (and misused). This is the best choice if you are shooting in low light conditions or when lighting is inadequate.
Manual White Balance

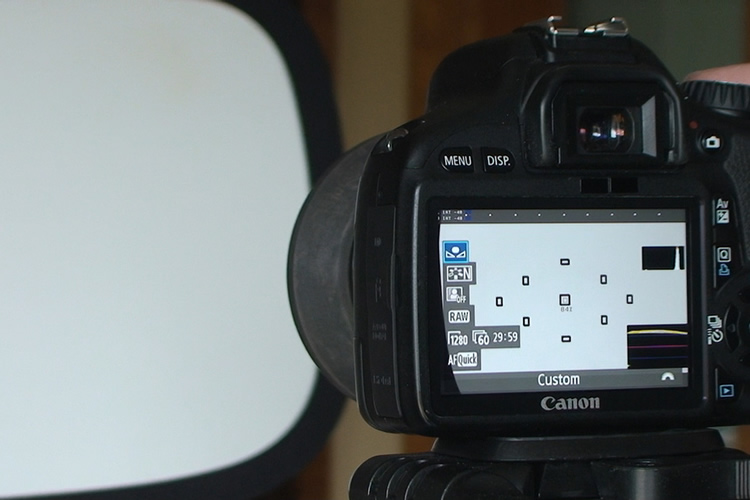
image by Dave Dugdale
Some photographers prefer to adjust the white balance manually. The best way to do this is using an 18% grey card. Simply hold the card close to your subject and use the Custom White Balance function on your camera to take a test shot (this process may differ depending on your camera).
Professional photographers do this so that they their camera’s white balance is well adjusted for the scene they’re shooting. When lighting conditions change, simply adjust your custom white balance again.
If you’re just starting to do serious photography, it will be better for you to spend some time practicing white balance adjustments by using both the auto mode (to understand how the camera sees the scene) or the different modes indicated earlier.
Most photographers, especially the most seasoned ones, like to work with manual adjustments because it’s much more precise. It is up to you which set up you want to use. As long as you practice the use of proper white balance, you can never go wrong!
Do you have any tips on white balance? How do you usually go about finding the right white balance setting when you’re out shooting?
