10 Sure-Fire Ways to Capture Mouthwatering Food Photographs
Food photography might sound simple, but it’s arguably one of the most challenging genres of photography. From colors and textures to shapes and layers, everything plays a critical role. Creating a photo involves adding layer upon layer to reach the perfect balance between art and reality.
Whether you’re doing food photography as a hobby or professionally, there are certain techniques to keep in mind. In this article, you’ll find the ten best tips and tricks to capture food photos and tell better stories. So, let’s dive into it.
1. Lighting
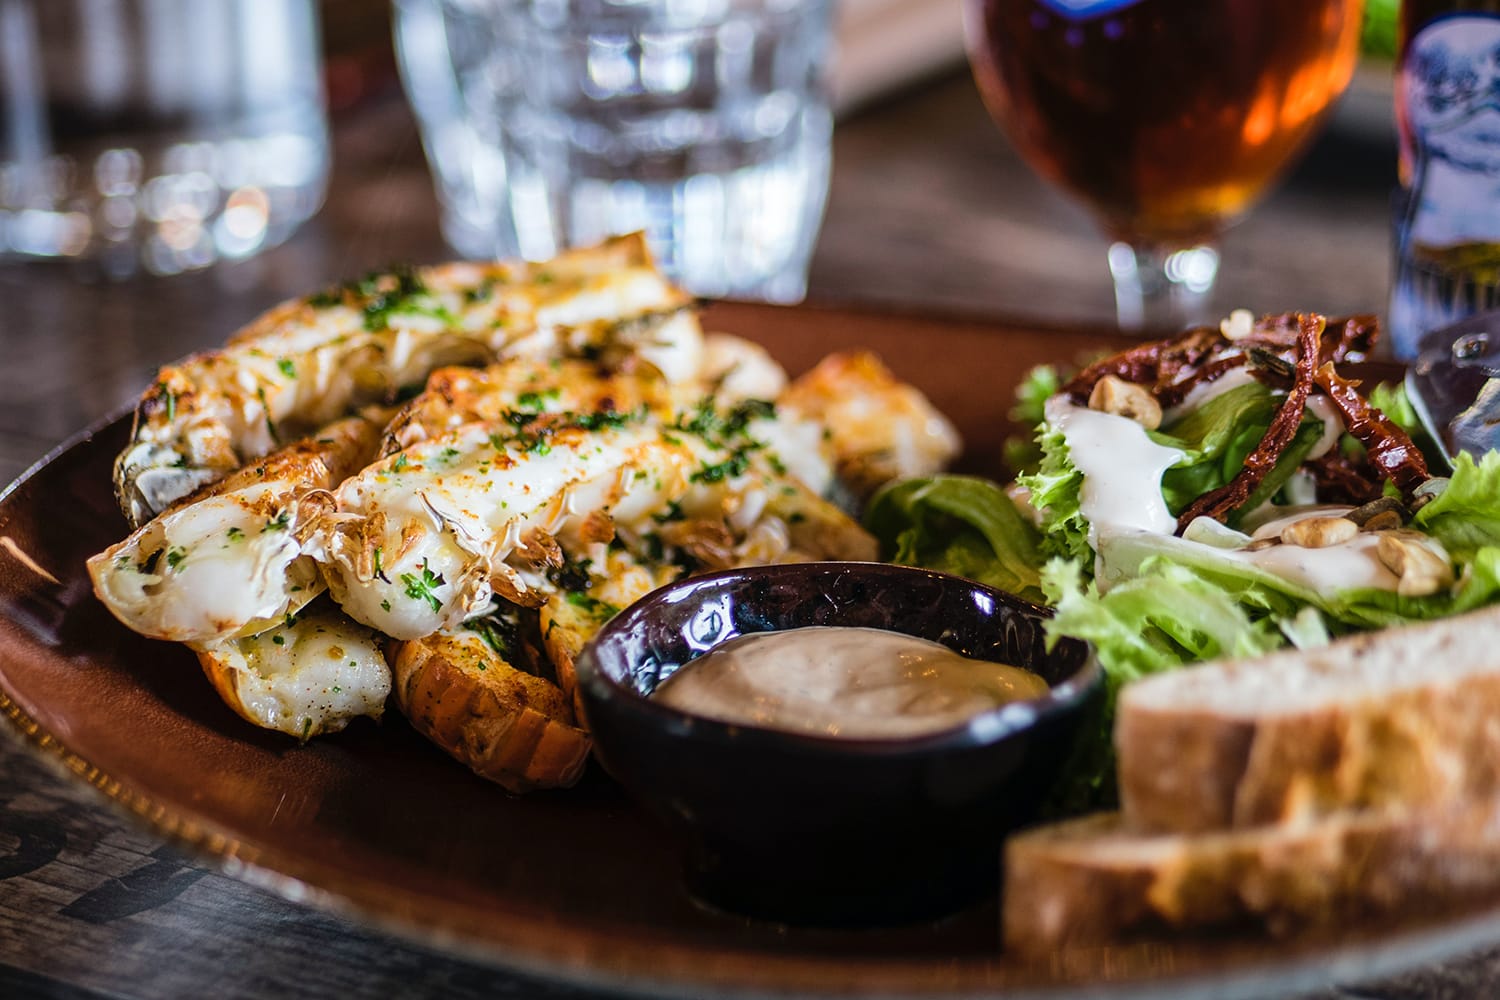
Just like any other type of photography, lighting plays the most important role while capturing food photos. The good news is that you only need a simple setup when it comes to food photography.
All you need to do is to grab a large diffused light source along with a good quality reflector to soften shadows. You can also use a large window as your light source but keep in mind that avoiding direct sunlight is important. Not only will it create a strong contrast, but it will also create harsher shadows which are not so flattering for food photos.
2. Choose the Angle
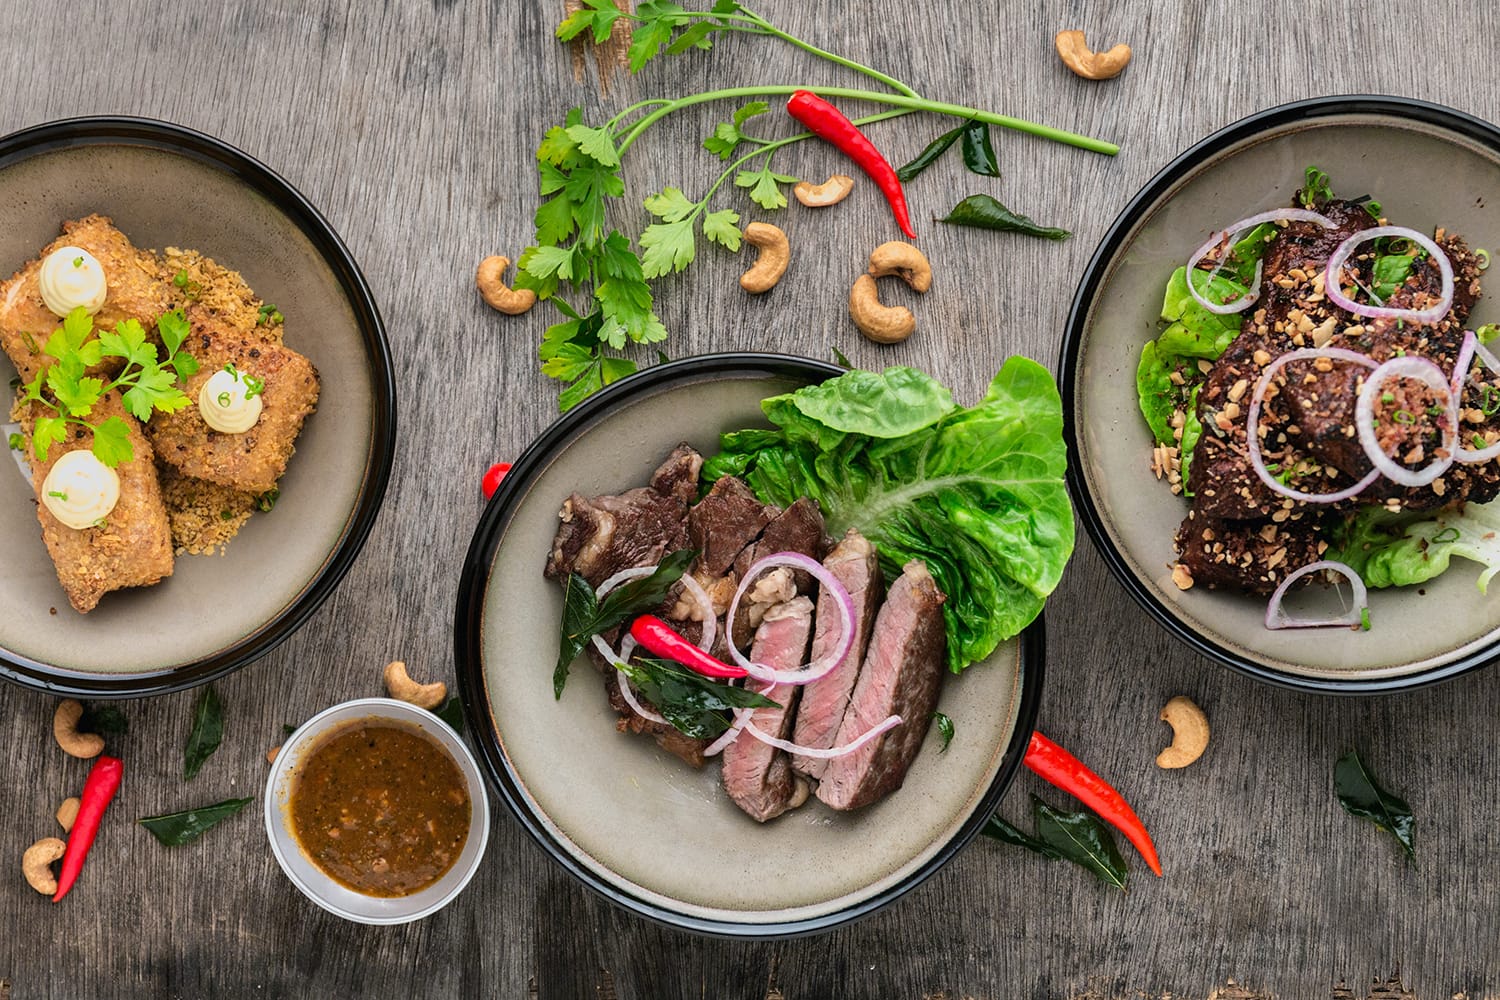
You might have already seen so many food photographs with overhead perspective (“flat lay”) because it’s one of the most commonly used techniques.
But the fact of the matter is that it’s not the only option available out there. A unique approach could be using the angle you would normally see your food while sitting at your table at a restaurant. Many chefs use this approach as well to eat with their eyes first.
I recommend you capture your food with multiple angles and choose the photograph that works the best for you.
3. Choose the Right Lens
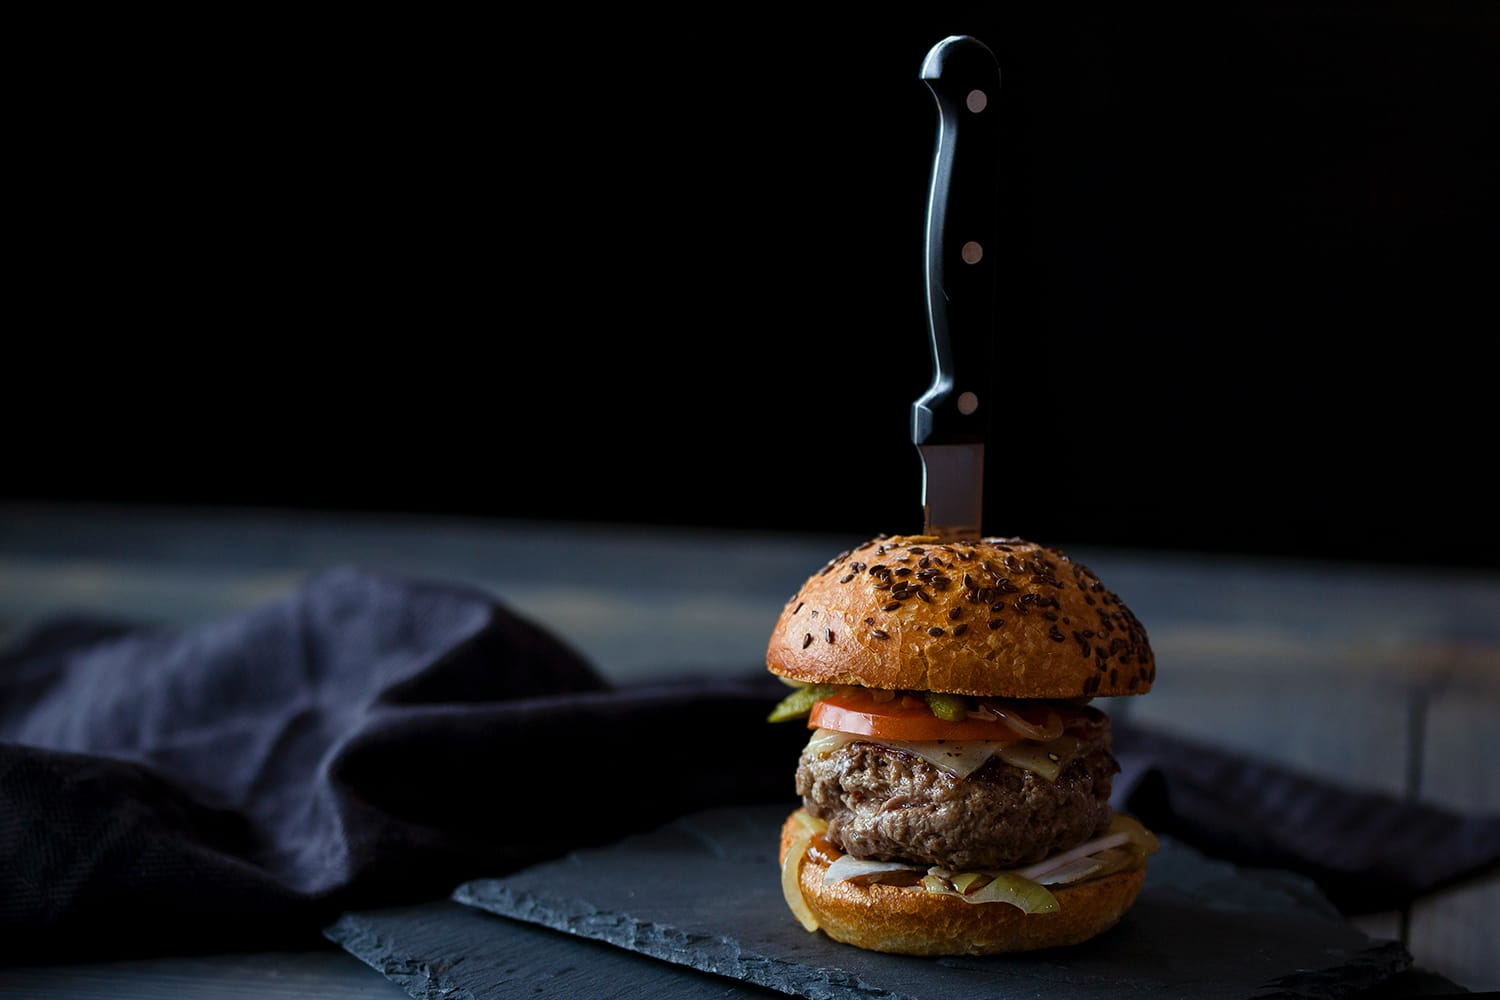
According to my personal experience, a mid or short telephoto lens works best for food photography. Whatever the lens you choose, avoid capturing wide-angle shots because that will distract the viewer from the subject matter.
You can opt for a 90mm macro lens because it offers a great field of view, and you can also focus up by zooming in to capture the mouthwatering details of the food. It will allow you to add more character and impact to your food photographs.
4. Camera Setup
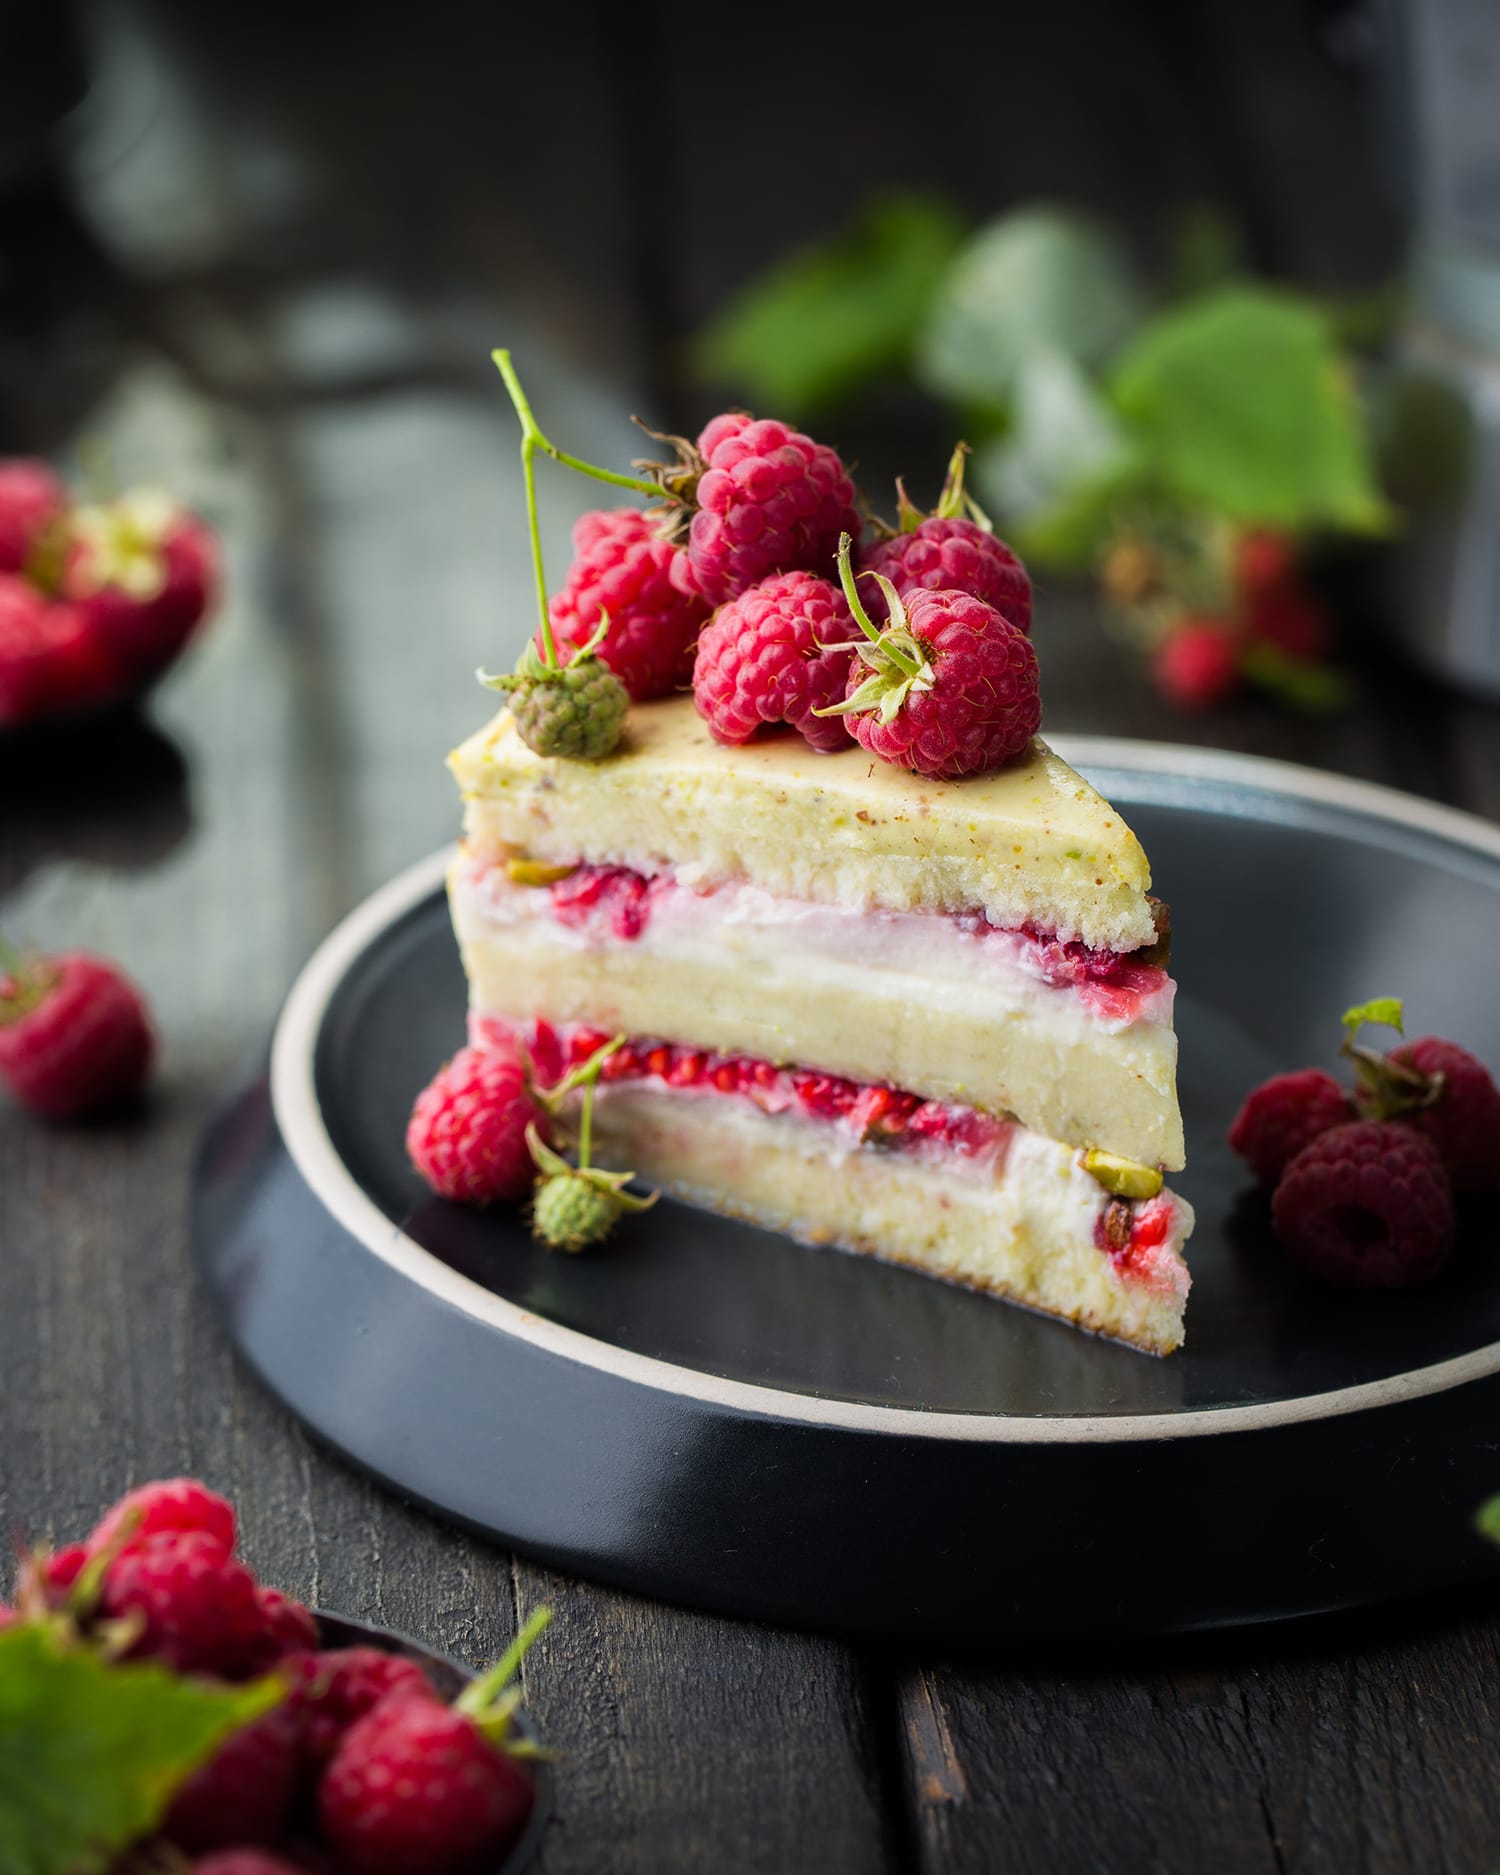
When it comes to setting up your camera, you need to make sure that you take control of the aperture. You can go with Aperture priority mode if you’re working with window light. To create the desired depth-of-field, select the f/ (desired number) to create flattering sharpness.
Then simply choose a different f/number and observe the results. It will allow you to select the best photo, whether your goal is to create more background blur or sharpness. If you have shaky hands, then consider using a stable tripod and set the ISO sensitivity to the lowest that will help you to keep your photos from unwanted noise.
5. Avoid the Built-In Flash
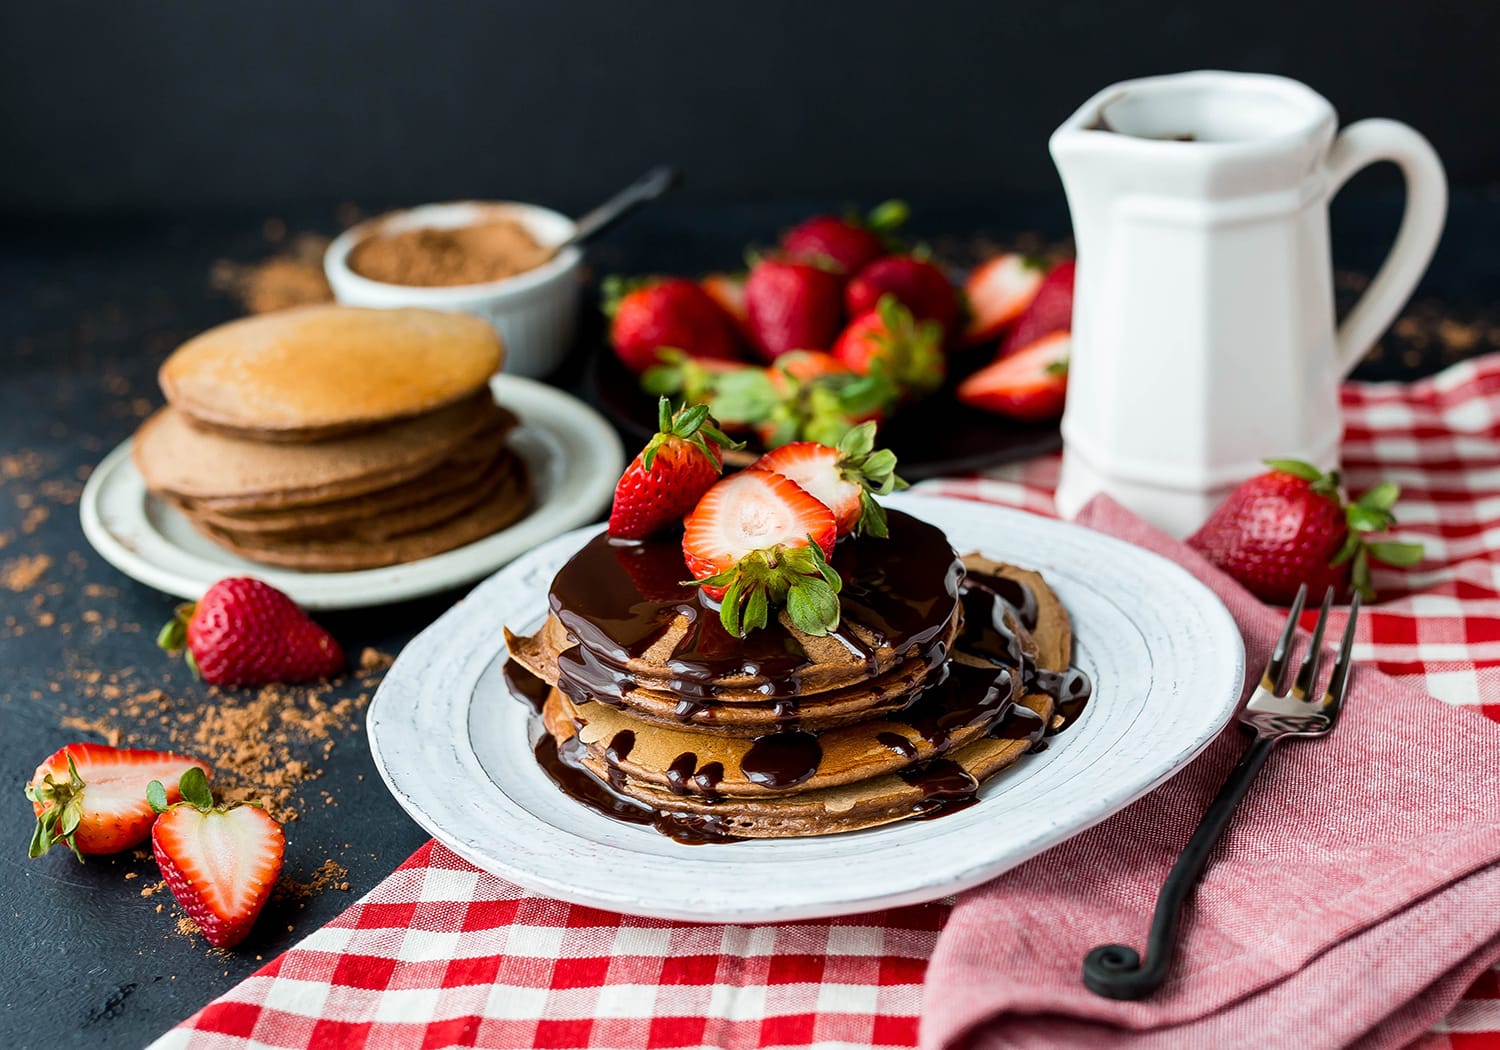
Whether you’re capturing food photos with a point and shoot or a DSLR camera, avoid using the built-in flash at all costs. Not only do they affect the natural colors of the food, but they also create unappealing images with harsh shadows.
You want your food photos to grab the viewers’ attention and want them to want to go for it. This is not likely to happen with a built-in flash. But, that’s also valid for other genres of photography. If you absolutely must use the built-in flash, make sure you use a flash diffuser or at least bounce the light off the ceiling or another flat surface to soften the shadows.
6. Discover Your Style
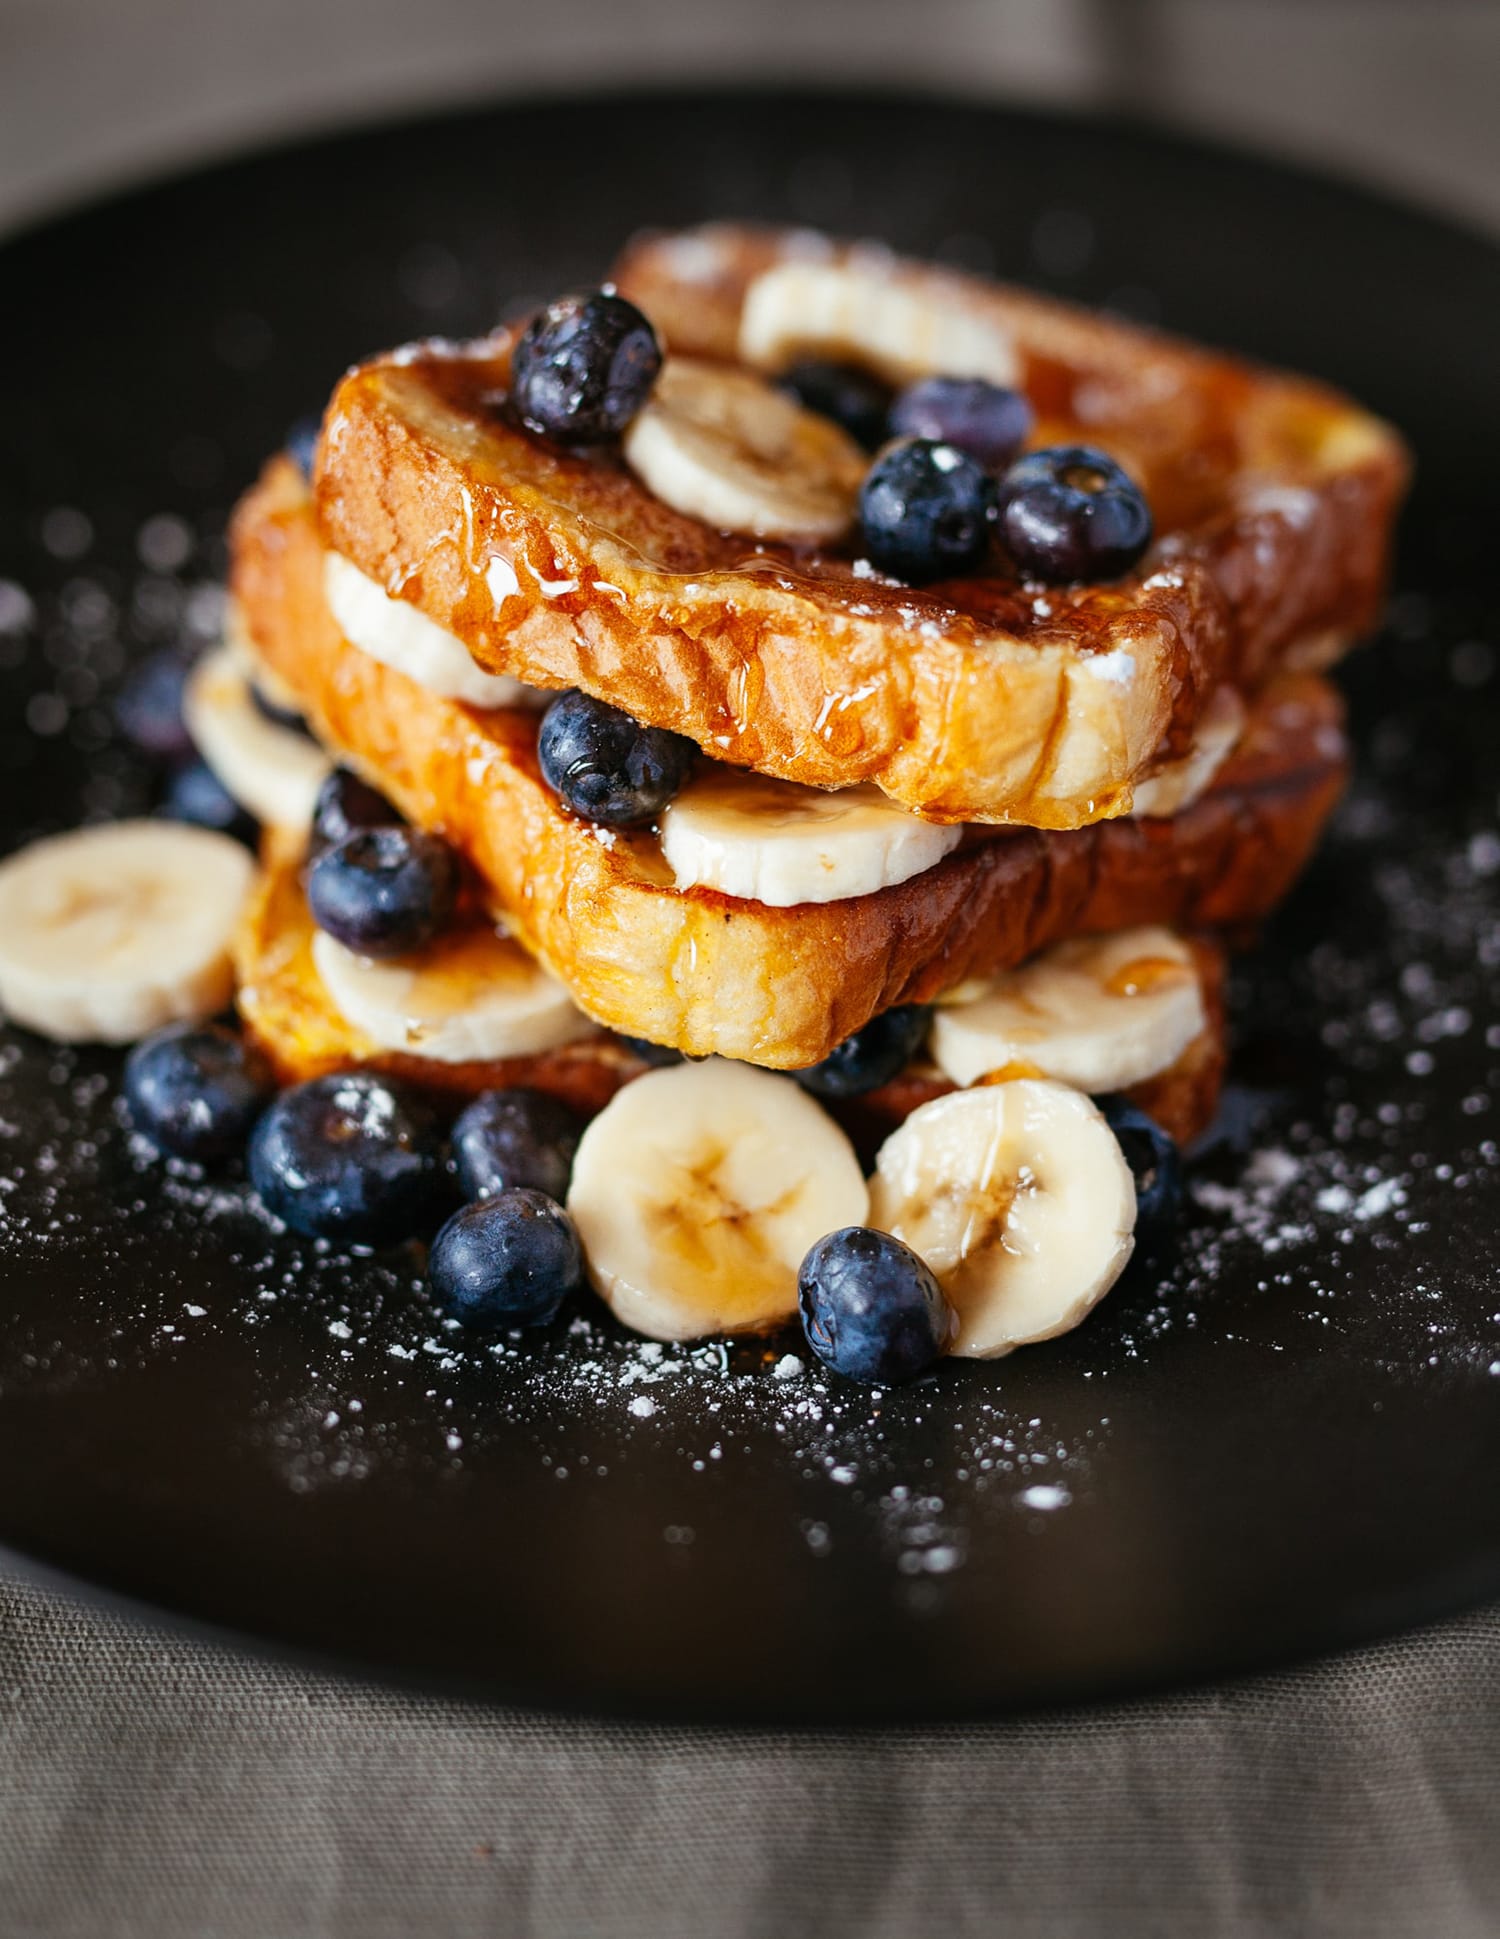
Many professional food photographers have their signature style. It’s crucial to spend time trying to find your personal style to differentiate your photos from others.
It’s also possible that you’re already streamlining it unknowingly, and you only need to keep practicing to realize. Once you’ve found that, work hard and make sure that every single one of your photos is consistent with that.
7. Keep the Background Natural
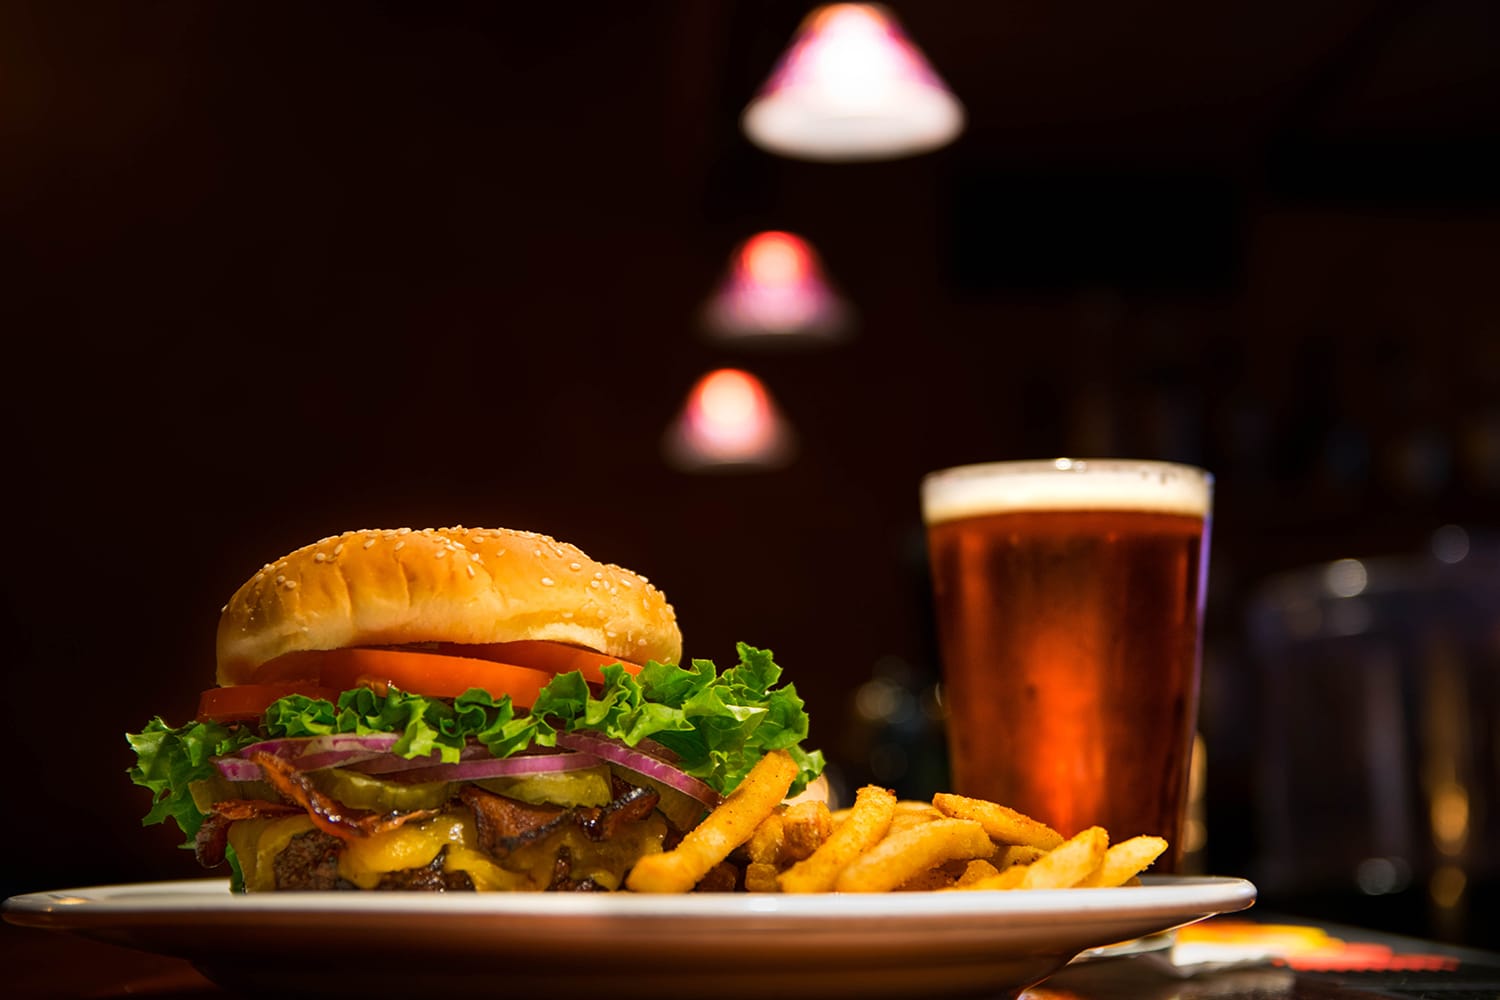
Nature is the best modifier, and you want to take food photographs in a natural setting on an outdoor table to achieve a unique environmental take.
Picnics, backyards, and country yards are some of the ideal settings to capture food photos. Not only do they provide a compelling and unique atmosphere, but they also allow your photos to tell a story.
You can also choose to create a shallow depth-of-field using a wider aperture if the natural background you choose is a bit too distracting. It will allow you to keep the viewers engaged and provide a sense of the natural location.
8. Styling
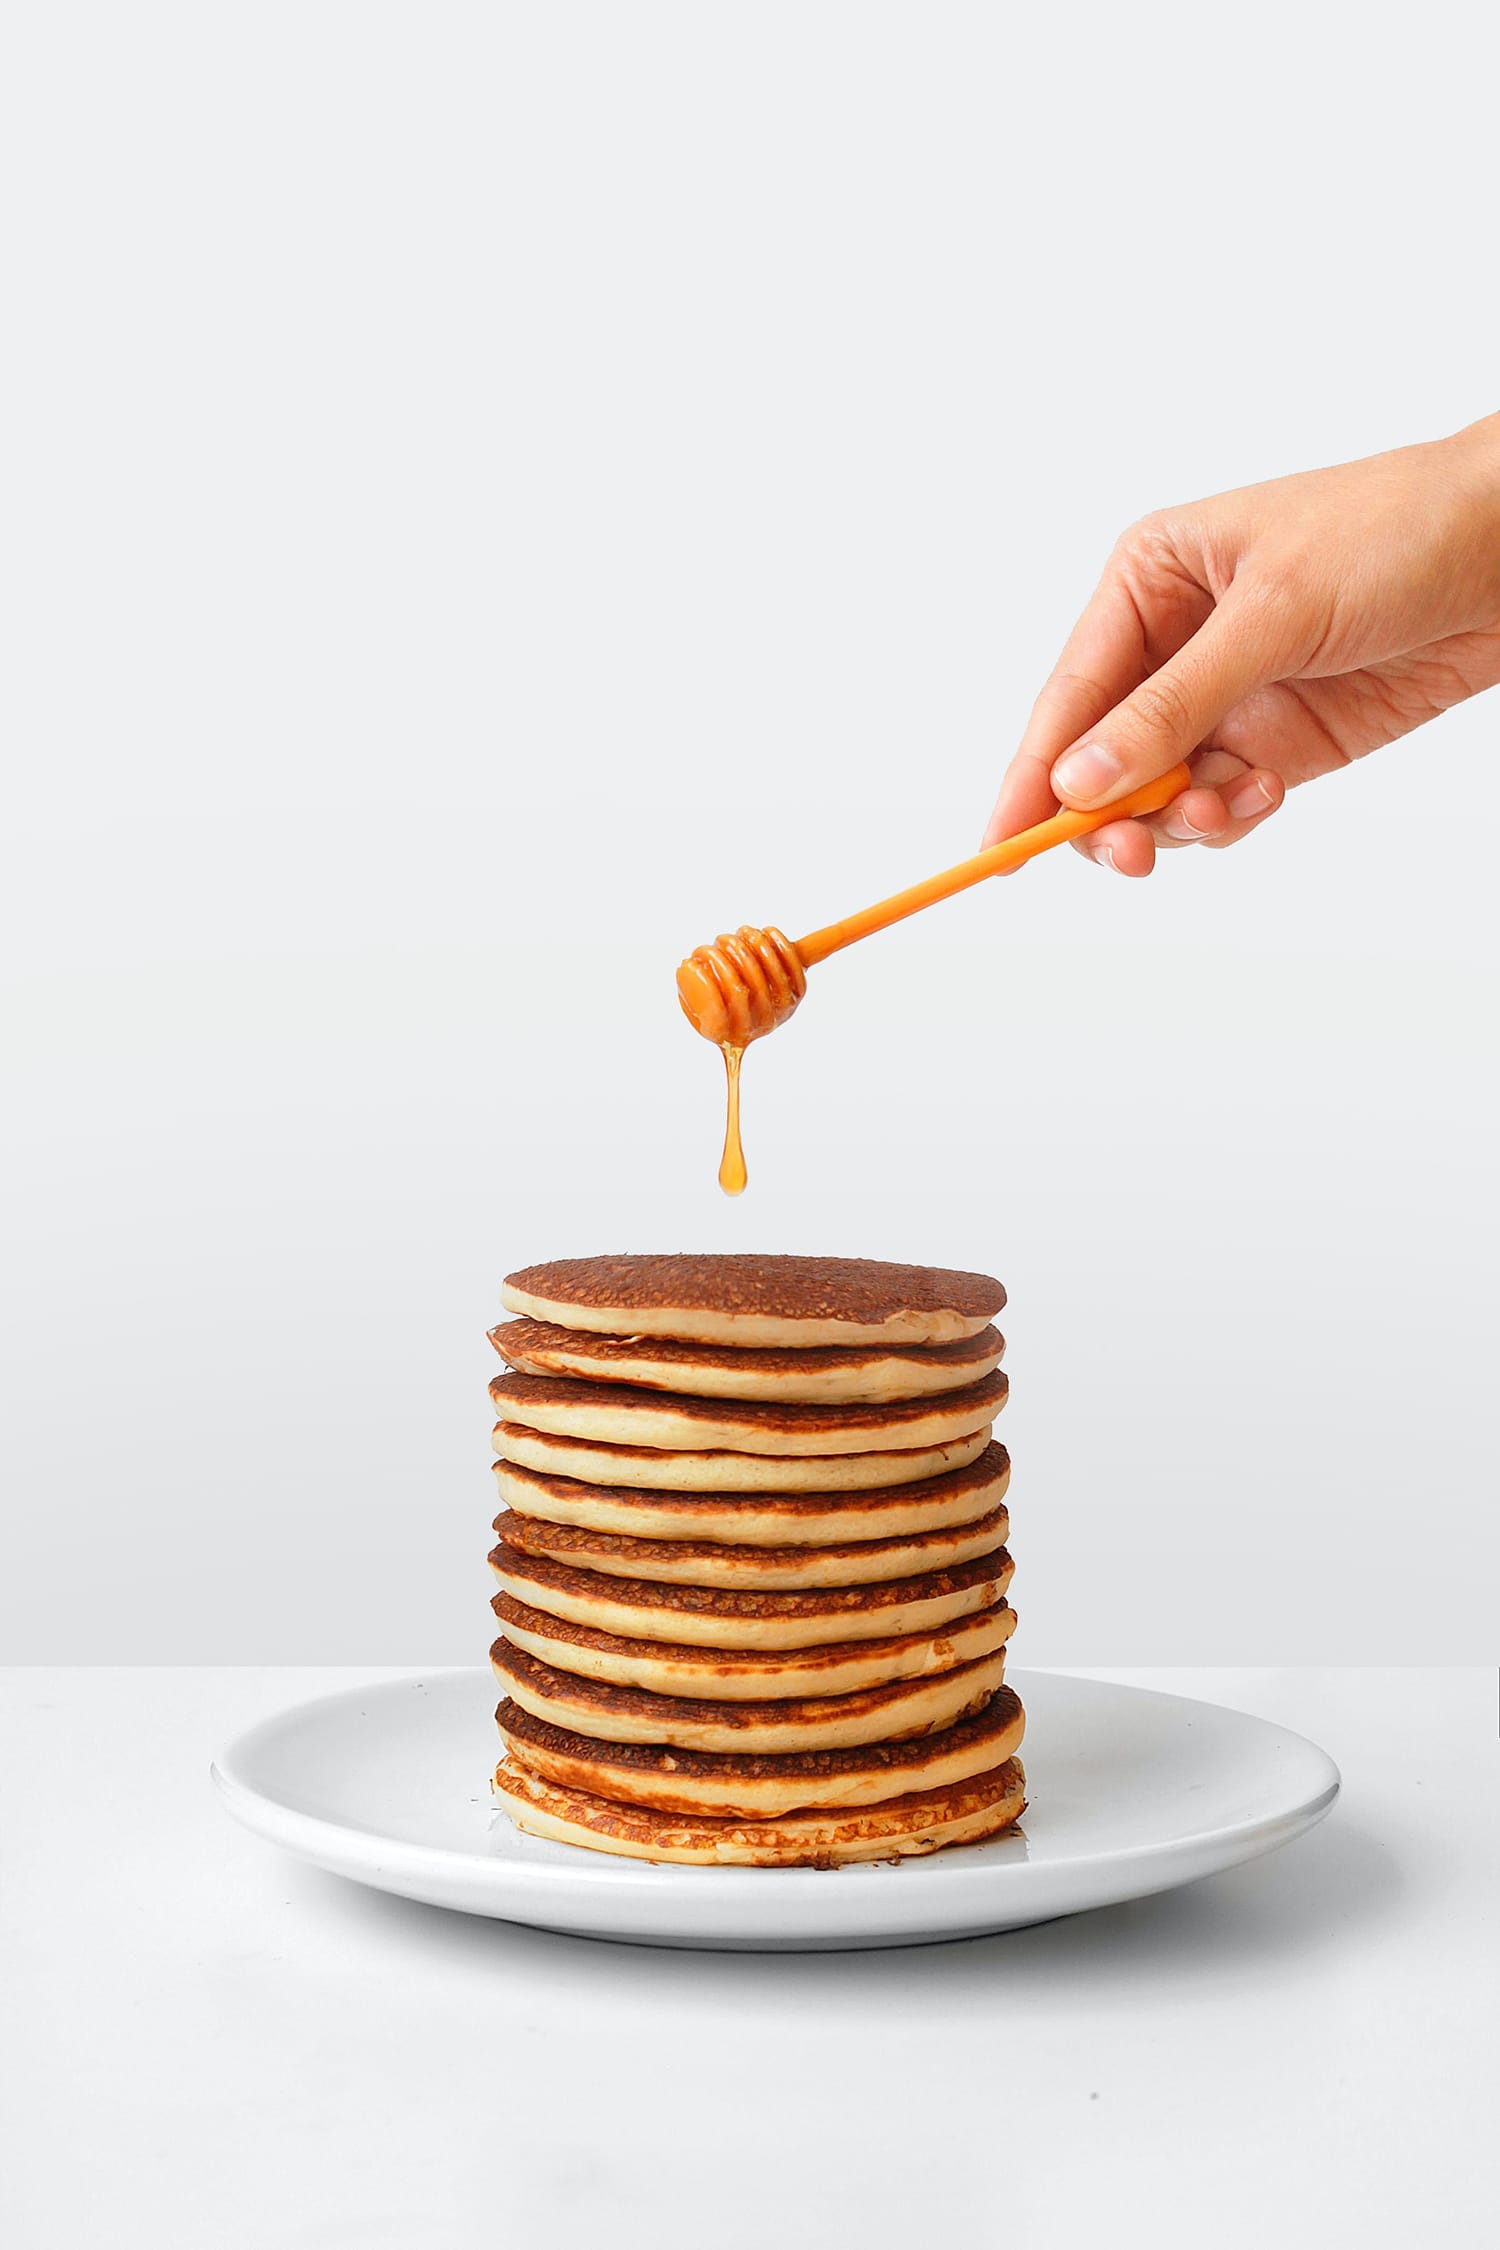
Styling plays a vital role in food photography as it allows you to tell a unique story of a particular dish. You can choose to add some scattered raspberries, a smear of chocolate, dusting of flour, or some lifestyle elements to style your food.
But you need to keep in mind that in food photography styling, less is more. Otherwise, you’ll end up with food images that are too distracting. The main idea behind adding items in food photography is to arrange carefully to guide the viewers towards the main subject.
9. Post-Processing
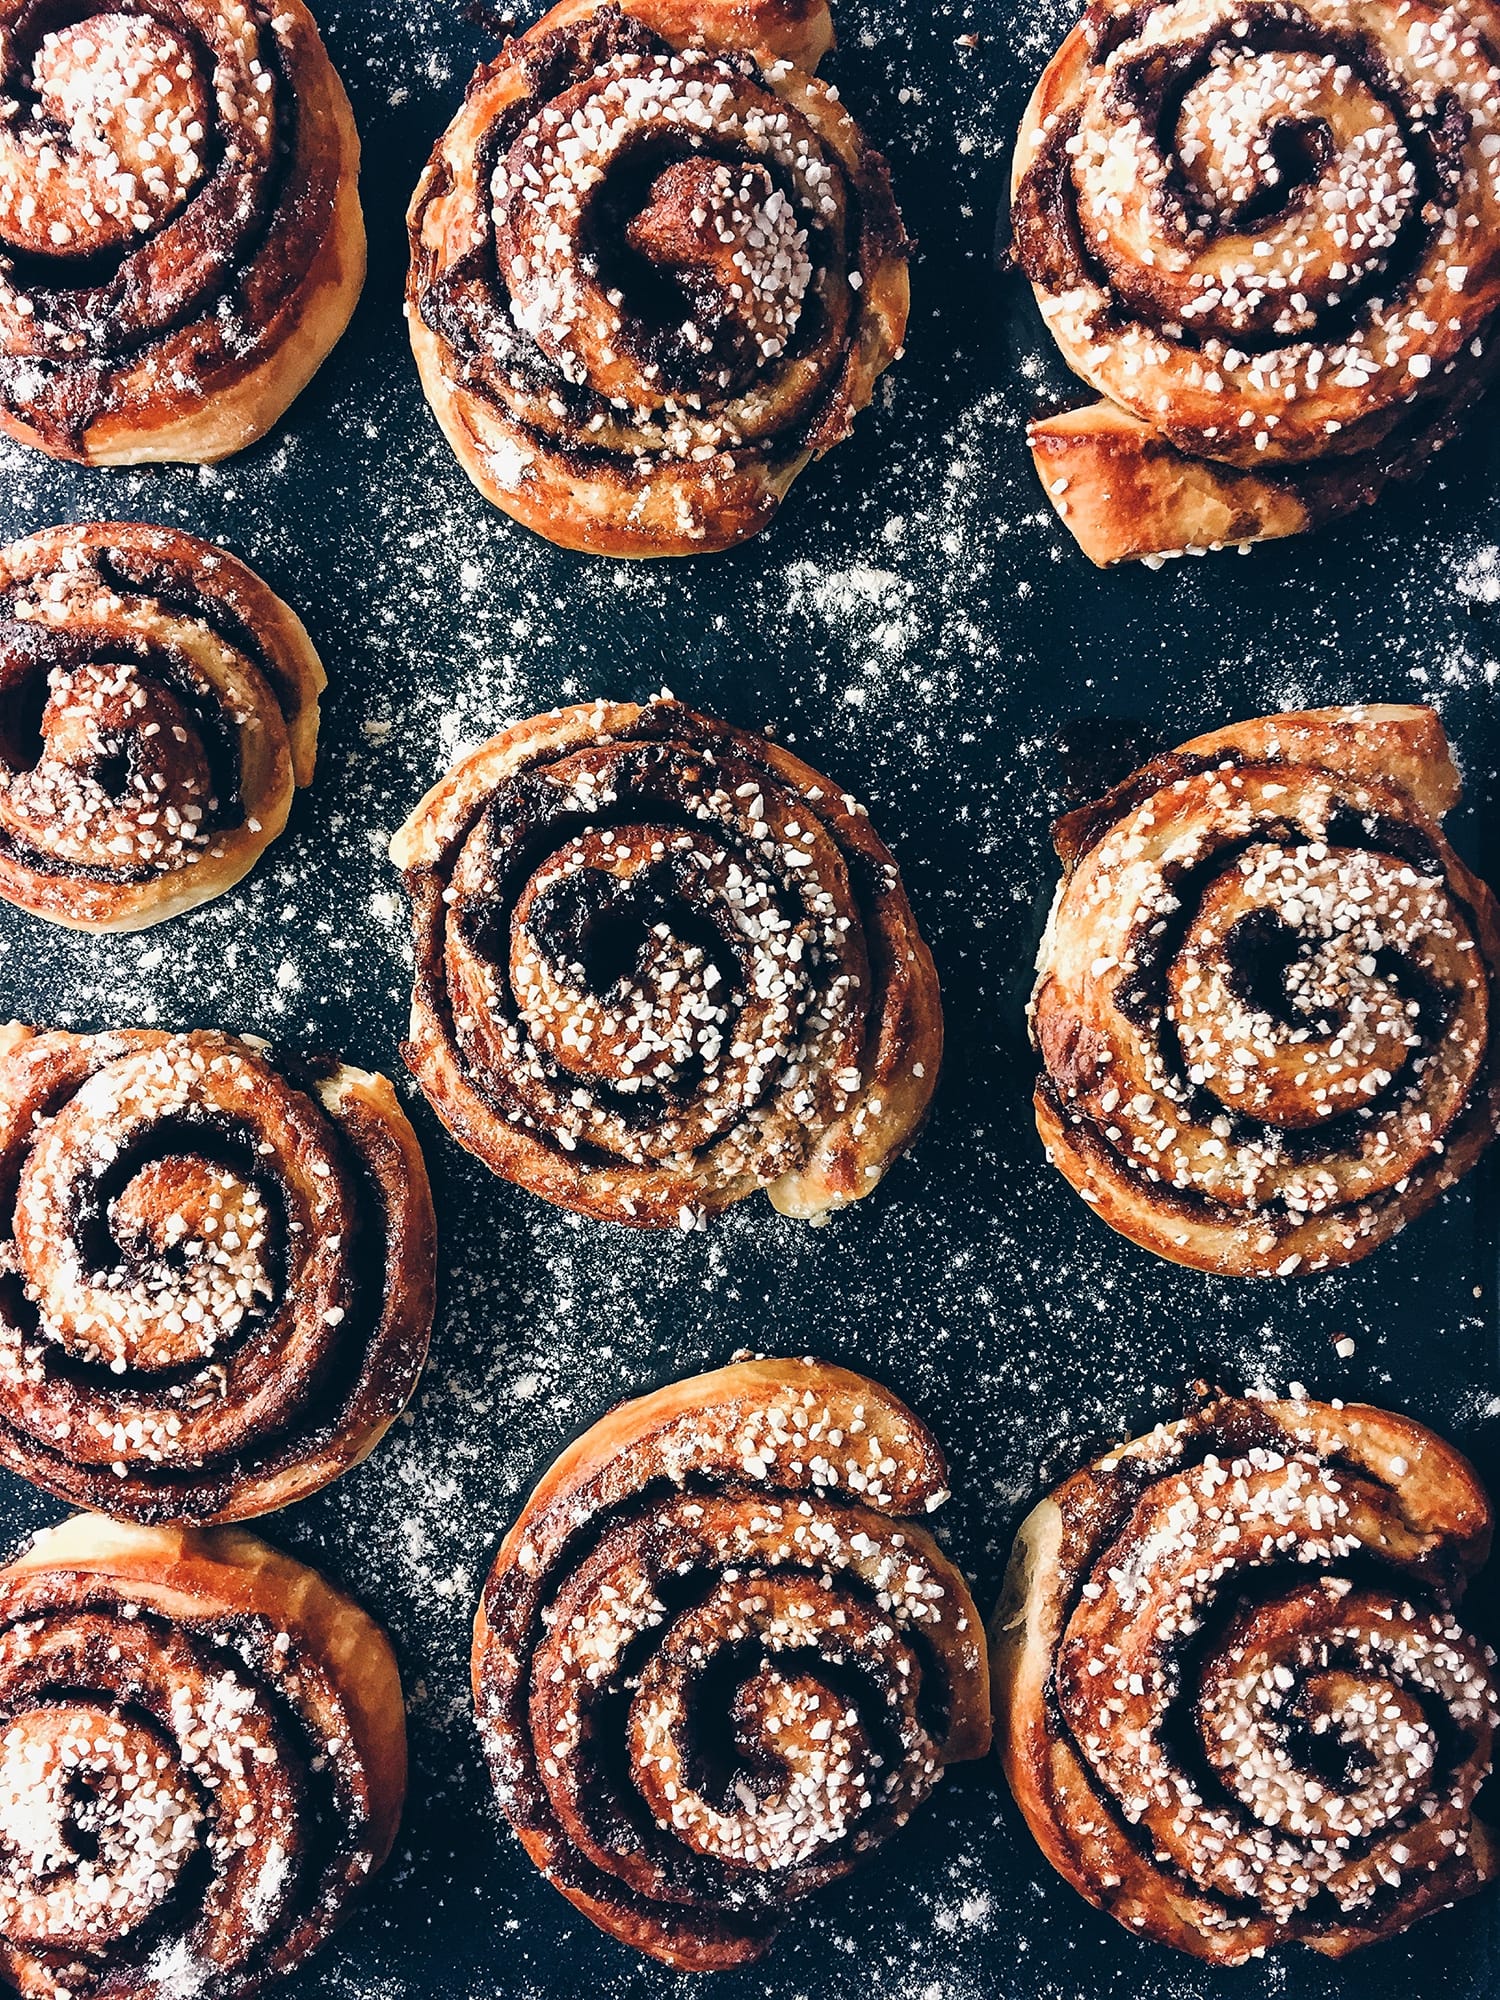
As you probably know, post-processing is one of the most important factors in all photography types. It simply cannot be ignored. It gives you the ability to edit and tweak your image to get the best results.
More importantly, it provides you with a second chance to correct the mistakes you might have made while pressing the shutter button. You can remove the unnecessary distraction from your food photos and adjust sharpness, exposure, colors, shadows, highlights, and much more.
10. Try Something New Every Time
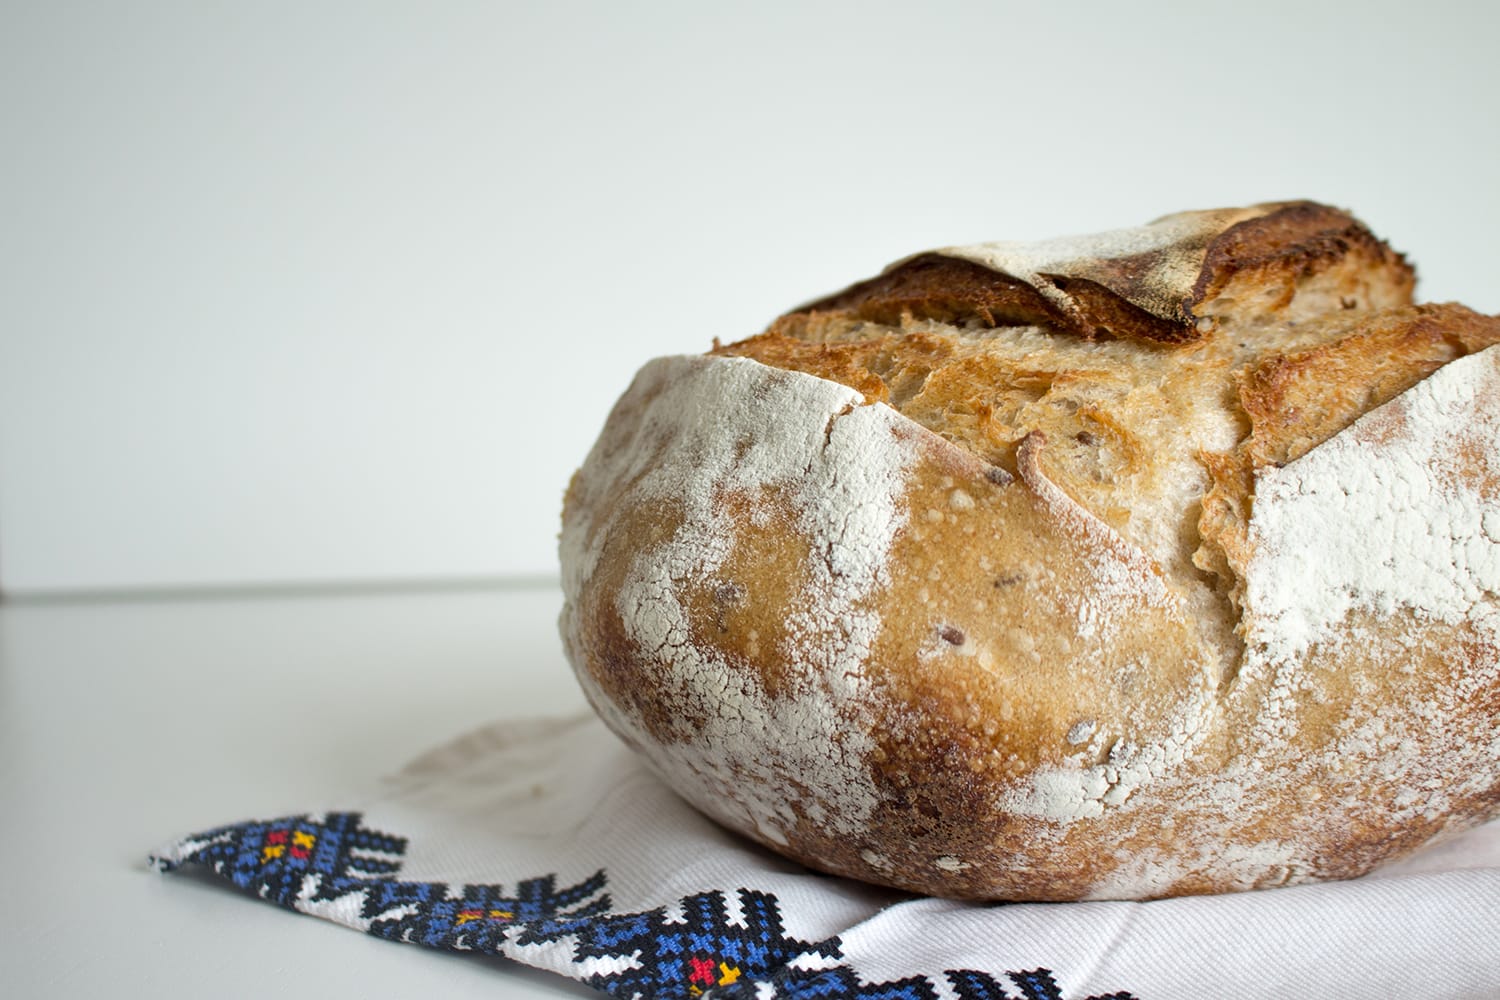
You don’t need to stick to the same setting and styling techniques all the time. It happens to me all the time; it’s not uncommon to end up with completely different results from where you started or what your initial vision was.
Moreover, I can safely say that those are some of my favorite photos of all time. That’s why I advise you to try something new every time to discover new techniques.
Final Words
These are 10 of the most important techniques that you need to follow while capturing food photos. I hope that this guide will help you to improve your food photography. Keep practicing, and happy shooting!
