How To Capture Stunning "Flat Lay" Photographs

Flat lay photography is one pretty big trend, and it seems it’s not going away. You can see flat lay images everywhere, especially on Instagram and other social media platforms. There’s a good reason behind its popularity, though; it’s attractive, minimalist, and quickly and effectively showcases the subject.
If you’re a lifestyle blogger, then It is probably the best way to showcase products, food, clothes, bags, jewelry, cosmetics, and many more. Apart from blogging, flat lay photography is also beneficial in the e-commerce space. Styling is the key feature in it because visually appealing and eye-catching photographs of products attract customers.
Flat lay photography is versatile and useful in many ways. Brands use it for advertising their products. It can also be used for the kitchenware by setting the table with different dishes. So from small e-commerce businesses to large companies, they are using flat lay pictures to showcase their products.
But wait! Are you a regular social media user who’s wondering what we’re talking about? No worries!
Let’s first talk about what flat lay photography is, then we will discuss the tips to take stunning photographs.
What is Flat Lay Photography?
A flat lay photograph is simply a picture with objects arranged on a surface taken directly from above. It’s also called “bird’s eye view” photography, and the style is a great way to show every kind of product. For taking the best pictures, you should be a master in arranging objects, lighting, setting the frame, and then editing it.
This genre is trending on social media platforms because it is a very easy way to show many types of products. You don’t need any environment or studio. All you need is good old creativity, lighting, some space for styling, good composition, and good technique. Try to take compelling pictures that people will love.
Making such photographs isn’t difficult at all, but it’s a lot of fun. In this article, we’ll discuss some great steps to create engaging and stunning photographs. Keep on reading to know about those steps in detail.
Know the Reason Behind Your Flat Lays
Before making flat lays, you should be clear about your target audience and what you’re going to make. It does matter what you’re trying to make, which products you’re going to show in your flat lays, and what story you will tell with your photographs. Because what you want to make reflects on these pictures. Always stick to your theme and the niche you’ve selected because it helps you to stand out among all and make your work recognizable.
Find a Flat Surface
As mentioned earlier, no studio or special environment is required for flat lay photography. All it needs is a flat surface.
It could be a dining table, coffee table, bed, or the floor. Backgrounds like wooden and plain whites and preferred because clean backgrounds produce more impactful photographs. And you can find such backgrounds and flat surfaces easily at your home or places around you. Avoid choosing busy patterns and dark backgrounds because they can compete with products in your picture.

Choose the Right Lighting
Getting the right light is essential because it can either make or break your flat lay photographs. Try to avoid light that results in harsh shadows. If possible, go with natural lighting and a bright background. Take pictures in open places and areas where there is a window.
Choose a position where light makes objects cast a soft shadow, so it creates dimensions. Also, you can use a lightbox, which will lighten the space evenly. Lighting is the key to taking perfect photographs.
Arrange the objects
Style and arrange the products in a way that looks good. If you’re going to shoot only one item, pick two to three other things to focus on and add a sense of depth to your image.
Try to balance small and larger items in the picture. If your flat lay contains only one type of only large or small object, it will make the photograph slightly uninspiring.
Give Color and Texture to Your Photograph
Select a color theme in your flat lay photograph wisely. Give a general color theme according to the products in the picture and the style you’re going for. It can also help create consistency if you follow a theme throughout your images. You can also make a blend of multiple colors to create a bright effect that will look pleasant.
Apart from the color scheme, try different things to add a texture to the flat lay pictures. Many things can add texture, including plants, glass, wood, stones, ribbons, your own hands, and many other things.
For those who want a simple yet powerful photograph, using minimalism in flat lay is best. Minimalism is a styling technique in which there are only 3-4 items with a simple and clear background.
Add Some Suitable Props
Adding props to your flat lay can take it to the next level. They are a great way to really tell a story with your images. Select suitable props according to the product to fill the gaps or make it more relatable.
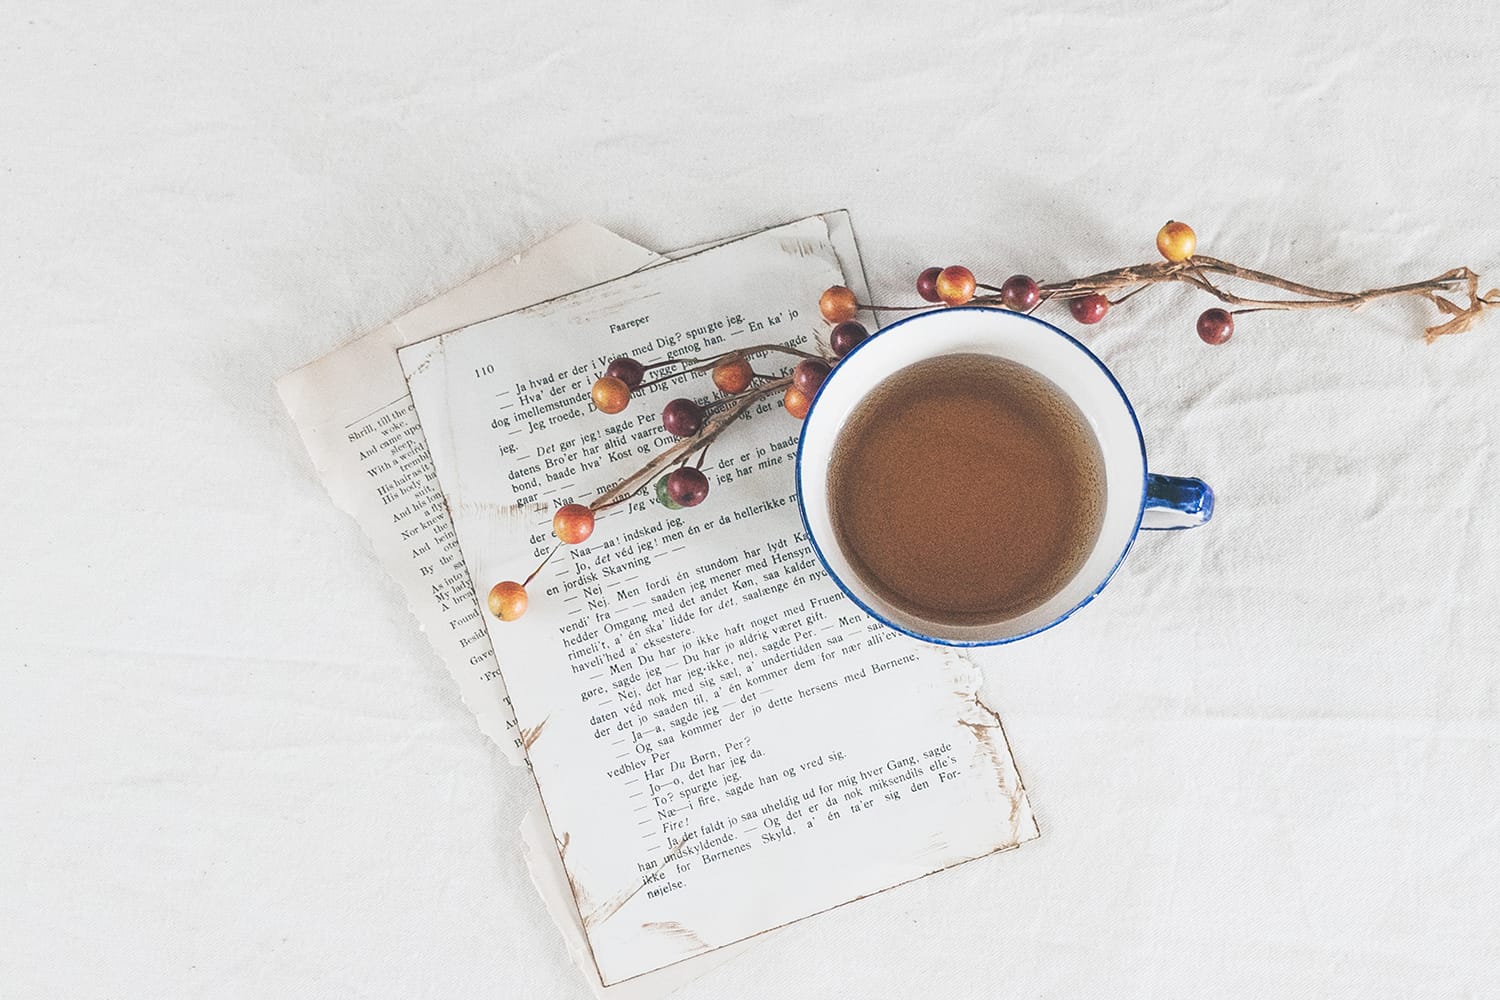
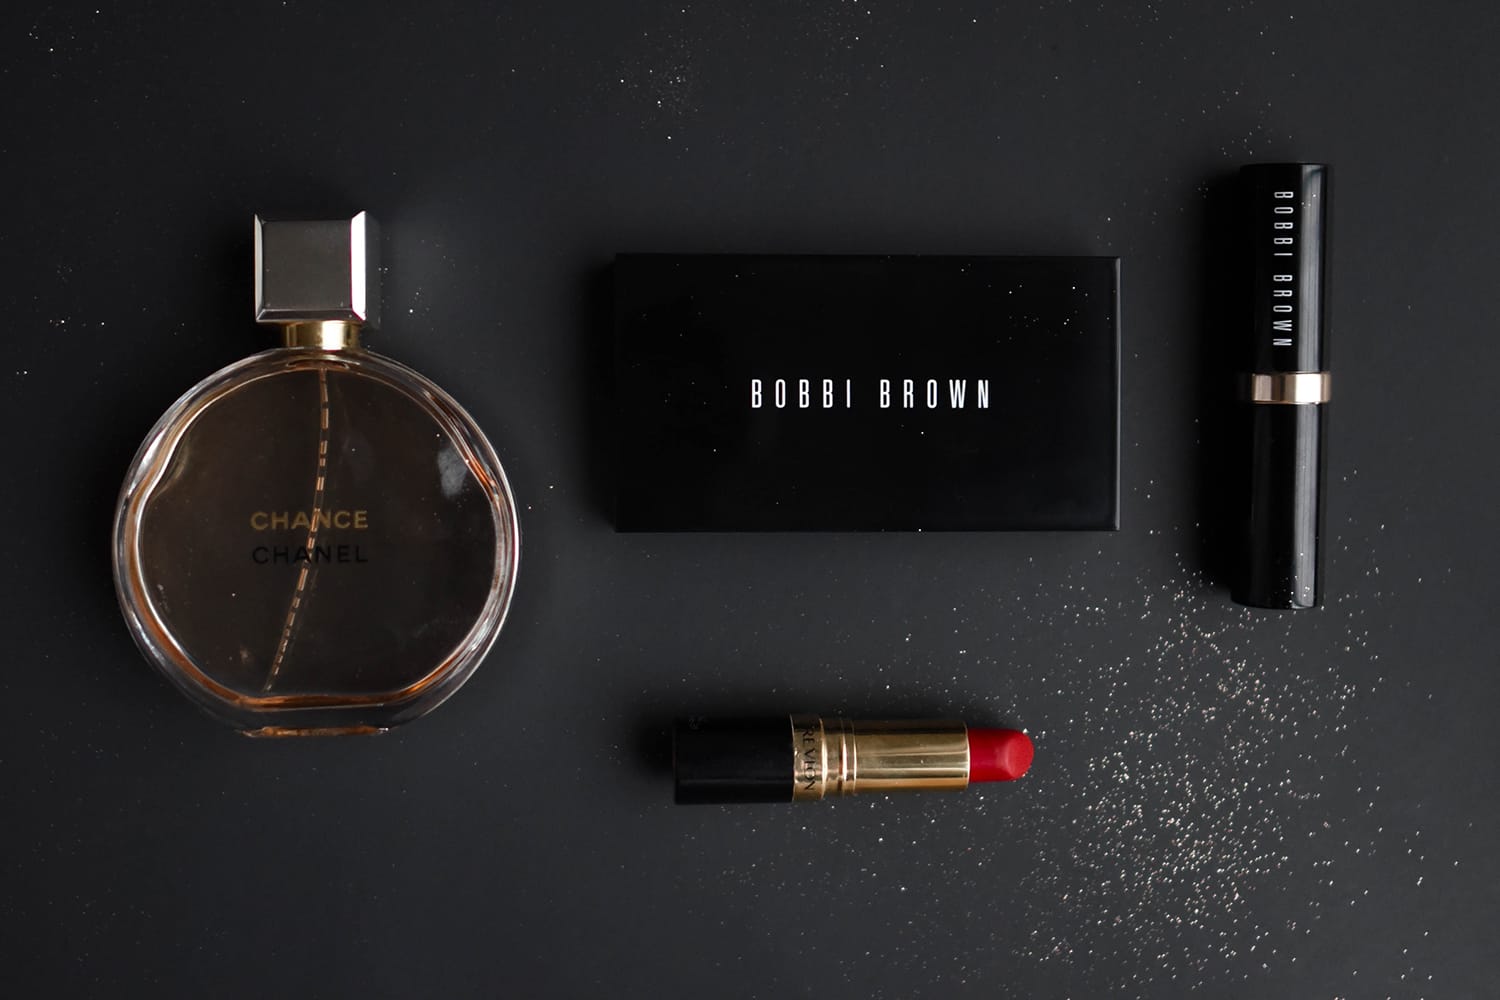
You can pick props from your surroundings to add a little flair to your images. For example, if your flat lay contains a laptop, you can add a book, a pen, a cup of coffee, or a watch around it to make it more appealing. Similarly, if you have a beauty blog, then the props may include brushes, palettes, skincare products, lipsticks or perfume bottles, etc.

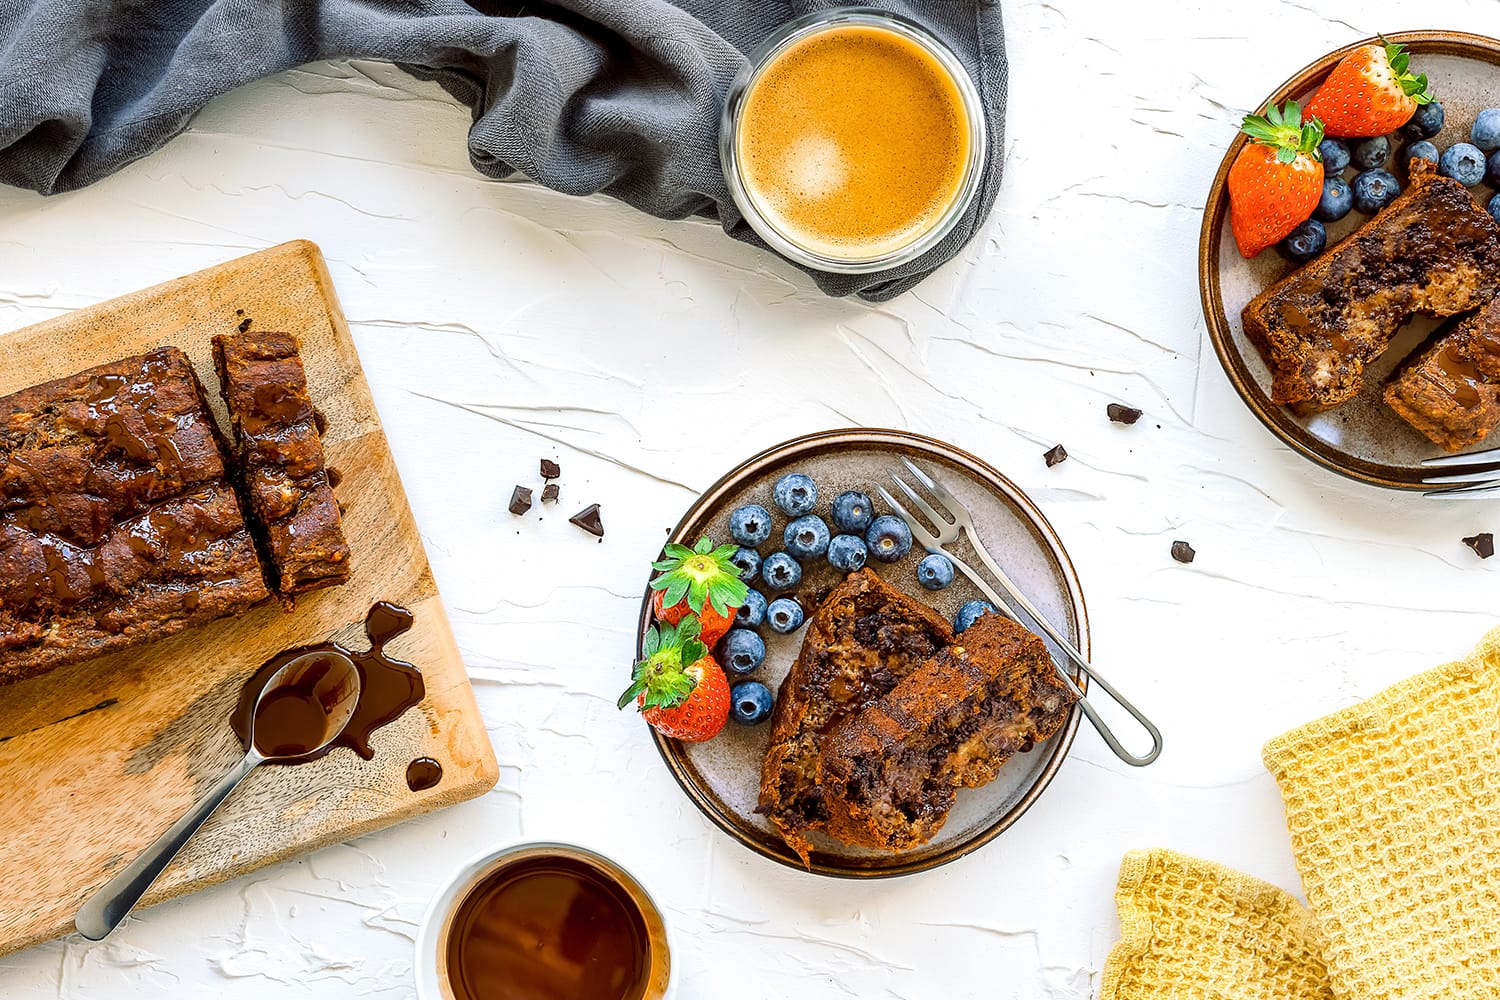
If you have a food blog, secondary products should be plates, kitchenware, teapots, napkins, and other ingredients. There are a lot of options to add props to your photographs to make them look more attractive.
Edit Your Flat Lay Photography
Once you are done taking the actual photographs, now select a few and start editing in your favorite photo editing application (we highly recommend Lightroom Classic). Start with adjusting the exposure by choosing the exposure tool, and then you can adjust the contrast, colors, brightness, as well as the highlights and shadows in your images.
You can also crop the photo to eliminate anything extra and adjust to a specific ratio. Moreover, you can sharpen up the textures with the help of a sharpening tool to bring out the details and create dimensions.
Summary
With all the tips mentioned above, you can create an amazing flat lay for your blog or Instagram feed. Always choose a theme that goes with your feed to make your pictures more recognizable.
Make sure to take multiple photos from different angles and choose the best ones! Happy shooting!
About the Author: Jon C. Phillips
 Jon C. Phillips is a photographer, watch lover, product developer/designer, guitarist & musician, and all-around web nerd. He's the founder of Contrastly which he launched in late-2012. He also co-founded DailyPhotoTips and TheDailyPreset.