9 Can’t-Miss Tips for Shooting in the Snow

Just because winter is here – at least if you live in the Northern Hemisphere – doesn’t mean that you have to pack up your camera!
There are plenty of exciting photo opportunities just waiting to be captured especially once the snow starts falling. If you happen to live in a part of the world that gets snow in the winter, or, if you have plans to travel to a winter wonderland, you should know that snow can be an excellent opportunity to flex your creative muscles, and start capturing some unique images.
Of course, snow also presents its own set of challenges, from overexposure and washed out images, to the white balance being off. Still, if you’re brave enough to step outside, and out of auto mode, you’ll find that there’s a whole new world that awaits you.
With this in mind, let’s take a look at a few tips for capturing amazing wintertime images in the snow!
1. Dress Warmly
This one may sound obvious, but it’s worth mentioning anyway. If you’re not dressed for the weather, then you’ll be far more likely to give up and call it a day after 15 minutes in the cold. Don’t let that happen to you. Be sure to dress warmly, in layers so that you can adjust your temperature as the weather changes.
Don’t forget a waterproof jacket and boots, and fingerless gloves, ideal for keeping your hands warm while you navigate your camera dials.
2. Bring the Right Gear
Next, consider bringing along a tried and true lens of your choice. While you’re out in the elements, you’ll want to be careful changing your lenses. Doing so can trap condensation inside your camera. If you’re not sure which one to bring, consider a zoom lens, which will give you a range of focal lengths to choose from.
Don’t forget to place a UV filter on your lens to protect it from moisture and minor dings. You’ll also want to bring a lens hood to help prevent lens flare; common when photographing highly reflective snow. You may also want to bring a polarizing filter; ideal for cutting through glare and darkening bright skies. Finally, make sure your camera’s protected from the elements as well. A waterproof camera cover can help to protect your camera in case of sudden flurries.

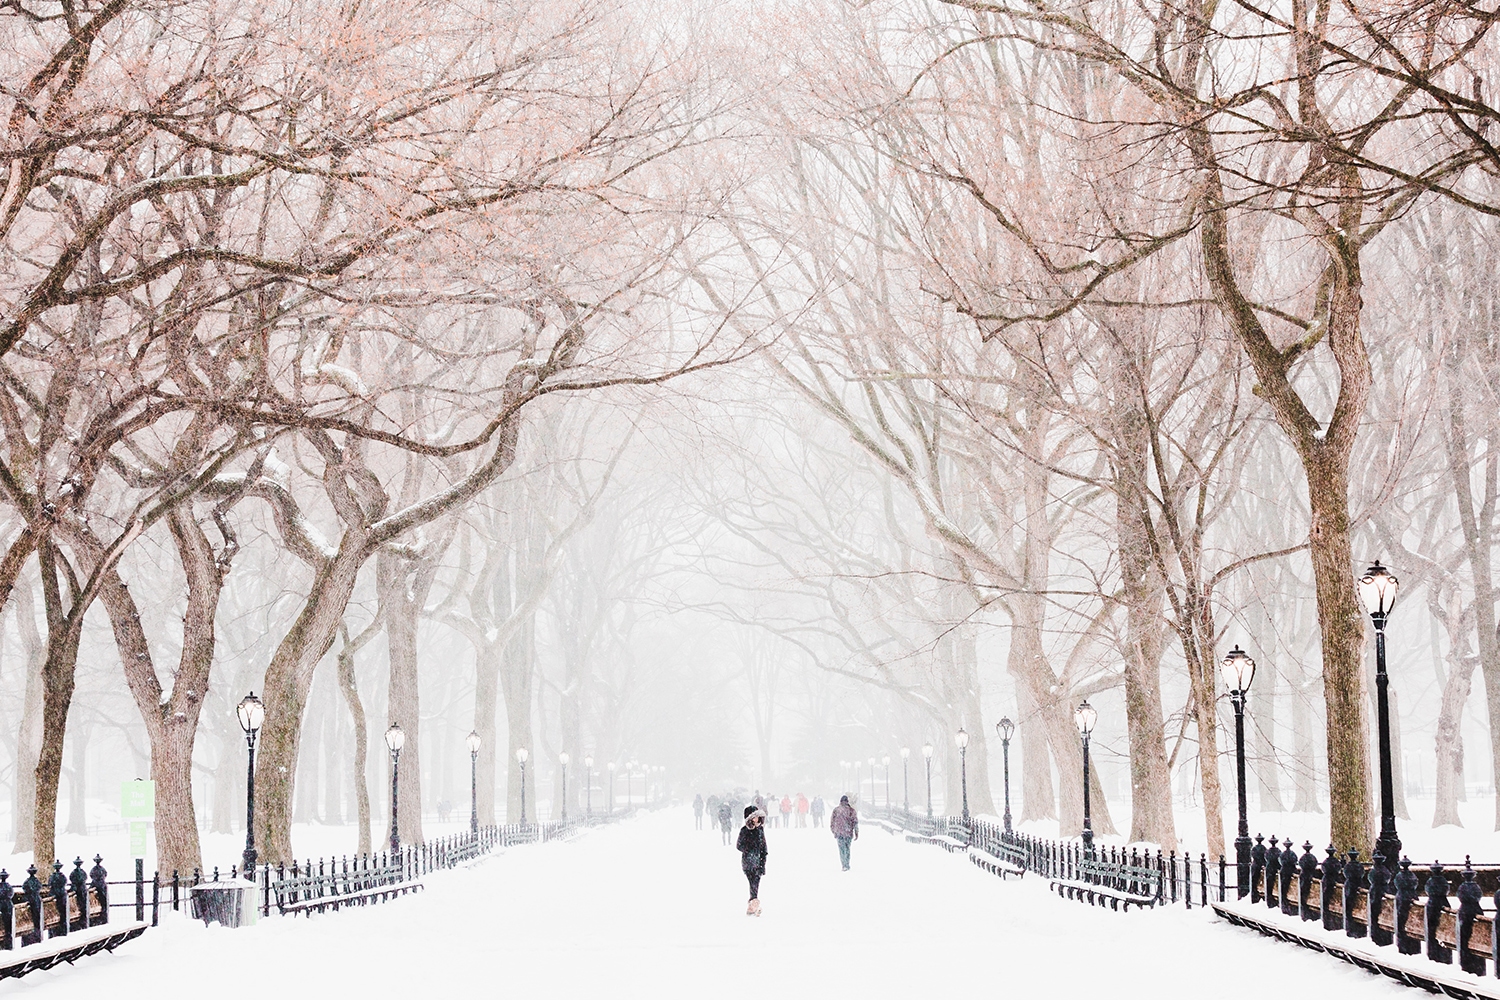
3. Look for Color
While the snowy wonderland looks amazing in-person, your camera will render all of that white stuff as a large, boring expanse of white. To help add interest to your compositions, look for color to help break up some of the white. A house or tree, or even boulders, if you’re shooting landscapes, or some berries or pinecones if you’re capturing nature images. If you’re taking portraits, be sure to have your subjects wear bold, vibrant colors. Consider asking them to layer up as a stylish alternative to the oversized coat.
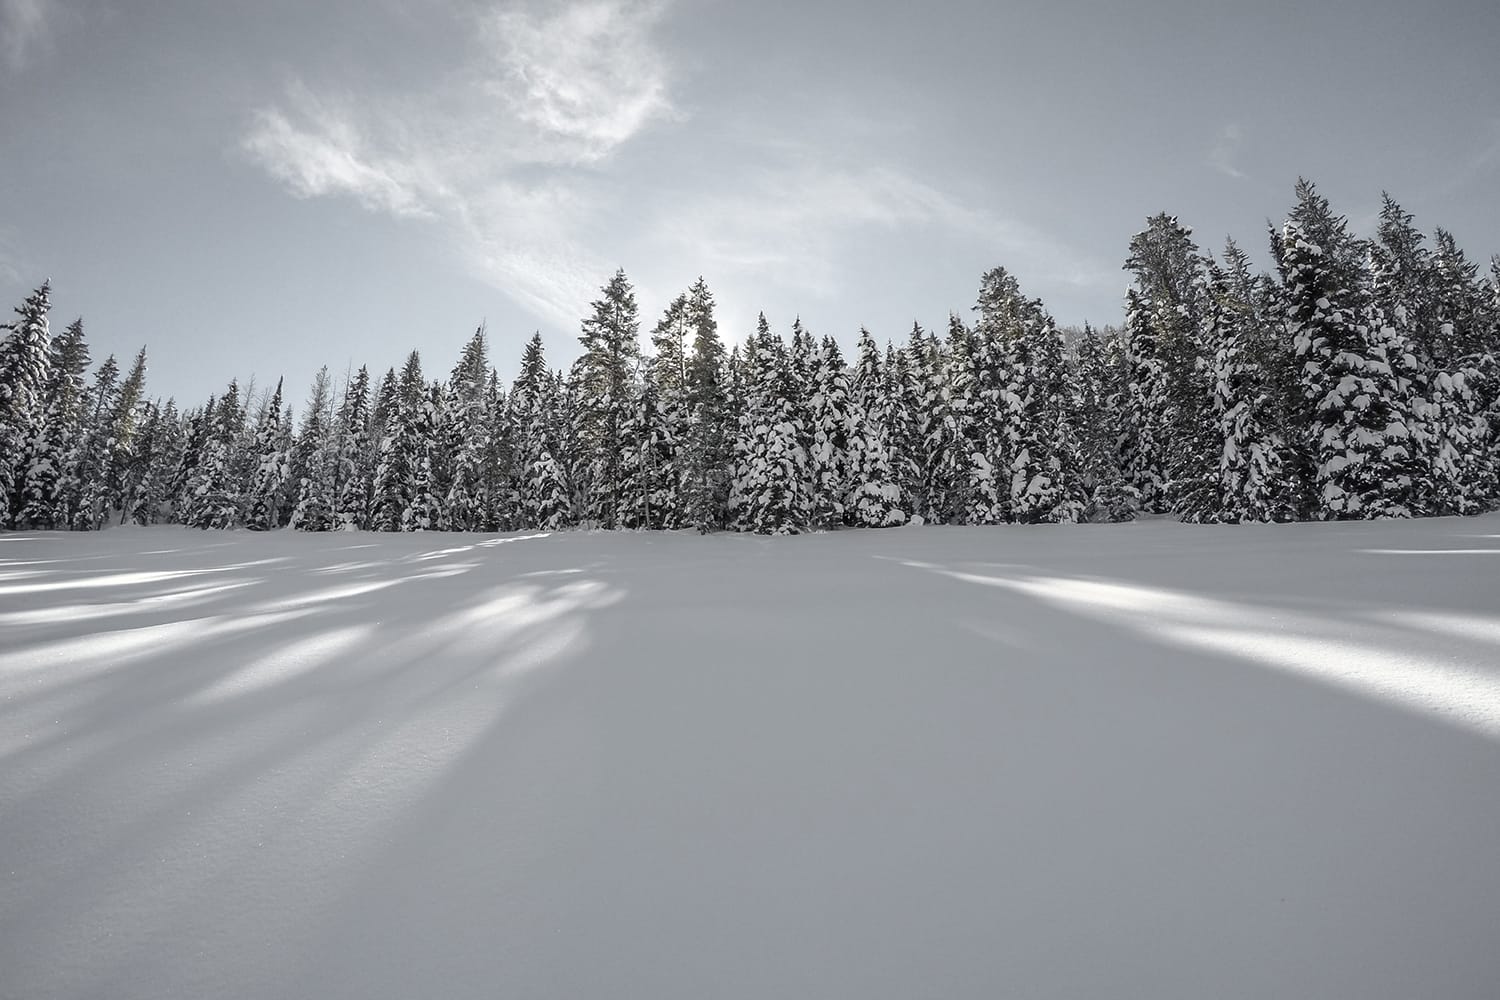
4. Watch Out for Footprints
If you’re hoping to capture a landscape of freshly fallen snow, don’t make the mistake of walking in it first. You can always experiment with adding footprints for artistic impact after you’ve taken your initial shots.
5. Capture the Snowflakes
If you’re lucky enough to get caught during a snowfall, consider capturing the falling flakes. Use a fast shutter speed, 1/250th of a second is a good place to start. This will allow you to freeze the action, and capture the falling snow. Using an off-camera flash can also help to illuminate the falling flakes. If you’d rather not have snowflakes in your images, use a tripod and a slow shutter speed to blur them, or go even slower and erase them completely.
6. Adjust Your White Balance
Snow looks white to us, but it’s blue to your camera. Sometimes you may want a blue tint to your snowy images, but other times, this look may not be what you had in mind. Consider setting your white balance when you arrive on-location. You can do this by pointing your camera at a patch of clean snow and then adjusting your white balanced based on the reading.
If your camera has a ‘snow’ setting, you could use that as well. It’ll adjust both your white balance and exposure for you.
7. Adjust Your Exposure
When shooting snowy scenes, your camera’s meter can easily get confused by all of the white stuff, and you may need to adjust your exposure. Generally speaking, you may need to set your exposure compensation to at least +1 on an overcast day.
It may sound counterintuitive, overexposing for snow, but this is the best way to prevent your camera’s light meter from making your snow too dark. Your best option is to compose your shot, check your exposure, and adjust as necessary. Keep checking your images, and your histogram, to make sure you’re happy with the exposure.
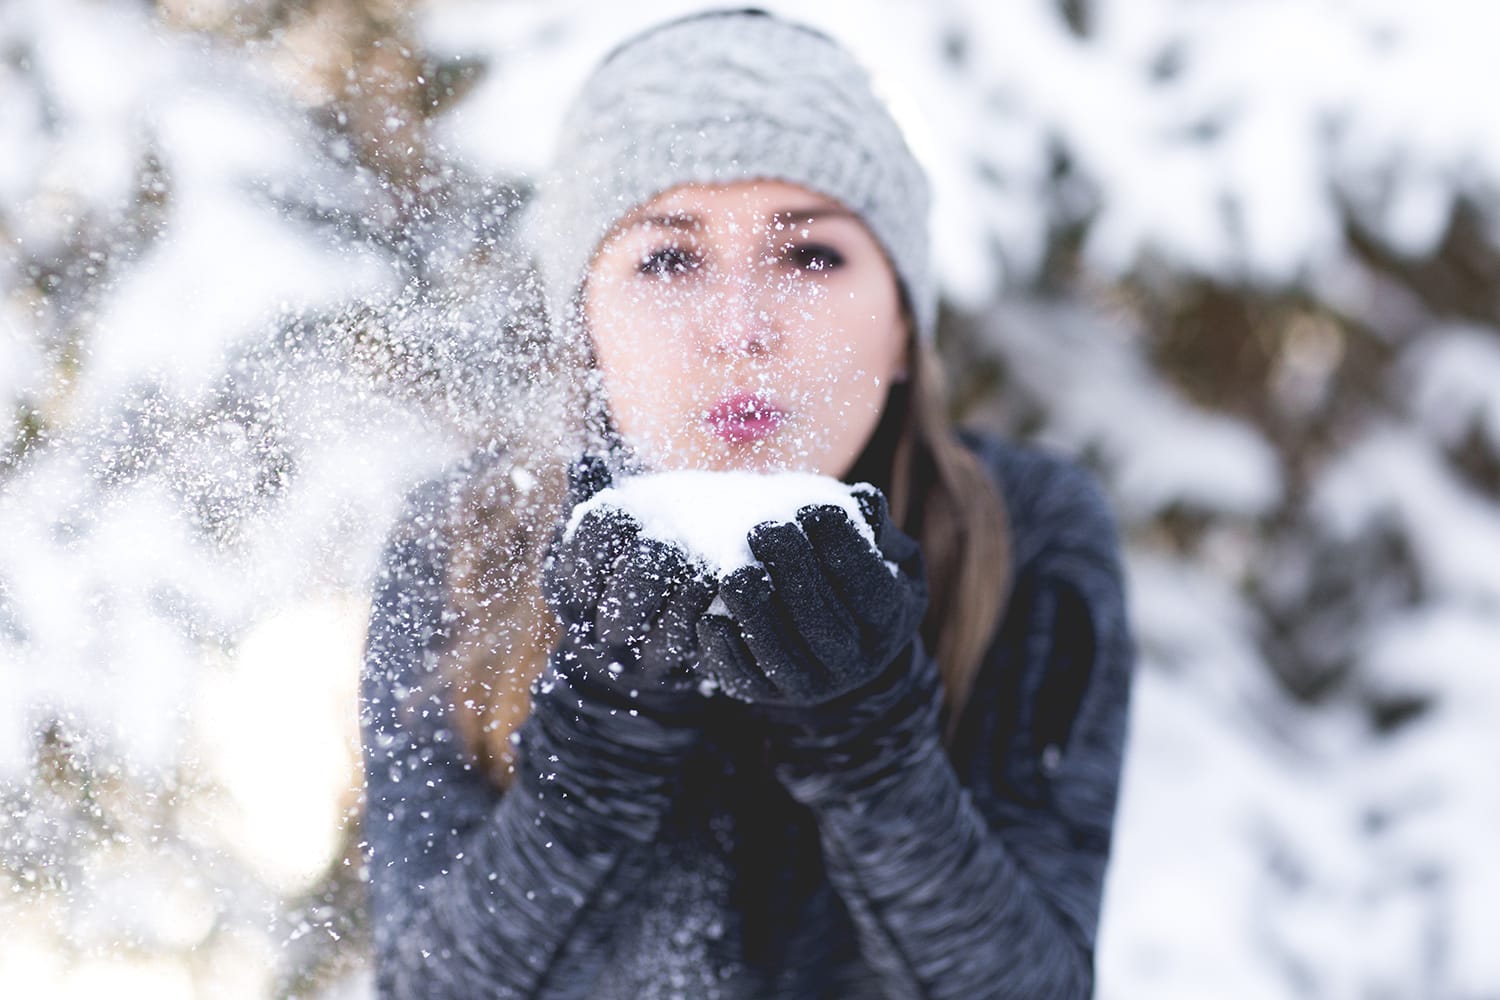
8. Blur the Background
In most cases, when capturing portraits, you’ll want to consider blurring out the background to prevent bare trees and other distractions from competing with your subject. Use a large aperture to let in more light; blurring the background, drawing your subject into focus.
9. Shoot in RAW
You’ll also want to consider shooting in RAW. When shooting snow, it can be difficult to get the exposure and color temperature right. Shooting in RAW will allow you to salvage those images that are composed properly, but lacking in terms of exposure or white balance. Just remember to bring along extra memory cards, since RAW images will take up more space.
The weather outside might be frightening, but there’s no reason to feel that you have to pack up your camera and wait until spring. Winter can be a great time to capture some exciting images, and to have a lot of fun while doing so!
Do you enjoy capturing snow? Please tell us about your own tips & tricks via Facebook or Twitter.
About the Author: Christina Harman
 Christina is a part time blogger and full time photography enthusiast living in Southeast Alaska. She enjoys travel photography and has taken pictures in countries such as Mexico, England, France, and China. She likes sunny days, new lenses and drinking good coffee. You can visit her at Tangled Thoughts.