A Guide to Understanding the Different Types of Reflectors and How to Use Them
 by
Jo Plumridge
by
Jo Plumridge

As I’ve mentioned many, many times everything in photography boils down to light. Without light, there is no image! And one of the most useful accessories for all photographers to carry is a reflector.
A reflector is a specialised reflective surface used to redirect light towards a given subject. In photographic terms, this means that you can use a reflector to bounce or diffuse either natural or artificial light. In this article we’re going to take a look at reflectors and how to work with them.

image by Dwayne Bent
Choosing a reflector
There are a bewildering range of choices to the uninitiated when it comes to reflectors. They come in a variety of shapes, sizes and colours so it’s important to know what you’re looking for and what will best suit your needs.
Shapes
Nowadays reflectors come in a variety of shapes. The most common remains the circular reflector but you’ll also find square, rectangular and triangular versions available. Circular reflectors tend to be the most budget friendly and have the widest range of sizes.
Personally, I’m a big fan of the triangular reflectors, as they come with a built-in handle, making them very easy to hold. You’ll also find some rectangular reflectors come with built-in handles.
Sizes
There are a huge range of sizes available – from tiny pocket sized reflectors that will illuminate a small area (such as a face) to six-foot tall reflectors that will need a stand to keep them in position. The larger the reflector the more your light will be diffused and this will also make the light softer. If you’re only going to buy one reflector then a 30” is probably the best option – it’s a good size but still folds up small enough to be fully portable.
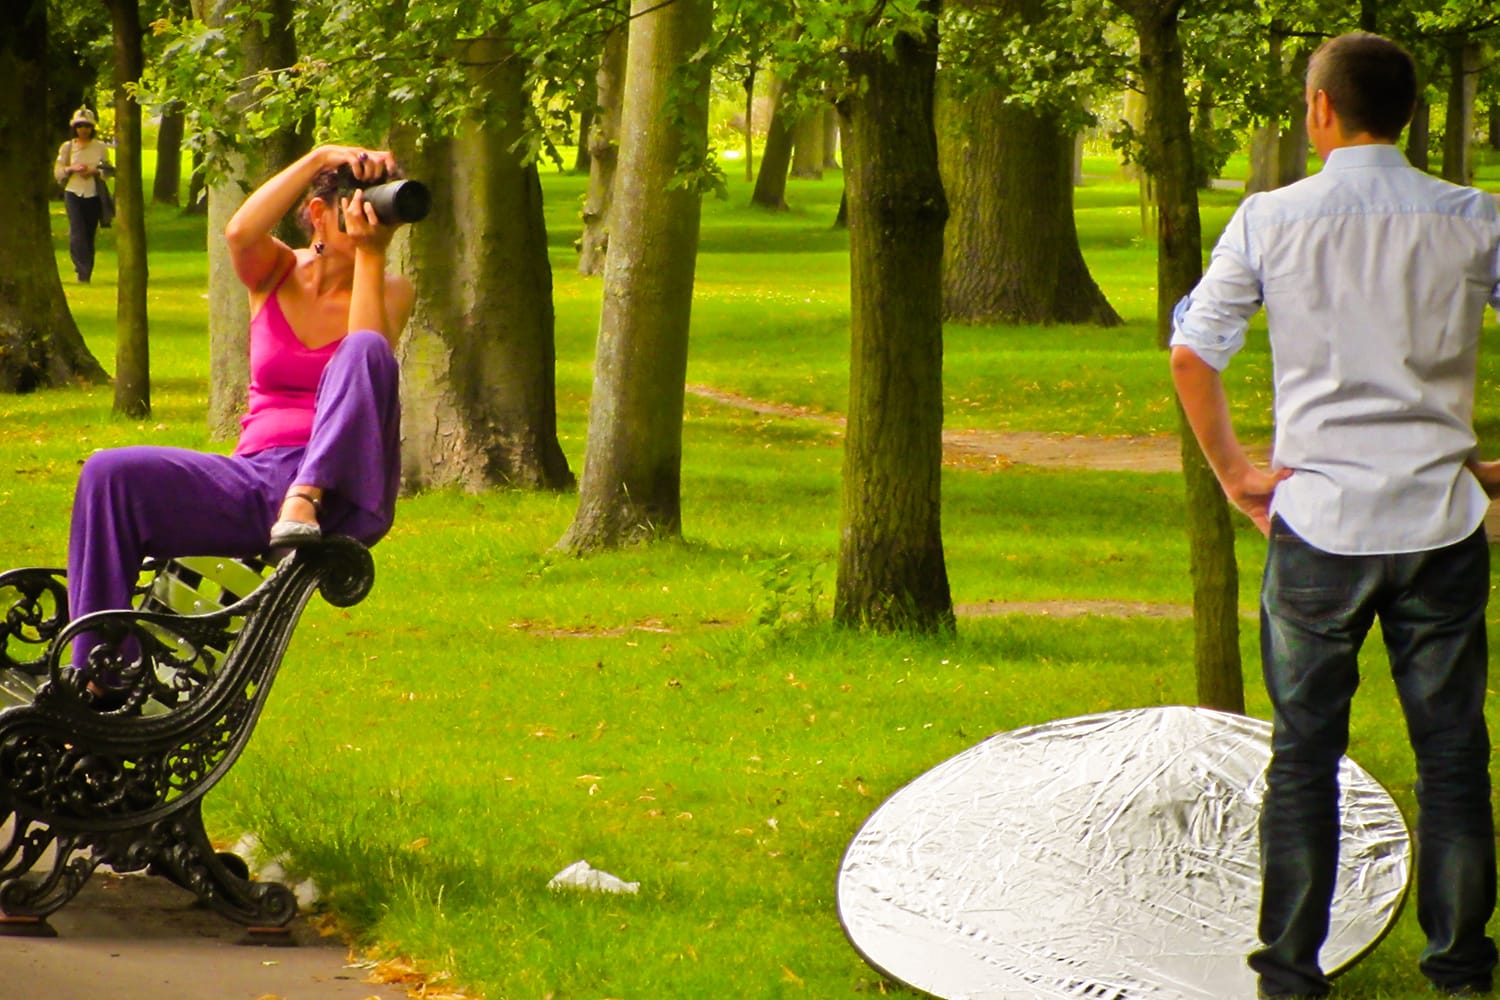
image by Garry Knight
Colours
Reflectors come in a variety of colours, which provide different functions. Let’s take a look at them individually:
-
Silver
Silver is a great colour to start out with when using a reflector, as it creates a neutral effect on your image. This means that it won’t change the colour cast of your photo. A silver reflector is highly reflective, and its effect will be far more obvious than other colours. It can also be a little ‘too much’ in very sunny or brightly lit situations. Avoid using if light is coming from directly above, as you’ll be in danger of blowing out highlights.
-
White
Along with silver, white reflectors create a neutral effect. But they are much safer to use in brightly lit scenarios, as they are far softer than silver. You will find it very useful for helping to fill in shadows without blowing out highlights, although you should bear in mind that it’ll need to be fairly close to your subject to have a visible effect.
-
Gold
Gold is another highly reflective colour, but can be easily overdone, as it will alter the colour temperature of your image. Whilst it creates a warm light, which can be effective for filling in shadows when a subject is in the shade, it can look unnatural if taken too far. I’ve always found it very effective for use with darker skin tones, but it can make pale skin look as if its gone a fake tan step too far!
-
Translucent
The translucent reflector isn’t actually a reflector in the true sense of the word. Rather than reflect, it acts as a diffuser to soften the light. To make the diffuser work you’ll need to make sure it’s placed directly between your subject and light source. It’s also very useful for softening the effects of a flashgun.
-
Black
Okay, so the black side of a reflector isn’t actually a reflector – in fact, it’s used for the exact opposite purpose! Black will create a shadow, so it’s perfect for using if one side of your subject’s face is too brightly lit, or to create extra depth and interest in an overtly evenly lit subject.
-
Combinations
Reflectors also come in a combination of colours. The most popular are sunfire and soft silver. Soft silver is 50% silver and 50% white, whereas a sunfire is stripes of silver and gold. Sunfire reflectors are, in my opinion, probably the most useful of all reflectors and certainly create a very pleasing effect.
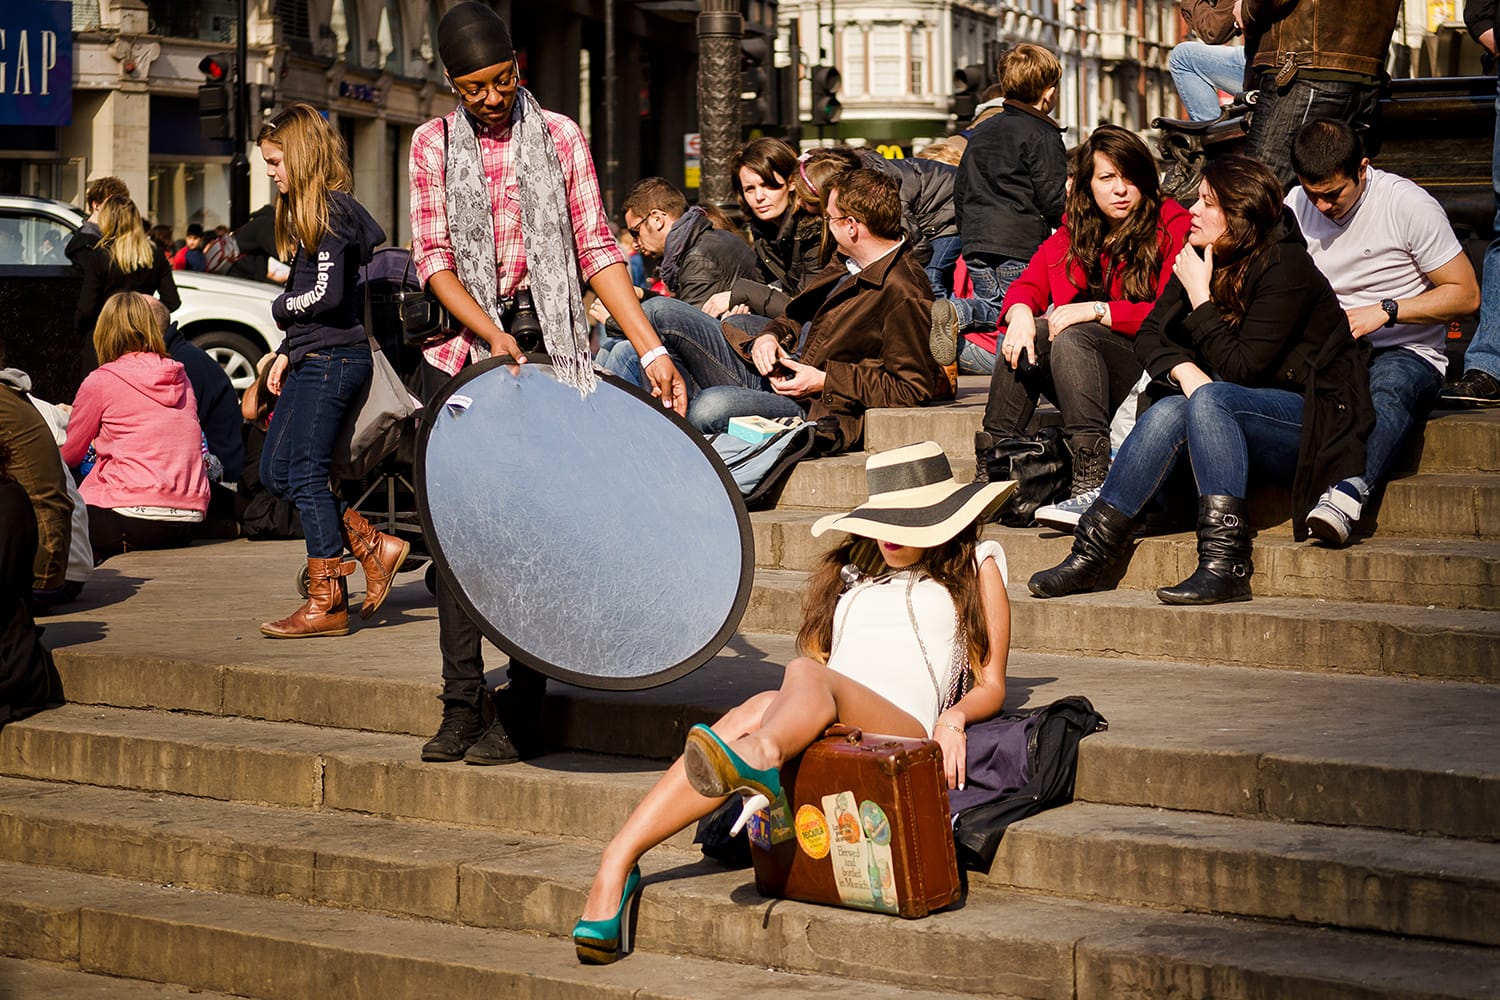
image by Garry Knight
Holding your reflector
Depending on the reflector you choose and how you’re using it, you can choose to have an assistant hold it. Or maybe have your subject hold it – usually on their lap – or even attach it to a stand. In many ways it’s often easiest to attach a reflector to a stand, as it means you can move it around easily and, once you’ve positioned it, it will remain in the exact spot you’ve placed it in.
Using your reflector
The best way to think of your reflector is as a fill light. You don’t necessarily want it to overpower the natural or artificial light you’re using but rather reflect the light to shine where you want it. It can also take a little practice to use a reflector.
You need to make sure that the light is actually hitting the reflector. The easiest way to do this is to keep angling your reflector towards your subject’s face until you see the light hitting their face.
Let’s look at the different ways in which you can use a reflector:
Artificial Lighting / Studio
Reflectors are a great accessory to have when you’re working in the studio. You can place them opposite your main light source to create a bounce effect or fill light. Or, by putting one in your subject’s lap or just in front of them at an angle, you can soften shadows under the eyes and the chin. They can also be used to enhance the catchlight in your subject’s eyes.
Use the silver or white side of a small reflector and use the reflected light to catch the eyes. This will create highlights in the dark pupils. Do warn your subject not to gaze directly at the reflector though, as it will be bright!
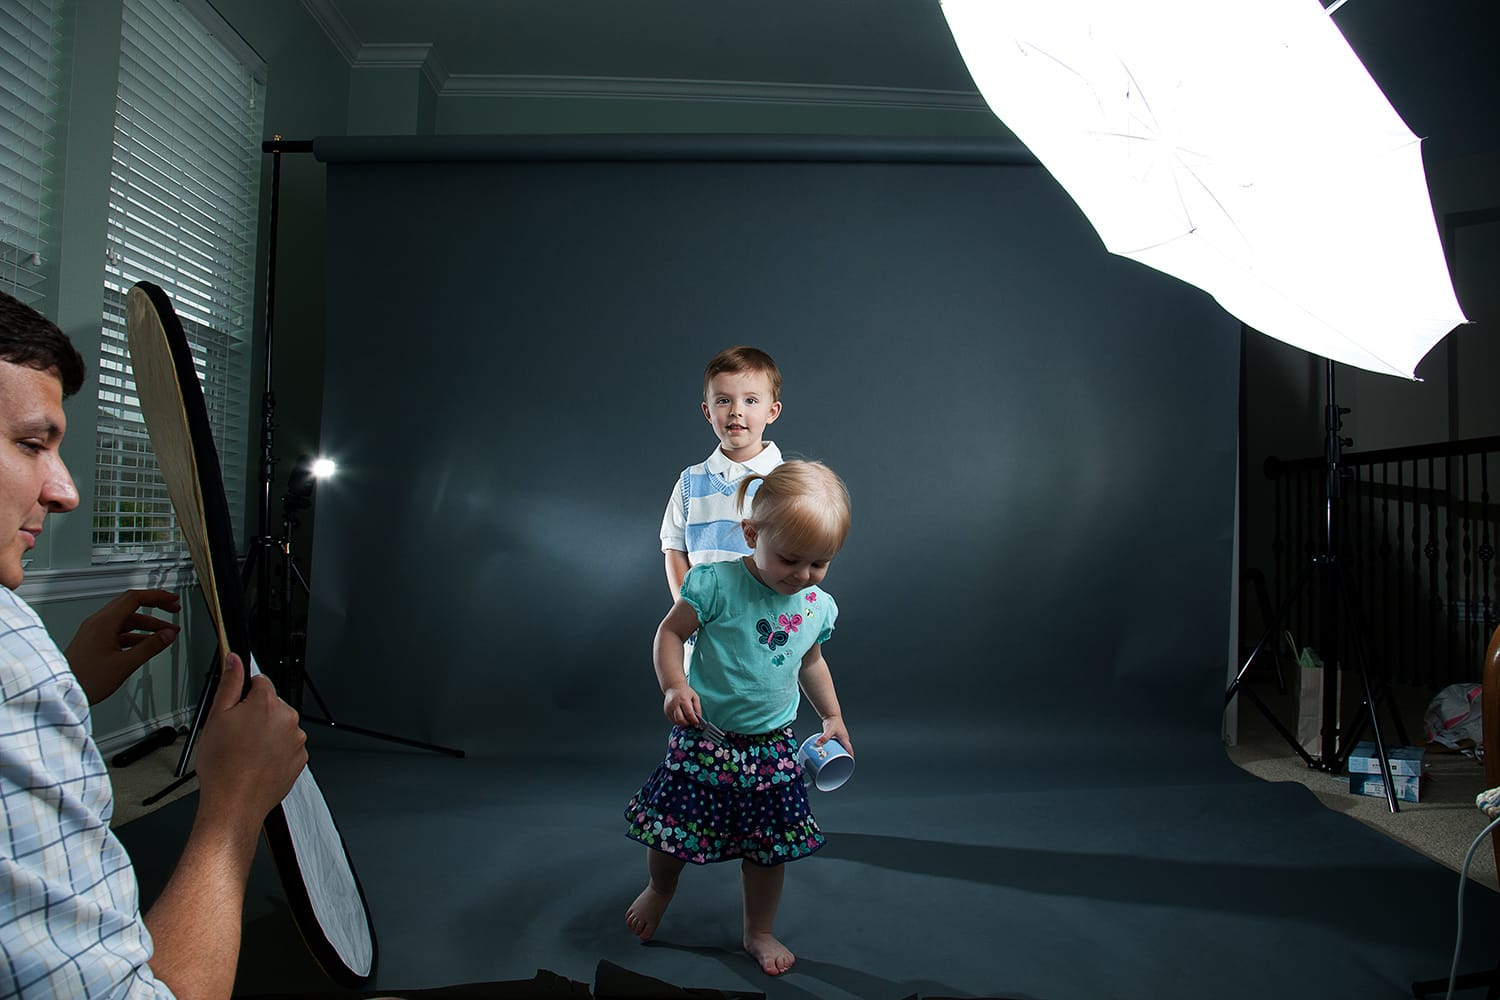
image by Travis Isaacs
Natural Lighting / Outdoors
- Dark Shadows: When you’re shooting outside it’s likely that subjects will be standing on a darker surface that isn’t reflecting light back into their faces. This will exacerbate any existing dark circles and create deeper dark shadows under the eyes. By either sitting your subject on a reflector, or by placing one on the ground at an angle close to the subject, you will be able to light up the shadows.
- Overcast: Overcast skies might not be pretty but they do give a very even, soft light. However, the light does tend to be pretty weak and can also create heavy shadows under subjects’ eyes and chins. To counter this, get your subject to hold a reflector directly underneath their face and angled upwards. If you have more than one reflector, you can also place additional reflectors on either side of the subject, to help bounce more light back onto them.
- Backlighting: Backlighting is where you take a photograph with the natural light behind your subject. This gives an attractive rim light outlining the subject, with a soft haze in the background. However, this can leave the rest of your subject in shadow and, unless you’re looking for a silhouette effect, it won’t be very attractive! By placing a reflector almost directly in front of your subject you can bounce the light to add soft, even lighting onto the foreground. Alternatively, you could move the reflector slightly to the side and add a little shadow to create depth and dimension.
- Key Light: In very brightly lit outdoor situations, you can even use a reflector as your main light. Simply angle the reflector so that the light it produces bounces directly onto your subject’s face. This will also allow you to light the face without altering the exposure of your background.
In Conclusion
Reflectors are one of the least expensive accessories you can have in your kit and yet they are extremely versatile in both natural and artificial lighting situations.
Whenever a light source is available they will help focus and define your images. In my opinion, every photographer should carry one at all times!
About the Author: Jo Plumridge
Jo Plumridge is a UK based photographer, writer and lecturer. She specializes in portrait, corporate and travel photography, and writes photography, travel and comedy pieces for magazines, websites and books. You can see some of her work at her website, or follow her on Twitter.