9 Great Tips for Enhancing Your Photos Using Fill Flash

While many photographers tend to avoid the use of flash or other light modifications in their photography, there are times when the addition of a fill flash can greatly enhance a composition.
We all love soft, beautiful daylight. But perfect natural lighting isn’t always readily available. Capturing spectacular images involves knowing how to use the light at hand – regardless of if that light comes from the sun, a flash, a strobe, or another light source.
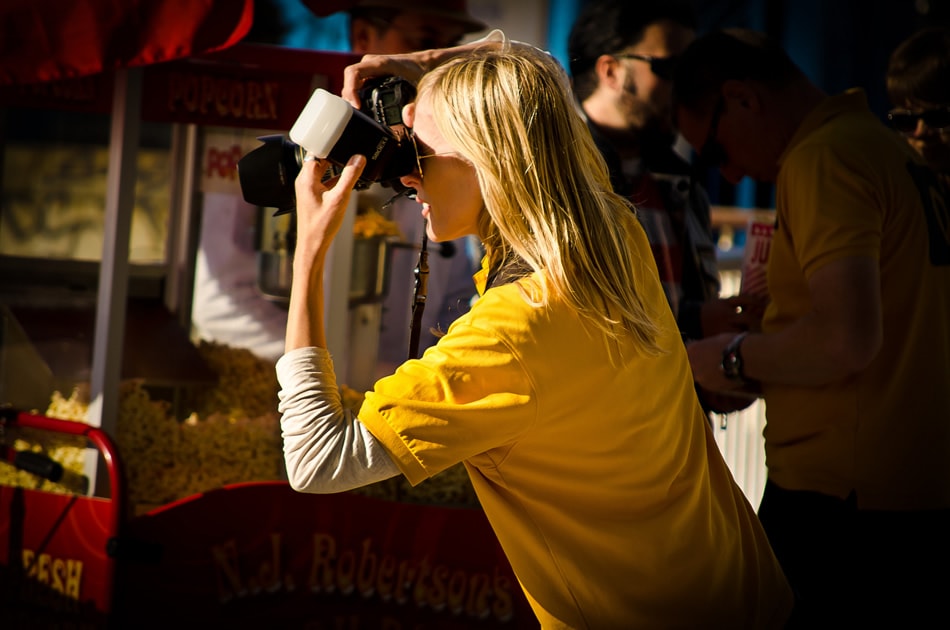
Image by Garry Knight
Most of us know the benefits of using fill flash for macro photography or portraiture. But did you know that you can also use a fill flash for landscape photography? It may sound unlikely, but in the hands of an experienced photographer, a fill flash can help to beautifully illuminate the foreground in an image, preventing it from getting lost in the shadows.
Let’s shine some light on a few ways that a fill flash can benefit your images, and see how you can use it to bring out the best in your portraits, macro shots, and even landscape imagery.
Portraits

Image by Dirk
Portraits can often benefit from a fill flash. Being able to work with a fill flash can help you to banish harsh shadows on your subjects, and dark circles under their eyes. It can also help to evenly illuminate your subjects, especially on bright, sunny days.
Here are a few tips for using with a fill flash for portraiture.
-
Keep It Subtle
When in doubt, keep it subtle! The last thing you want is for your subjects to look unnatural due to excessive light. Don’t compete with the sun; instead, work with it to touch the subject with subtle light. Consider using a diffuser, or dialling the flash power down for a more natural result – and to prevent squinting subjects.
-
Angle the Sun Behind the Subject
Using a fill flash will allow you a chance to shoot your subject with the sun behind their back. This can result in great images that separate your subject from the background, helping them to stand out. It’ll also give them great backlighting on their hair – and maybe even some catch lights in their eyes.
-
Use a Reflector
A fill flash isn’t the only tool you’ll want to have on hand when capturing portraits; a silver reflector is an invaluable piece of kit that’s perfect for bouncing the light back onto the subject’s face, resulting in beautiful, even lighting and giving them a beautiful glow.
Macro Images

Image by Anthony Kelly
While natural light is sometimes sufficient for macros, in many cases, close ups can benefit from some additional lighting to help draw out their minute details. Using your fill flash can help the shadows to disappear and the details come to life in a whole new way. It also gives you more freedom to manipulate the light to get the results that you’re after.
-
Consider a Flash Gun
The on-camera pop-up flash is in the wrong place for most types of macro photography. For optimal results, consider investing in an off-camera flashgun which will give you greater flexibility, allowing you to position it wherever you want.
-
Balance Natural Light With Your Flash’s Light
Make sure you balance your flash with the existing light to ensure that you’ll end up with a great shot that’s full of color and light. The best option is to usually aim for about 30 percent flash, and 70 percent natural light. Don’t be afraid to experiment by dialling down your flash to see what works best for you.
-
Consider a Flash Bracket
A flash bracket can help you to work faster, which is always important if you’re hoping to capture fast-moving insects.
Landscapes
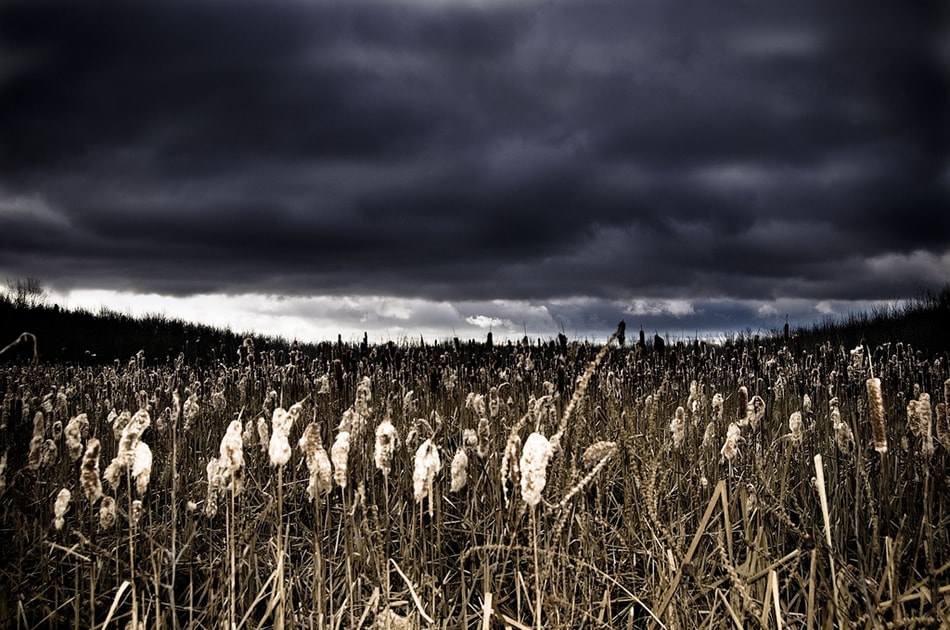
Image by Sean McGrath
In some cases, even landscapes can benefit from the use of a fill flash. While the natural light, combined with the right camera settings is often enough to bring out the best in your images, in some cases, your landscapes can benefit from the use of a flash.
-
Use a Fill Flash to Illuminate Foregrounds
It’s no secret that your flash won’t be able to illuminate the entire landscape. Instead, use it to shine some light on your foregrounds. For best results, you’ll want to use an external flash – which will allow you the most flexibility when it comes to positioning it exactly where you want it to be.
-
Use Gels to Adjust Your Color Temperature
Cool colors just aren’t working for your images? Consider using lighting gels that will allow you to adjust the color temperature in your photos. A CTO (color temperature orange) will help to warm up your compositions.
-
Aim for the Natural Look
Again, in most cases, the natural look is best. The times that can often benefit from a flash the most are just after sunset, or just before sunrise. In these cases, you may want to try using your flash setting low, and experiment with using lighting gels for a warmer, more natural look.
When to Use a Fill Flash

Image by Raj
The question that often arises is ‘when should you use your fill flash?’ The answer, of course, is any time you’re dealing with dark shadows in your portraits or nature photography, or looking to help your subject stand out from the background. Here are three questions that will help you to determine if an image could benefit from a fill flash.
- Is there more light behind my subject than in front?
- Are there shadows on my subject?
- Am I close enough for my flash to make a difference? Do I have a strong enough flash?
While using a flash may be regarded by some as “cheating,” it’s important to remember the goal of your photography – to capture amazing images. If you find yourself faced with a situation where the use of a fill flash could help to bring out the best in your composition, don’t hesitate to use it. Often, all it takes is a subtle addition of some light to take your images up a notch – and create amazing images where there would have otherwise been darkness.
When do you use your fill flash? Feel free to share your own tips & tricks with us on Twitter or Facebook!
About the Author: Christina Harman
 Christina is a part time blogger and full time photography enthusiast living in Southeast Alaska. She enjoys travel photography and has taken pictures in countries such as Mexico, England, France, and China. She likes sunny days, new lenses and drinking good coffee. You can visit her at Tangled Thoughts.