How To Successfully Incorporate Water Into Your Landscape Photographs

What’s one of the best, most versatile subjects that you’ll ever have the opportunity to capture? Water!
Water is an ideal way to add instant drama, depth, and interest to your images. Whether you capture it as a waterfall thundering down the side of a mountain or photograph its stillness as a reflection on a lake, incorporating water into your images will open up the potential for some truly spectacular compositions.
Let’s take at some tips for incorporating water into your landscapes, and see how ponds, rivers, and lakes can transform your landscape photography – for the better!
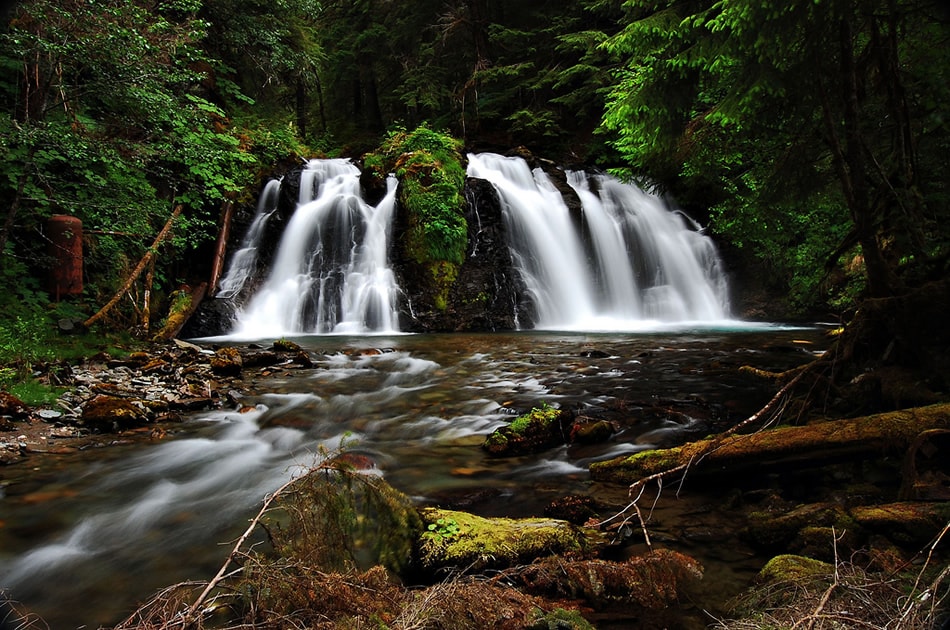
Photo by Vincent Lock
Waterfalls
If you get the opportunity to photograph a waterfall – go for it! Whether it’s a trickling stream of runoff or powerful, thunderous falls, waterfalls can make for some exciting energy-packed compositions.
How to: Photographing waterfalls is all about adjusting your settings to get the most from the falls. While you can use a fast shutter speed to “freeze” the falling water, most photographers prefer to blur the movement of waterfalls by using a long exposure. To gently blur your falls, you’ll want to set your shutter speed to several seconds or longer. As a general rule, the farther away from the falls you are, the slower your shutter speed will need to be. Use a narrow aperture to decrease the amount of light that reaches the sensor, and keep your ISO low. You’ll also want to use a tripod to steady your camera. You may also find a neutral density (ND) filter to be helpful, since it will help to filter out some of the light, preventing the image from being overexposed during the longer exposure.

Photo by Nelson L.
Rivers, Creeks, and Streams
Incorporating rivers or streams into your landscape images is another great way to add some drama to your compositions. Rivers and streams work often well as main focal points – or, depending on how far away you are from them, they can also serve as a supporting element, or as leading lines to help draw you into an image.
How to: As with waterfalls, a slow shutter speed can help you to blur the movement of a river, adding a dreamlike quality to your photos. A shutter speed of around 1 or 2 seconds is usually a good place to start; you can always slow it down to add more blur. You’ll also want to pay close attention to your composition – would your image be better served by making the river the main focal point, or by using it as a supporting element? Standalone images of rivers are beautiful, or, you can zoom in to capture a piece of the moving water. In some cases, focusing on an object in the foreground, like a fallen log, some bushes, or rocks, and using the river as a background element can also make for some great images. When it comes to rivers, your options are limitless – don’t be afraid to adjust your angle to find a winning composition!
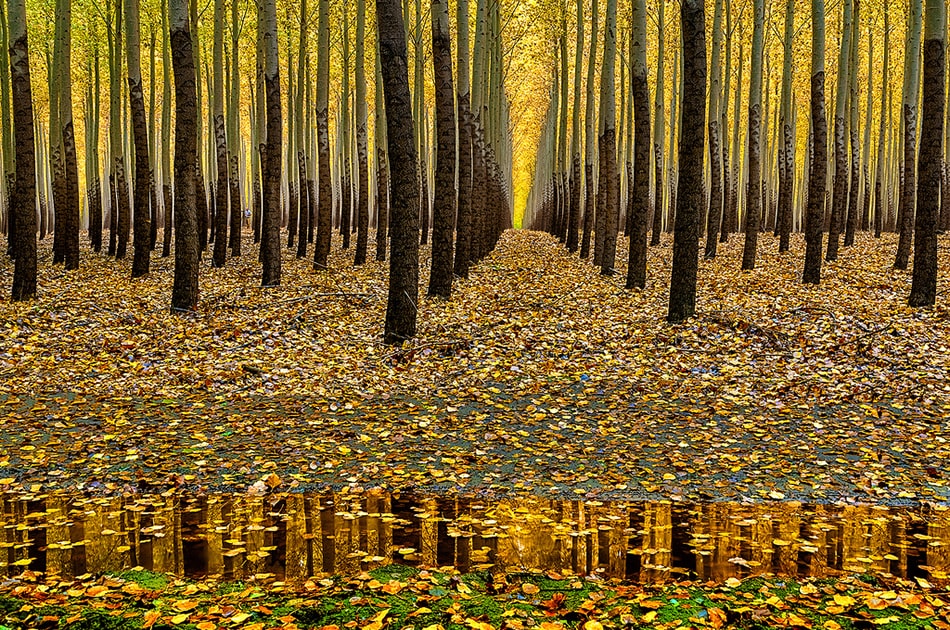
Photo by Charles Knowles
Lakes, Ponds, and Puddles
You might not always have access to great streams, rivers, or waterfalls – but that doesn’t mean that all hope is lost. Lakes – or other small bodies of water like ponds, tidal pools, and even puddles can make for great landscape images – and often provide the perfect opportunity to capture some striking reflections.
How to: As a general rule, extremely shallow bodies of water usually present the best chance for smooth reflections, as shallow water tends to be stiller. In most cases, the best reflections happen when the elements in the composition are well-lit and against the backdrop of a clear, blue sky, so the sun should ideally be behind you, not in front. For best results, a lower angle can help to maximize the reflection in your image, so don’t hesitate to get low to the ground. As far as camera settings go, you can use a fast shutter speed to capture a crystal clear reflection on the surface of smooth water, but if the surface is a bit choppy, consider using a long exposure to blur the movement of the water.
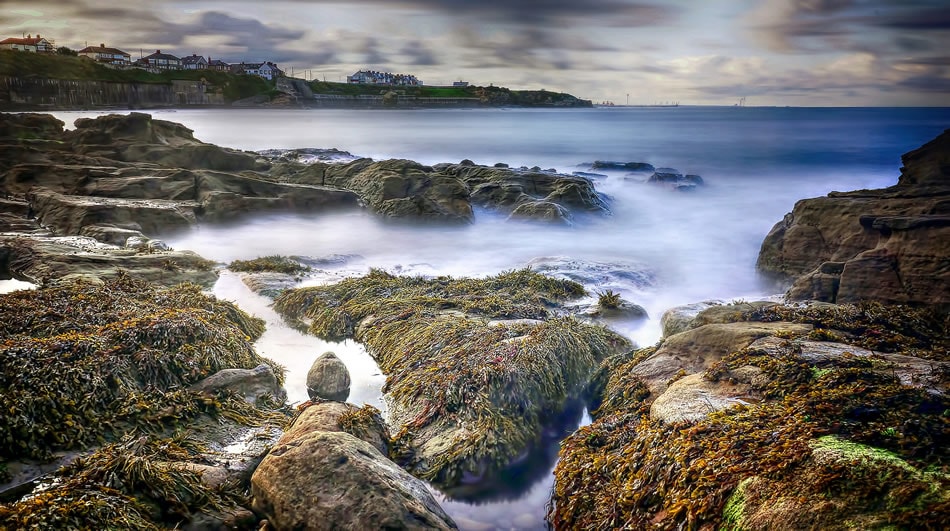
Photo by Ray Bilcliff
The Ocean
When it comes to waterscapes, the ocean rarely disappoints. Sunrises, sunsets, and golden hour tend to be especially spectacular times of day for ocean photography. One of the reasons for this is because the sea provides a great reflective surface for light, helping to illuminate your images. While most late evening landscape photography tends to result in dark, underexposed foregrounds, the ocean allows you to capture evenly exposed and balanced images.
How to: The ocean changes dramatically from day to day, presenting many opportunities for different types of images. Large waves and brooding storms are a great chance to capture wild and dramatic photographs, while still, glassy seas make for calm and serene compositions. To gently blur the surface of the sea, you’ll want to use a slow shutter speed – usually around 5-30 seconds, or more. If you can, try to bring along ND filter – which is useful for helping to filter out some of the light during long exposures. Of course, if you’re hoping to “freeze” the waves breaking on the shore, or capture a bird in flight against the backdrop of the sea, a faster shutter speed will be in order. A speed of around 1/500 of a second or faster is usually required to freeze the action of a breaking wave – depending on your vantage point.
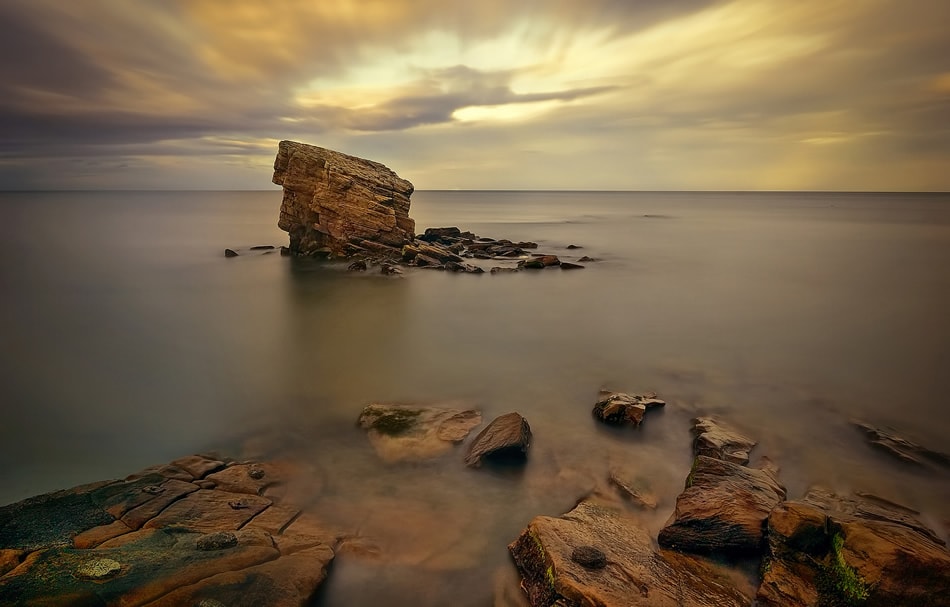
Photo by Ray Bilcliff
Adding water to your landscapes is an excellent way to create breathtaking images. Whether you’re photographing the movement of a waterfall or the sea, or capturing a sharp, smooth reflection in a puddle, water will help to bring your landscapes to life in a real way – so keep on the lookout for opportunities to include it in your compositions.
Lakes, rivers, or the sea? What’s your favorite type of water to photograph? Please share your own tips & tricks on Twitter or Facebook!
About the Author: Christina Harman
 Christina is a part time blogger and full time photography enthusiast living in Southeast Alaska. She enjoys travel photography and has taken pictures in countries such as Mexico, England, France, and China. She likes sunny days, new lenses and drinking good coffee. You can visit her at Tangled Thoughts.