How To Shoot Awesome Reflections in Water

Water is an ideal reflective surface for photographers to experiment with. If you have the right approach, a creative imagination, and the bit of patience you’ll need for trial and error, you can get some amazingly interesting shots with water reflections.
When you photograph reflections, you take ordinary subjects an turn them into something surreal, memorable and highly unique because you’re showing them in a totally different light to your audience. This makes reflection photography a winner and definitely worth your time, any way you cut it.
One of the most common ways to shoot reflections is in bodies of water; it’s also one of the most accessible. Here’s how you can get started and throw yourself into this activity right away.
Fundamental Shooting Considerations
Depth of field is always important, but it takes on some added importance with water-reflection photography. Begin by ensuring that your f-number is high: shoot for at least f/8. This is going to work wonders when it comes to leveling out the subjects of your shot, thus allowing your audience’s eyes to see them in closer proximity. As a result, the neat reflection effect in your images will be heightened, much to your delight and that of your audience!
Next, you’ve got to deal with focus. The distance between the body of water and your actual subject is key here. Begin by focusing first on your subject; then, move on to your reflection in the water. This is going to give you subtly different results, nothing too drastic, but enough for you to decide which style you like better. You’ll make your decision based on the degree of attention you wish to draw to the reflection.
The way the angle of the light hits is the final shooting consideration. There are two situations this comes into play: in the studio and in natural light. In the studio, you’re lucky because you’re able to control the light and bend it to suit your shot, so that the reflection stands out. In a natural light setting, you’ll be better off experimenting with various angles to determine the position where the reflection is the most obvious.
Now that you know the fundamentals of setting up this type of shot, let’s move on to the different types of water-reflection shots you can try out!
Reflection Minus the Main Subject
Have you ever thought to yourself that reflection photography doesn’t always need to have the actual subject in the frame? If so, you’d be right, and not having the subject in the shot can make for an even more interesting experience because it adds an element of mystery to the frame! Your viewers trying to figure out exactly what they’re looking at in the water reflection can be an extra hook to your imagery.
You’ll be surprised at what an almost abstract feel you’ll give your images with this technique. If you want to take this abstract feel even further, don’t be afraid to snap reflections of colored objects within rippled water. Never mind what the main subject is!
Sometimes, though, it does help if the subject in the reflection is plainly spelled out to the viewers. Here are some ideas for great subject material for water-reflection photography.
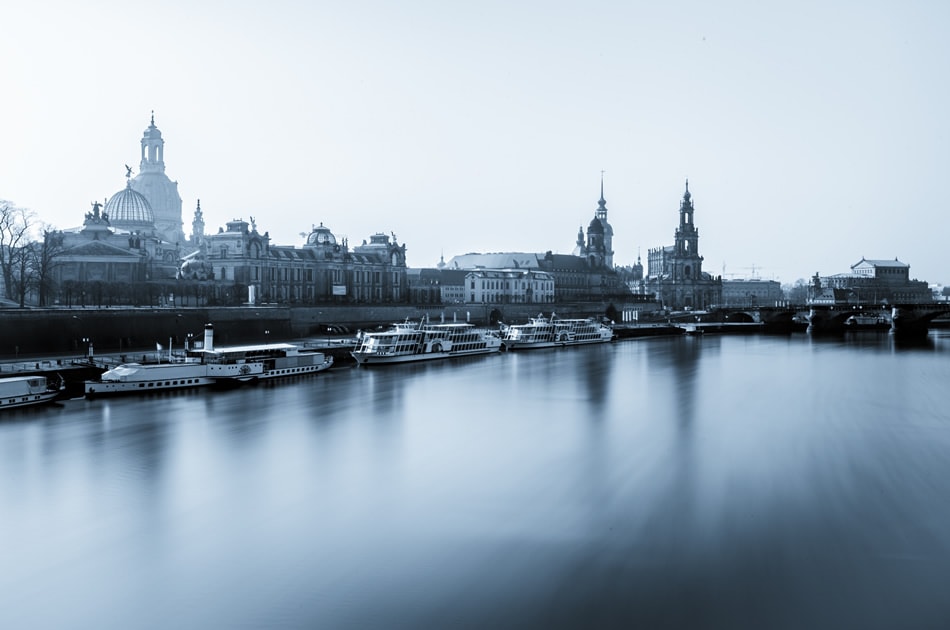
Lights at Twilight
There’s just something innately magical about darkening conditions, light and the water that really produce memorable images that pop.
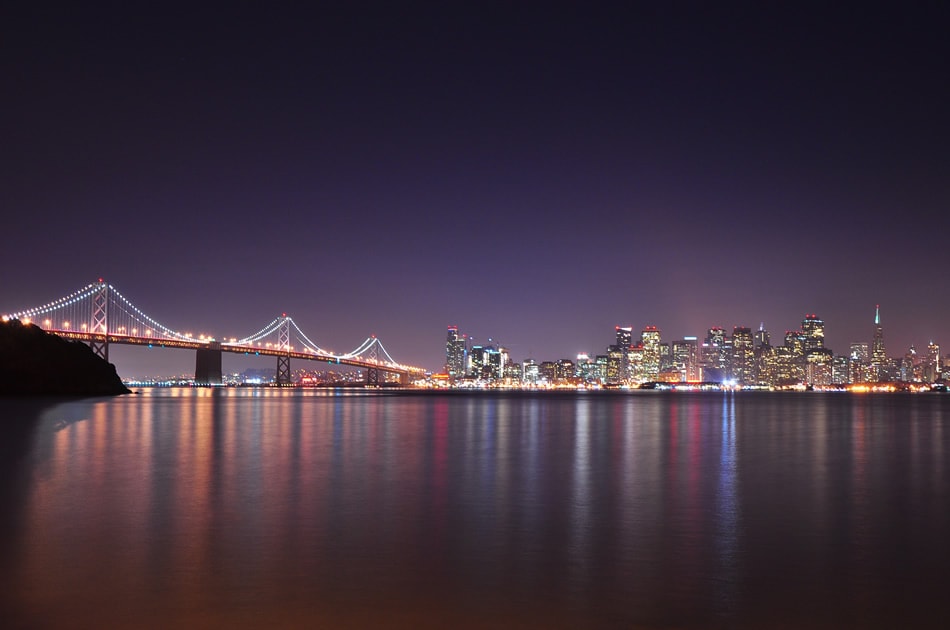
Just before nightfall approaches, get out to the water and try to frame the shot with the city lights right behind the water. The special blue color of the sky at this time of day together with the light from the buildings produce dazzling photographs.
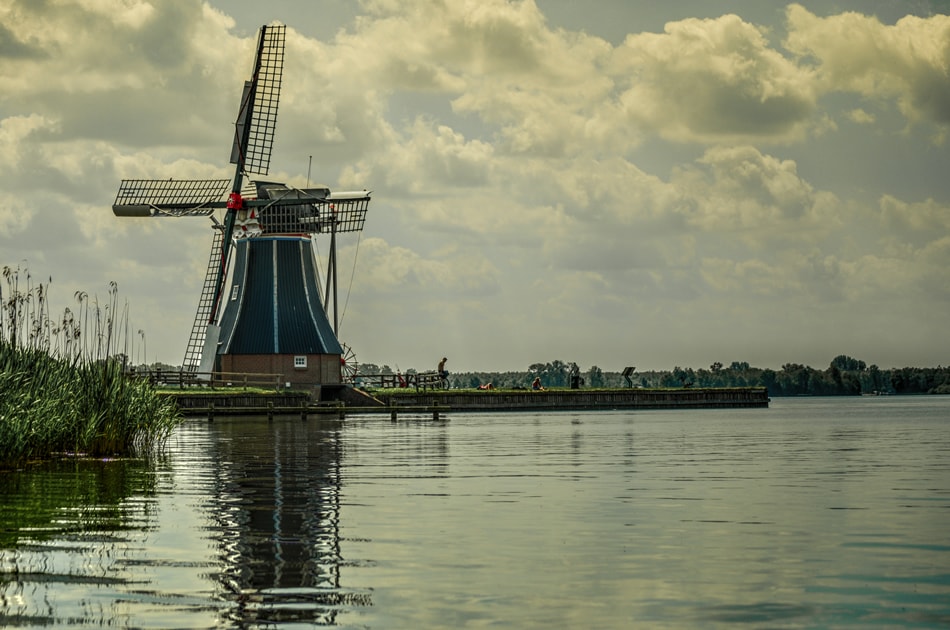
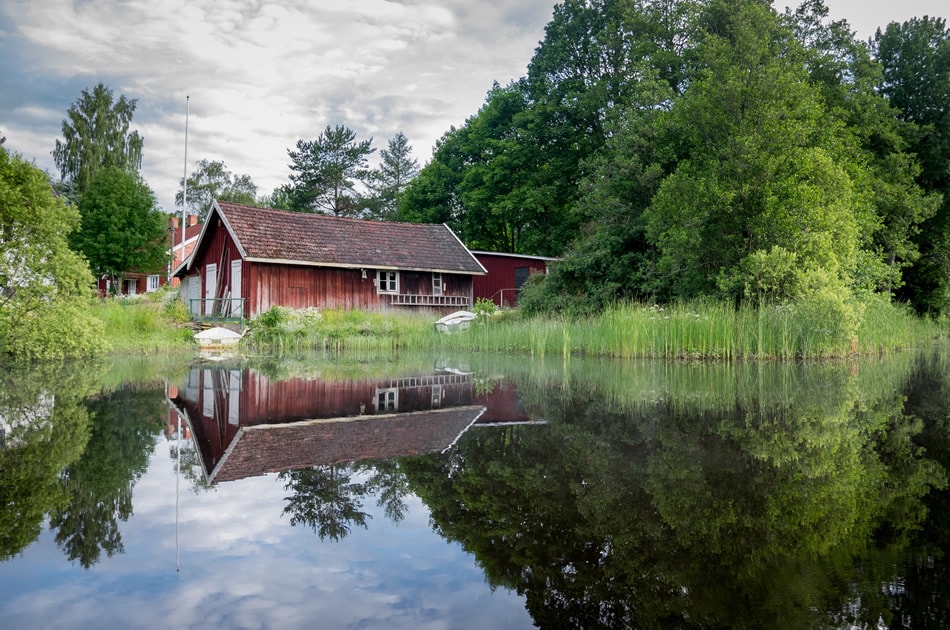
Reflections in Still Waters
Even just the different conditions of a body of water will lend a unique feel to any reflection photograph. Taking shots of calmer waters with reflections lets you show ideal symmetry in your images while taking shots of more turbulent waters gives the picture more character, as textures in the water come to the forefront.
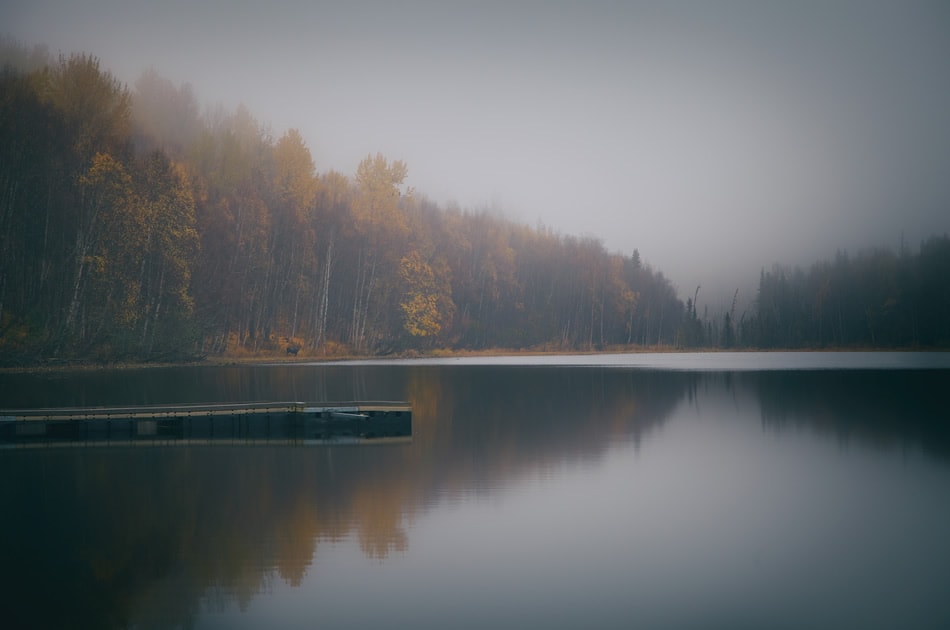
Oftentimes, going out to a body of water early in the morning affords the best chance at getting calmer waters for your reflection photography. Note that finding a completely still body of water is very hard to do and will take a lot of patience because wind can easily disrupt the water surface.
Don’t forget to take a compass with you: this’ll help you locate a subject in the west that’ll light up very nicely as the sun rises, making for an ideal reflection in the water!
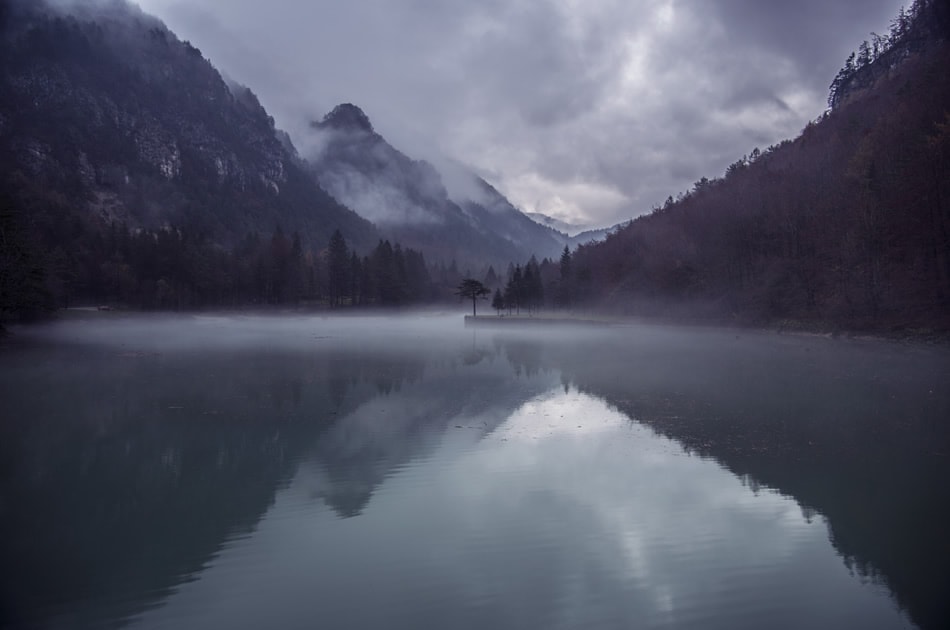
Reflections in More Turbulent Waters
Now, let’s look at the opposite: taking shots of turbulent waters. When you have ripples in the water, you get a shot at a different kind of beauty in reflection. Abstraction will occur because of added texture to the water’s surface. This will make whatever subject you have reflected appear more surreal as well.
Note that you don’t even need to wait for some wind to churn up the water a bit. Just shoot with a longer exposure to duplicate this effect successfully. A longer exposure allows for extra time for the water to move as the shutter is open. At the end, you’ll get a dreamy, abstract appearance in your photograph.
It’s How You Use Reflections
Reflections in water are, in and of themselves, attractive focal points in your images, but you can create a lot of freedom for yourself as a photographer by how you approach reflection photography. Not to mention, you can also give your audience more diversity to look at.
Don’t play it safe when shooting water reflections. Don’t just look for any reflection. Seek out specific conditions, like when nightfall’s about to occur by the water. Similarly, look for different kinds of water, as calmness will produce entirely different reflections than more turbulent waters.
Your goal should be to get as many different types of shots as you can in this pursuit. That’s when you can say that you’ve really experimented with reflection photography, much to the delight of your audience.
About the Author: Marc Schenker
 Marc is a copywriter and content marketer who covered photography. These days, he runs The Glorious Company, a content marketing agency.