Tips on Black and White Photography
Black and white photography used to be the primary mode of photography – back in the days when colour film was prohibitively expensive, and colour film had issues with faithfully reproducing realistic colours. Remember those old coloured photos with the washed-out colours? How times have changed, because colour photography is now the default while black and white photography has become a niche.
Shooting in black and white can be a very interesting and worthwhile experience. In a way, stripping the colour from a subject can reveal a lot of hidden details and their soul – because you are drawn to what makes up the subject, without the distractions of colours.

Here’s a quick guide on how to get the most out of your black and white shots.
Change your approach
Going into black and white mode doesn’t sound like a big deal on paper. Most DSLRs allow you to switch into that mode, or you can use the many photo editors on the market to convert your colour photo into black and white. However, getting the most out of a black and white photo isn’t simply a matter of changing a filter or pressing a button – it is also about how you approach a subject.
A monochromatic world is one where details such as lines and shadows are very important, because there are no colour shifts and variations. Many colour photos use the interplay of colour and light to give a reference point for the viewer. The shifts in colours are like sign-posts pointing to the most important aspects of the image.
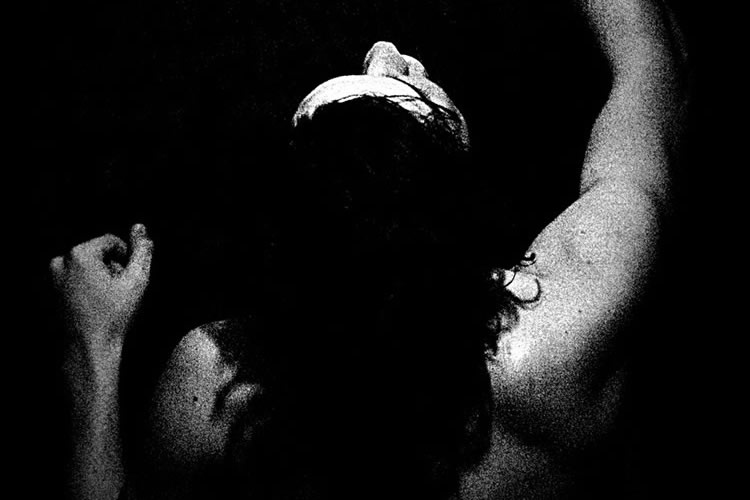
Instead, compelling black and white photos are created by paying attention to lines and shadows. Strong, bold lines work the best in black and white, because they can give an image textural impact. In lieu of colour, the texture of an image becomes the viewer’s reference point.
Another great way of making an interesting image is using patterns. You can highlight the changes in contrast by using repetition, and it can be a powerful way to play with light and dark. Repetition can reinforce the interplay of contrasts in a scene – for instance, by having a group of similar shapes or lines as the focal point of an image.
There are many shades of grey
It is tempting to think that black and white is simply the absence of colour, but it goes deeper. A better way of thinking in black and white is to consider it as a play against contrasts. A eye-rolling cliché goes on about how there are many shades of grey – but like many clichés, it is also true. The light spectrum does not go straight from total light to total darkness. There are many shifts in between.
The interplay of these shades can make or break a black and white photo. You can use these shades to your advantage, especially if you want to highlight the main subject of your photo. Having vivid shades around a subject can show off their details and draw the eye of the viewer. You can use the shifts of greys to promote ambiance and mood.
Sharp contrasts can be an effective way of drawing attention to one particular element of a scene. There is a vivid starkness in the way lines can go from bright to dark, and vice versa, and also can be used to invoke a sense of drama and activity. Softer contrasts can be used if you want to invoke a nostalgic or dreamy feel to the scene.
Sharpen your image
Since black and white photography relies on lines and details for interest, you should strive for the sharpest images possible. There are a few easy ways to ensure your image remains crisp.
Firstly, if you are taking photos during the day, consider using a polariser. A polariser is especially useful if you are taking photos around reflective surfaces, such as water, buildings and leaves. A polariser works by filtering light coming at your camera at specific angles. You can rotate the lens to adjust the angles. A polarising lens can also offer a small, but useful increase in the level of saturation and contrast in an image.
Using a touch of high-dynamic-range imaging (HDR) can help bring out an image’s lines. HDR is a dynamic effect that boosts the contrast between bright and dark spots of an image, which sharpens and enhances the lines. There are some cameras with built-in HDR, or you can add it in post-production. If you are doing the latter, be careful about doing too much HDR, or you will introduce artifacts which will detract from the image.
The RAW format works best for black and white because of its greater clarity in detail. There is less compression on the saved image compared to JPEG. A downside is RAW tends to take longer to process than JPEG because there is no white balance automatically recorded into the image, so it depends on the amount of time you want to sit in post-production after a shoot.
Overall, photographing in black and white requires a few adjustments in approach and technique from colour photography. However, it can be great for documenting events because it forces viewers to engage with the nature of the subject, rather than be distracted by bright, catchy colours and light shifts.
There can be a sense of intimacy with black and white photography that is hard to replicate in colour, making it a very interesting medium to explore.
