Can't-Miss Tips & Tricks for Successful Forest Photography
When you’re in the forest, you get the feeling that you’re far from everything else; like you are in another world.
This might ring especially true if you live and spend most of your time in a city.
You’re surrounded by trees and all you see is an umbrella of thick woods. It can be intimidating, exhilarating, and exciting all at the same time. Its vastness will leave you speechless – and in the case of photographers, overwhelmed.
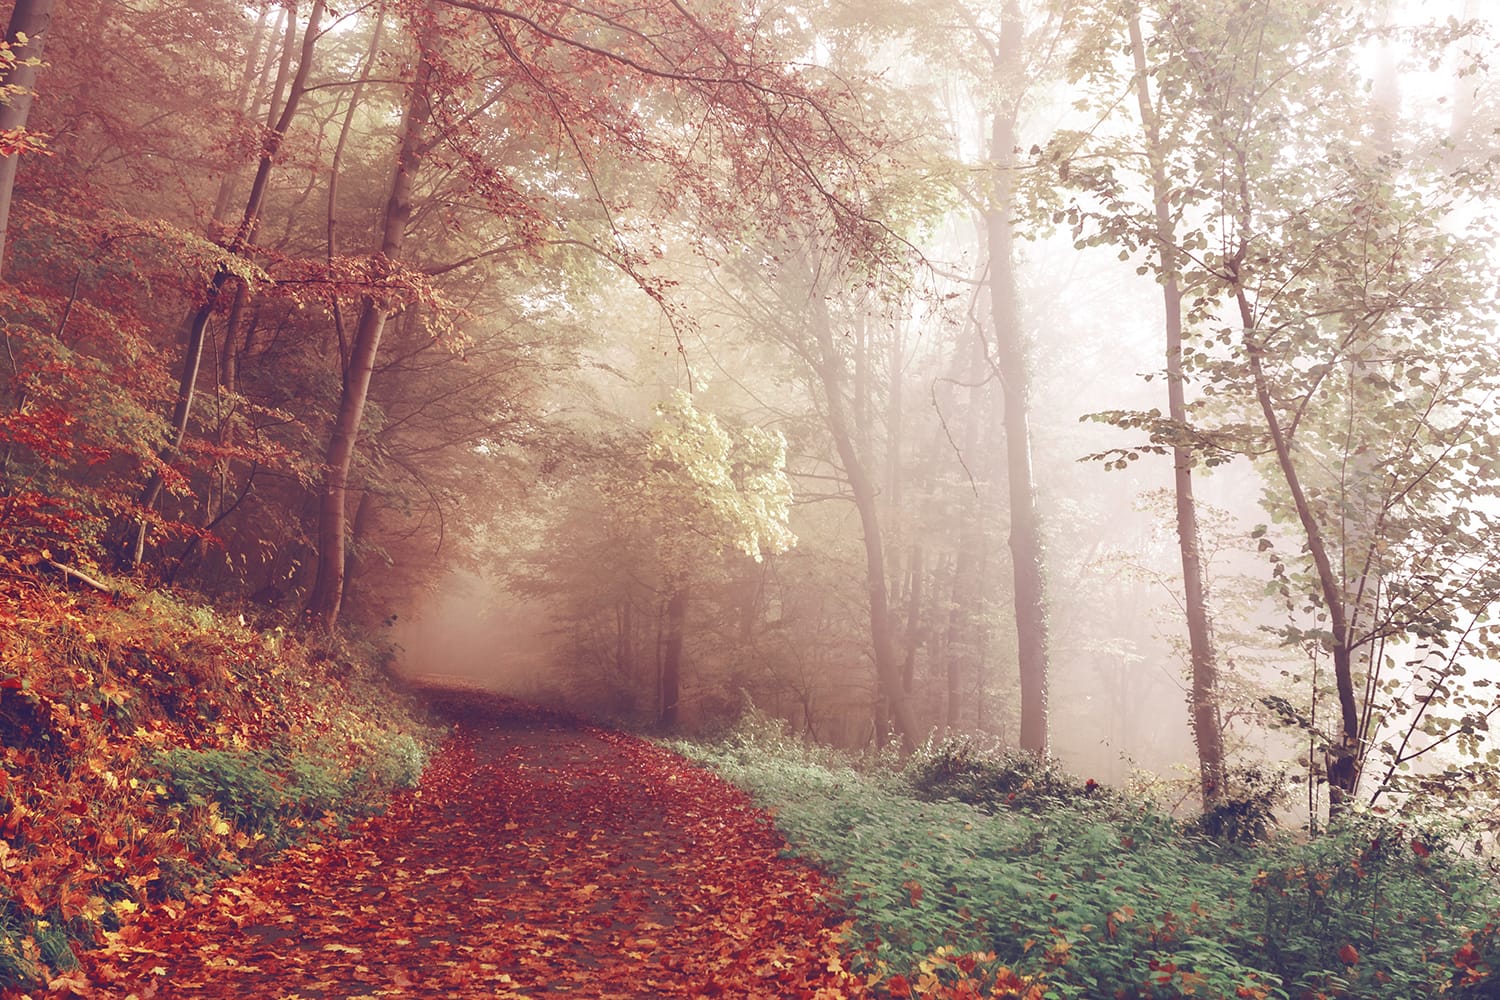
These are the reasons why forest photography can be challenging.
Although you’re photographing nature, it doesn’t really follow some of the most common nature photography rules.
But this hasn’t stopped photographers from exploring and taking photos of the forest. It’s part nature photography and adventure photography.
The experience is almost always rewarding. Your photos will lure the audience and make them wish they had the chance to explore the forest like you did. Your photos will tell a lot of interesting stories, because that’s one of the things the forest is rich in. Forest photography is not easy, but you can always practice and learn.
Forest Photography Tips & Tricks to Help You Get a Good Start
What do you think are the things or gear you will need to capture spectacular forest photography? Here are some of the most essential ones:
- Your camera (but of course!) – Use whatever you have. You don’t need to buy a new one.
- Your lens(es) – To be specific, bring both a telephoto and a wide angle lens. Although a wide-angle lens is a staple of landscape photography, the forest has different requirements, so bringing along your telephoto lens might be a good move. If you like taking a lot of close-ups, bring along your macro lens, too.
- Your tripod – You’ll need a solid tripod for steadying your shots, especially since the forest can present a lot of unexpected situations.
- Your circular polarizer – This will help you capture colors that pop out, making your photos look more alive. Also, your polarizer will reduce glare.
Make sure you put all your gear inside a sturdy backpack or camera bag.
In addition to all your equipment, you also have to bring items like a map of the forest, compass, food, water, a small towel, some spray to protect you from bugs, and sunscreen. Your personal safety is more important than the safety of your gear.
Pay attention to trails or paths
The forest is so vast that at times you’d find yourself a bit lost as to where to start, or which way to go first.
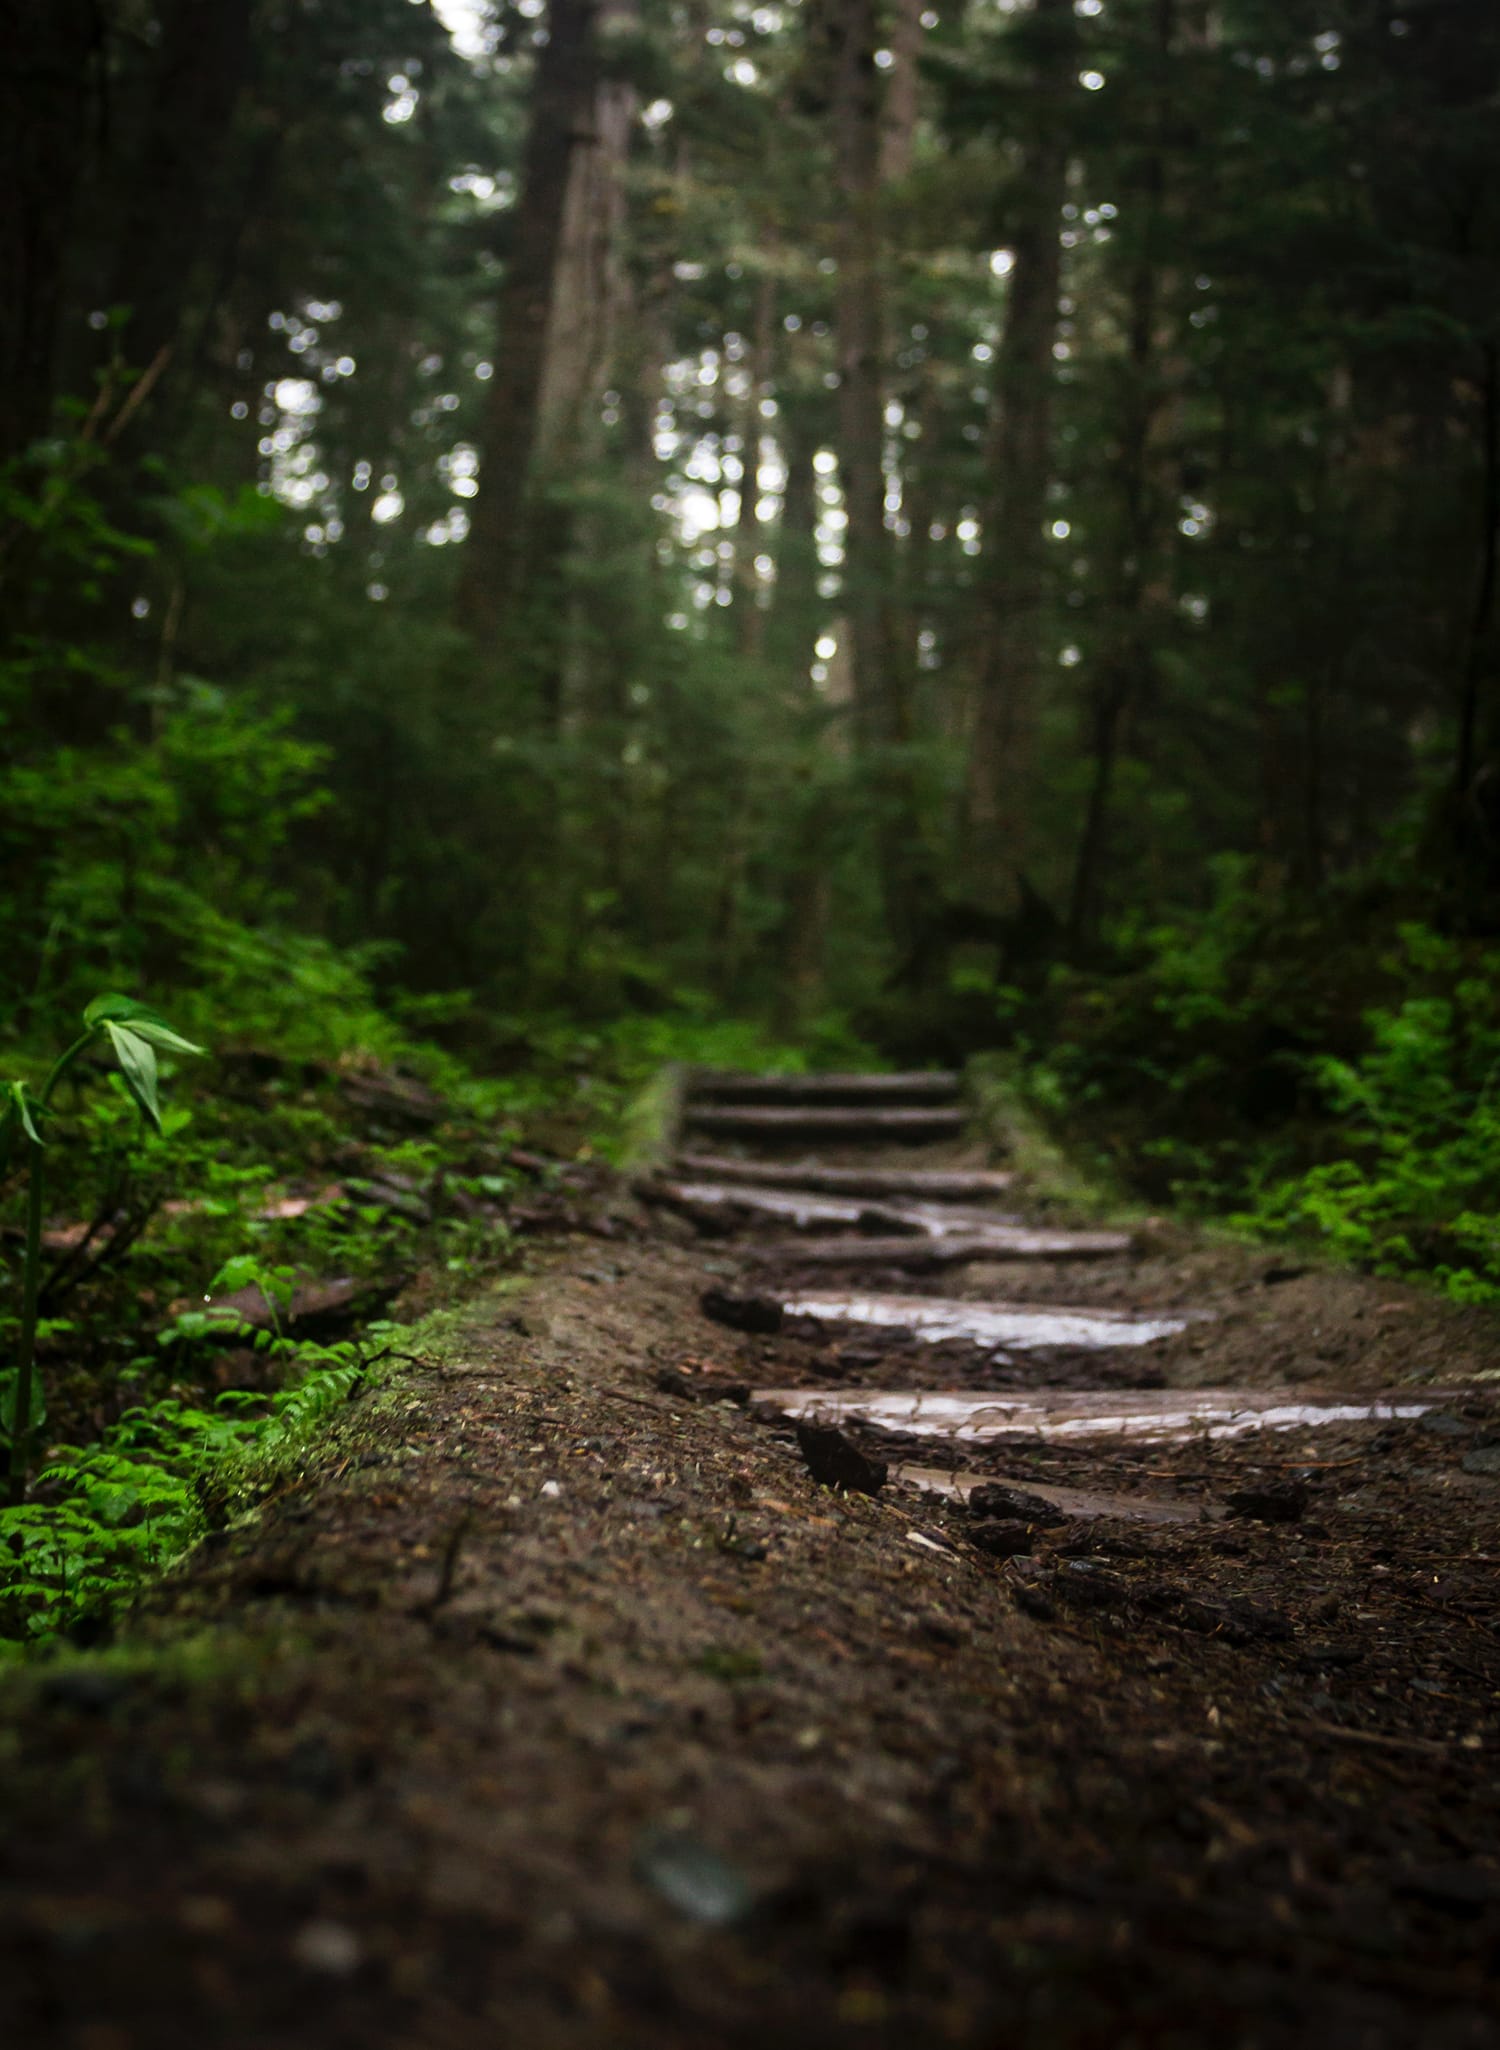
You’re often left unsure about the composition of your photo. For times like this, find a trail or a path and use it as a leading line for your photo. This will add a story and more life to the image. From there, you’re sure to find more interesting things to focus on for your shots!
When to go?
You can also choose to shoot during the golden hour, but forest photography has more options for you – take advantage of these options.
The beauty of forest photography is such that you don’t have to rush off to the place just to make sure you catch the golden hour (very early in the morning or as the sun sets).
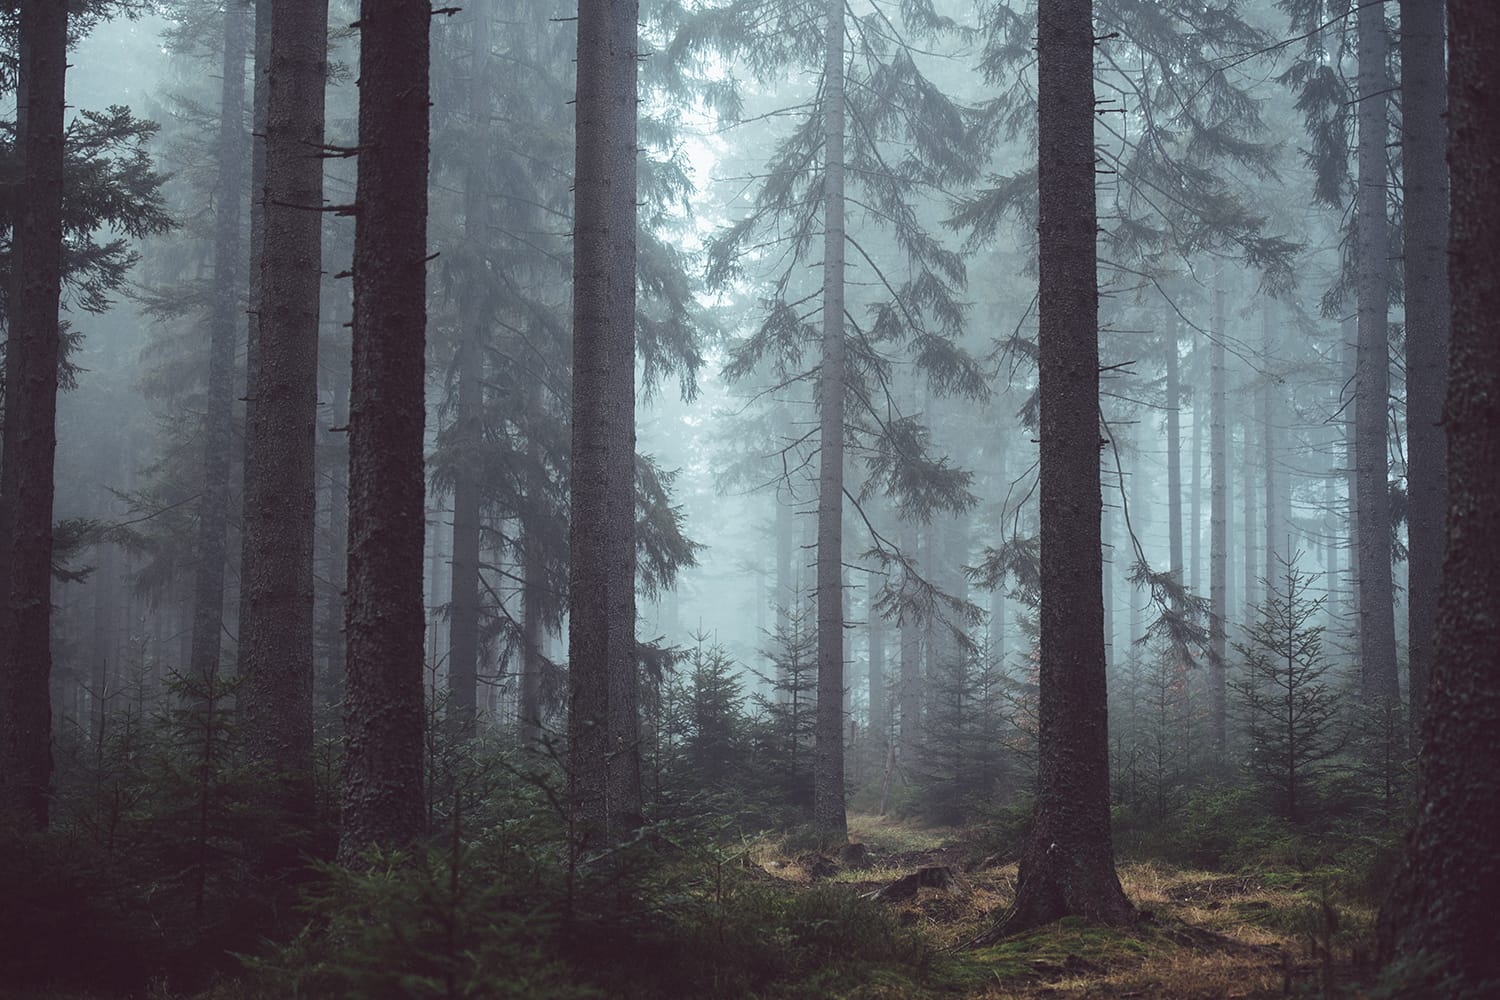
You can go whenever you want to (unless there’s a storm, of course!). If you want to go and shoot in the middle of the day, you can. If you want to be there the earliest so you can shoot at dawn, you are free to do so. But if you want to add some drama to your photos, it will help if you go and shoot when you know a mist is forming in the forest.
Why the mist? Well, getting the mist into the picture will add more drama to your composition. If you shoot on a misty morning, you’ll find the tall forest trees somewhat shadowed (or embraced, or enveloped) by the mist. The result? A beautiful, simple portrait of an otherwise “unsure”, chaotic, and vast environment. The mist adds a lot of storytelling elements to your photo.
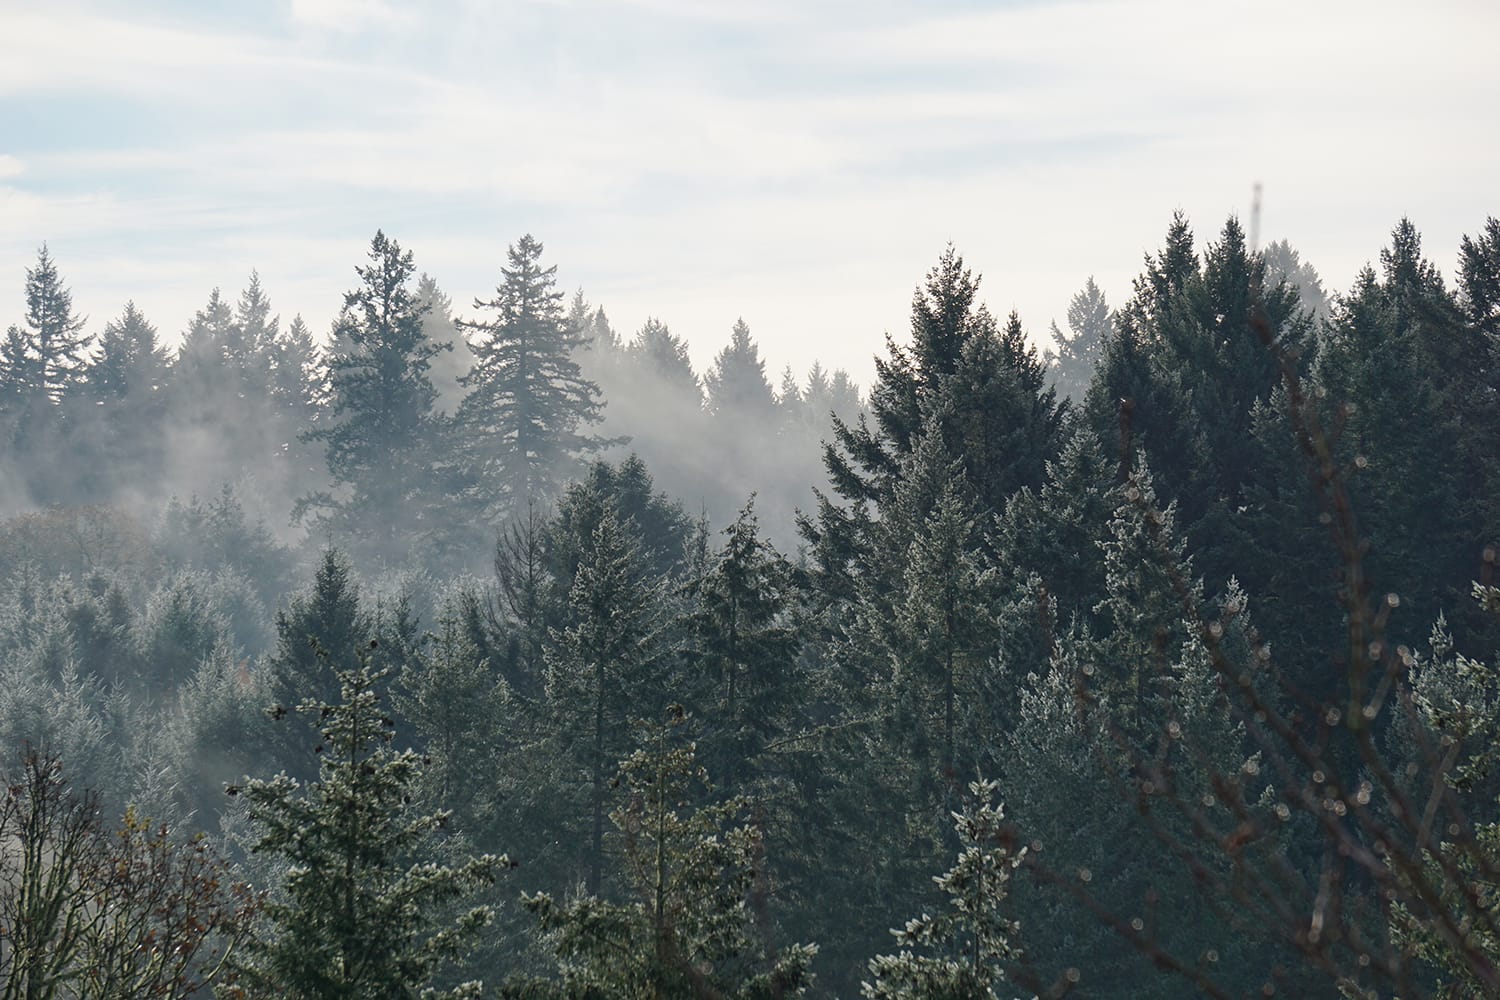
The best time to catch the forest mist is early in the morning or at dawn. But you can always go anytime of the day and just catch the mist when it shows in an elevated area of the forest. And if no mist shows up, you can always go for low-hanging fluffy white clouds covering the tops of trees.
Take advantage of an overcast sky
While an overcast sky may make you feel gloomy, it can help create a beautiful effect on your forest photos. What an overcast sky mainly does to forest images is bathe the scene in soft light, which is perfect if you want to divert the focus from distracting elements or highlights.
Shoot no matter what the season is
As previously stated, you can shoot the forest whenever you want, no matter the season.
In summer, everything will feel sunny and alive. The lush greens will sway with color and life. The autumn season will fill your images with a lot of beautiful reds and yellows. Springtime will see all the flowers blooming and blossoming, while the leaves turn into a brighter shade of green. The winter season will bring you trees bathed in immaculately white snow.
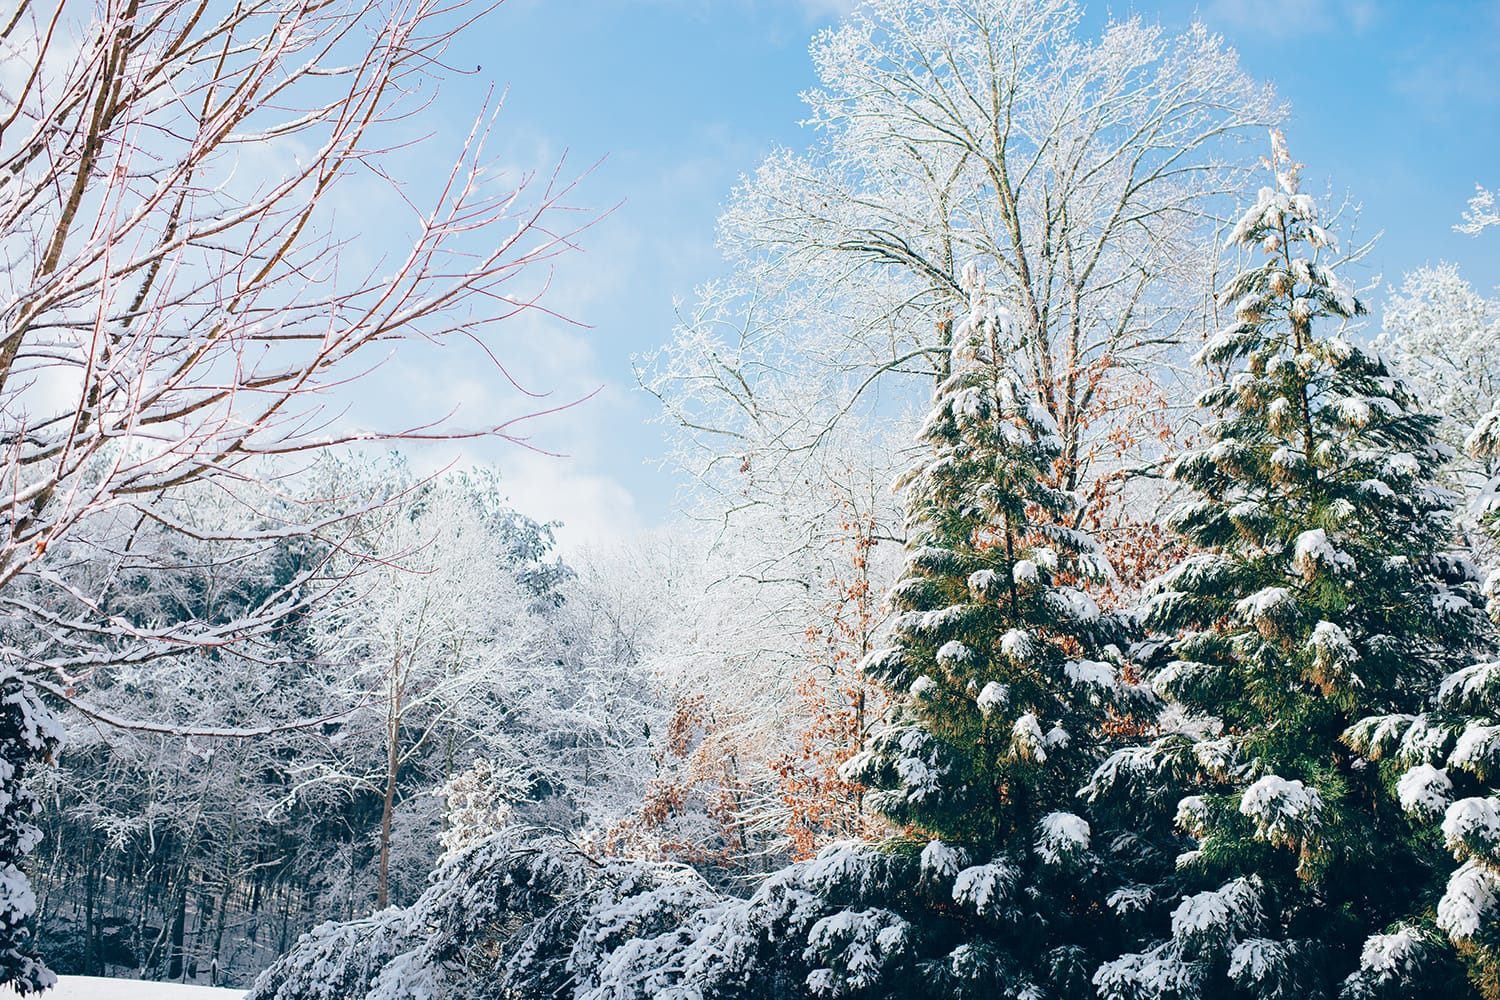
There’s no wrong season for shooting the forest. Use the following photography techniques and tricks:
- Compose your photos perfectly by using leading lines. One example is the above-mentioned tip citing the use of trails and pathways. Don’t rely solely on the woods and trees. You’ll find lines in a lot of spots in the forest.
- Don’t be afraid to shoot in black and white. This is especially helpful if you find yourself dealing with difficult lighting.
- Look for contrast and color. For example, shooting a part of the forest that captures both the tall green trees and blooming red flowers. Or lush bushes sprinkled with striking yellow flowers. A green ground covered with browned leaves also creates a beautiful contrast and color effect.
But perhaps the best tip is this: go out and explore the forest and practice, practice, & practice. And while you’re at it, enjoy!
