Conquering Difficult Light With Underexposing

Are you traveling and have problems adjusting to the more difficult light, but don’t want to miss the perfect opportunity for a great photo? I traveled through Southeast Asia and coming from Berlin, the light and a lot of situations were completely new to me.
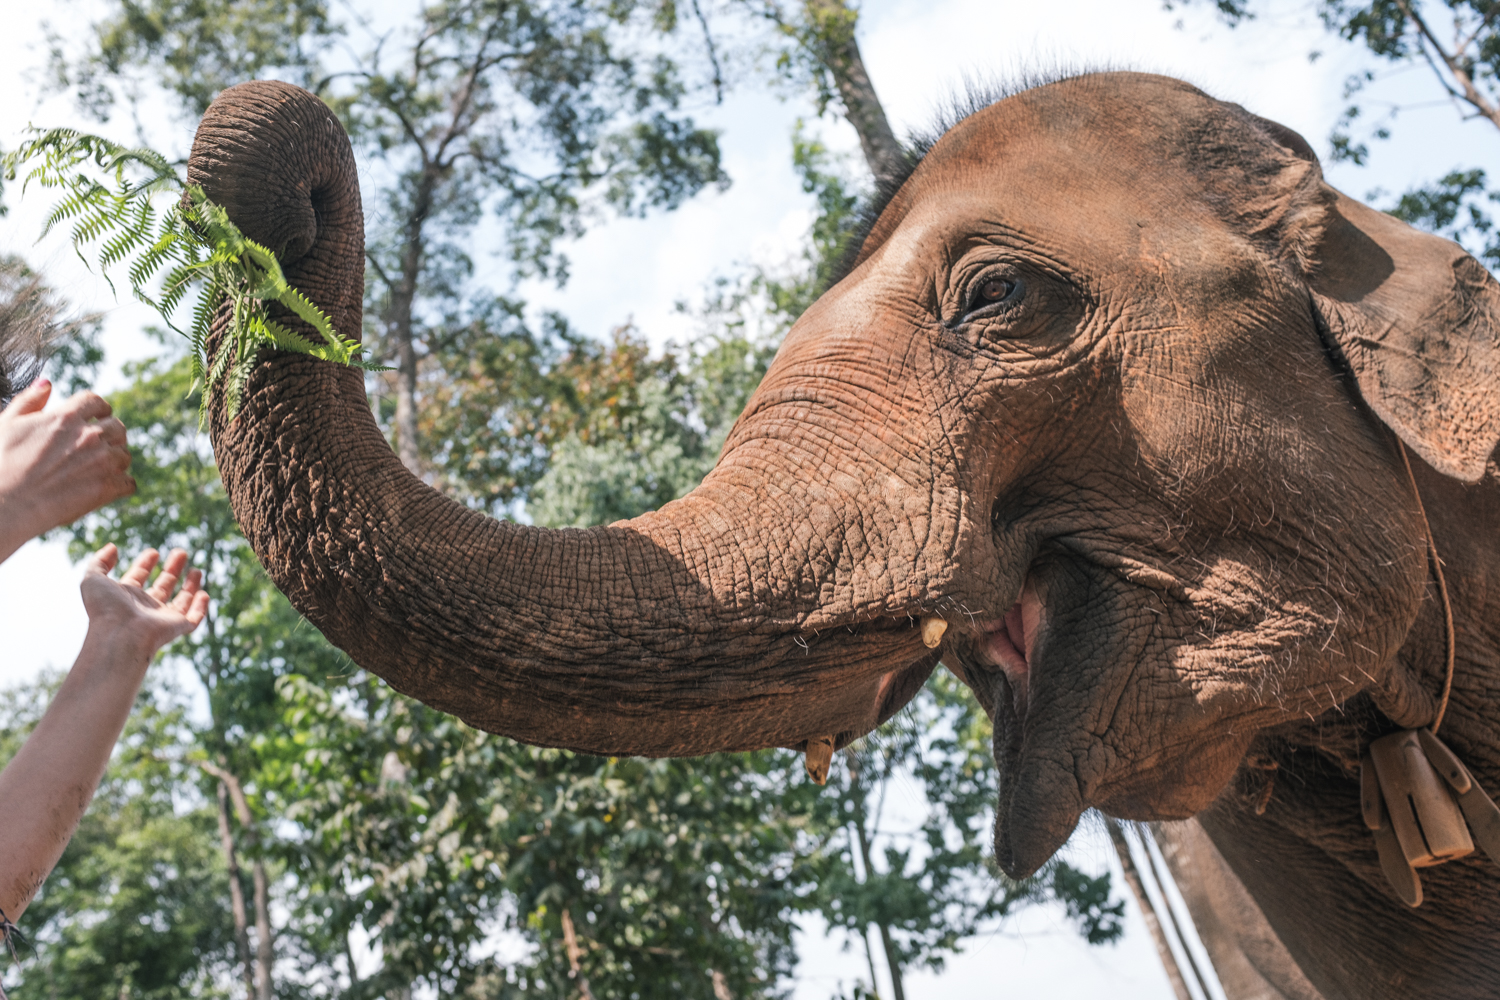
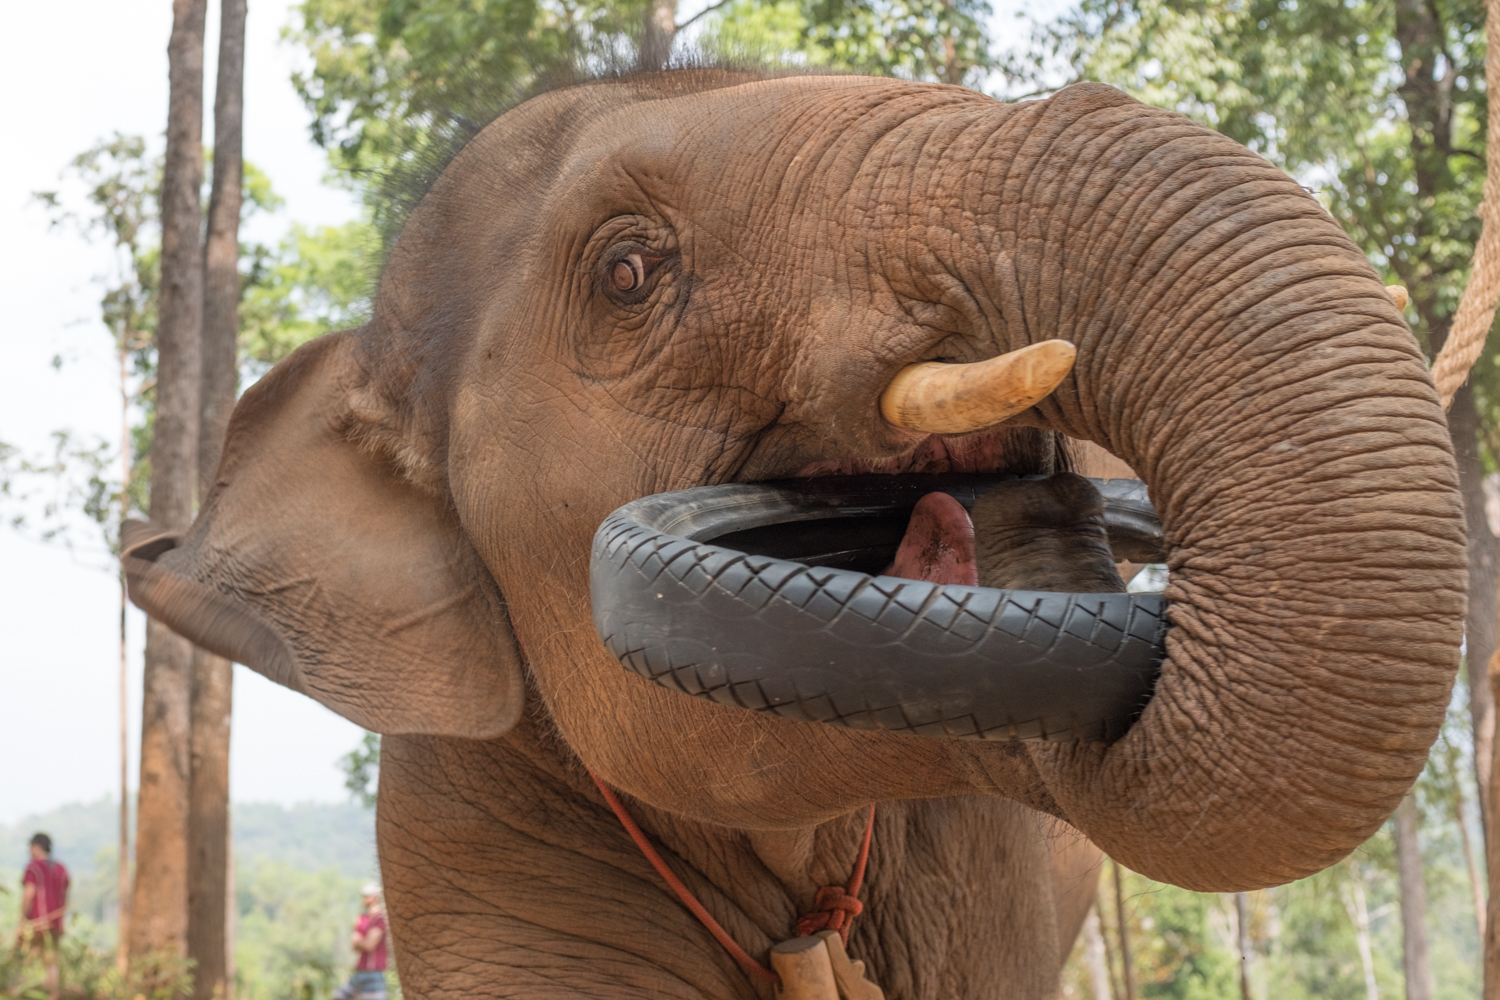
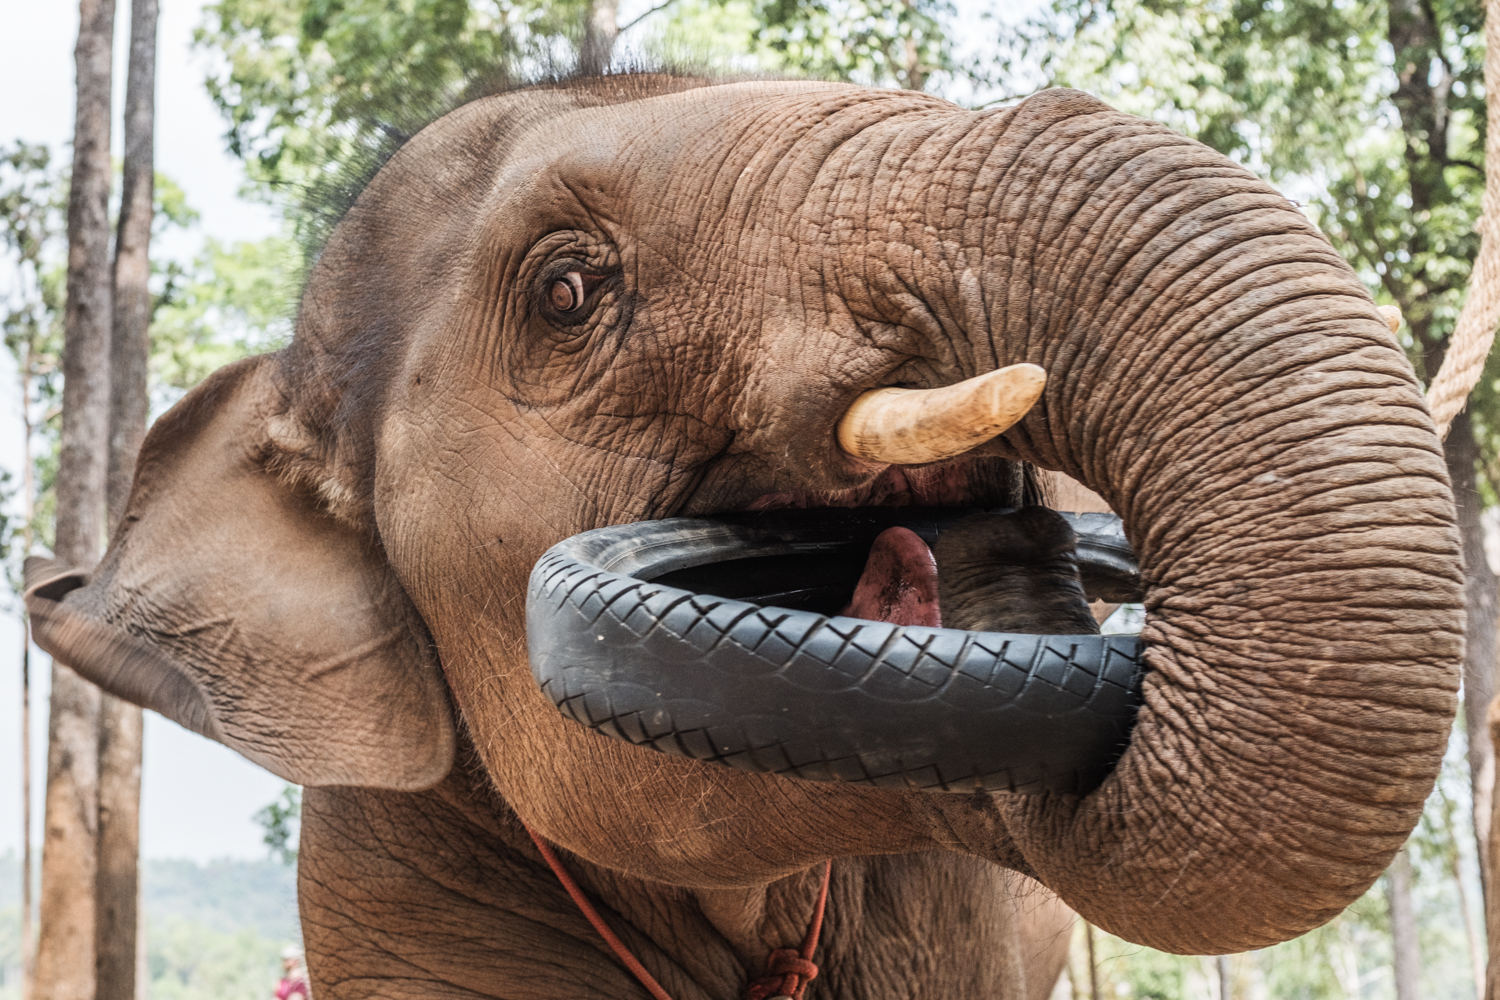
Being in the Jungle of Thailand, where I had the great chance of photographing elephants, I didn’t want to mess it up and therefore resorted to a technique that allowed me to use the maximum potential of my X100F and the RAW files. In combination with some adjustments in Lightroom afterward, I was able to keep the details in the highlights, as well as in the shadows.
The Problem
Cameras only have a specific dynamic range they are able to capture perfectly. In environments where there is a lot of contrast, you usually are at the risk of having blown out highlights.
This means, if you expose your picture correctly, there isn’t any information in the highlights left. They appear as bright white spots and can be shown via the histogram in Lightroom.
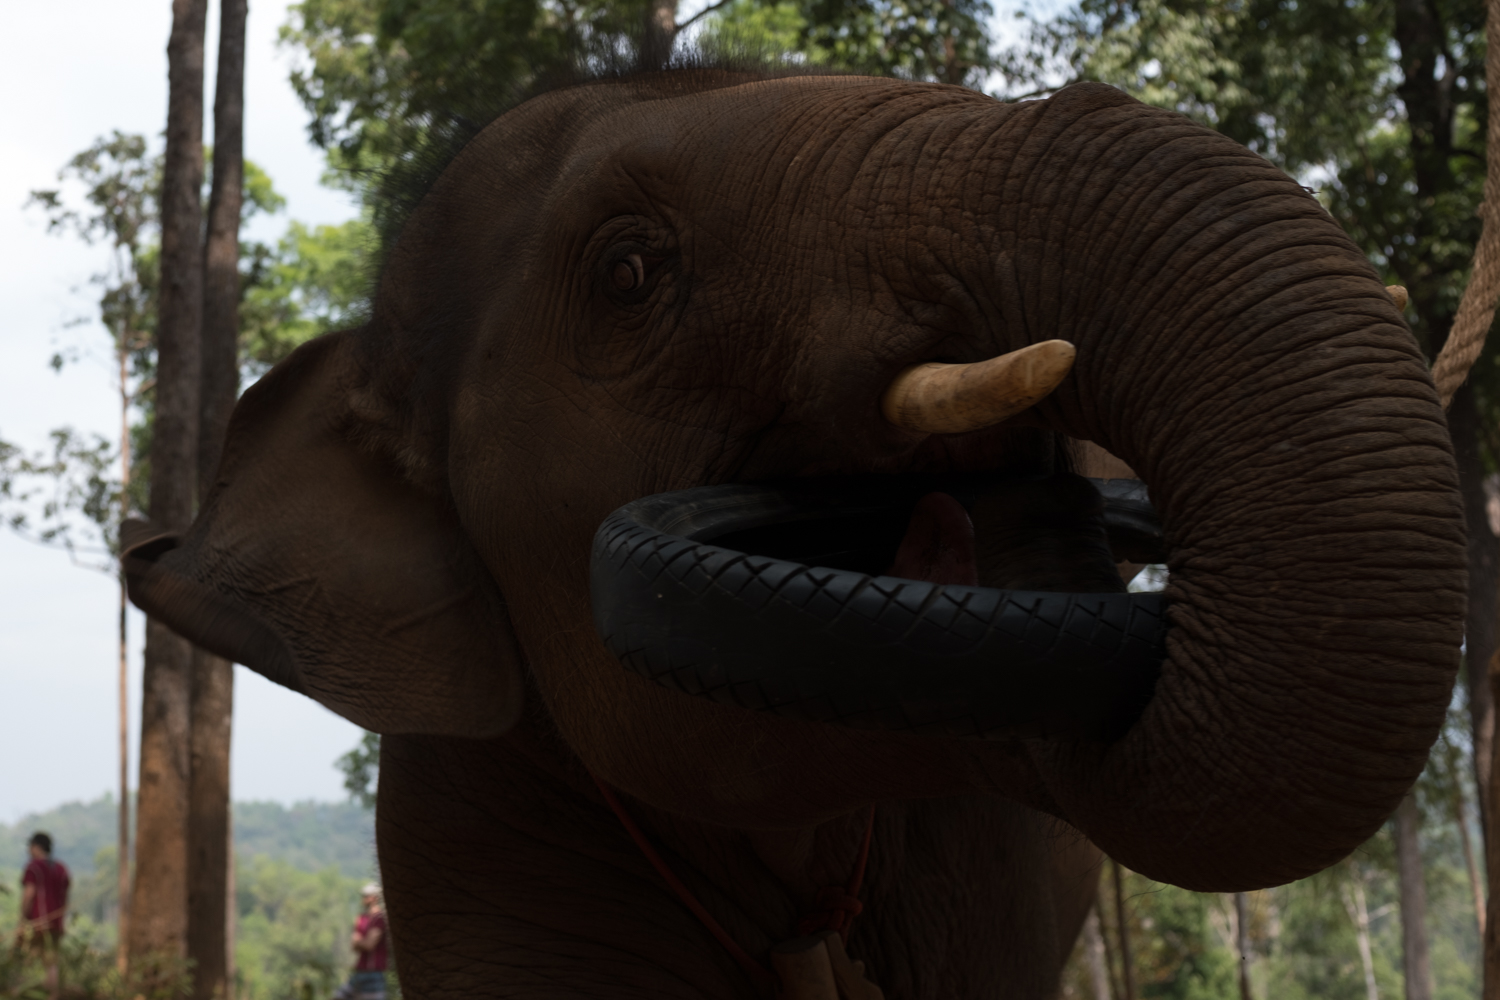
The light in the Thai jungle was exactly like that. While we were standing in the jungle and were covered in shadows that were cast by the trees, the background when looking outside the jungle was very bright. Although it wasn’t particularly sunny this day, the difference was still enough that I would have had blown out highlights if I would have exposed the pictures “correctly“.
Of course, I did want to capture the elephant the best I could. One option that could help you out in this situation would be to use a flash. With a flash, you can lighten up the main subjects and the difference between the main subject and the background would not be that harsh anymore.
Given that I photographed elephants, I didn’t want to anger them by using a flash. So the only solution that I had was to work with the available light.
Dynamic Range
Before explaining how you can still get the complete pictures in detail, it is good to know a little bit more about the dynamic range of digital cameras.
First of all, the dynamic range describes the luminance range of the camera. The higher the dynamic range, the higher the difference between the shadows and the highlights can be, without producing any clippings. You can also imagine it as the vocal range of a singer, a camera with a high dynamic range is able to capture the lows and the highs better.
In a digital camera, the dynamic range isn’t a static value. Between models, the dynamic range can differ depending on the sensor and its capabilities. But also with the same sensor, the dynamic range can change, depending on the ISO you are using. At ISO 100, digital cameras have the best qualities for the dynamic range.
Therefore, the first step towards better pictures in such difficult light conditions should be to photograph at ISO 100. Even when the pictures will be underexposed, that won’t be a problem and I want to show you why.
Expose to the highlights
Modern cameras have different metering modes. You can choose to view the complete image and take the average of it, or you can use a smaller zone.
For scenes with high contrast though, I would always go for the spot metering. Search for the brightest spot and either let the automatic exposure of the camera adjust the settings accordingly, or meter yourself to the brightest spot. This way, you will prevent any blown out highlights. Usually, the brightest spot will either be the sun, or the sky in the background.
Now you might just see that most of the picture will be way too dark. The main subject might not even be visible, but this isn’t that big a problem because as you’ll see in the next step.
Post-Processing
Digital cameras and sensors are a lot better at capturing the details in the shadows, than in the highlights. While you only have a very limited range for the highlights and are very quickly on the verge of overexposing them and losing any details, you can recover a very broad range in the shadows.
Even when the shadows appear to be pitch black on the display, you are still able to recover and raise them in post-processing. So while overexposing the highlights will blow them out quickly, the shadows can be allowed to be underexposed for a few stops.
Using Lightroom or any other similar software, first raise the overall exposure of the image to a point where it looks somewhat decent. Then you can work on the shadows and highlights using local adjustments. The shadows need to be raised until you can see the details again and the highlights might be lowered slightly.
Here you can view the complete process from the original image to the raised exposure and the final result.
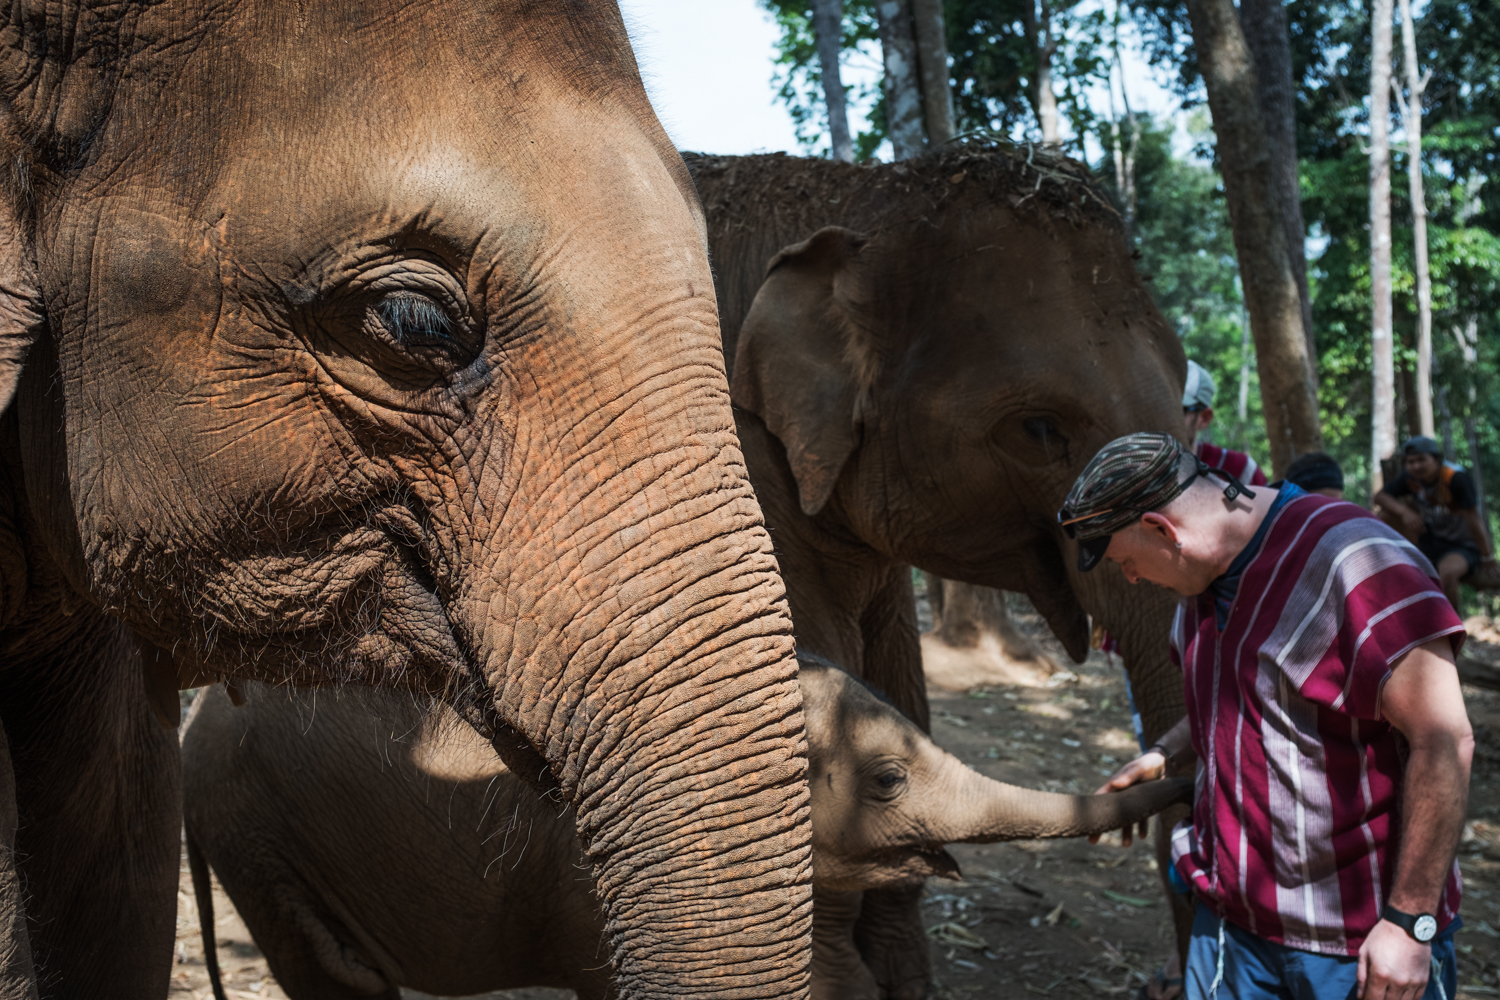
Photographing at an Elephant Sanctuary
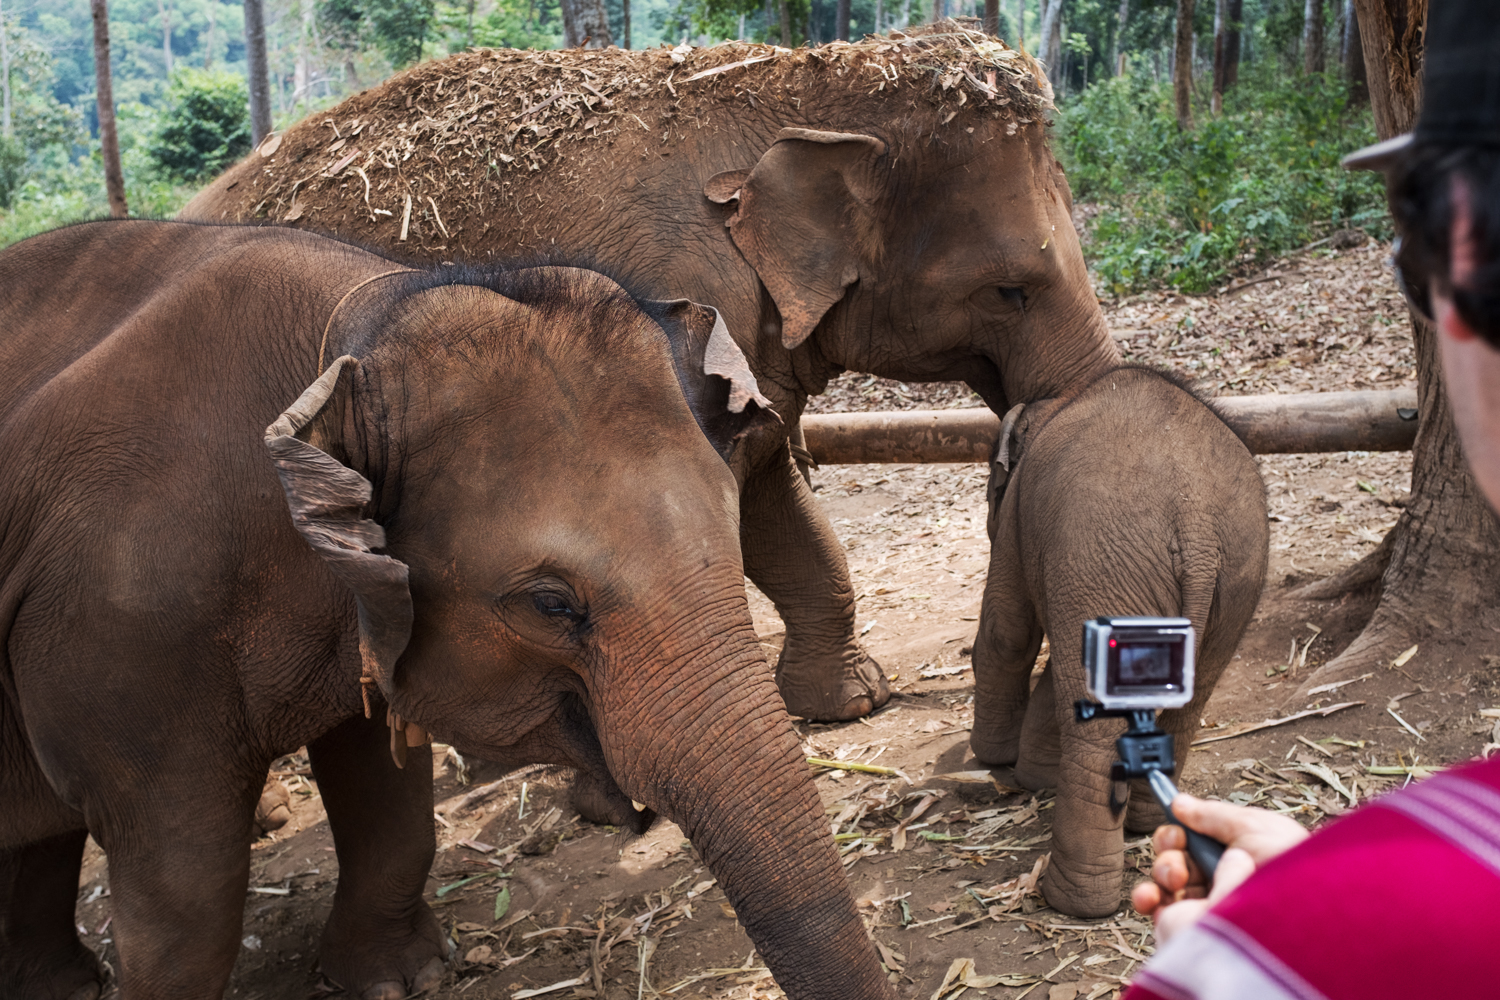
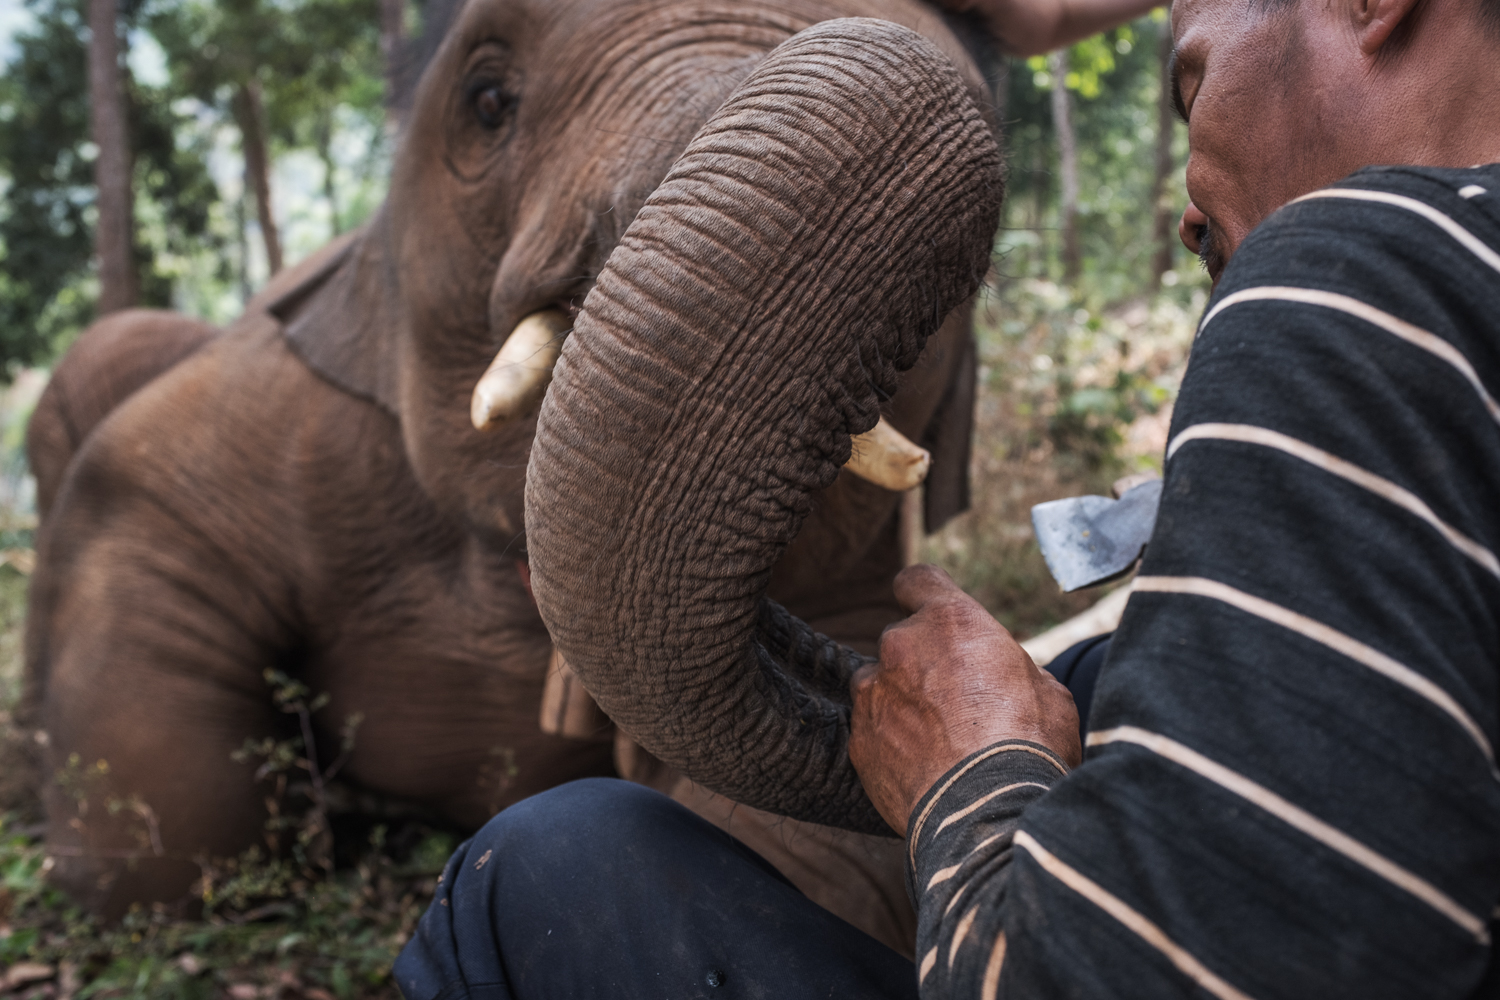
That’s for the technical details of the image. I am sure you are also interested about the context of the images. The pictures have been taken at an elephant sanctuary in Chiang Mai, Thailand. In contrast to the traditional business, the elephant sanctuaries are focused on the well-being of the elephants. Tourists are not allowed to ride the elephants and the elephants also don’t have to perform any tricks to entertain the visitors.
The elephant sanctuaries are non-profit and work closely with elephant hospitals or other institutions that focus on the quality of life of the elephants. I booked a full-day trip at the elephant jungle paradise park and the full-day package costs around $50 including the transfer to the camp, the lunch and a mud-bath.
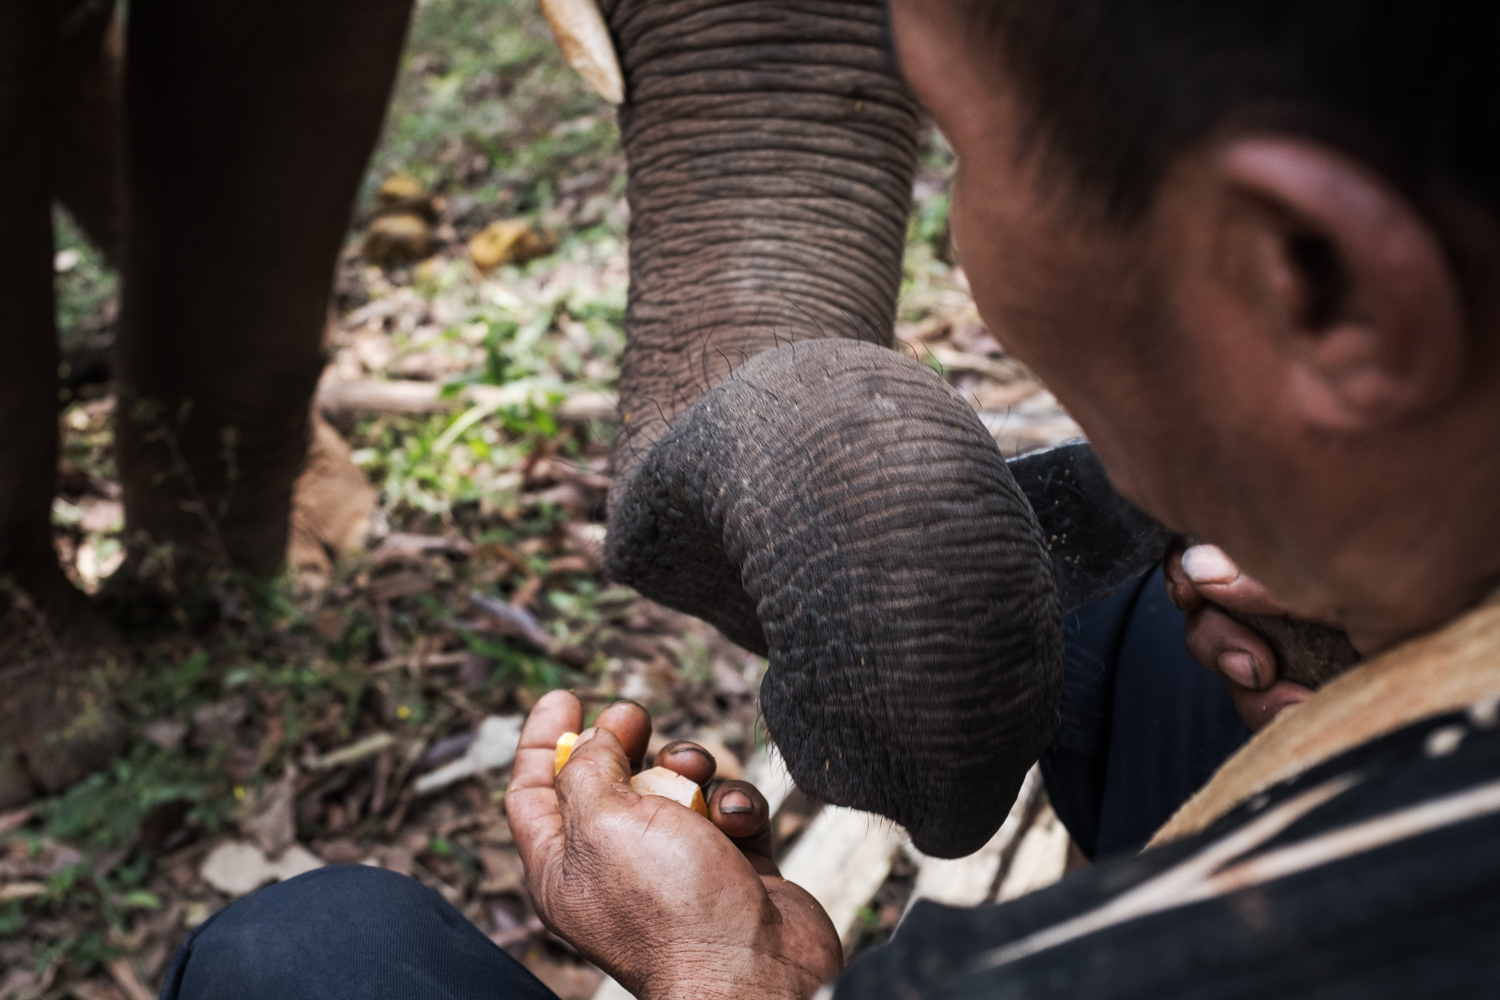
There are other elephant sanctuaries that are doing a fantastic job as well in Chiang Mai, so you can have a look at them too. Most of the ticket fee goes to the care-taking of the elephants. The amount of food they need per day is absurd and although the sanctuaries are running some fields and growing crops, they still have to buy additional food. $50 is a very small price to pay for the experience.
Overall, it was one of the best experiences I’ve had while traveling through Southeast Asia, and I think the pictures speak for themselves. So if you are in the area, I hope you take the chance to visit an elephant sanctuary, and now you have a guide on how to handle the difficult lighting conditions you’ll encouter.
About the Author: Sebastian Jacobitz
 I am Sebastian Jacobitz, Street & Documentary Photographer from Berlin and had the opportunity to travel through Southeast Asia for more than three months earlier this year. After visiting Vietnam and Indonesia, I stopped by the elephant sanctuary in Chiang Mai and it was one of the highlights of this trip. I also share my thoughts regularly on my photography blog and I am a member of the collective Berlin1020. Follow me on Facebook and Instagram.