Getting Started With Exploratory Photography: 10 Creative Techniques
Some photographers like to “get out of the box” and try techniques different from those embraced by digital photography or straight film photography.
These alternative techniques are what make up exploratory or experimental photography, which actually started a long time ago when Dada artists first came out with a photomontage.
For many photographers, experimental photography involves the process of experimenting with a scene so that it will come out better and thus, create a more effective response from the audience. With the help of alternative techniques, a simple scene can become more creative and meaningful.
Since technology has affected pretty much every aspect of our modern world, many experimental photography works nowadays adapt digital editing techniques, in addition to using devices such as toy and pinhole cameras. There are, however, quite a lot of photographers who use Photoshop and other software to manipulate photos and turn them into experimental ones.
Alternative & Exploratory Techniques
While it sounds like experimental photography is something that any photographer can do, there is no guarantee that your photos will turn out right when you embrace alternative techniques. It takes a lot of practice, knowledge, creativity and patience to come up with effective exploratory photos.
There are different techniques you can use to experiment with your photos. Here are some that can prove to be effective:
-
Colored film developed as a black & white film
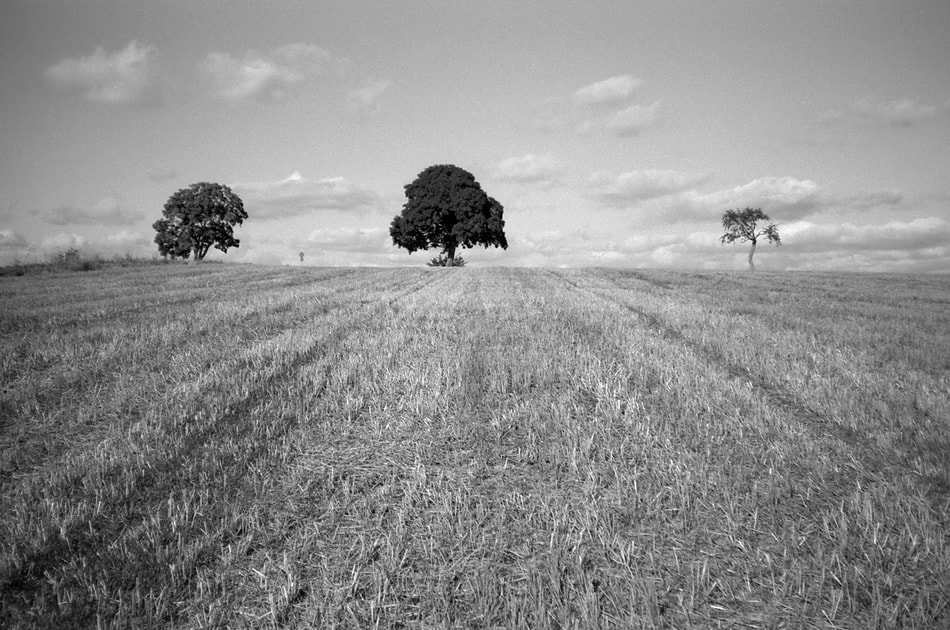
Photo by RalfOne of the simplest things that you can do is to have your colored film developed as a black and white film (and vice versa). This will create an alternative effect that can come out really unique, especially since different chemicals are used for developing colored and black & white films. -
Photomontage
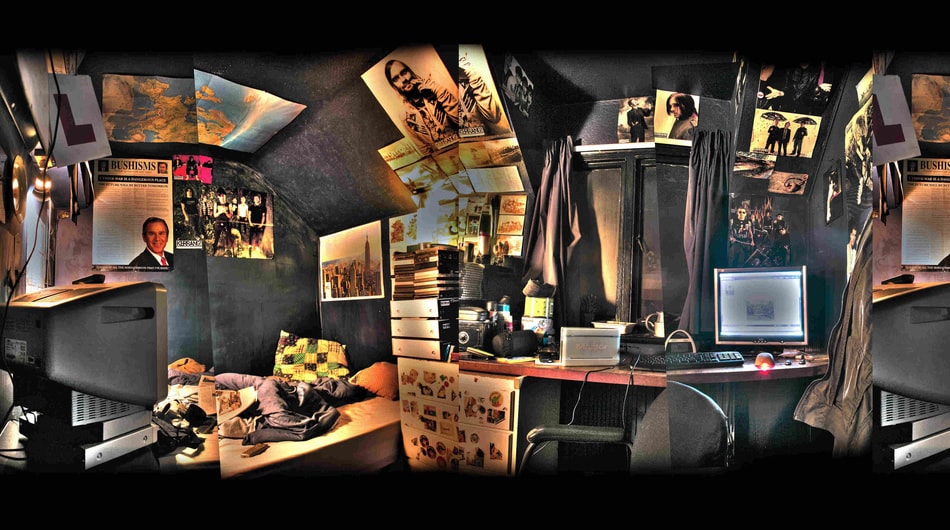
Photo by Will FullerPhotomontage is when you combine different art or graphic materials and photos to create a scene. It’s the most popular experimental photography type and is normally used by many to send out a message or indicate a theme. It’s quite easy to do, what with all the technology we have today. Then again, you can go old school by relying on your good ol’ pair of scissors and glue. -
Taking a photo that’s not in focus
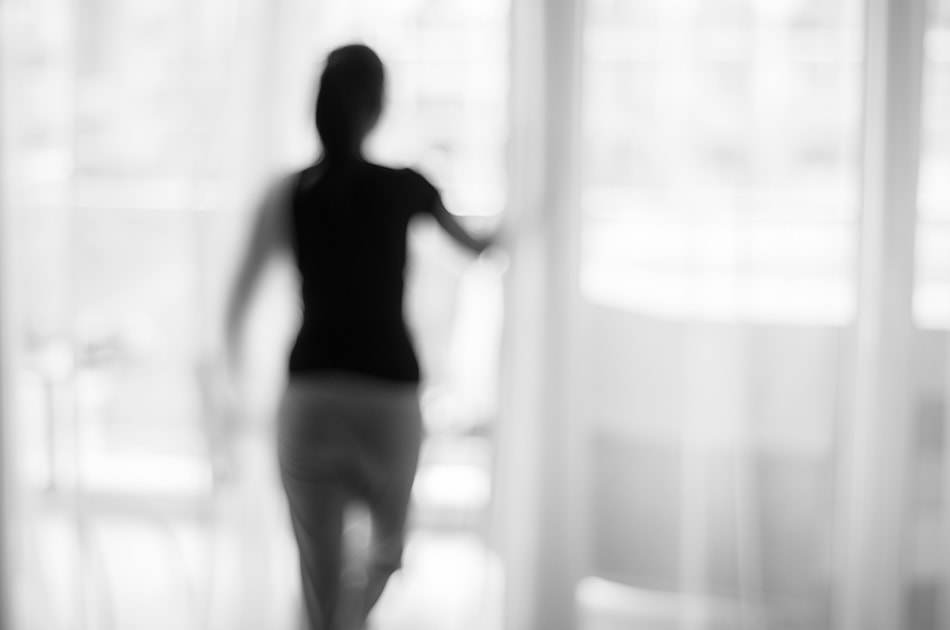
Photo by Georgi CPurposely taking a photo that’s not in focus can also help you create a unique effect. This, however, will need a lot of practice. Most of the time, the images that come out are surprising or frightening, especially if the foreground is the one that’s out-of-focus. Combine this with some coloring techniques for a more authentic feel and effect. -
Double exposure technique
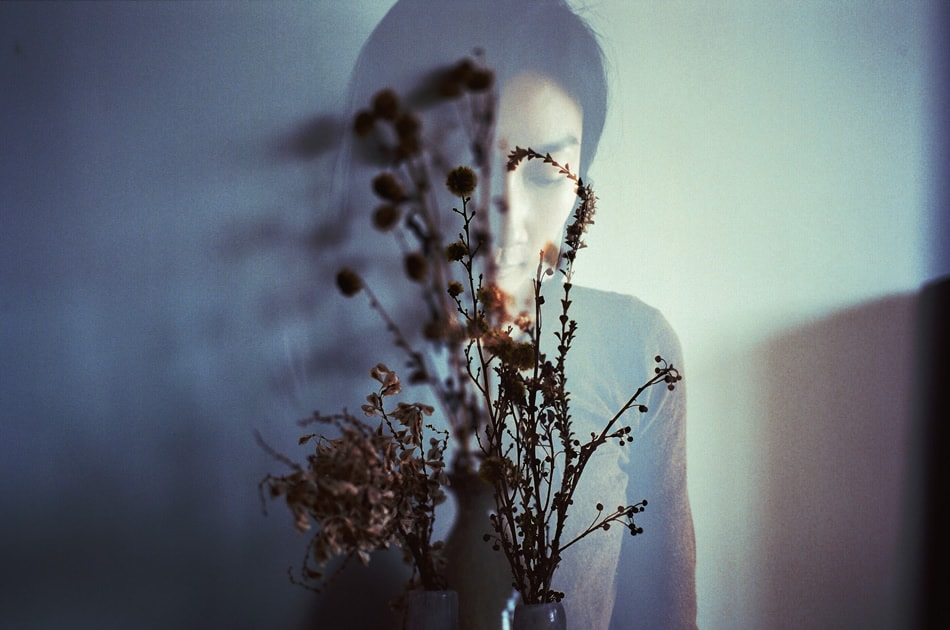
Photo by Han Cheng YehUsing the double exposure technique is also a good experimental photography idea. If you’re using a DSLR, you can simply adjust your in-camera settings to get the results you want. If you’re using an older version of an SLR, not advancing the film will give you the effect you desire. This technique will create two separate images on one film frame. Look for some photographic paper and play with it. You can do any of the following: overexpose parts of the photographic paper, pre-expose the photographic paper, or use light instead of an enlarger when printing the images on photographic paper. -
Performance art photography
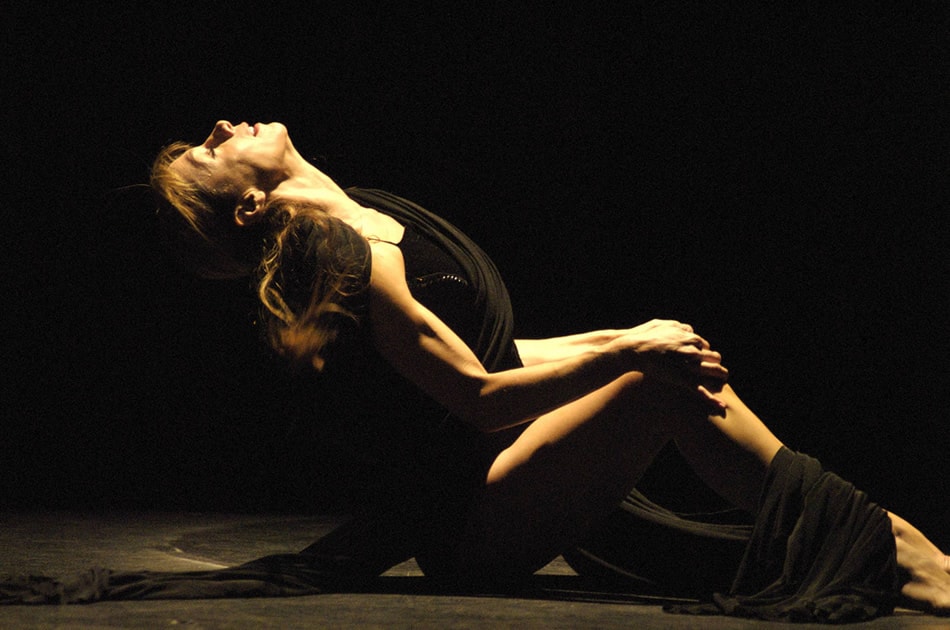
Photo by Rik JonesThis is a combination of performance art and photography. You can use artists or models who will interpret the scene you want to create. It’s one of the most creative types of experimental photography. -
Extreme exposure to create reversed tones
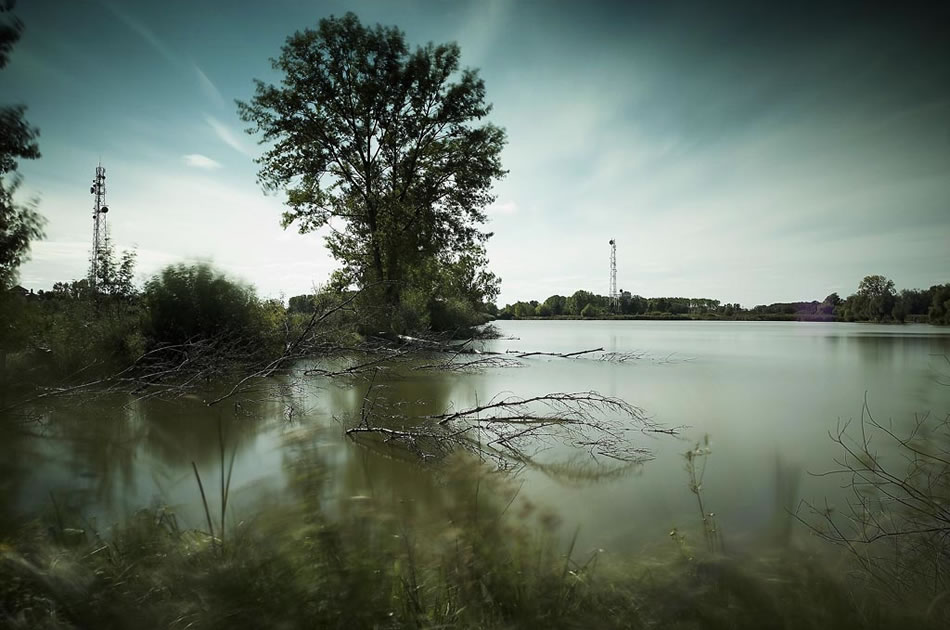
Photo by Szlivka RóbertYou can also use negatives and extreme exposure to create reversed tones. This will make the dark areas of your image come out light, while the light ones will appear dark. Another technique is using extended exposure, which involves adjusting your camera dial to a particular setting and then holding down the button for as long as you want. This is perfect for images shot at night. -
Gum Prints & Cyanotype
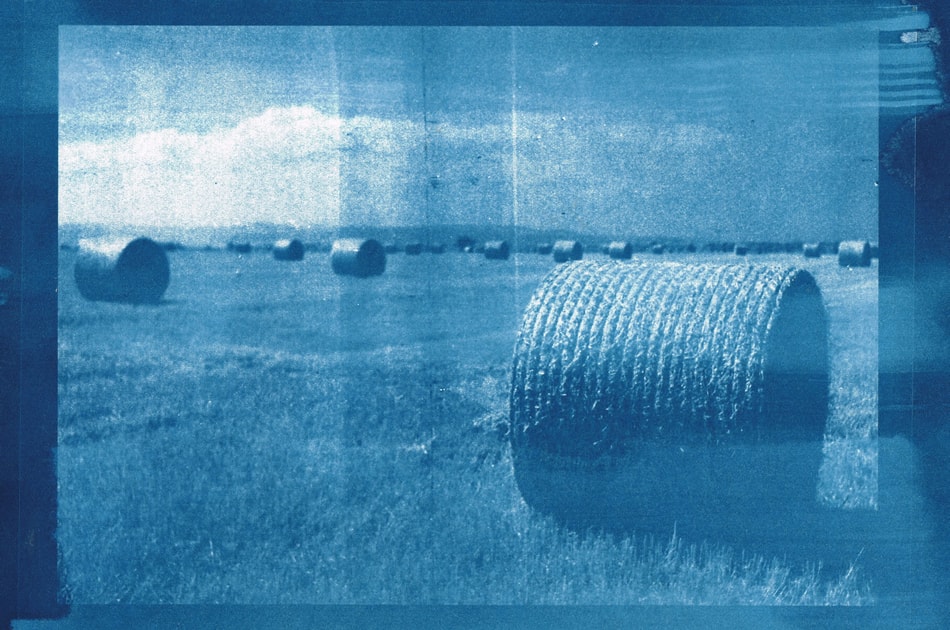
Photo by Martin BrigdenIf you want to create photos that look like paintings, go for Gum Prints – a darkroom process that involves exposure, negatives and coatings. Or, you can create blueprint photos using the Cyanotype technique, which involves the mixing of some chemicals to create a blueprint effect. -
Experimenting with your flash
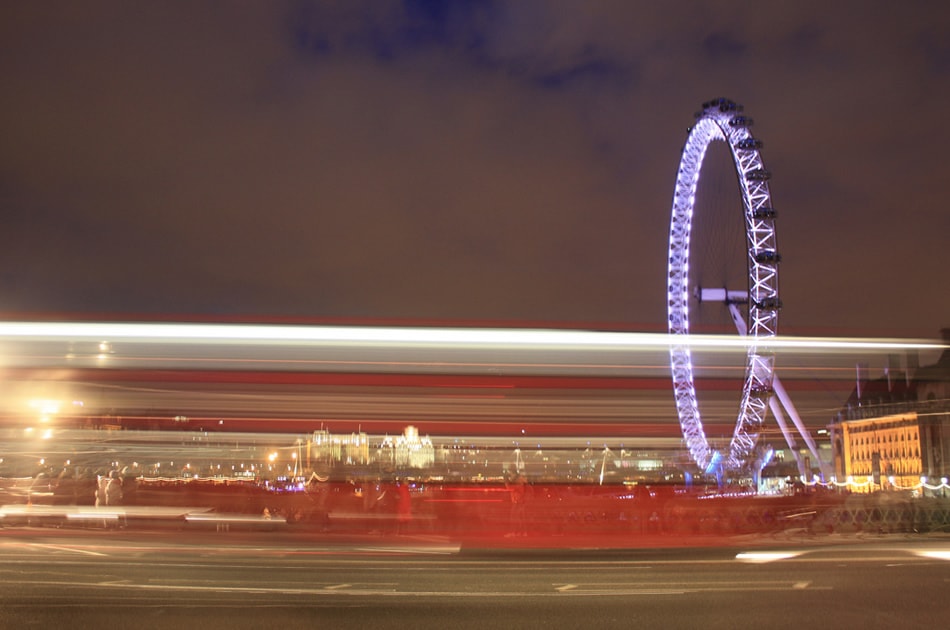
Photo by Martin FischAnother technique that can create paint-like images involves experimenting with your flash. You can use delayed flash options, night lights and red eye reduction in producing streaky lights on your photos. Taking a photo of the night sky using red eye reduction will result in a paint-like photo where the sky is painted with streaks of red light. -
Panning and rotating the camera
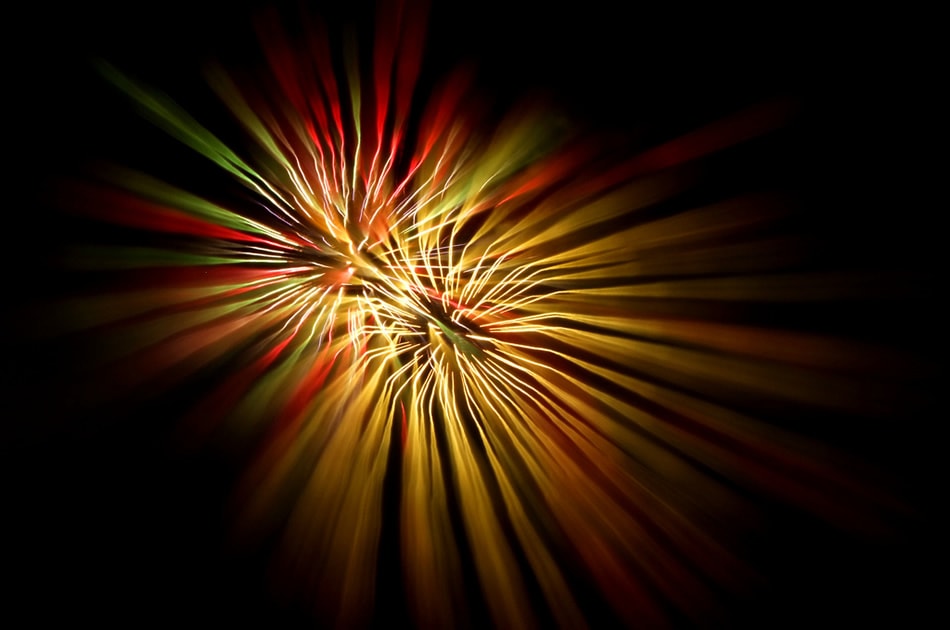
Photo by LadyDragonflyCCPanning and rotating the camera can also create good alternative effects. Fearless photographers often resort to camera throwing, which involves setting a long shutter speed, turning the timer on, and then throwing the camera into the air before the shutter releases. You have to be really confident if you choose to do this. And, of course, “butterfingers” are not allowed in this technique because the camera has to land on strong, sturdy hands! -
Infrared photography
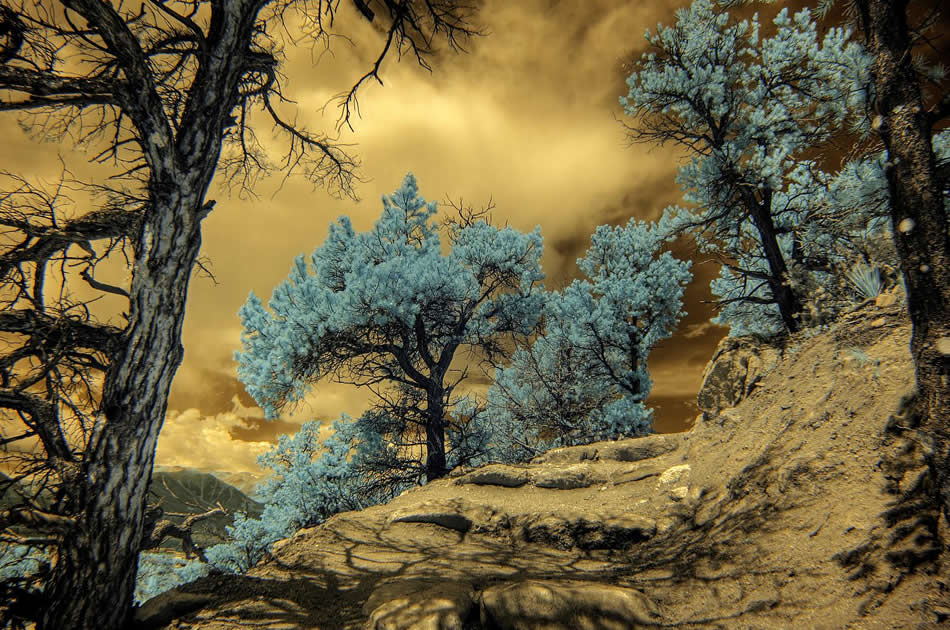
Photo by DavidAs previously mentioned, there are other types or techniques used in exploratory photography, like toy and pinhole cameras, which can help create unique images. Infrared photography is also popular among some experimental photography practitioners. The best times to use IR light are in the early morning when the day has just started, and in the early evening, as the stars start coming out.
A few More Techniques
Other techniques include increasing the noise of a photo to make it grainy (boost your ISO settings to the highest), slow syncing the flash, and taking photos while you zoom the lens in and out. Zooming the lens will create some kind of 3D effect and blur.
Some photographers also play with the color settings of their digital cameras to create alternative effects. The most popular settings, aside from black & white, are sepia, solarization, and negative image.
As with everything else in photography, taking alternative or experimental photos takes a lot of practice. It will also help if you are open to learning. While practicing, continue researching and even studying the works of other photographers. This will help you come up with your own ideas and techniques.
Ultimately, what makes an exploratory photo stand out is the personal touch of the photographer. If you practice, research, and study, your experiment will yield the results you want; and this will be how people will know that the masterpiece is yours.
