Filters Explained Part 2: Landscape Photography

When it comes to capturing amazing landscape images, filters are an experienced photographer’s best friend. Learning how – and when – to use these filters for best results will help you to take your photography to the next level; allowing you to capture the type of images that you’re after.
Let’s look at the three of the most popular and important filters that should be found in every professional landscape photographer’s kit: polarizers, ND filters, and GND filters; and see how you can use them to enhance your photography and capture some breathtaking images.
Don’t forget to read Part 1 of this series on filter for more information on the various types of filters available!
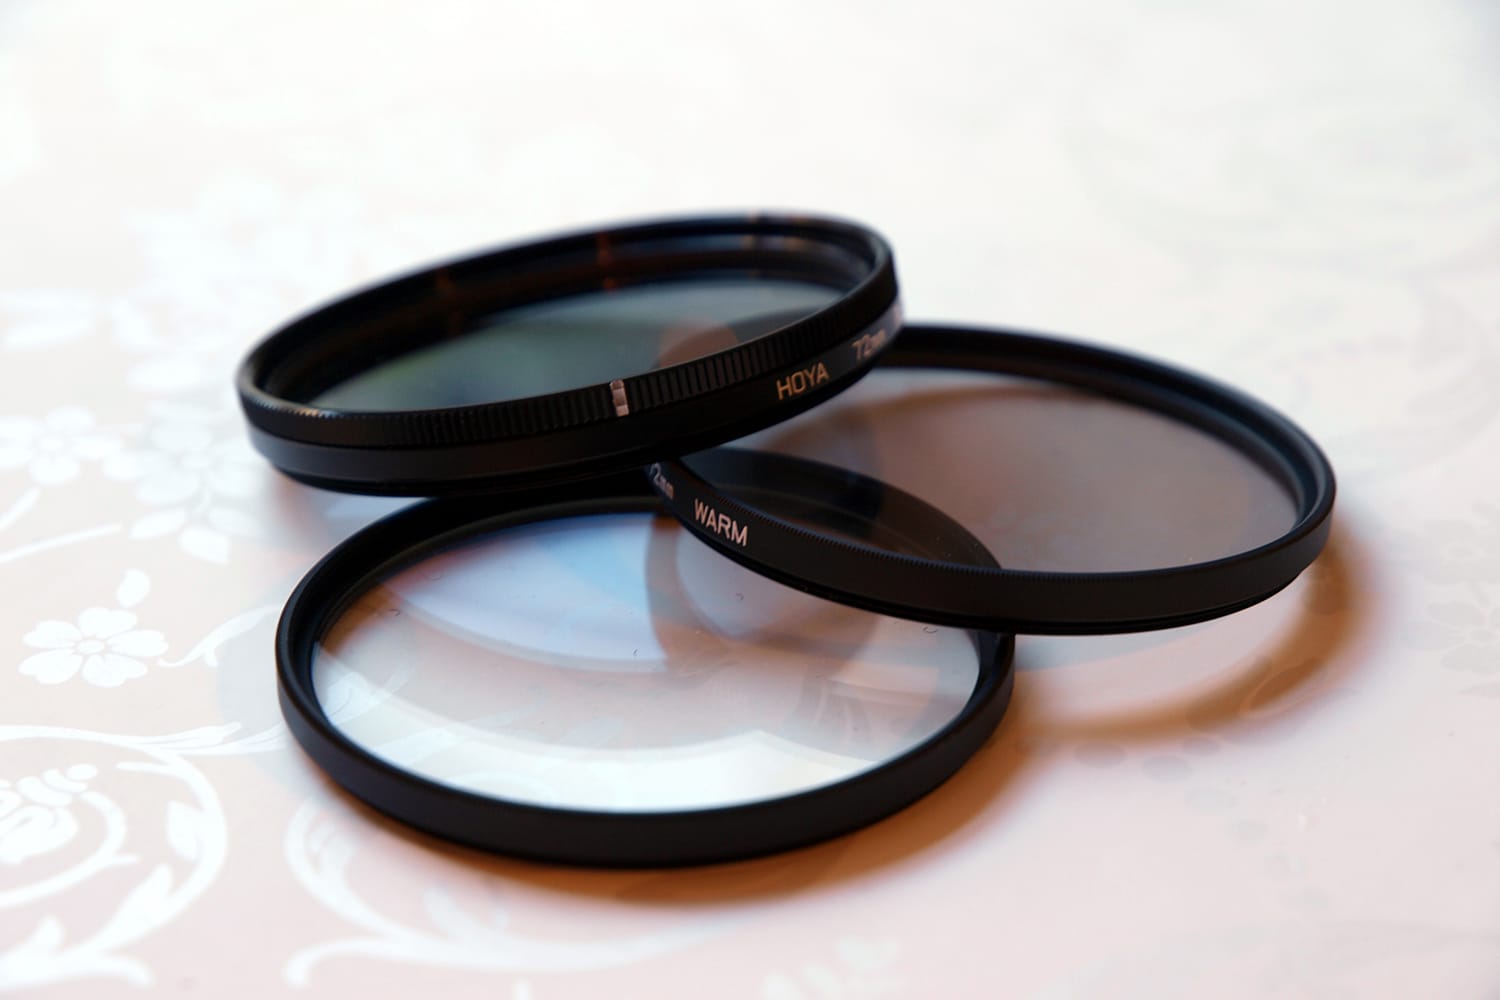
photo by mararie
Using Polarizers
Polarizers are one of the most popular types of filters for landscape photography. These filters are ideal for cutting through reflections and glare, resulting in deeper, more saturated colors. They’re often used for capturing deep blue skies or photographing the landscape after a rain.
Since polarizers can also cut through atmospheric haze, they’re also ideal for photographing distant hills or mountain ranges that would otherwise be difficult to see.
To help you get the most out of your polarizer, here are a few things that you should know about using these filters.
-
Check the Position of the Sun
Polarizers are most effective when used at a 90-degree angle to the sun. This means that you can’t use your polarizer for sunsets as it won’t saturate the colors properly. For best results, polarizers should be used when the sun’s behind you, ideally about 30° off your shoulder. To find out what angle this is, make a gun shape with your hand, using your forefinger as the barrel and your thumb as the hammer. Point your forefinger at the sun and rotate your hand. Any direction your thumb points when rotating is the right place to point your camera.
-
Compensate for Loss of Light
When using a polarizer, keep in mind that you’ll lose two to three stops of light. This will come in handy when shooting at a wide aperture, or if you’re looking to blur the movement of rushing water, but remember to compensate for this loss of light by letting more in.
-
Watch Out for Uneven Skies
One risk of using a polarizer is that often these filters will result in uneven skies with different shades of blue. This is especially likely to happen when using a polarizer on a wide-angle lens. Thankfully, though, uneven skies are one thing that can easily be fixed in post-processing.
-
Use Them to Capture Rainbows
One little-known fact about polarizers is that they can also be used to capture bright, bold rainbows. Just make sure you use them properly, or else you’ll risk causing the rainbow to disappear altogether. When photographing a rainbow, try to twist the filter to just the right point to darken the sky and draw out the colors of the rainbow.
Using Neutral Density (ND) Filters
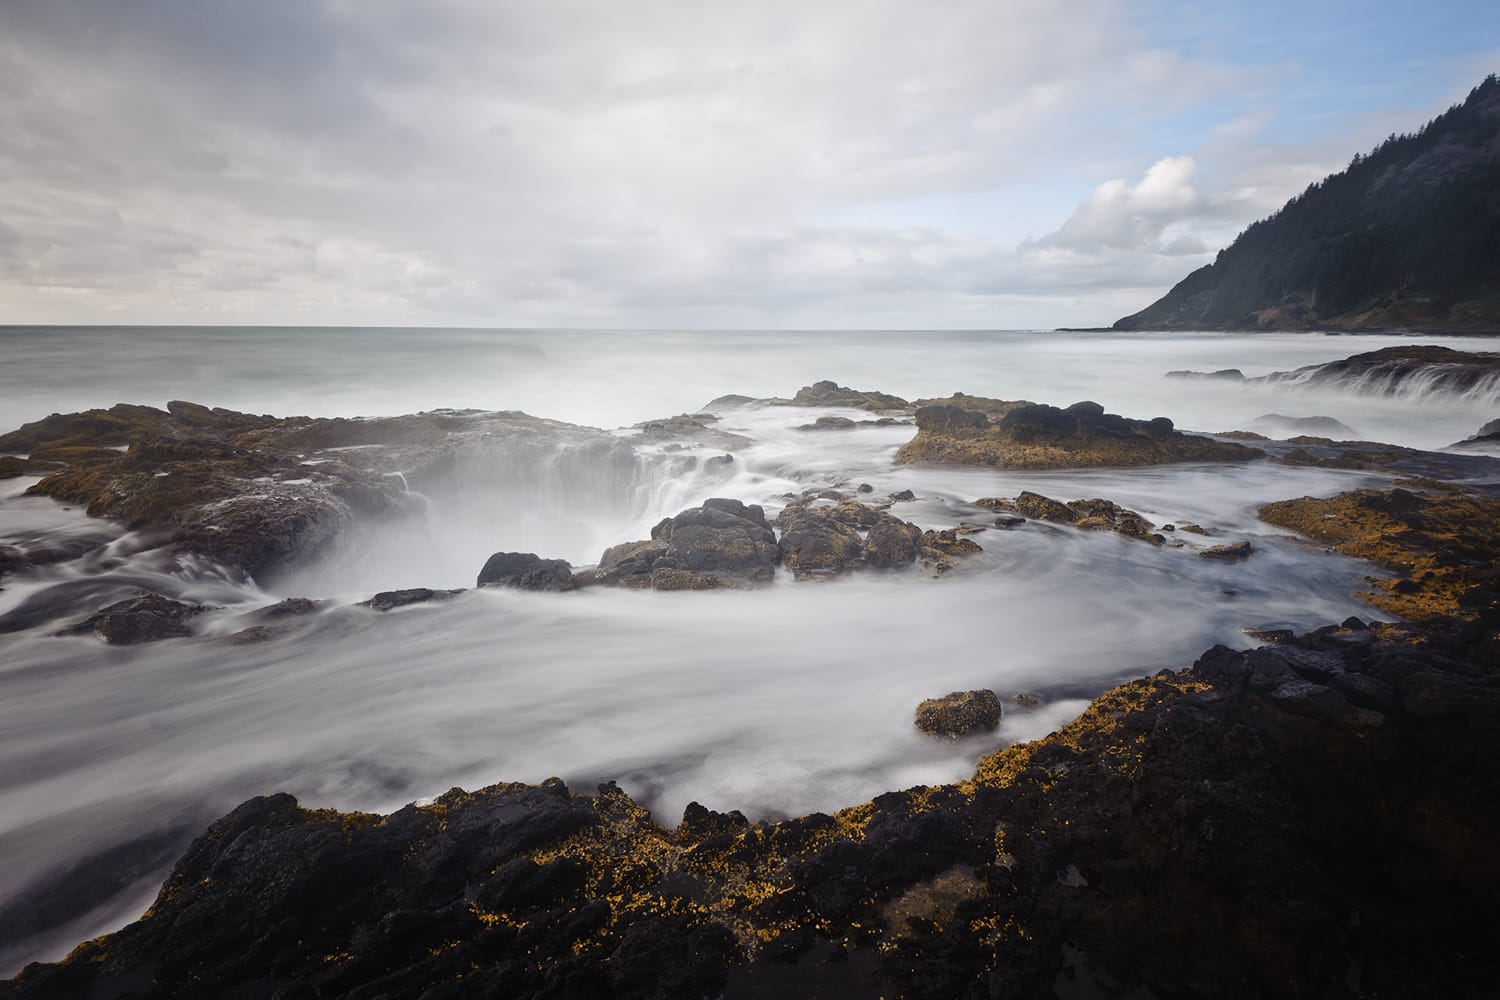
photo by Waqas Mustafeez
ND filters are most often used to create long exposures in daylight, allowing you to blur the movement of water or clouds to create a soft, dreamy look. They can also be useful if you’re hoping to shoot with a very wide aperture in bright lighting conditions.
Here’s a look at a few things that will help you to get the most out of your ND filter.
-
Compose Before Attaching the Filter
If you’re working with a strong ND filer, you’ll have a difficult time seeing through the viewfinder once the filter’s attached to the lens. For this reasons, a good idea to compose your image, before you attach the filter. Use a good tripod and make sure your image is composed before taking your shot. You’ll also want to switch to manual focus to prevent the camera from adjusting the focus automatically.
-
Adjust the Exposure
Using manual mode will give you the most flexibility when creating your image. Switch to manual, then set the aperture, and check the shutter speed that’s required without the filter in place. Once you’ve attached it onto the lens, you’ll be able to set the shutter speed taking the filter into account – each stop of the filter will double the length of the exposure.
-
Adjust the Color in Post-Processing
Some ND filters could add a color cast to your images. If you shoot in RAW (and you definitely should), though, this cast can often be corrected in post-processing.
Using Graduated Neutral Density (GND) Filters
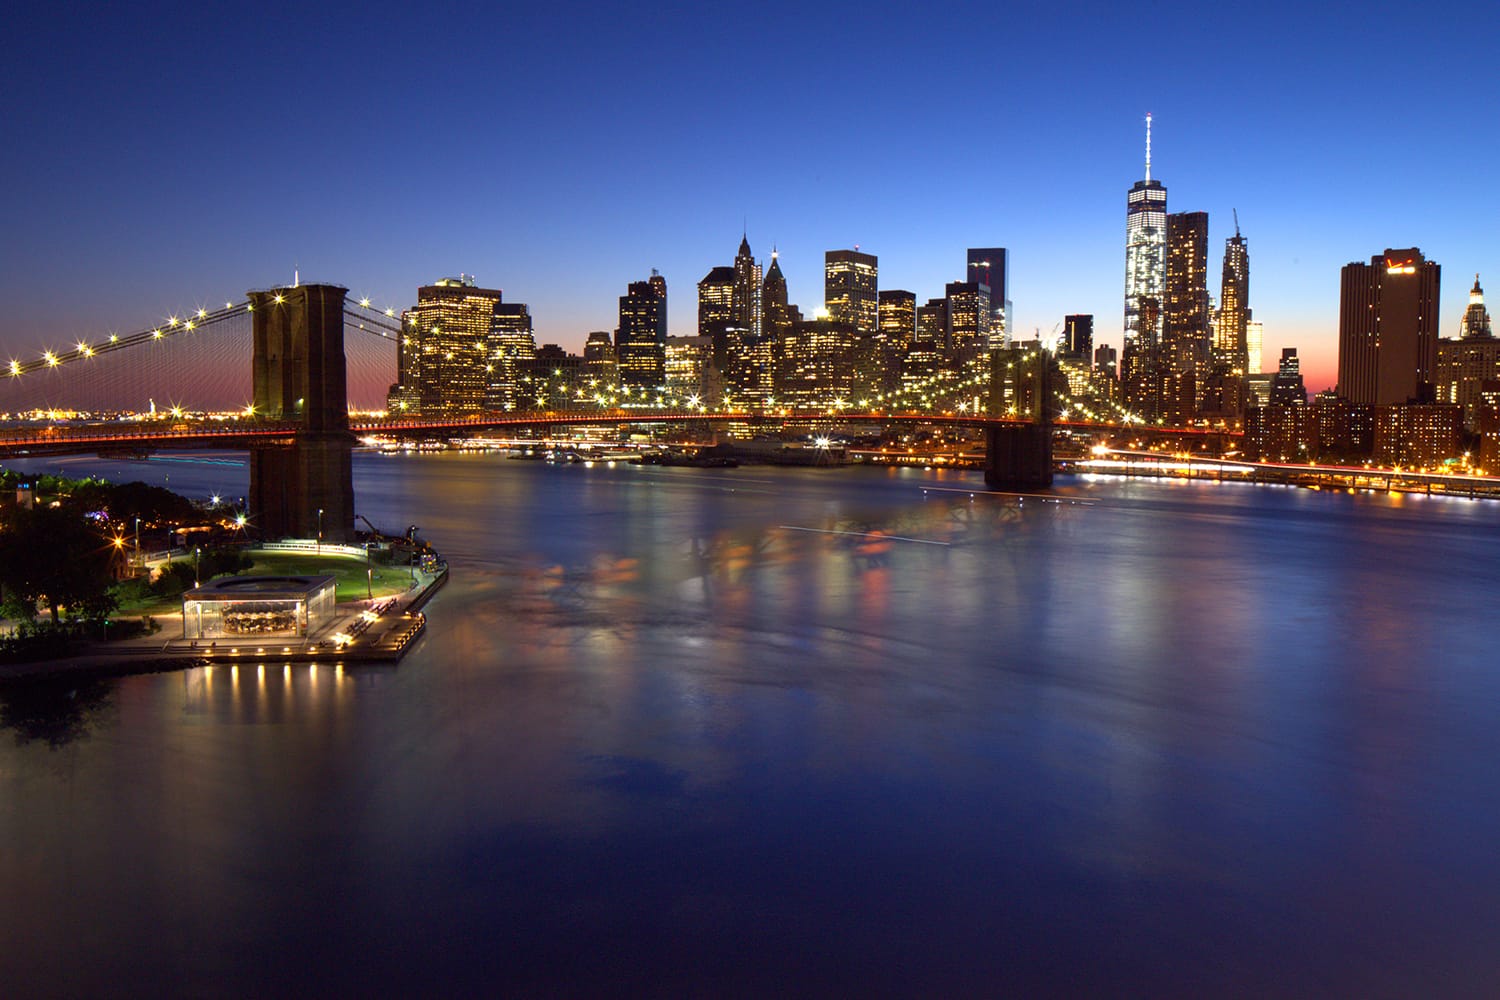
photo by John Cunniff
A lot of photographers like to use graduated ND filters to allow them to balance out uneven lighting conditions in a composition; making them especially ideal for capturing landscapes that feature a brighter sky and darker ground.
Here’s what you should know about using these filters.
-
Choose a Filter Style
First, you’ll want to determine whether you want a filter with a hard or soft edge. A hard edge filter has a definite transition between the darker part of the filter and the clear section, where softer edge filters blur the transition more, so the line isn’t as obvious. Hard edge filters are useful if you have a clear horizon line in the composition; whereas a soft edge filter is useful for busier scenes that don’t feature a straight horizon.
-
Adjust the Exposure
GND filters come in various densities, or strengths, that compensate for different lighting conditions. Darker filters block the most light, while lighter filters hold back less. Most of these filters are available in a range of one stop to three stops loss of light. The type of strength that you’ll want will depend largely on the type of lighting that you’re working with and the exposures that you’re using. To determine which GND you’ll be using for an image, take exposure readings in the darkest and the lightest areas of a scene. The exposure difference will indicate the strength of filter that you should use. So assuming that the meter reading for the sky is 1/250th and the ground is 1/60th, the exposure difference is two stops of light (250th > 125th > 60th). This means that you’ll want to use a two-stop GND to balance out the light.
-
Position the Filter Properly
You’ll also want to ensure that you position the filter properly. Too high, and the transition point will be seen across the sky; too low and the ground will have a dark shadow across it. Your best option is to press your depth of field preview button when looking through your viewfinder. This will help you to see where the transition line is located.
To Conclude
While it can be difficult to know which filters to invest in; and how much to spend when you’re first starting out, keep in mind that the best images are the result of practicing, and mastering the technique. While having a nicer filter is preferable, if you have to start with a cheaper one, and practice on it before making the move to a better one, this may work. Just make sure you check out the reviews for the filter in question – the cheapest filters tend to get stuck on lenses.
Finally, when using filters, it’s always important to use a tripod to steady the camera. It’s also advisable to shoot in RAW. This will give you the most flexibility in terms of editing; allowing you to make minor adjustments such as evening out the sky, or removing a color cast, far more easily and with better results.
To see more tips and tricks for using filters, be sure to check out our helpful articles on Polarizers and ND Filters.
About the Author: Christina Harman
 Christina is a part time blogger and full time photography enthusiast living in Southeast Alaska. She enjoys travel photography and has taken pictures in countries such as Mexico, England, France, and China. She likes sunny days, new lenses and drinking good coffee. You can visit her at Tangled Thoughts.