8 Quick Tips for Long Exposure Photography

If you like shooting outdoors or at night, knowing how to properly do long exposure photography will be a big help. Once you discover the wonders of long exposure photography can do to your photos, you’ll thank yourself for finding time to learn it.
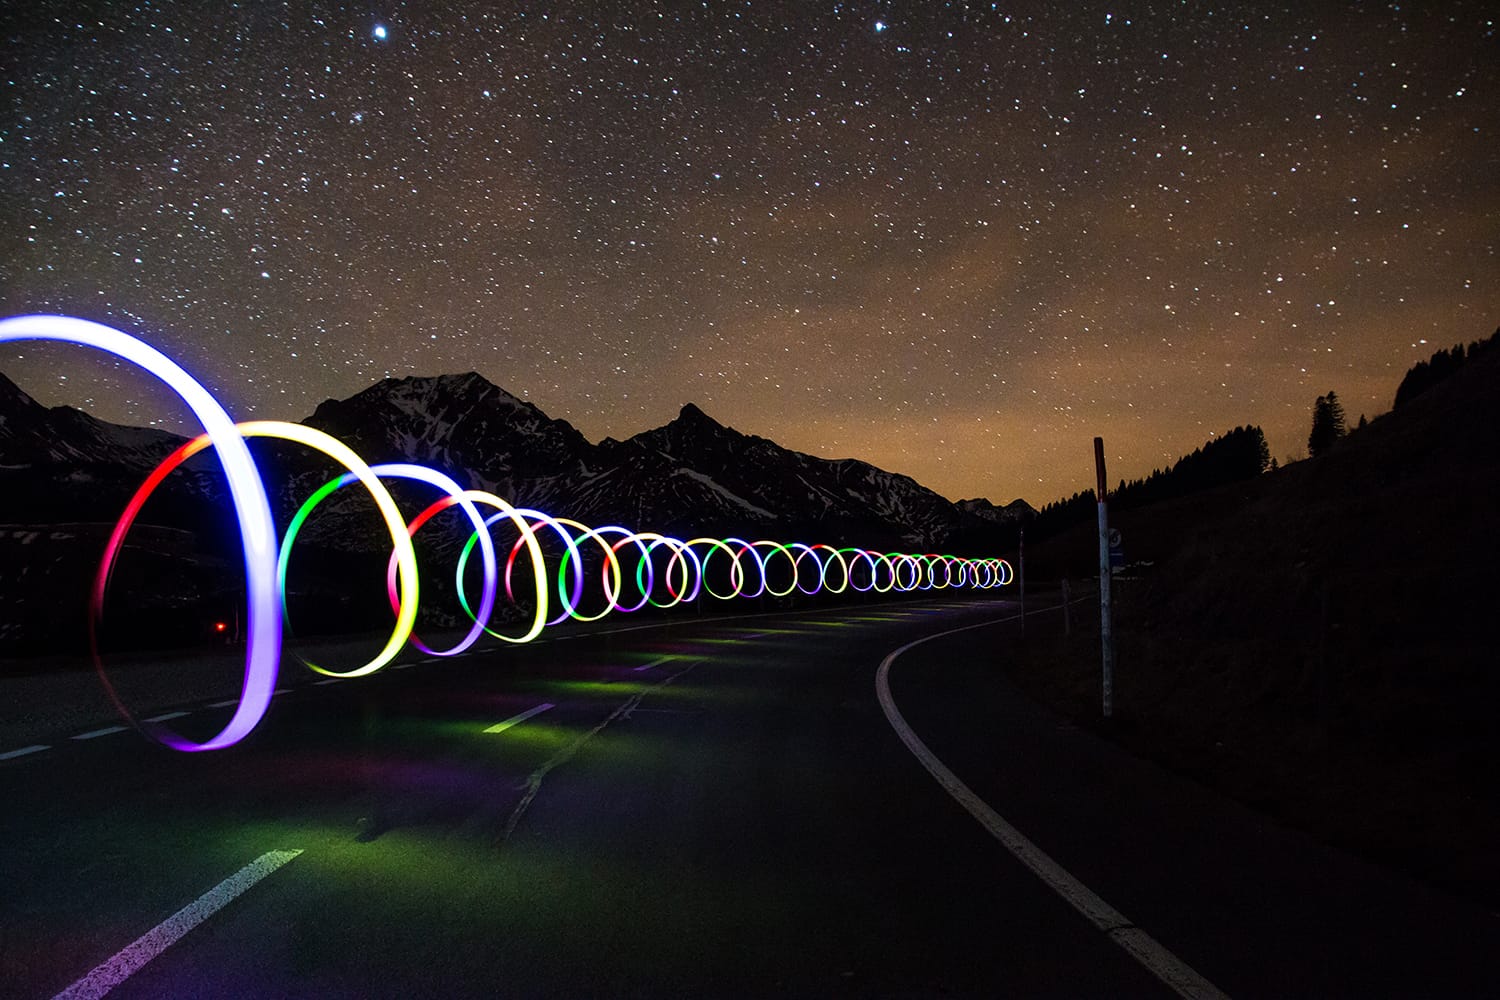
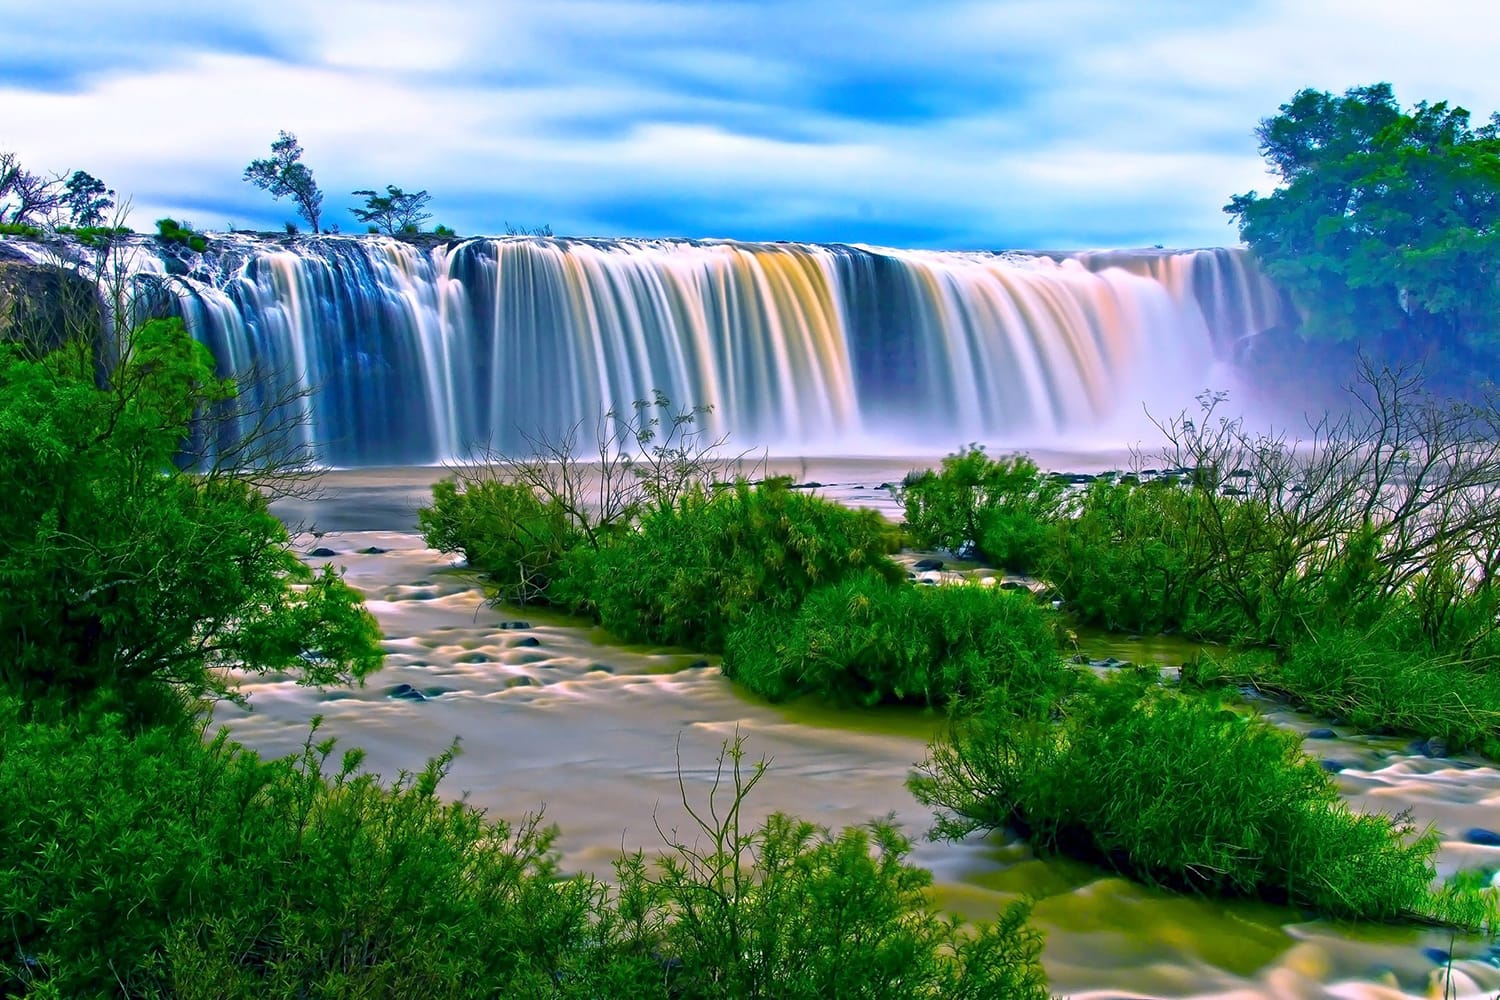
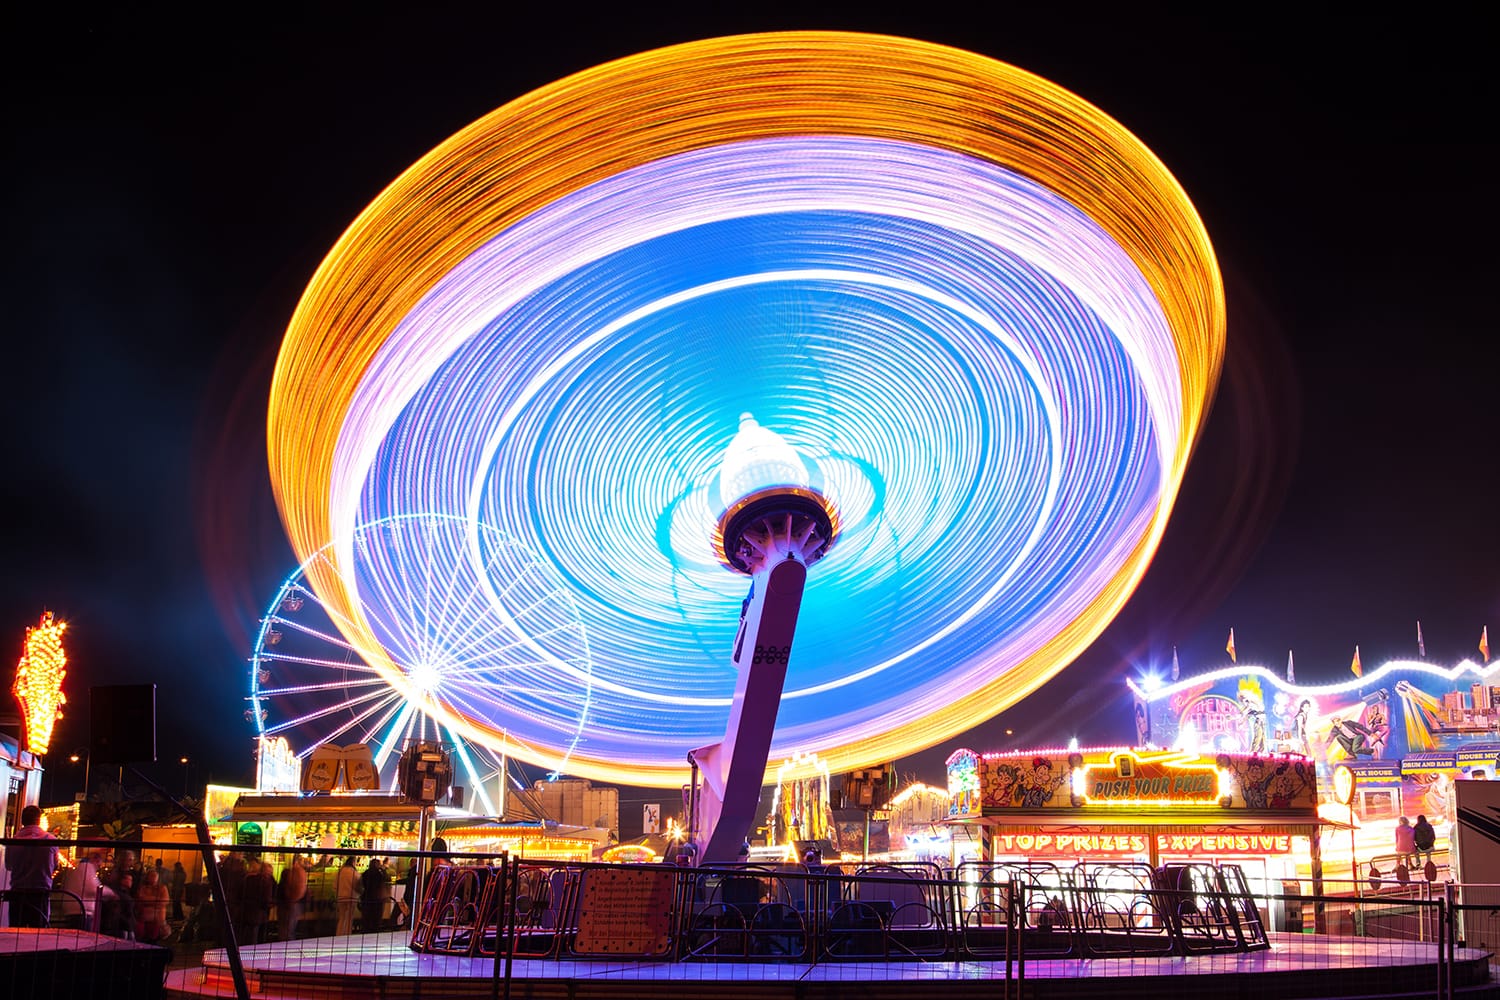
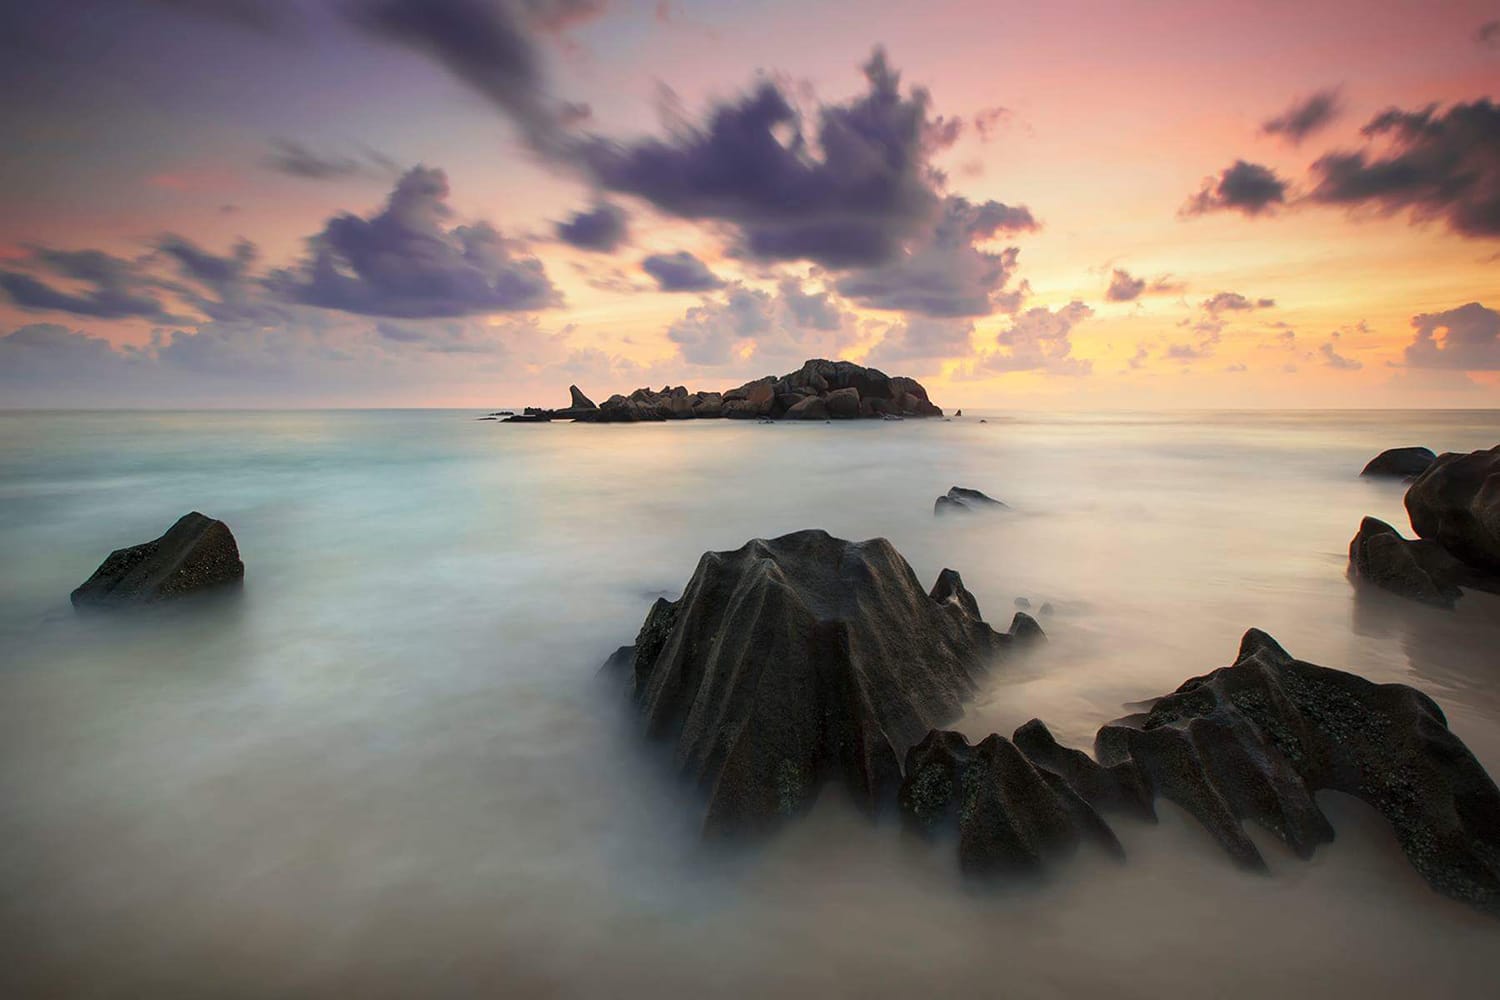
Long exposure photography is a technique that produces stunning effects and dramatic moods. Even when you shoot at night, you’ll still be able to create detailed photos with beautiful light effects. It works best for landscape photography.
Although mastering the technique is not easy and involves a lot of training and practice, there are no complex skill sets or procedures needed for long exposure photography. All you’ll need is a reliable tripod and a good camera that can do long exposures.
You can choose to go on a formal workshop, but since there are no special skills involved, self-practice is the best option because you can control your pace. Additionally, there are tips you can follow to ensure that you’re doing things the right way.
Long Exposure Photography Tips
To help you start out, here are quick tips you should follow and keep in mind. These do not assure that you’ll become a master long exposure photographer, but they can help you do things right. These can help you make the proper start to your long exposure practice. Follow all these tips so you won’t wonder where you went wrong or why the shot didn’t come out the way you expected it to.
1. Avoid vibration of any kind
Make sure that your camera and tripod are on a steady, balanced surface. Some photographers even put something heavy on the tripod (like sand bags) to add some weight to it. The extra weight will make the tripod and camera sturdier.
In addition to the extra weight, it will help if you use a remote shutter so there won’t be a need to press the shutter manually. Pressing the shutter can cause some vibration. You can prevent vibration from manifesting in the photos by using the shutter delay (at least 2 seconds), but using a remote is still the most practical option.
2. Be mindful of the weather
Days before the shoot, get all the information you can about the weather. Find ways to monitor the weather, especially if it has been raining for days or if it’s the rainy season. Do not schedule a shoot when the sky is cloudless or when the rains are pouring heavily. But pay attention to the weather forecast because conditions can change in a matter of minutes or hours.
I suggest you use AccuWeather (the app or the website). It can forecast up to 90 days. AccuWeather can tell you the weather on an hourly basis. It can also predict the chance (percentage) of rain, snow, and cloud cover.
Do a location inspection several days before the shoot – study and familiarize it. This will give you ideas on how to set up the shoot and which shots to take. Likewise, an ocular inspection will give you the opportunity to study your concept, as well as to determine whether the location is perfect for what you want to achieve.
3. Visualize and compose your photo
Pay attention to the surroundings of your location and try to visualize how they can be incorporated into the shot or photo. This is important because you need to find a way to improve the scene or location for the long exposure shot. It is essential to pay attention to the total picture and not just the ones that are your focal interest.
4. Lock the focus and look for leaks
Make sure that your photo is well-composed. Do not lose your focus on the subject. You can manually lock the focus or use the shutter button if you are on autofocus mode. Be sure to lightly press (not full press) the button until the focus you want is achieved.
Be mindful of the leaks. If there are leaks on the camera’s viewfinder (or anywhere else), you need to seal them off. To do this, you need to bring with you a black tape and any opaque material that you can use to cover the leaks. Or if you have a strap with an eye-piece cover (that black rubber thing), use it. Here’s a full tutorial on how and why to cover your viewfinder when shooting long exposure photos.
Even if the leaks are tiny ones, they can still affect the outcome of your long exposure shot.
5. Pay attention to the light
Whether you shoot in the daytime or at night, it is important to be mindful of the light. Is there ambient lighting? How much light can I get if I shoot at night? What man-made light sources can I use? Asking these questions will help you determine how much of your light requirement need to be improved and which ones should be utilized.
6. Do several test shots
Do not shoot right away when the set up is finalized. Rather, take time to do some practice or test shots. Do not forget to prepare your camera by setting it to M (Manual) or A/Av (Aperture Priority) mode. The aperture value should also be set appropriately. Take note of the results.
7. Choose and add ND filter
Add a ND filter according to the result you want to achieve. Remember, using a very strong ND filter (i.e.: 8 to 10 stops) won’t allow you to see the live view. No worries, though, because the camera will see everything for you – remember, you’re keeping the shutter open long enough for your camera to record a lot of information from the scene.

8. Take the shot
Before clicking the camera, however, be sure that you have changed the setting to B or Bulb for the shooting mode. This will help you keep the shutter open for more than 60 seconds or for as long as you want to. However, make sure that no other setting is changed. As you start taking the shot, keep in mind what you’ve learned from your practice shots.
As in everything else, you can master long exposure photography if you practice. So, practice, practice, and practice. And keep shooting beautiful images!
About the Author: Michael Gabriel
 Michael Gabriel L. Sumastre is an experienced writer who loves to take pictures of the countryside as well as aerial photographs. He maintains his professional writing portfolio at TheFinestWriter, and you can visit his photography portfolio at Sumastre Photography. Michael was hired by Booking.com to photograph 10 of the most beautiful beaches in Palawan, Philippines.