How to Stay Safe During Storm Photography

Storm photography can be alluring, even seductive because it’s thrilling. You’re up close and personal with mighty weather systems, and your adrenaline is going to be working overtime.
When the initial excitement wears off and you’re faced with the harsh reality of a dangerous situation, staying safe amid all this commotion is going to be your number one priority. The temptation is getting close enough to the storm to get that once-in-a-lifetime shot, but you have to balance this with safety if you’re going to dabble in this.
Staying safe during storm photography is not some oxymoron. Here’s how you do it, whether you’re taking pictures of tornadoes in the open fields of the Midwest or shooting sea storms as they crash into the harbor.
Never Go Into Unchartered Territory Blind
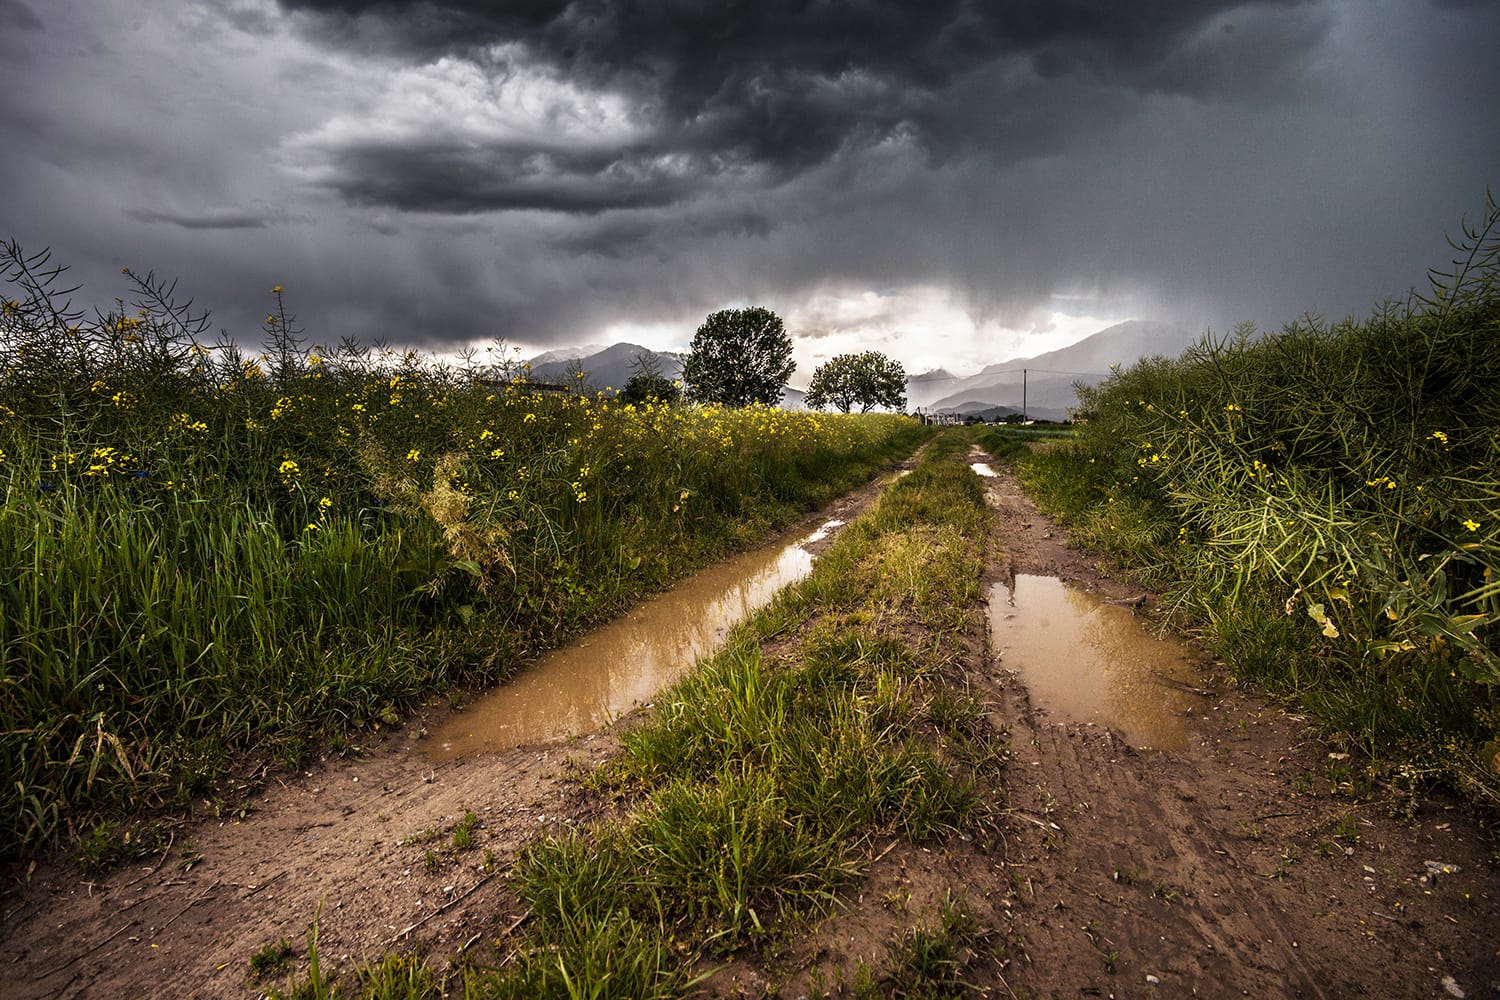
This tip really applies to the newbies more than anyone else. There’s a first for everything. If you’ve never gone on a storm-photography excursion before, don’t go into any situation without first having scouted your location. This can mean the difference between life and death (or getting severely injured).
One of the wisest things you can do is scout the location you know a storm’s going to descend upon by first talking to the locals. Ask them about the area, and make sure that you know the terrain well; the last thing you want is any surprises in the middle of an intense storm. You should also explore the area on your own to gain familiarity with it.
Of course, you also should check basic things such as the wind direction, speed and the tide (if you’re going to be shooting by the beach).
What to Wear
A huge part of staying safe–as well as ensuring you have the wherewithal to continue through the entire shoot–is wearing the right gear. Many a storm-photography outing has been ruined by photographers showing up underdressed.
You’ll require the basics like wind- and water-resistant pants, coats and boots. Great footwear is absolutely key, so try investing in something a bit sturdier, such as Wellington boots, which are ideal for many outdoor activities. Leave the tennis shoes at home.
The idea behind having this heavy-duty gear is so that you stay warm and dry, which are two qualities you’ll absolutely need to make clear-minded decisions once the storm starts brewing all around you. There’s nothing worse in these conditions than having your judgment impaired because you’re wet, cold and shivering–that leads to all sorts of disastrous outcomes. When you have the right gear to keep you dry and warm, exhaustion is less likely to set in, allowing you to make better decisions in the field.
Depending on the severity of the storm you’re going to be encountering, or where you’re going, it’s also a savvy idea to wear a helmet, just in case there’s any flying debris that can surprise you.
Spotting What Danger Looks Like
Absurd as it can sound, sometimes, perceiving the danger during storm photography is a bit trickier than you think. Naturally, if the storm force winds are all around you, that’s a very accurate indicator of danger, but other signs are subtler, which is where the deception can lie.
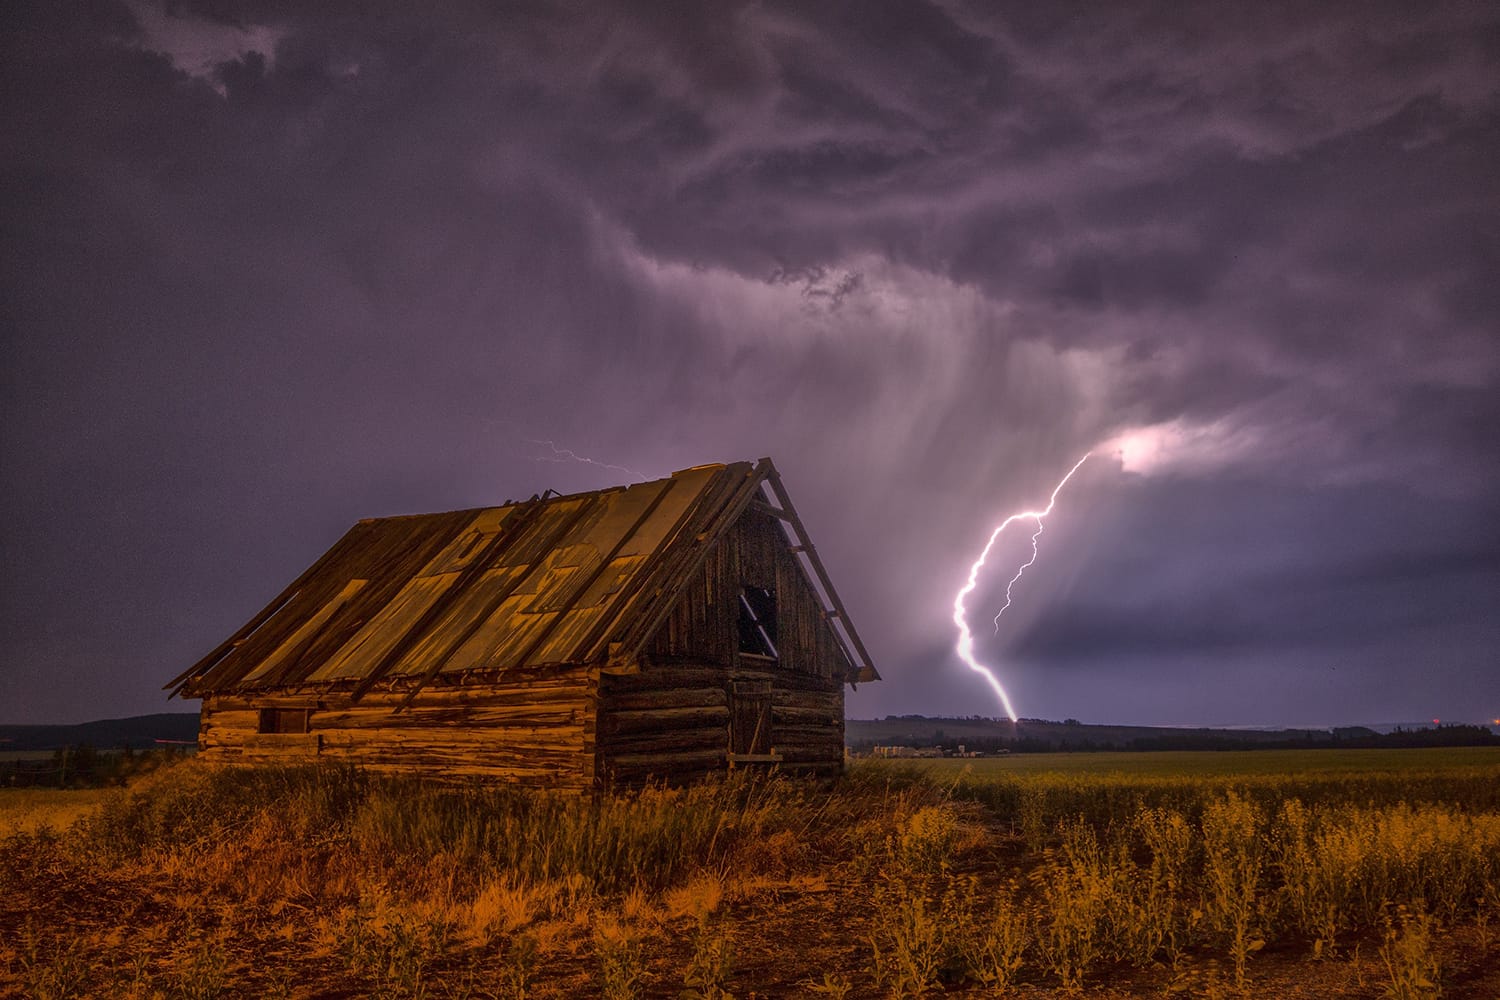
Case in point: Let’s say that you’re on an open field trying to photograph some spectacular lightning shots. Always remember the 30-second rule. It states that, once you see any lightning, begin counting the interval between the lightning and the ensuing thunder. If you count less than 30 seconds, then you’re in a possible hazard area because you could be hit by lightning.
Always keep in mind that lightning tends to have a very sizable range.
Getting Yourself to Safety
If you’re just starting out as a storm photographer, there’s a very real chance that you could be abruptly caught up in a situation that gets unsafe, even though it started out safe. This happens even to the best storm photographers, actually, as storms are dynamic beasts whose conditions are sometimes unpredictable.
When you find yourself exposed and in danger, you have to move and think fast to get yourself to a safe location. Sometimes, that can even involve leaving your gear where it is and then retrieving it later on, when the storm has passed.
Here are some actionable tips on how to get yourself to safety fast in case of a real emergency or how to avoid situations from turning into problems for you:
- Make your way back to your vehicle (assuming you’re still close enough to make it back) to take shelter, and don’t touch any metal inside your vehicle.
- If you find yourself on higher ground with high elevation, make your way to lower depressions.
- When inside of a lightning zone, make sure to stay at least 30 meters away from any metal framing or other such equipment you might’ve packed.
- If you’re really exposed (say, in an open field) and there’s no shelter around, then do your best to crouch down on the ground as low as you possibly can, being sure to keep the feet as close as possible, and staying right on the balls of your feet until you have the chance to get to actual shelter.
- Don’t go near trees, picnic tables, or taller structures or buildings because they do attract lightning.
- Don’t go near any power poles.
Get Your Great Shots, but Stay Safe
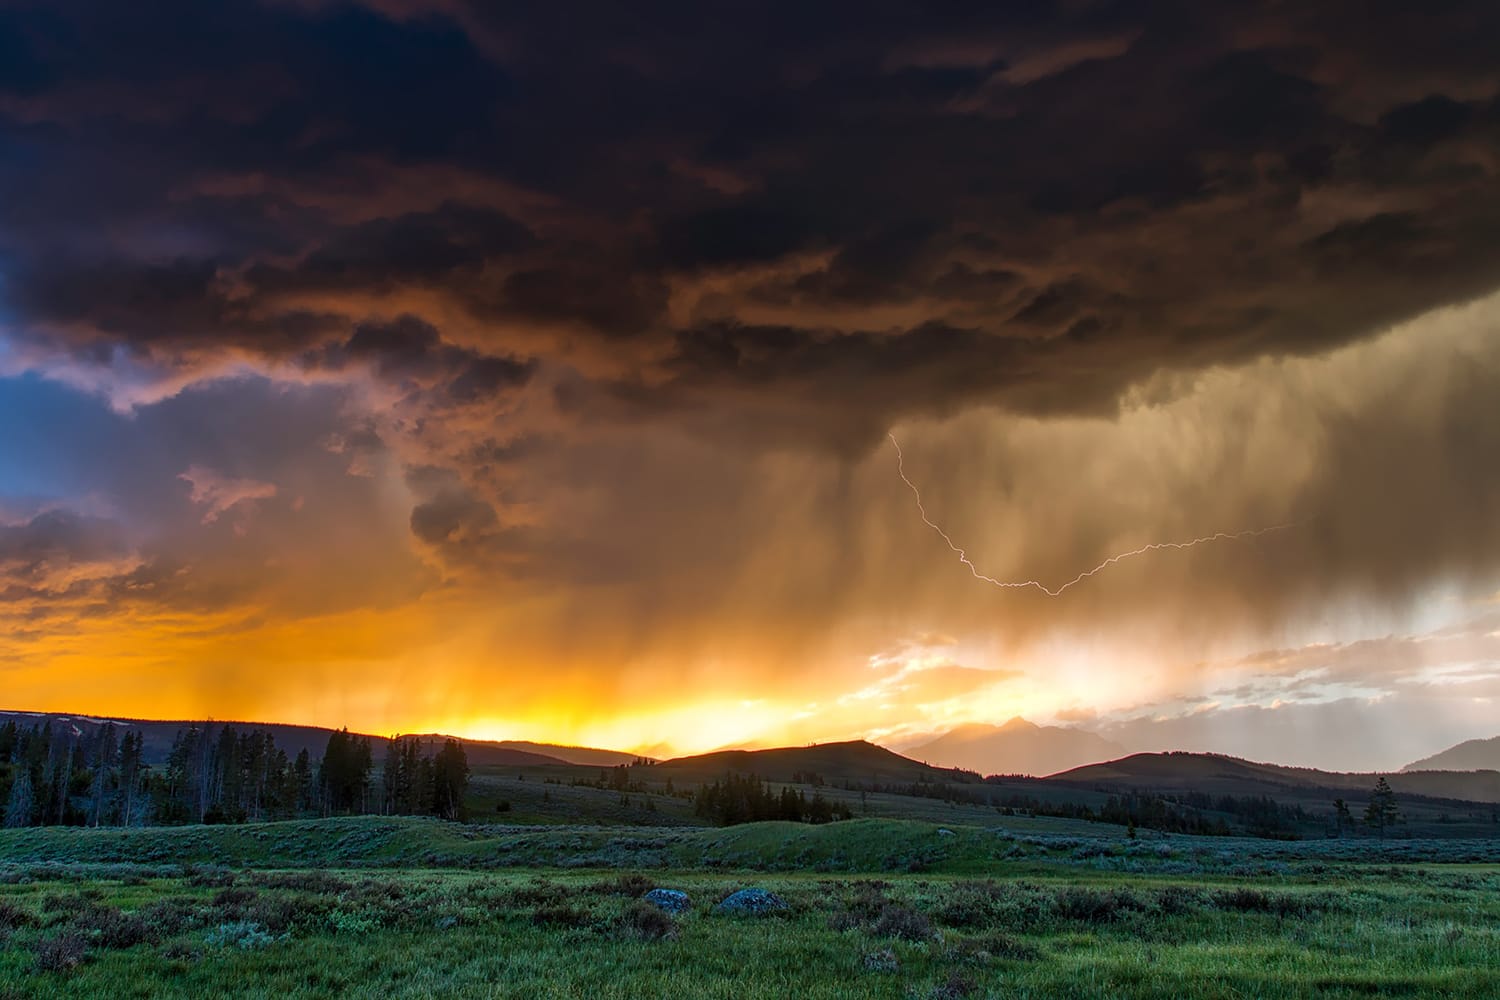
Storm photography is one of those genres that’s attractive due to the danger. Of course, those amazing shots of lightning or torrential rain and winds are absolutely awe-inspiring, too. While it gets your adrenaline pumping and heightens your sense of adventure, there’s real risk involved.
When you’re out in the field trying to get close enough to inclement weather for stunning images, especially if it’s your first time, never forget that your bodily safety is the first priority. Who cares if you have a beautiful shot, but are injured in the process?
At the end of the day, you need to come home safely and live to take pictures of future storms.
About the Author: Marc Schenker
 Marc is a copywriter and content marketer who covered photography. These days, he runs The Glorious Company, a content marketing agency.