How to Setup Photos for Print in Lightroom

Coming out with printed photos may not be as popular as it once was since many photographers (and consumers) tend to post images online or in a digital format to be viewed online or on a tablet, laptop, or smartphone.
As a result, many photographers don’t know how to print their photos – that’s alright, you can’t be expected to know how if you’ve never had the need to print them. On the other hand, wedding photographers and those who shoot similar events know only too well how valuable printed copies are because their clients almost always ask for them.
Those who have not yet experienced printing photos will find the task a bit daunting at first because it’s true; printing a photo is not easy. There are a lot of things you need to consider. Foremost among these is the fact that the image on your screen is not exactly how the end result will look. In other words, what you see on your monitor, regardless of how sharp and well defined its colors are, will not completely resemble the printed output.
Other aspects that need to be considered include color management, photo size, layout, brightness, and resolution, among others. The best thing to do, even for first-time image printers, is to use Lightroom in prepping your photos for the printing process. The only requirement to carry out the task properly is a more-than-basic understanding of the settings in Lightroom, specifically in the print module.
If you have not tried printing your photos yet, now is the right time to do so. You’ll never know when you’ll need this skill and knowledge. Maybe someone from the photo gallery near your place is interested in displaying your photos. You can also use the printed images for your portfolio. Or maybe someone is interested in buying your work. And, of course, nothing compares to the feeling of seeing your photos in print, framed, and displayed on your wall.
First off, however, you need to know how to properly (and quickly) prepare your photos for printing with the help of Lightroom. Here are some things to help you start out well.
The Complete Steps to Printing Your Photo from Lightroom
1. Open Adobe Lightroom.
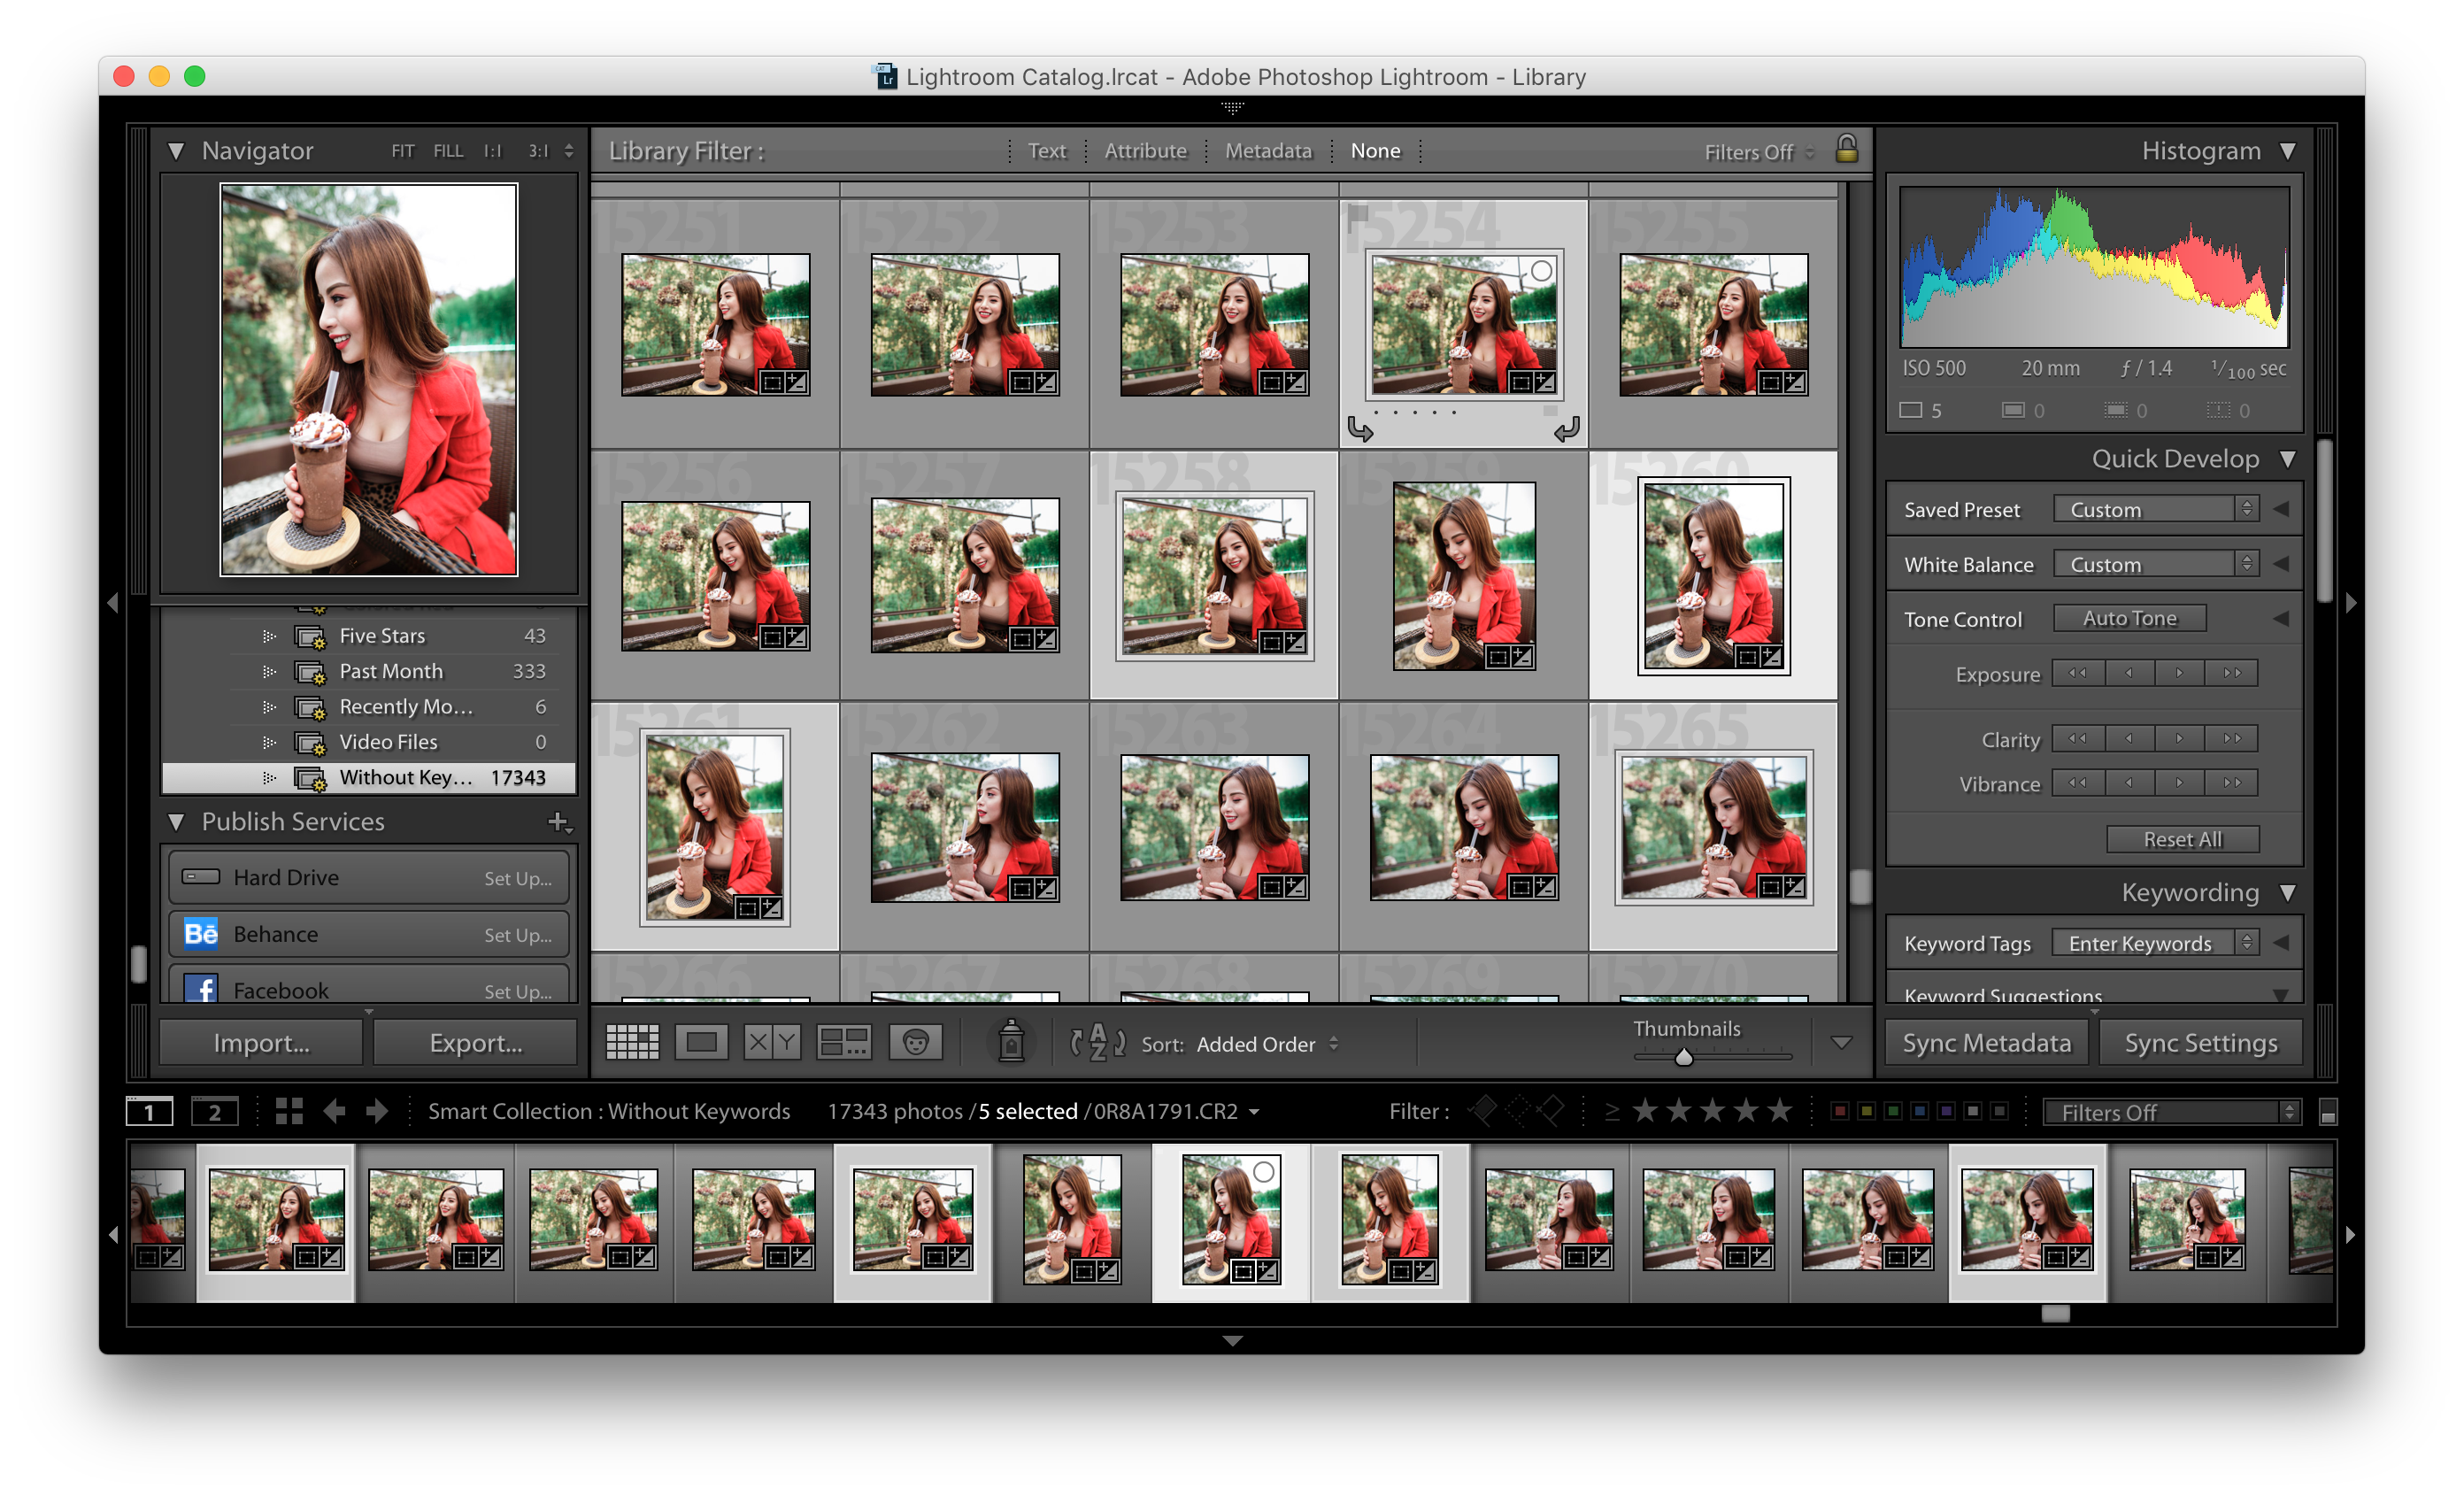
2. Go to the Library module and pick the photo(s) you want to print.
3. Go to Print module.

4. Click the Page Setup button.
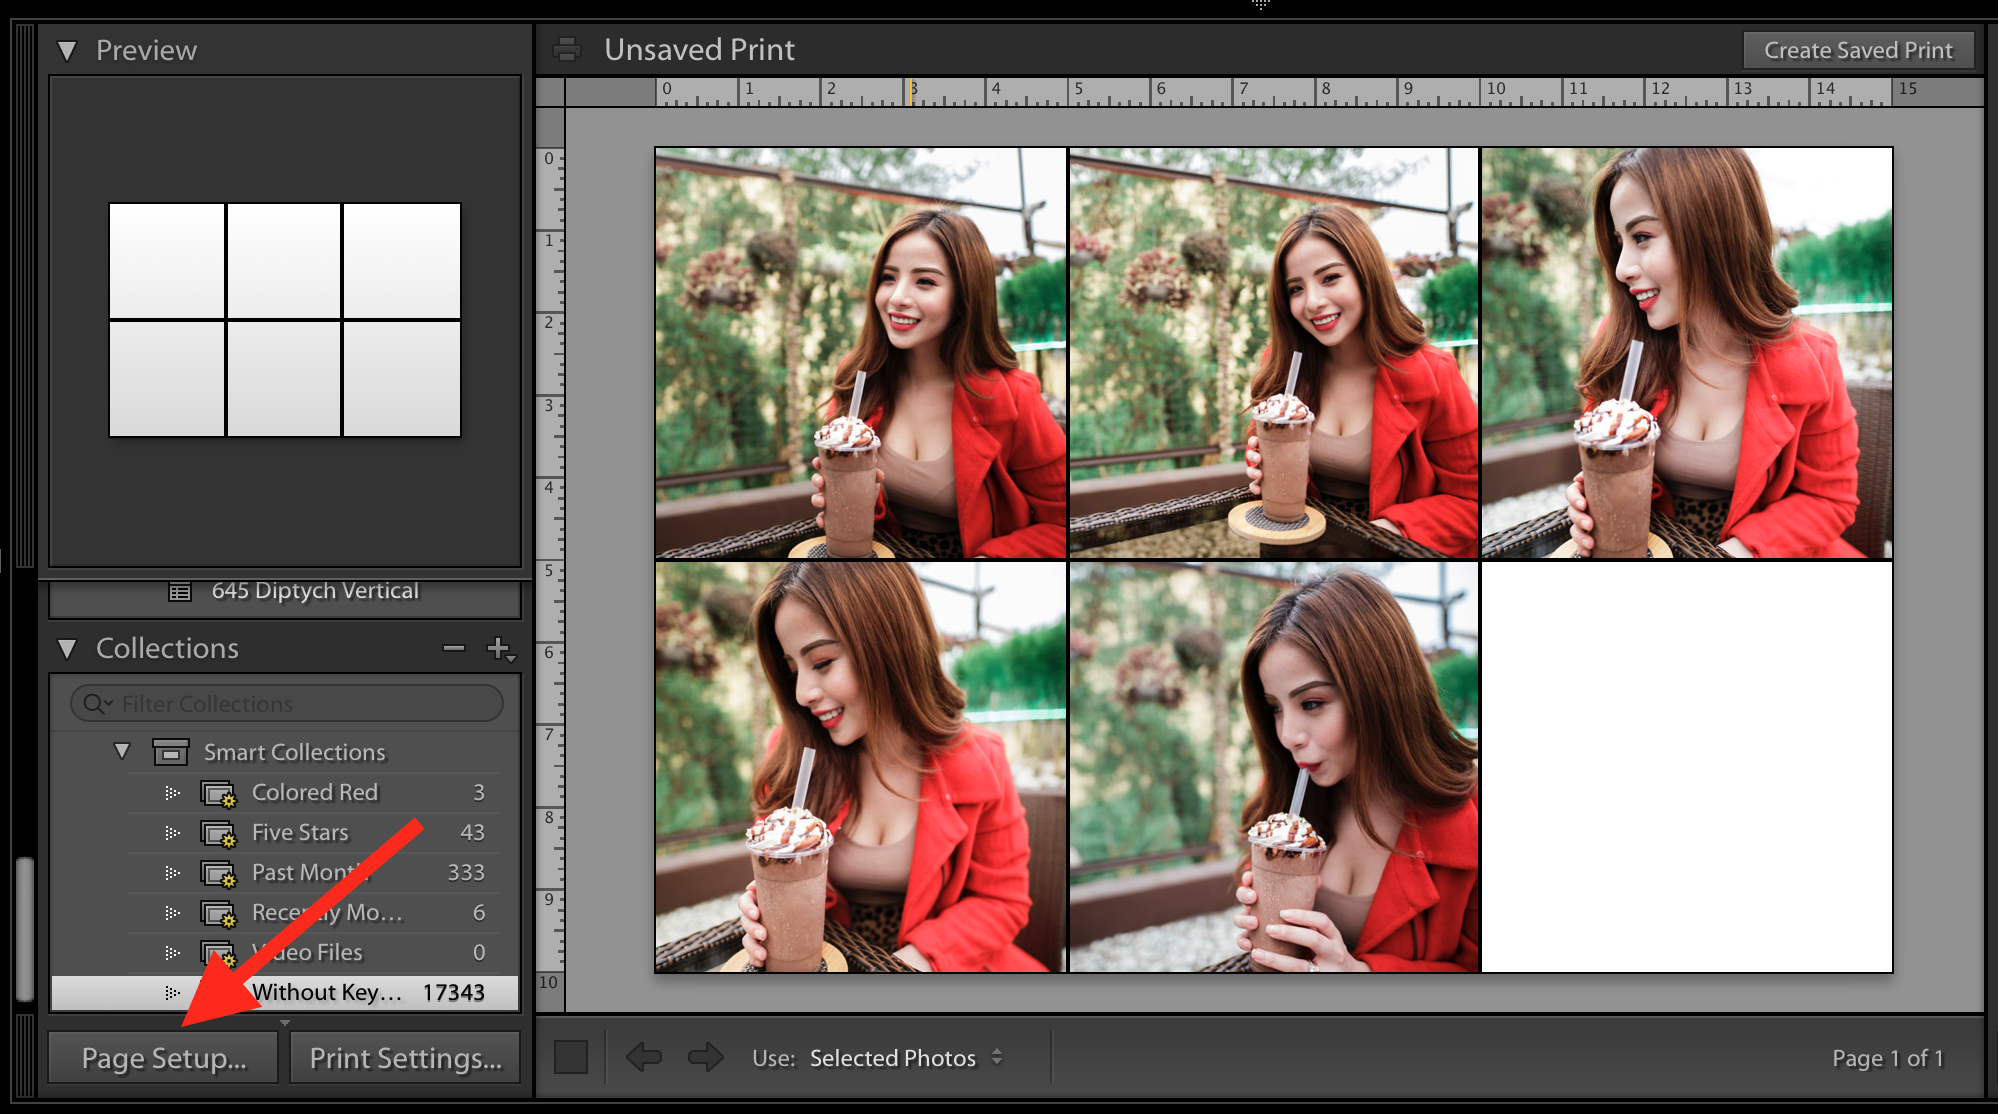
5. In the Page Setup box, do the following:
- select a printer from the “Format For” drop box
- select a page size from the “Paper Size” drop box
- click OK

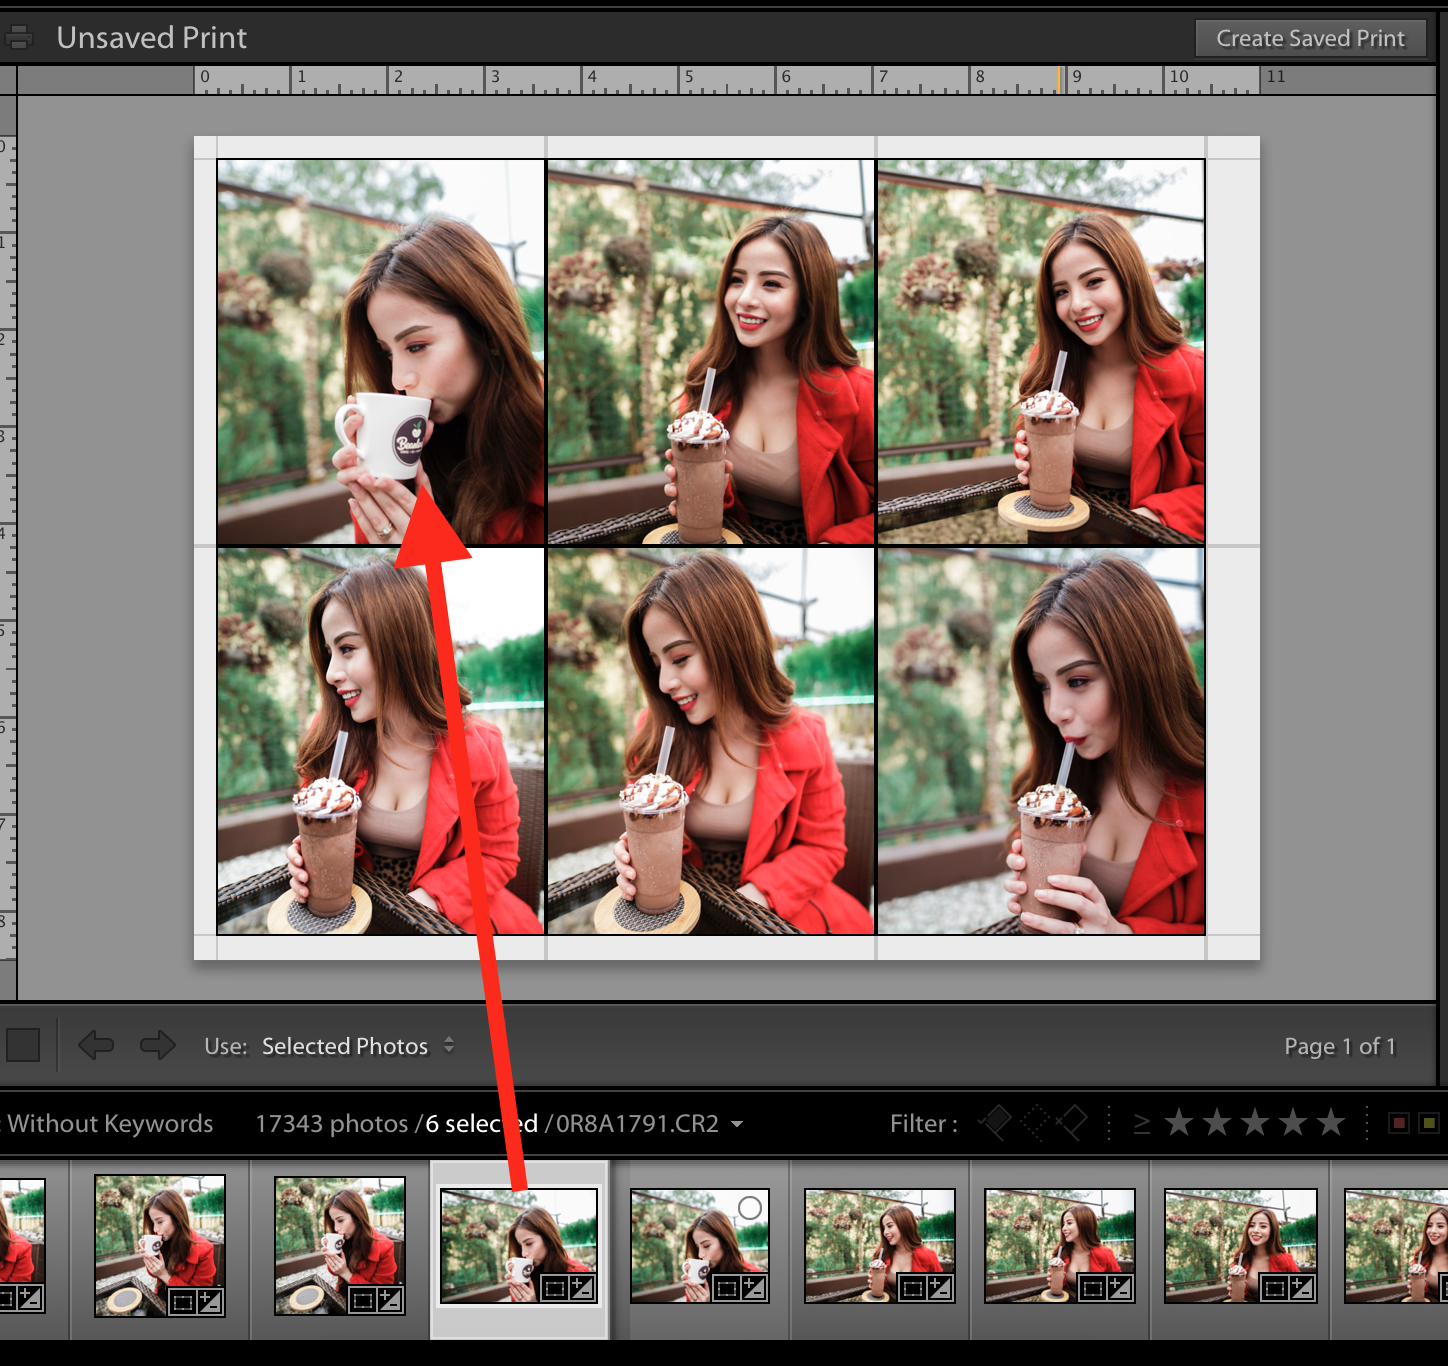
6. Select a Layout Style. You can choose one of the following:
- Single Image / Contact Sheet – print one or more photos, all at the same size
- Picture Package – print one photo in several sizes
- Custom Package – print multiple photos at several sizes on one or more pages

You can preview each layout style by clicking on it. You can see the preview on the left side of your screen.
7. Optional: Remove or add photos from your initial layout. You can do this by clicking the Command button (Mac) and selecting a photo.
From our example above, we will select and add one more photo to our layout to make it even (6 photos).
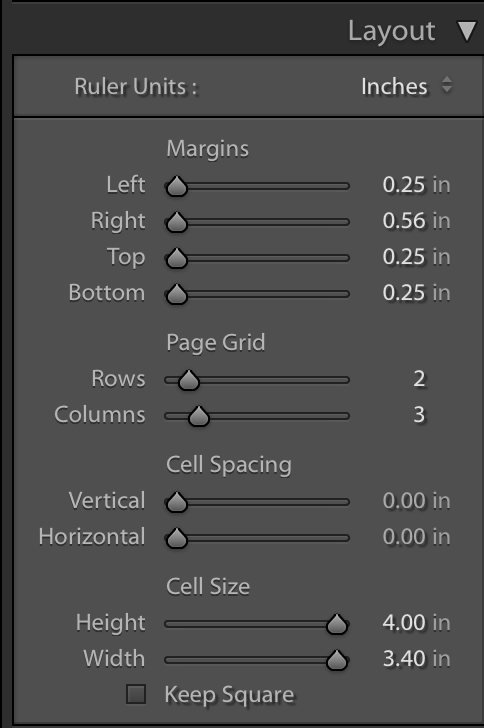
8. Optional: Modify your layout to suit to your liking.
- Drag the placement of the photo to left or right.
- Go to “Image Settings” and check the appropriate boxes.
- Go to “Layout” and change Margins, Page Grid, Cell Spacing, and Cell Size.

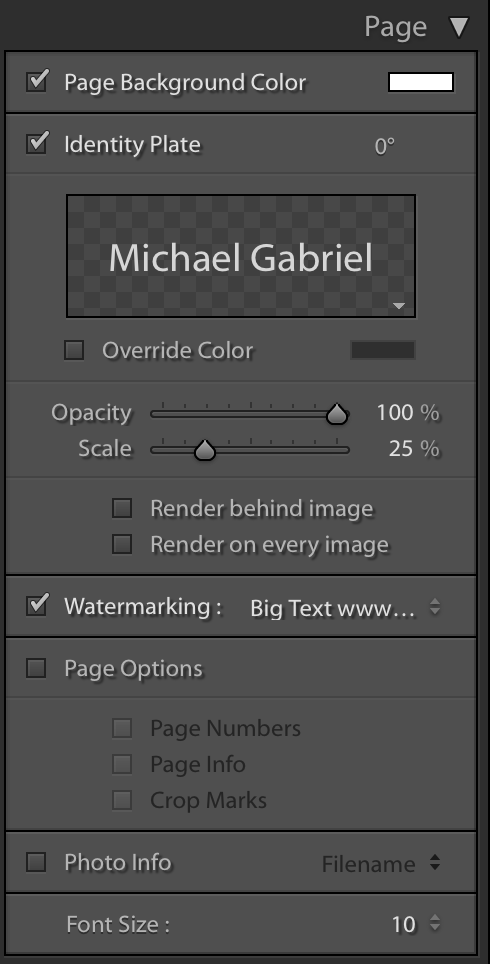
9. Optional: Change the page’s background color, add texts to your layout, and put your watermark through the Page panel.
10. Go to Print Job panel.
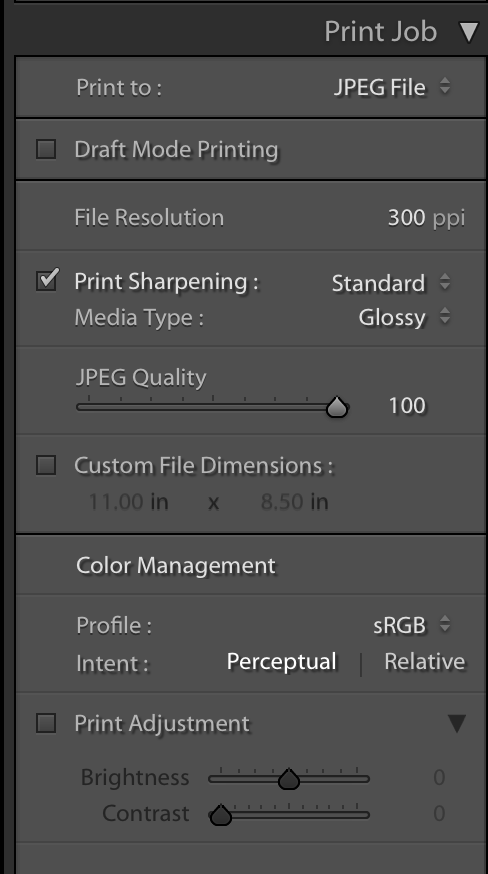
11. Select Printer from the “Print to” menu.

12. Check Print Resolution and input your desired setting. The default is 240 ppi.
13. Check Print Sharpening and select your desired setting. The default is Standard.
14. Optional: Check the “16 Bit Output” box if you want to print to a 16-bit color printer.
15. Under Color Management, identify the color “Profile”. The default setting is “Managed by Printer”.
16. Optional: Check “Print Adjustment” and slide Brightness and Contrast accordingly.
17. Click the Printer button and specify your Printer, and the number of Copies and Pages you wish to print.
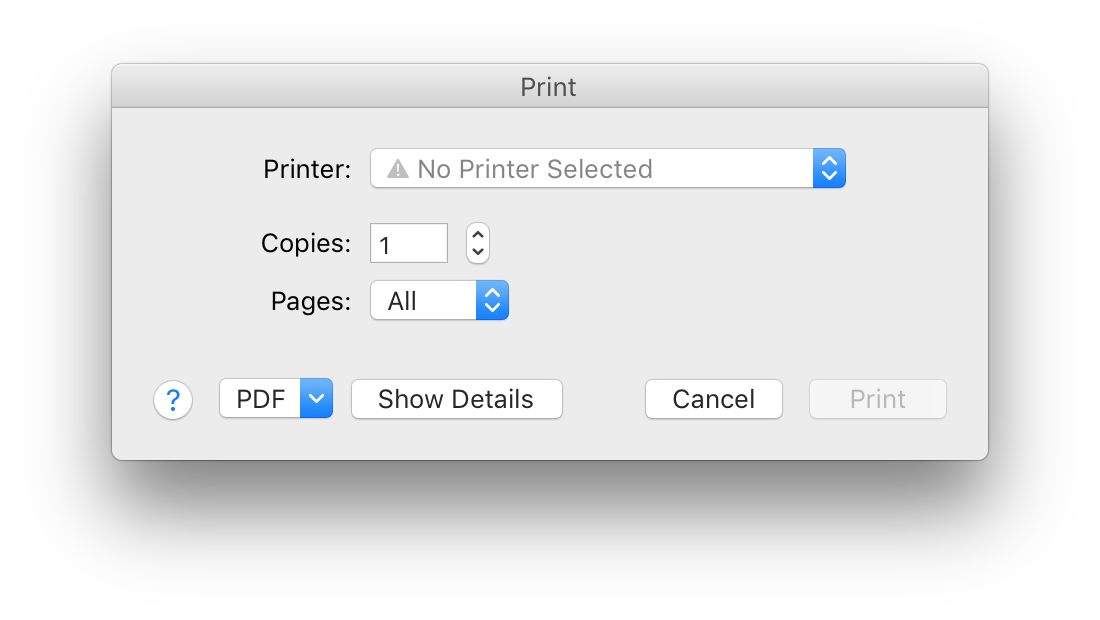
18. Click the Print button.
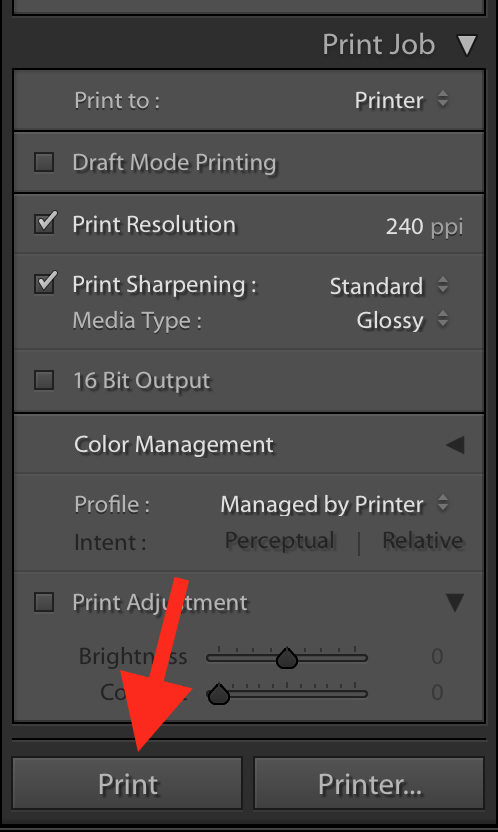
19. Alternatively, if you’ve already configured your printer (hardware, software, and settings), you can directly click the Print button below the Print Job panel.
20. You’re done :)
About the Author: Michael Gabriel
 Michael Gabriel L. Sumastre is an experienced writer who loves to take pictures of the countryside as well as aerial photographs. He maintains his professional writing portfolio at TheFinestWriter, and you can visit his photography portfolio at Sumastre Photography. Michael was hired by Booking.com to photograph 10 of the most beautiful beaches in Palawan, Philippines.