8 Tips to Get Started in Long Exposure Photography
 by
Kent DuFault
by
Kent DuFault

Discovering long exposure photography has been a highlight of my last seven or eight years of taking pictures.
There is something magical about the process and the unknown of the result.
If you haven’t tried it. I highly recommend that you give it a go.
001
Let me define what it is and isn’t for those new to photography and perhaps the concept of long exposure photography.
In general, prolonged exposure is considered any exposure that requires a firm support for the camera and lens, like a tripod, to create a sharp picture. A rule of thumb is that any time value (shutter speed) of 1/30th or longer is a long exposure.
There are different types of photography and photographic techniques that use longer exposures. A few of those would be night photography, imaging in low light, and the use of panning.
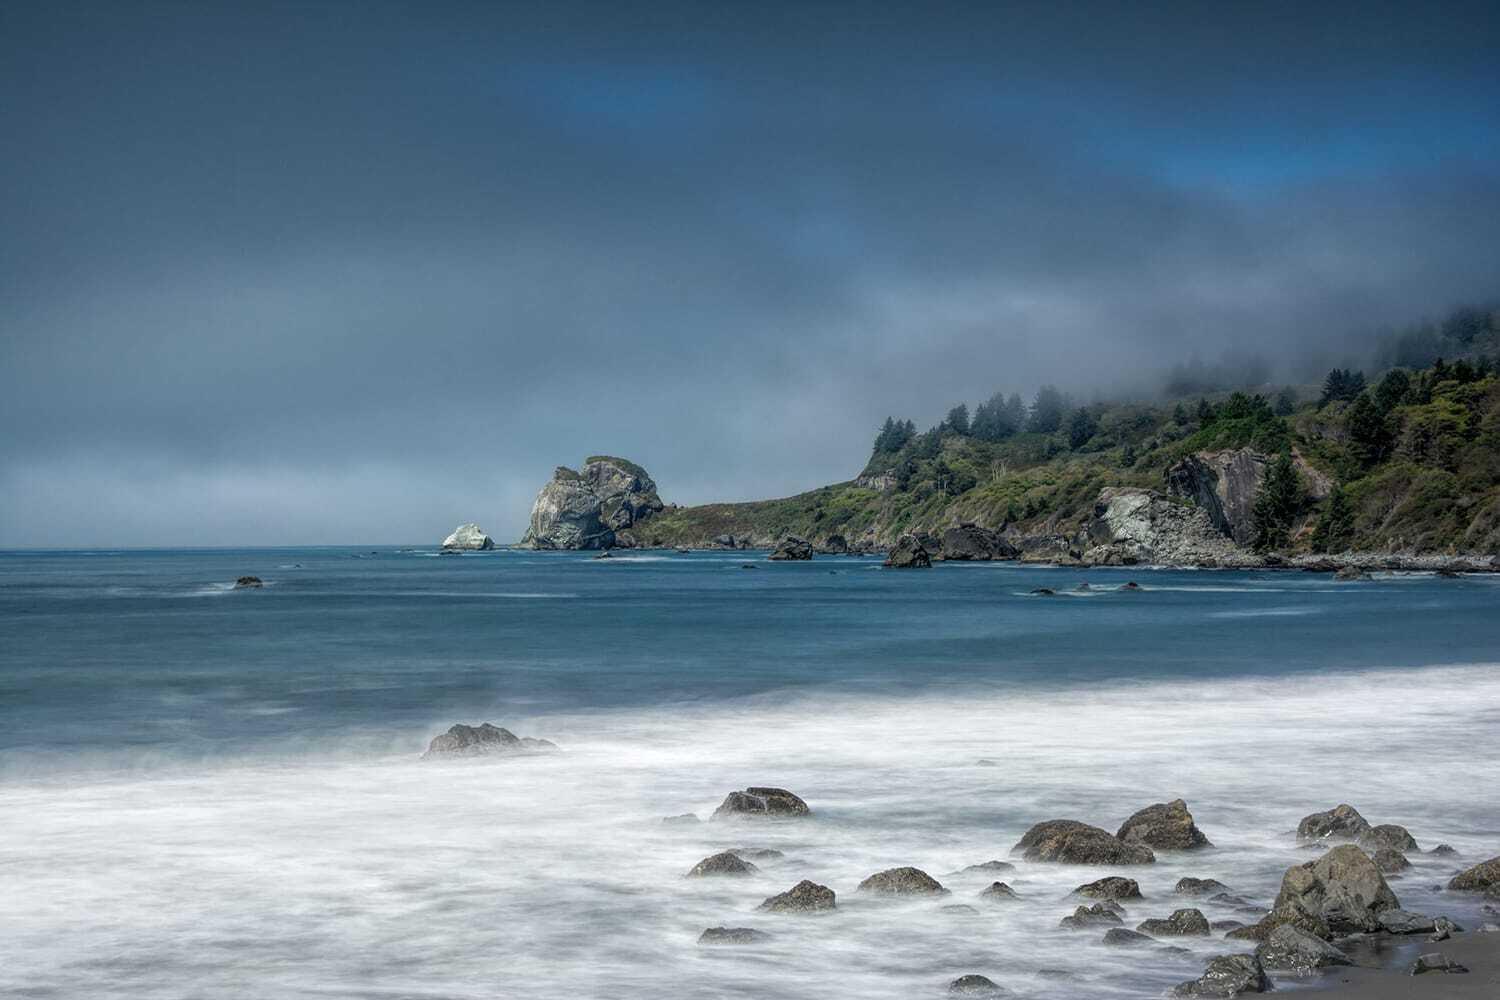
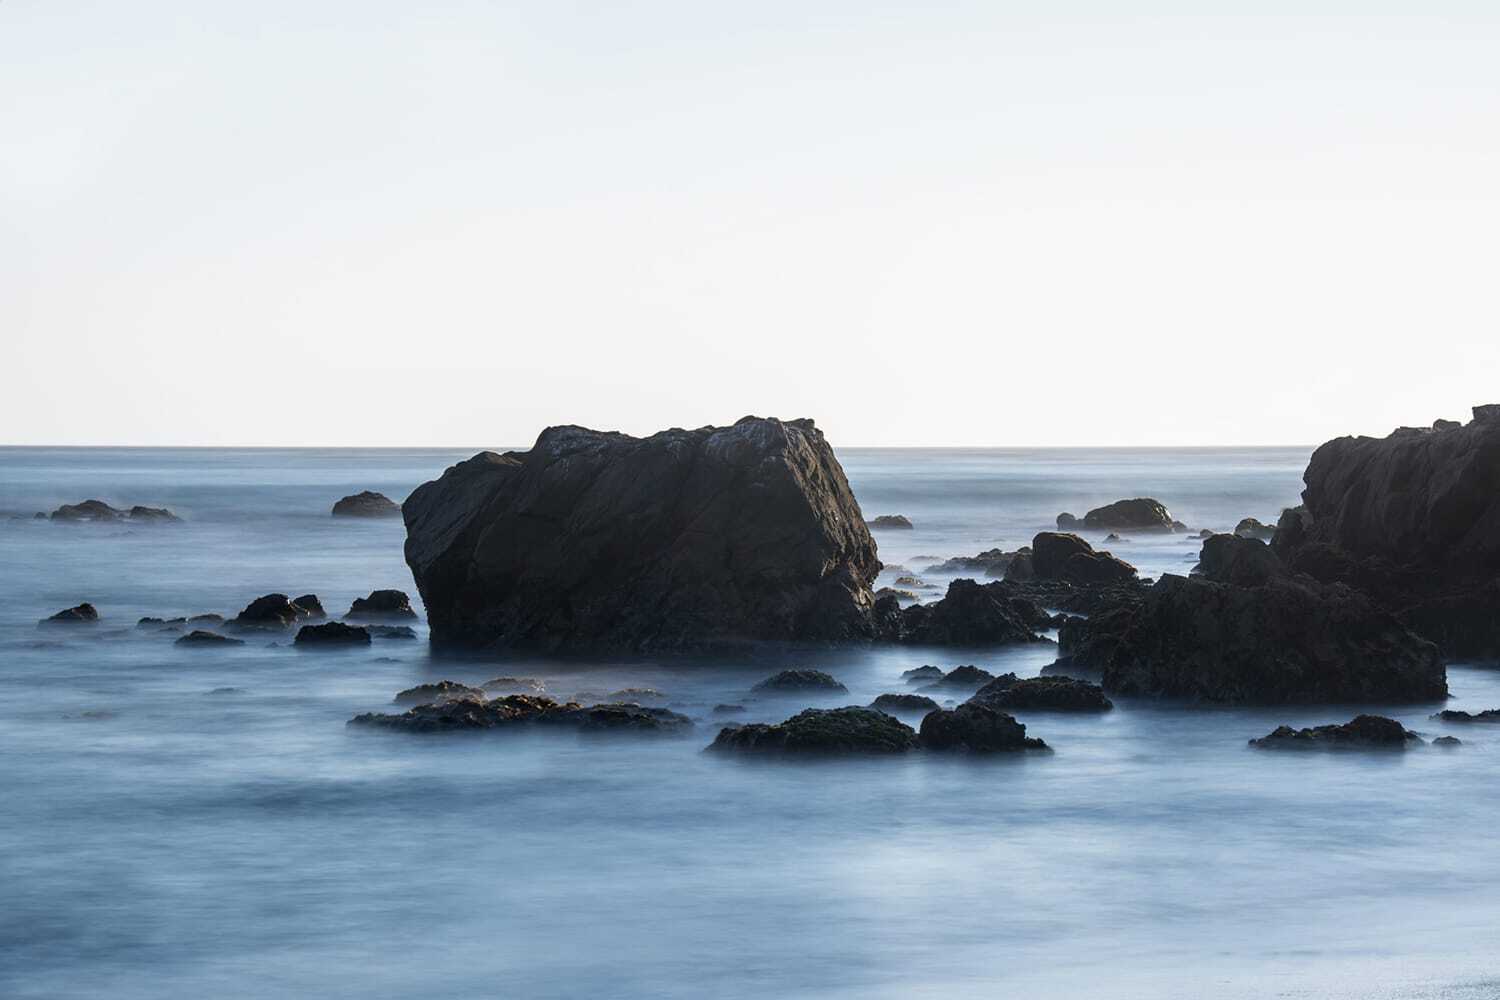
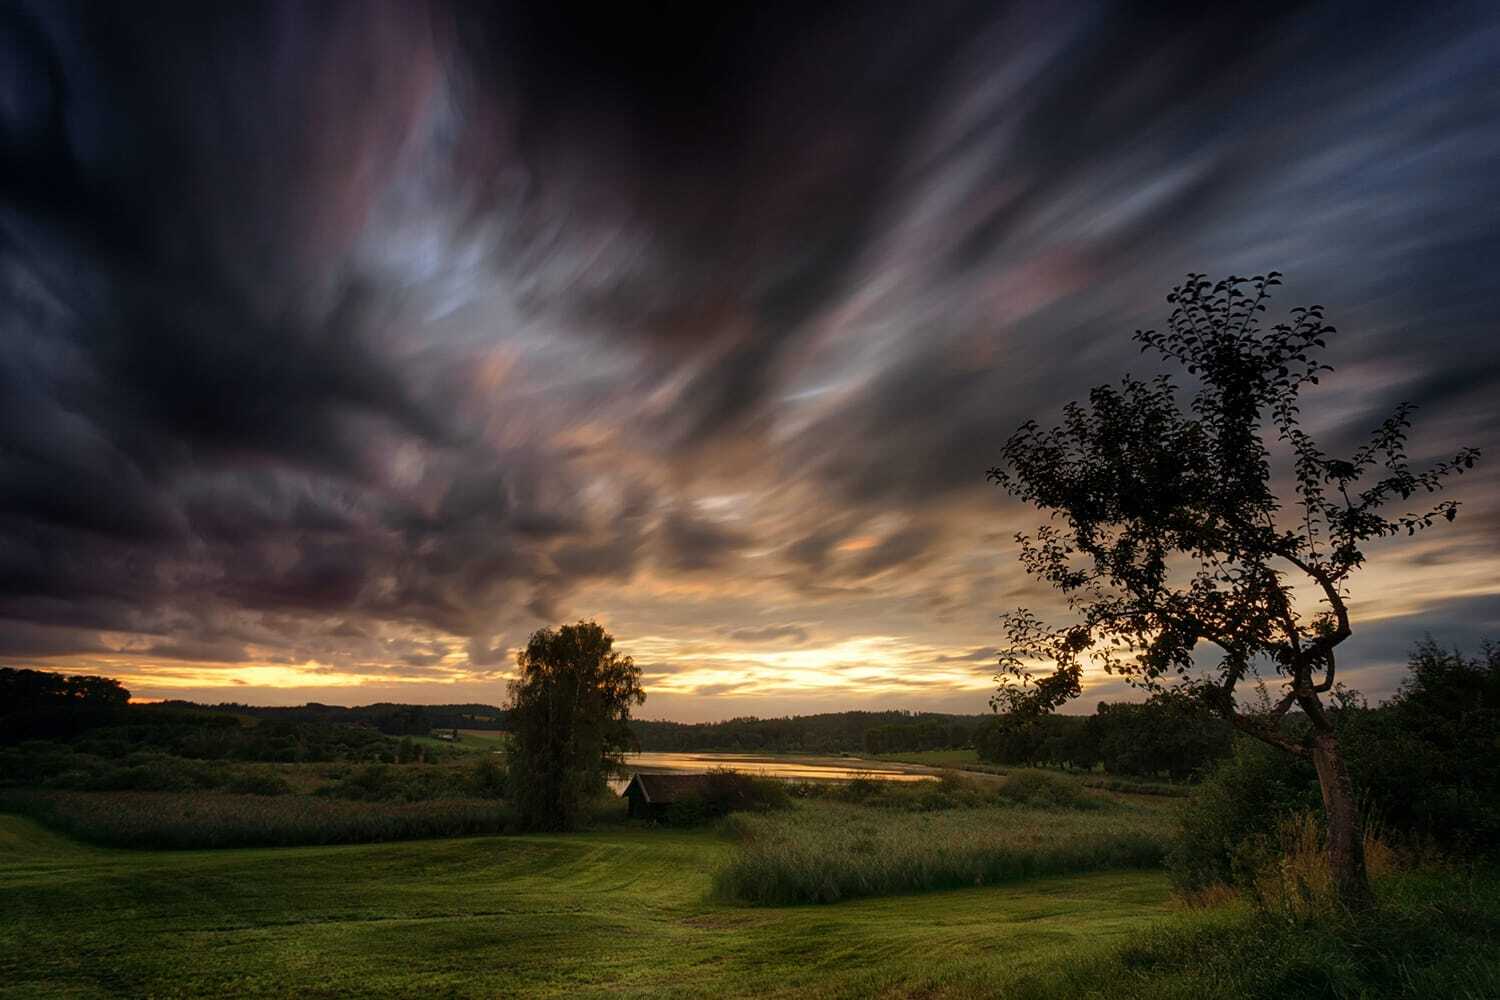
Long Exposure Photography is a term that was coined to describe a particular form of photographic imaging that mixes bright light with a slower time value (shutter speed) to combine movement and sharply focused objects into one image.
002
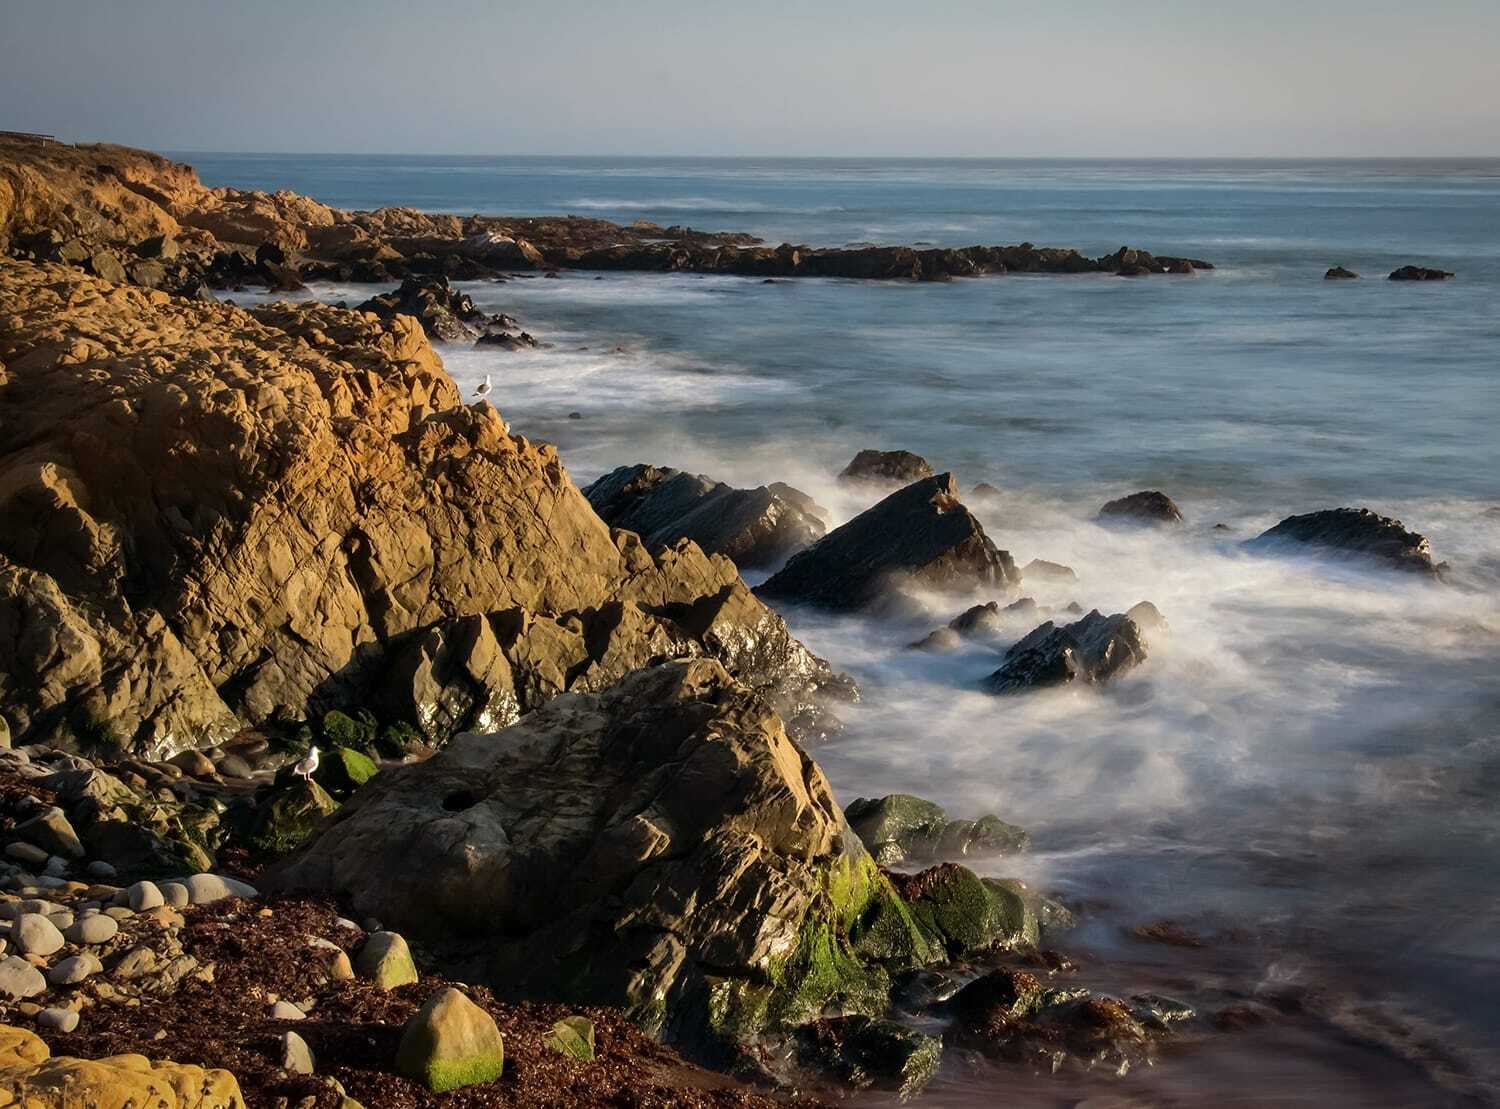
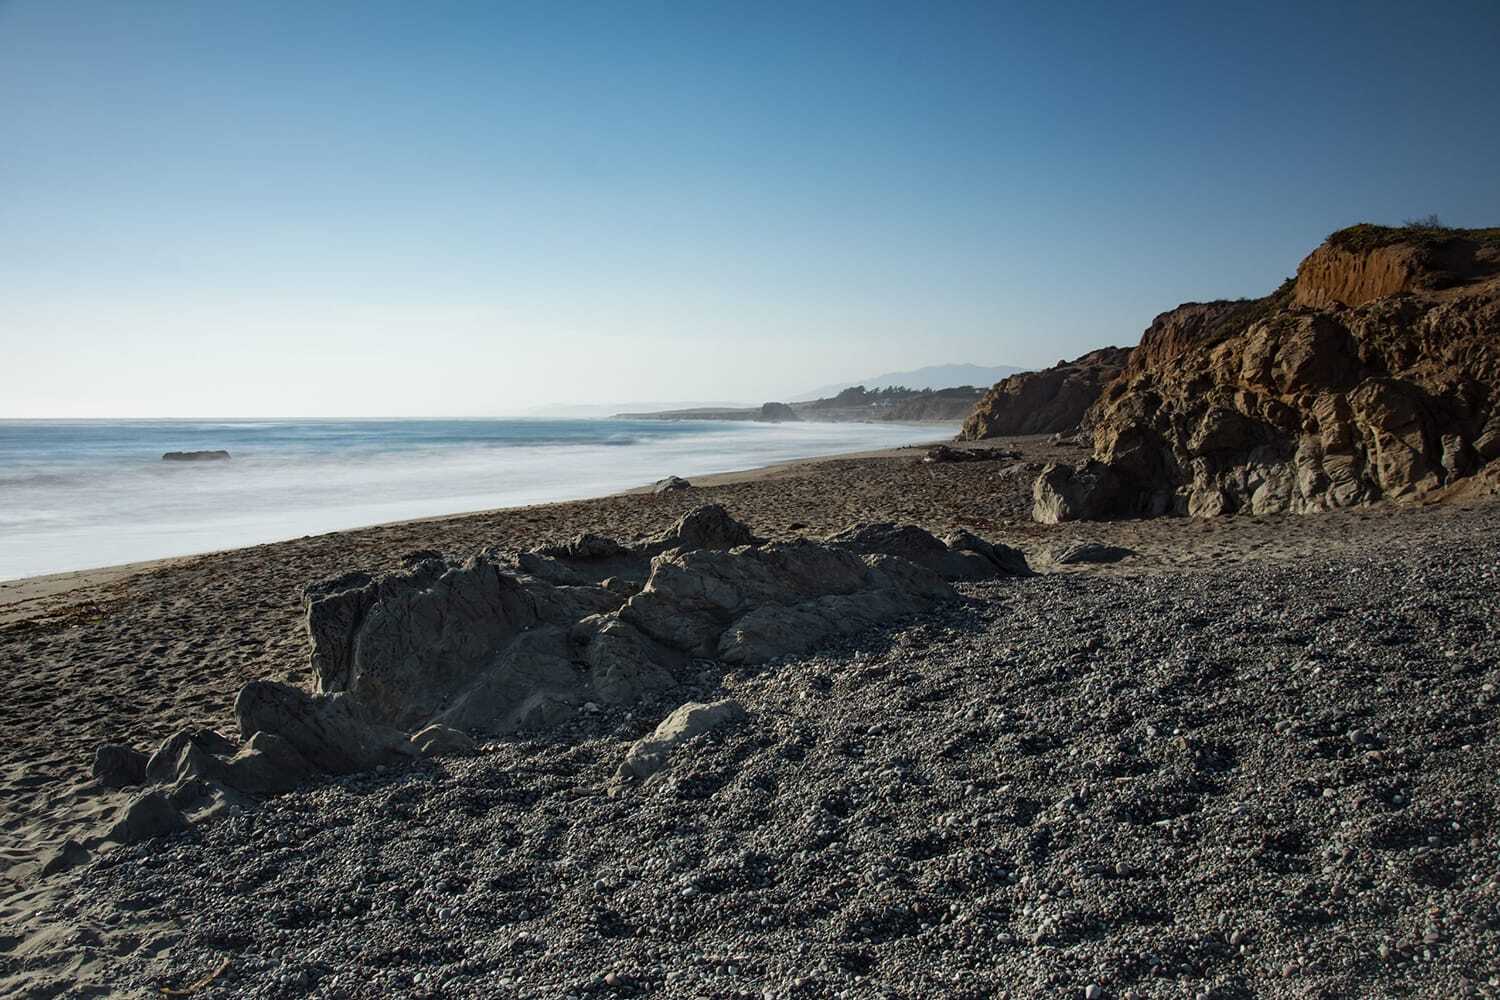
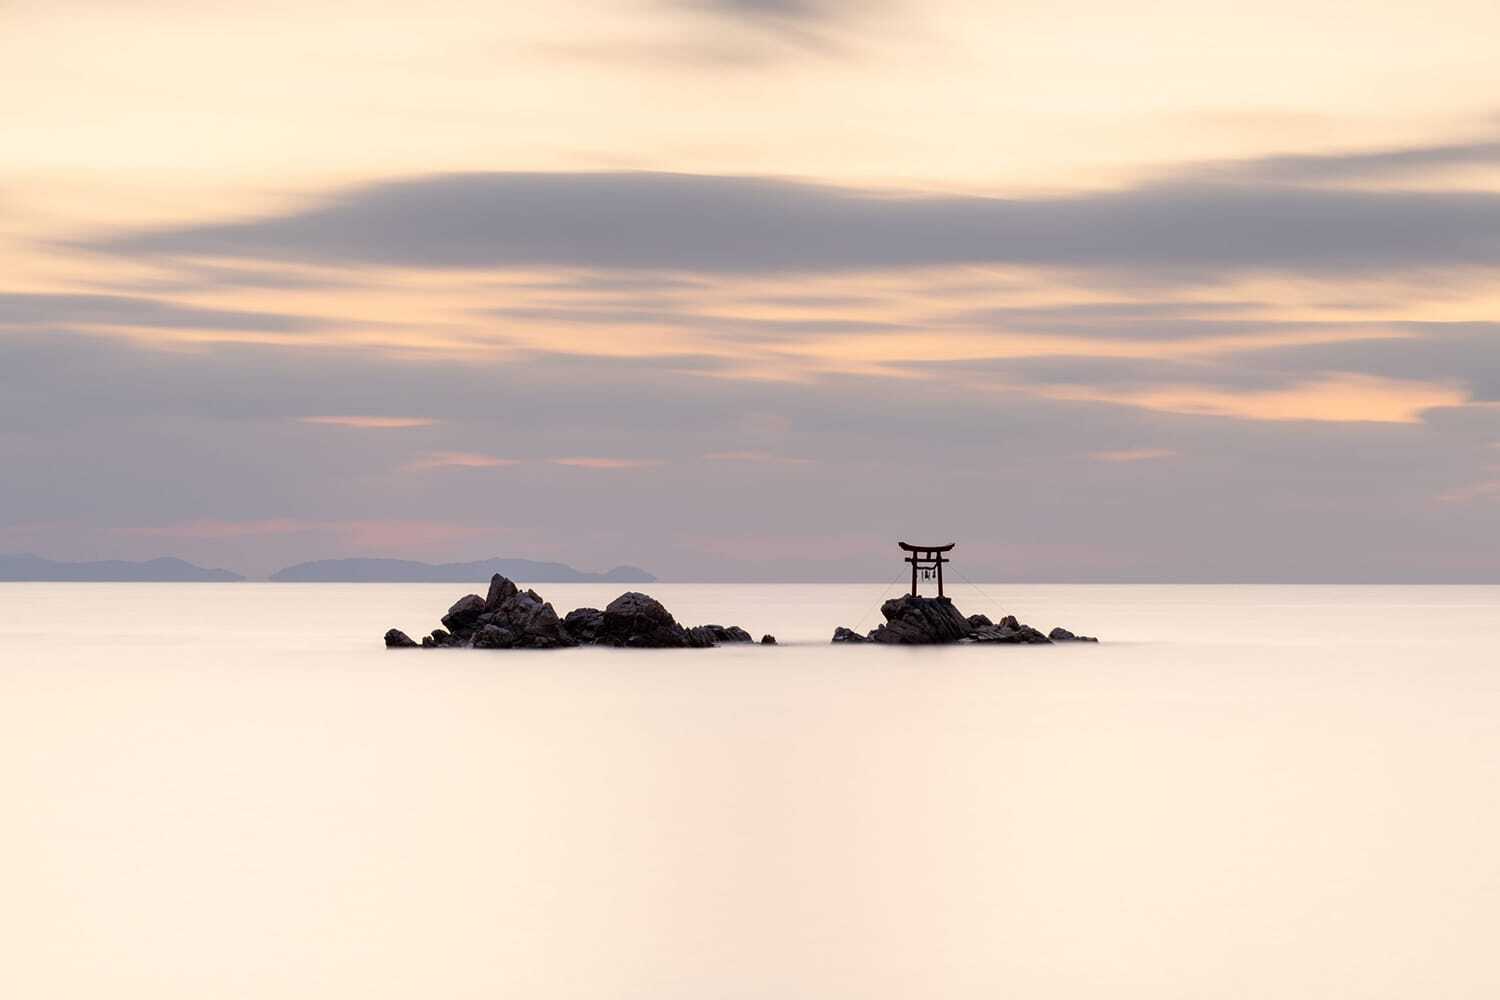
Images 001 and 002 are examples of Long Exposure Photography. They include sharp objects, a bright sunlit landscape, and the creamy water movement. If you want to learn more, check out Photzy’s Complete Guide to Long Exposure Photography here.
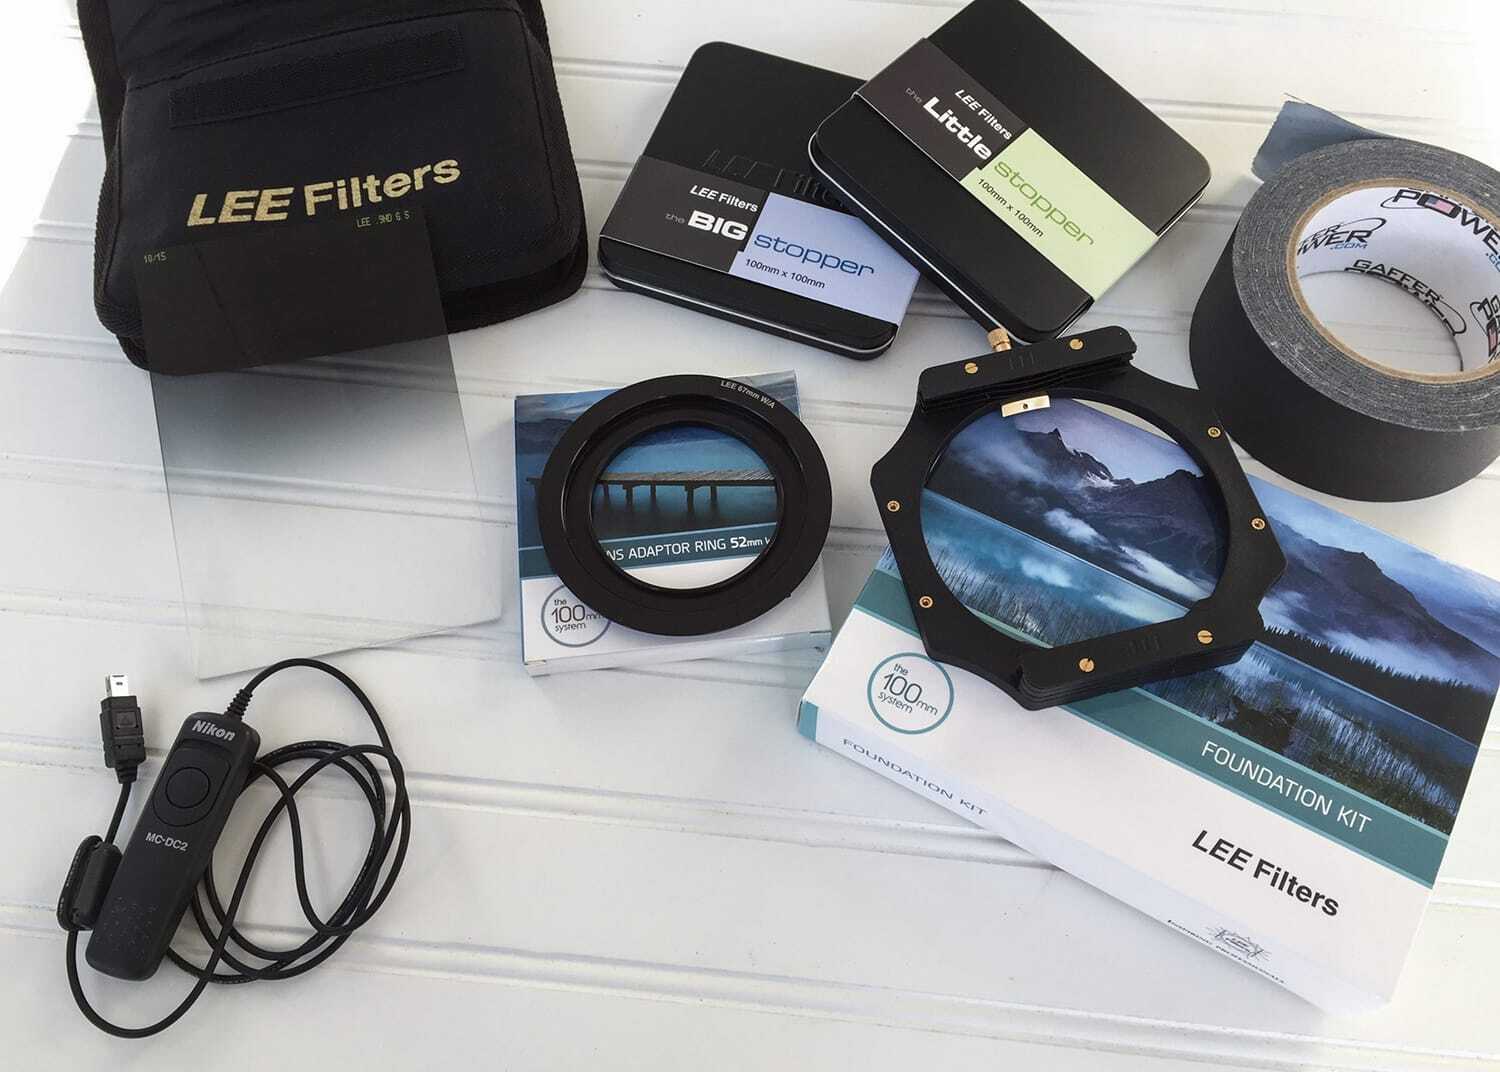
It’s almost impossible to create this look without a few things that you’ll have to add to your kit. However, these tools don’t have to be expensive to get started.
003
The only tools you must add to your kit are a dark neutral density (ND) filter and a tripod (if you don’t already have one.) The rating of your ND filter could be 3-stop, 6-stop, or 10-stop. The higher the number, the longer the time value that you will be able to achieve in bright sunlight.
I have a 6-stop and 10-stop filter in my kit, which has met all my needs.
This style of filter can cost hundreds of dollars. However, go to Amazon if you’re just starting and want to test the waters. You will find many options for less than 100 USD.
There are also variable ND filters. I haven’t used them, so I cannot attest to their quality or effectiveness. If you want to go that route, research your options before purchasing.
It’s also helpful to have a wired or electronic shutter release. If you don’t have one, you could set your camera’s drive mode to self-timer and use a preset shutter speed. Today, most cameras have a preset shutter speed range that goes out as long as thirty seconds. But, a shutter release is easier to use, and they aren’t expensive.
You can acquire these ND filters as the round screw-in type or a rectangular version that slides into a holder. I find the rectangular variety easier to use. However, they do cost a bit more.
Tip #1
004
Long exposures can cause light leaks through the eyepiece of your camera. Cover the eyepiece to eliminate this problem. Some cameras have a built-in shutter to close off the eyepiece. Mine doesn’t, so I use a piece of black gaffer’s tape. Look at image 002 to see what it looks like. You can find this on Amazon or in some camera stores.
Tip #2
005
Another piece of kit that is highly useful is a graduated ND filter.
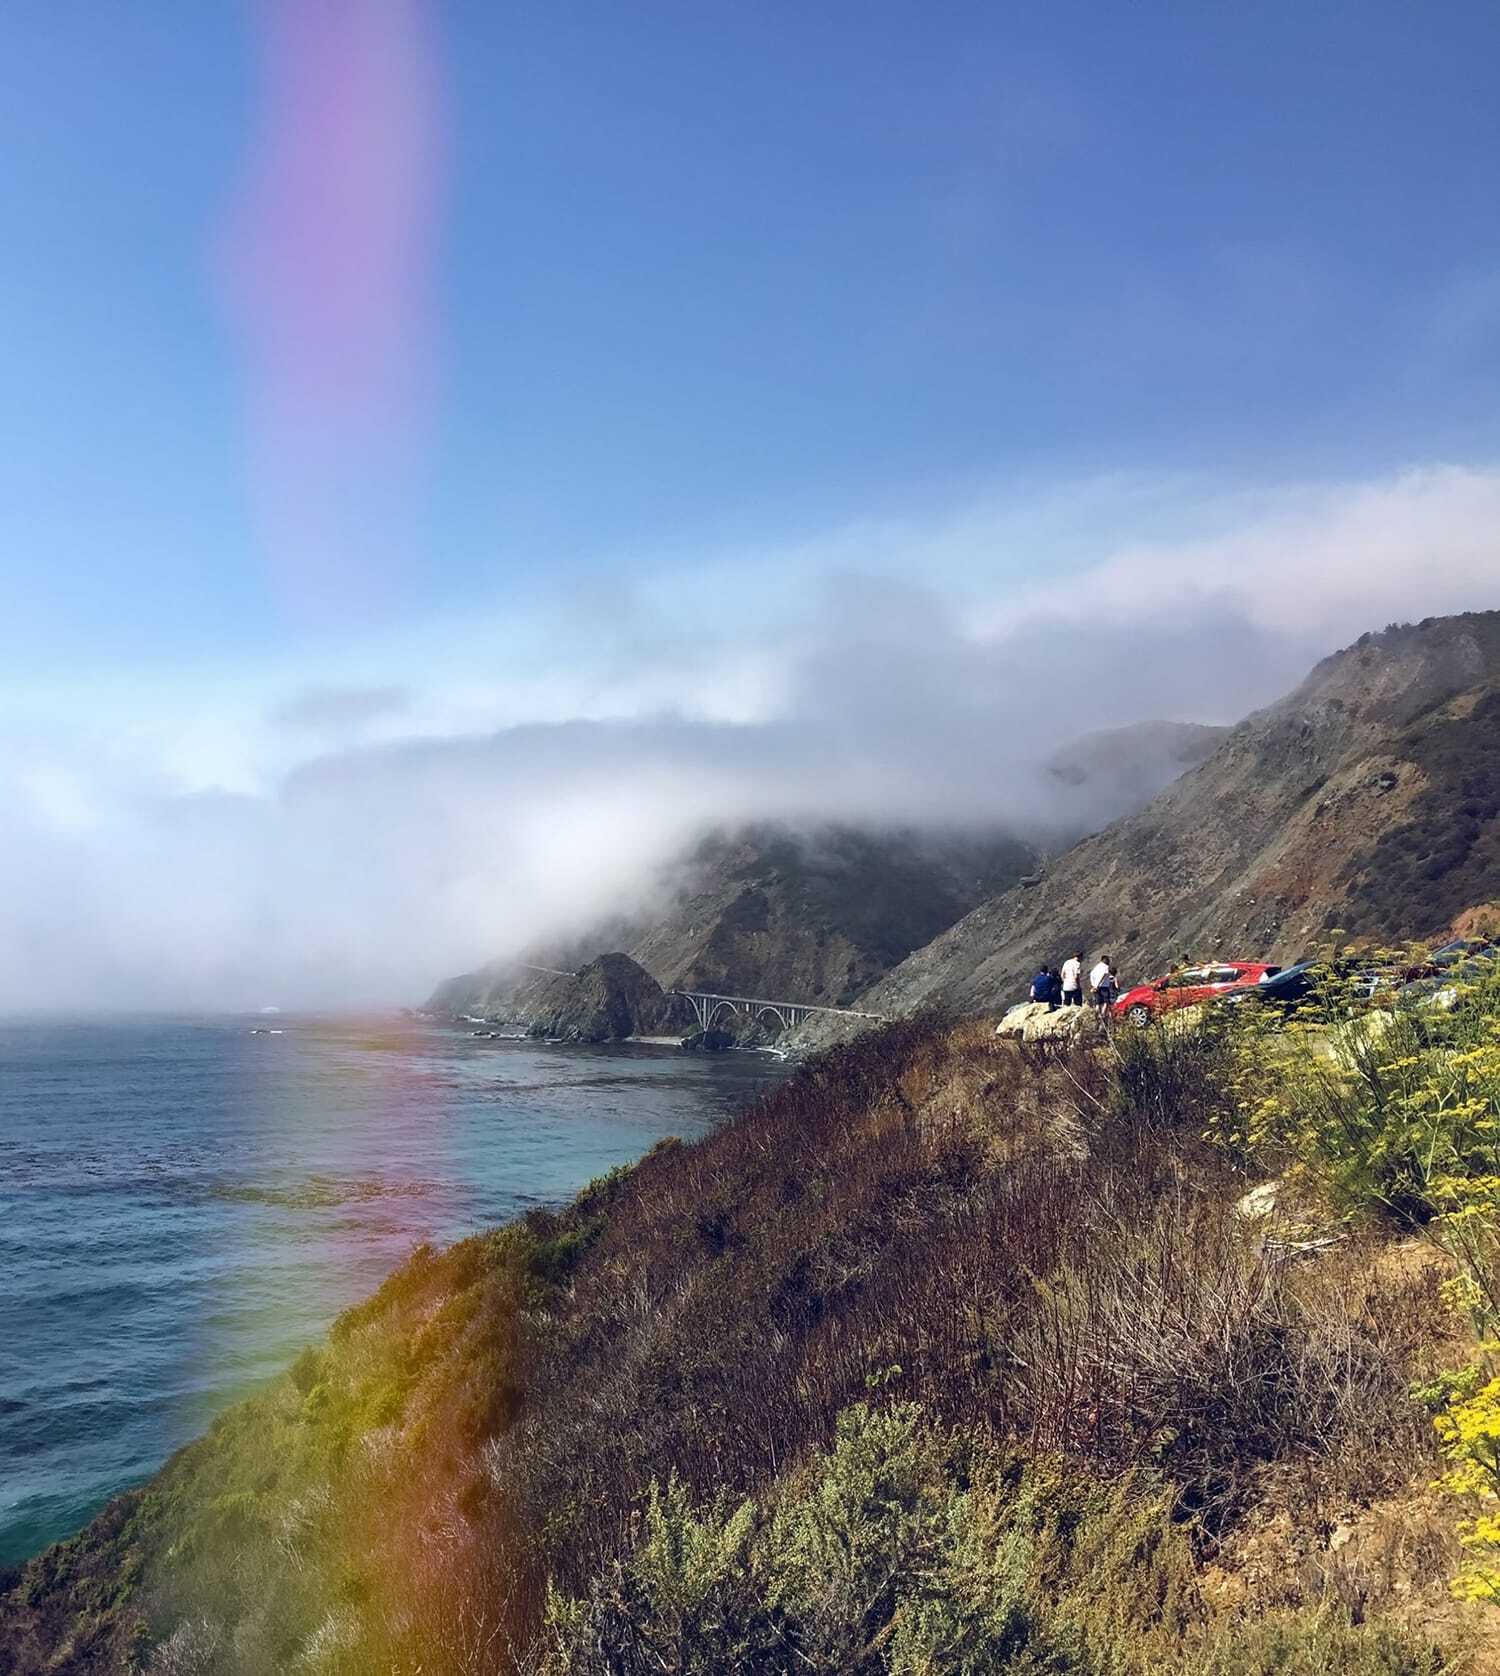
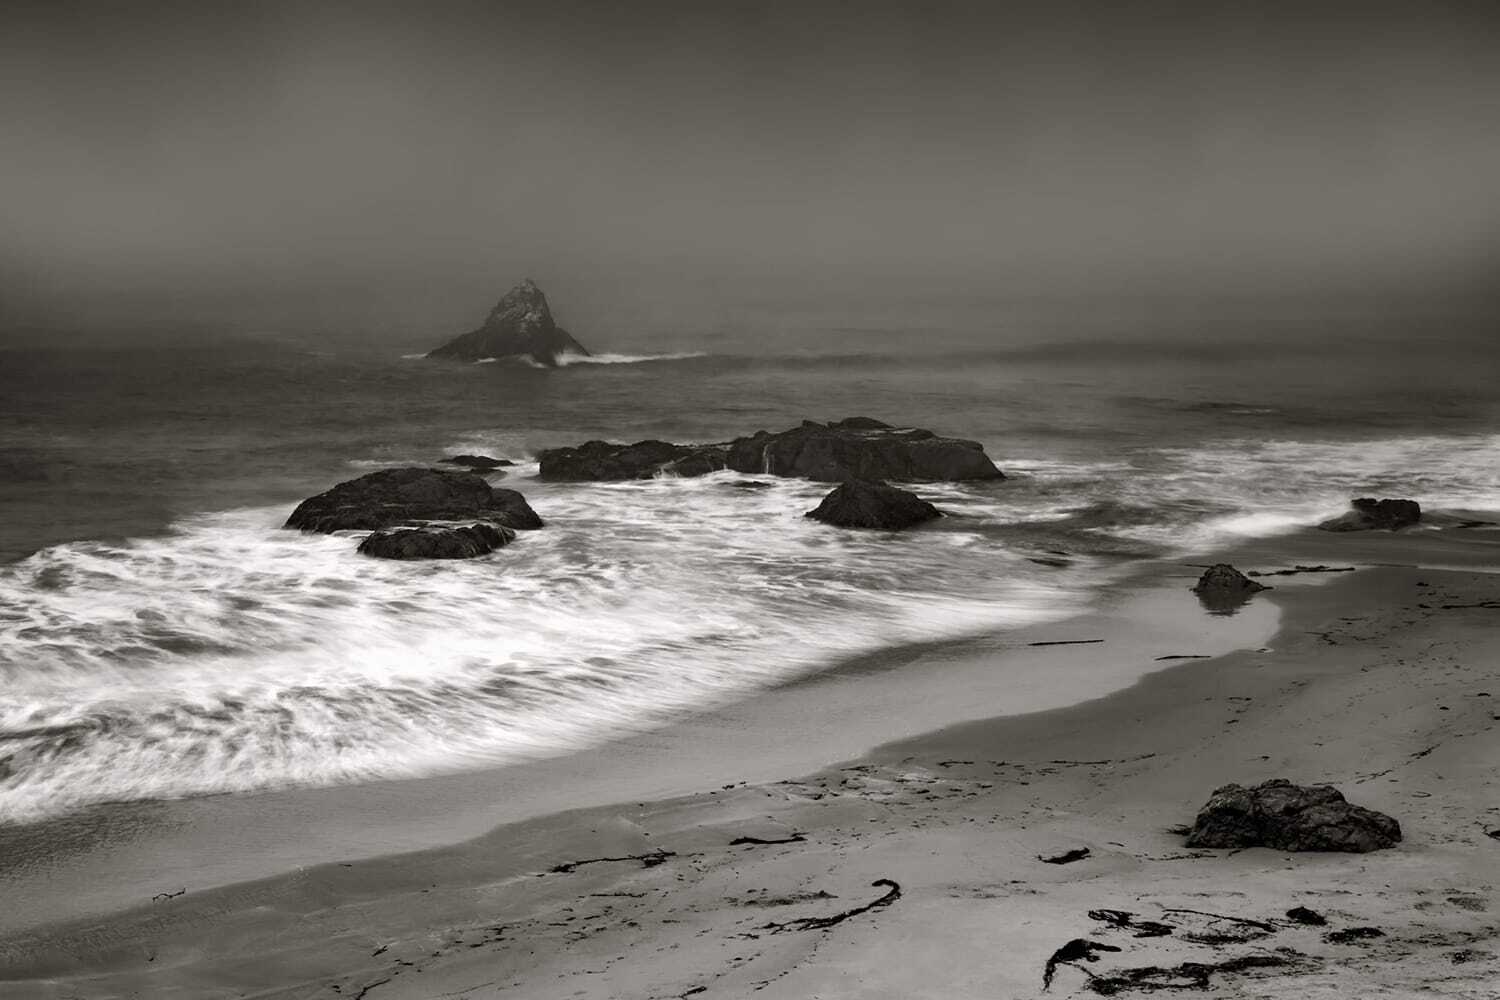
It is typical for the sky to be several stops brighter than the landscape in front of it. A graduated ND filter helps balance out those two exposure values. Without one, you might end up with a picture similar to image 005, where the sky has become completely overexposed.
Graduated ND filters come in varieties as well. They have different densities and different transition rates.
In my kit, I have a 3-stop, softly graduated ND filter. This one filter has met all my needs. If I add another one down the road, it would probably be a 3-stop, hard graduated, ND filter, as that transition works best for ocean horizon scenes.
Tip #3
006
The camera settings that you will want to use:
- Manual shooting mode
- Manual focus mode
- Matrix metering
- Your typical aperture will be somewhere between f/4 up to f/11
There are two tricky parts to setting up your camera for long exposure photography.
The first is focusing. You must manually focus your lens before mounting the ND filter because you will no longer be able to see through the viewfinder after you mount the filter. These filters are very dense.
The second tricky part is determining the exposure. You want to establish your correct exposure before mounting the ND filter.
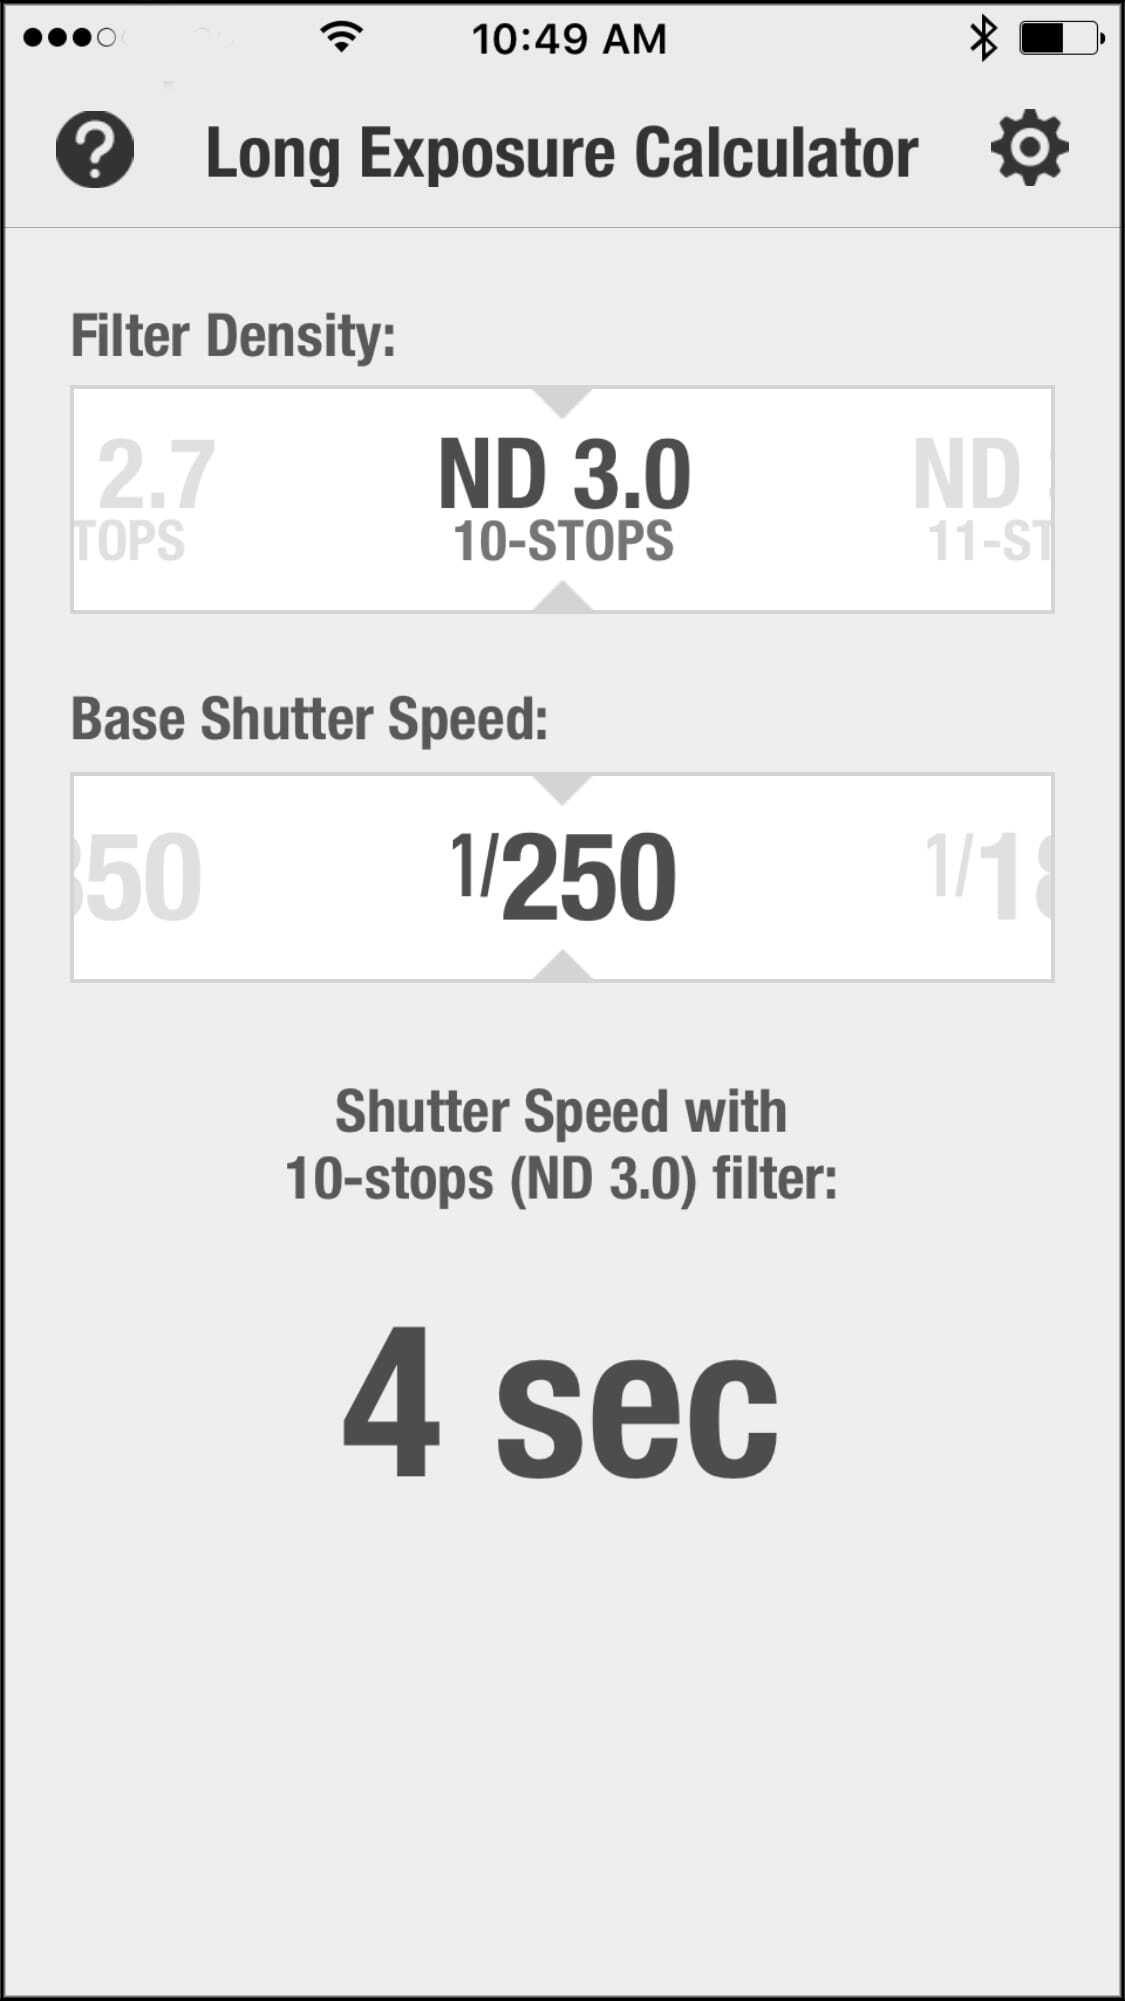
007
After determining the correct exposure, you will mount your ND filter. Then you must calculate the new time value (shutter speed).
There are formulas for this task. I use a phone app called “Long Exposure Calculator.” You simply set the exposure without the filter, tell the app what ND filter you’re using, and it gives you the new time value.
Note: If you’re using a graduated ND filter in conjunction with the full ND filter, only calculate the new exposure based upon the full ND filter. Treat the graduated filter as if it wasn’t there.
Important: I highly recommend establishing a standard workflow with the filters and camera. In the beginning, I wasted a lot of time taking the filters on and off because I missed a step like focusing the lens. I wrote my workflow down on paper and used the notes until it was rote memory.
Tip #4
008
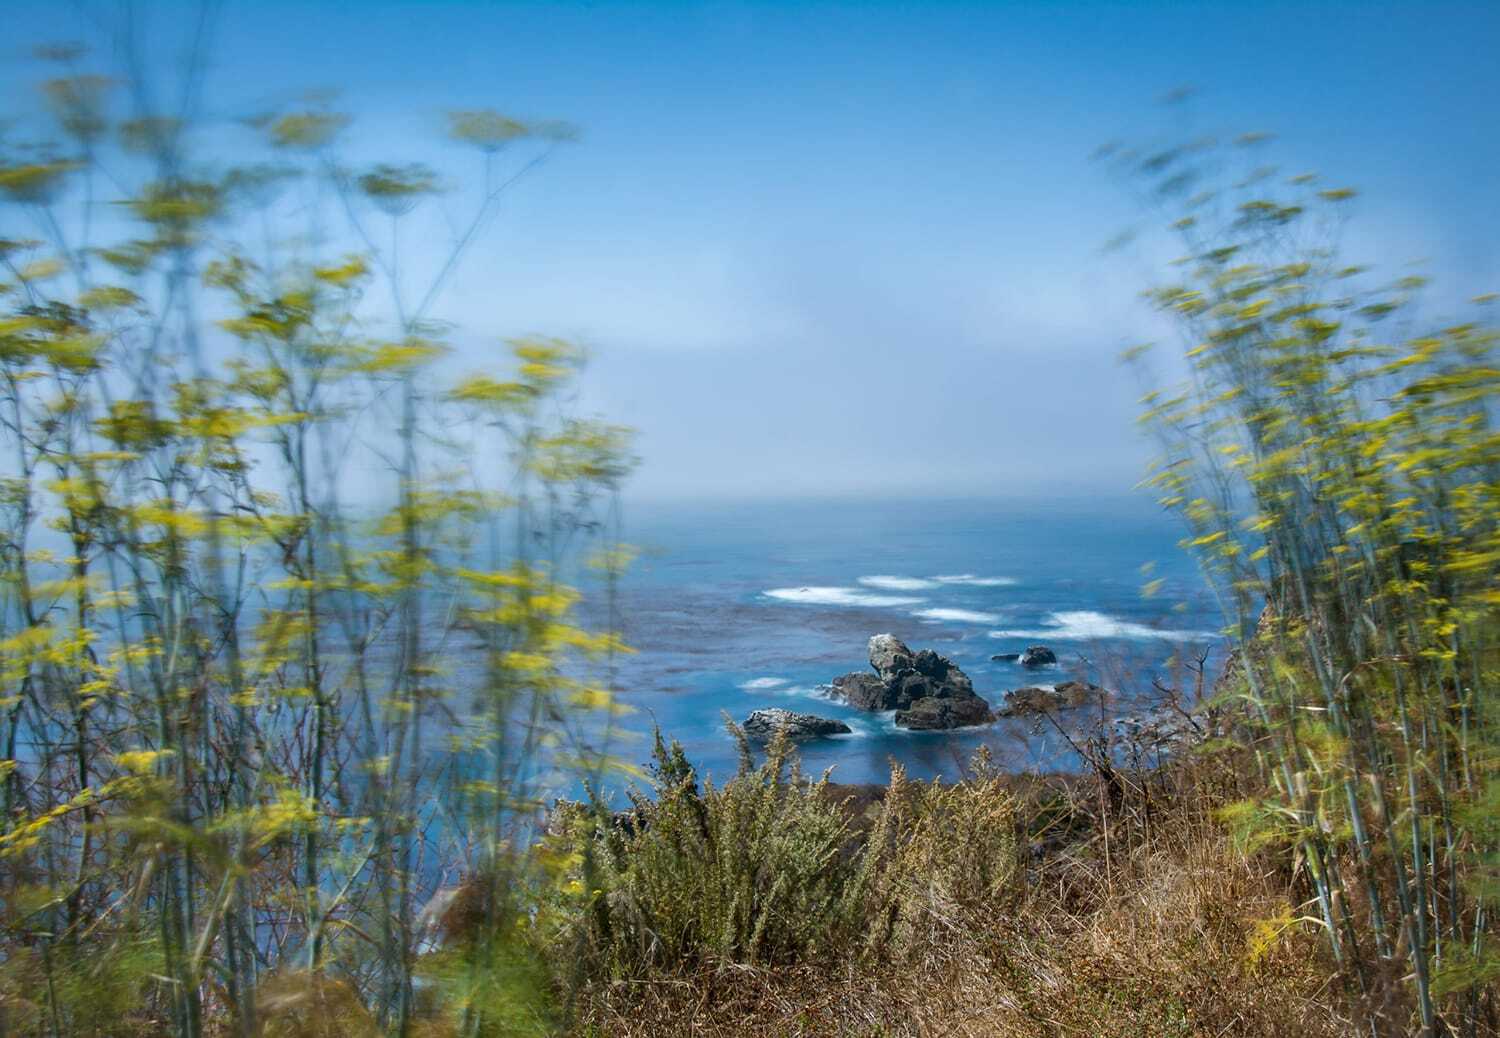
Be mindful of objects that are moving that can ruin your composition. When you have an exposure time value of up to thirty seconds or longer, even the slightest movement will create a blur. That might not be a bad thing – if you’ve planned it into your shot.
For image 008, I was not planning the movement into my expected outcome, and therefore my picture was ruined.
Carefully evaluate your situation as even the tiniest movement will be recorded. I did not see those plants moving in image 008. But my exposure time value was thirty seconds.
Tip #5
009
Carefully consider your composition, especially wide-angle shots. The water is moving in image 009. However, my photo is so wide that you can barely tell.
I’ve also learned that the best long exposure shots seem to occur when you’re shooting down or up at the movement versus directly at it (as was done in image 009).
Tip #6
010
This little tidbit surprised me when I learned it.
My thinking was- a long exposure looks fantastic- so an even more prolonged exposure will blow the lid off on the amazing factor.
Well, that turned out not to be true. In fact, if the exposure is too long (depending upon the subject movement), it can quite literally wipe the effect from the image. In image 010, the motion of the water has been wiped clean by an exposure that was too long.
Factors to consider when choosing your time value (shutter speed).
How fast are things moving? If the movement is barely perceived with the eye, you can drag that time value out longer. If the motion is easily perceived, you will want to go with a shorter time value. Also, at what angle are you trying to capture the movement. Action that occurs at an angle across the camera’s focal plane will need a shorter time value than one that moves directly toward the camera.
For most shots, I find a time value from several seconds up to thirty seconds seems to work best. Rarely do I ever go over thirty seconds in an exposure.
Now. I’ve seen some fantastic examples of long exposure photography that were reported to be minutes long- even up to thirty minutes. It all depends upon the situation and light levels.
That’s the fun of this genre. It is filled with experimentation and surprise! (If you’re looking for inspiration, click here to see our curated list of 40 stunning long exposure examples.)
Tip #7
011
Timing and observation are critical to this type of imaging, especially if the movement is slight and barely perceptible, which was the case for image 011.
I observed the movement of the water for several minutes before imaging. Image 011 captured my Intended shot.
012
Even a slight change in timing created this vastly different effect (image 012).
Once you’ve set up your kit, I recommend taking numerous frames and varying your timing and shutter speed length.
Tip #8
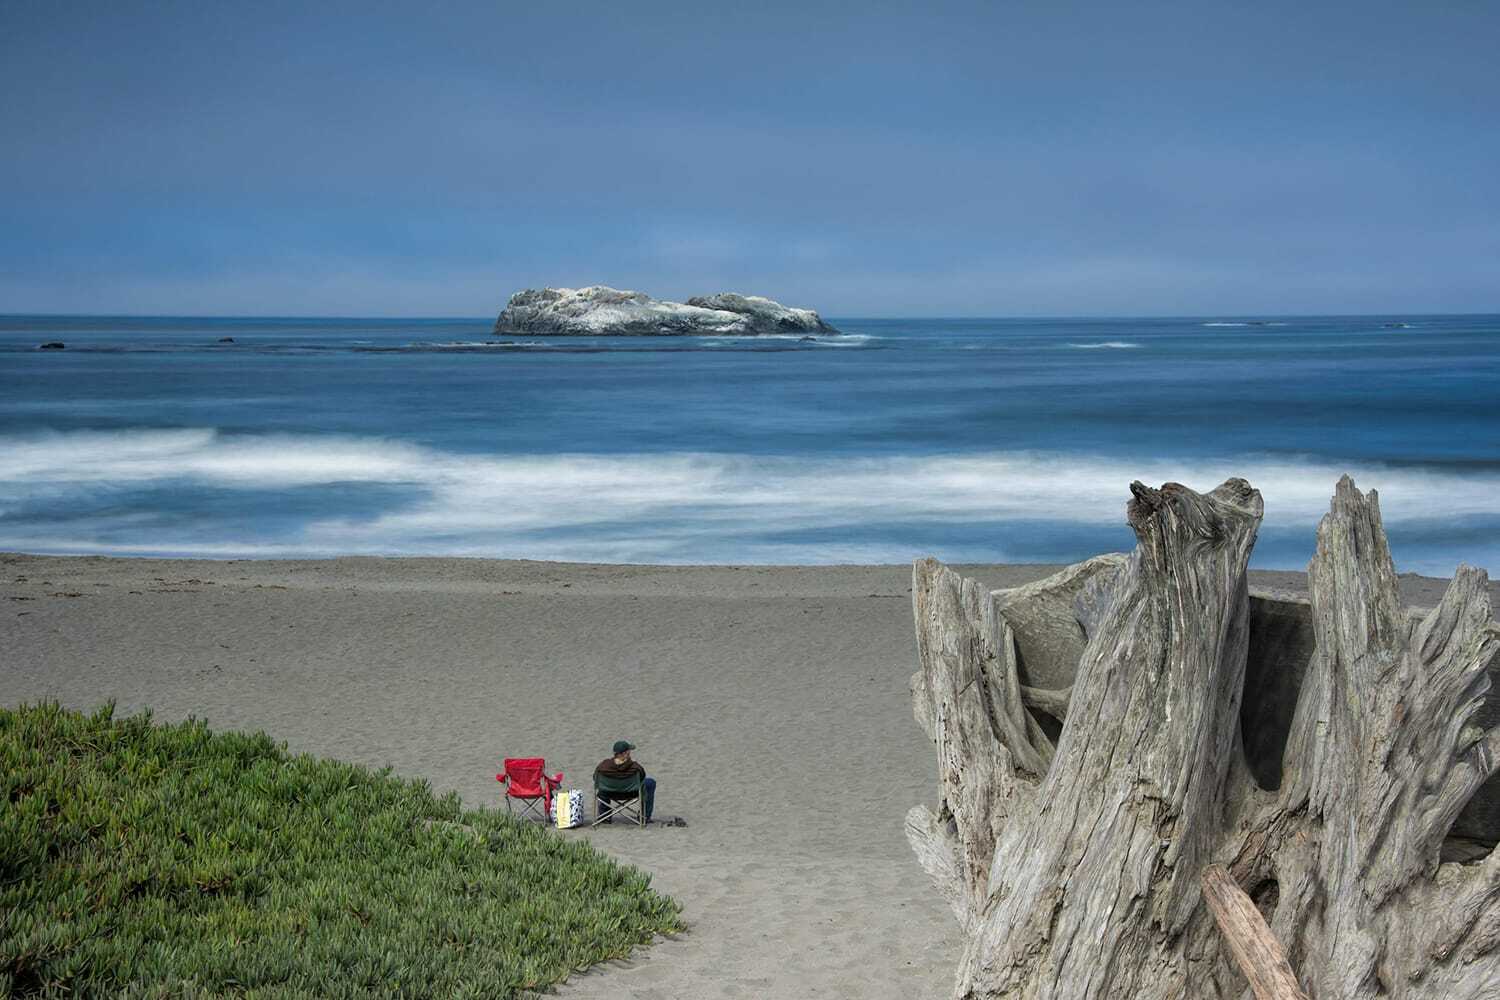
013
As your experience progresses, you will find more satisfaction in planning your long exposure compositions versus hoping for a random cool-looking effect.
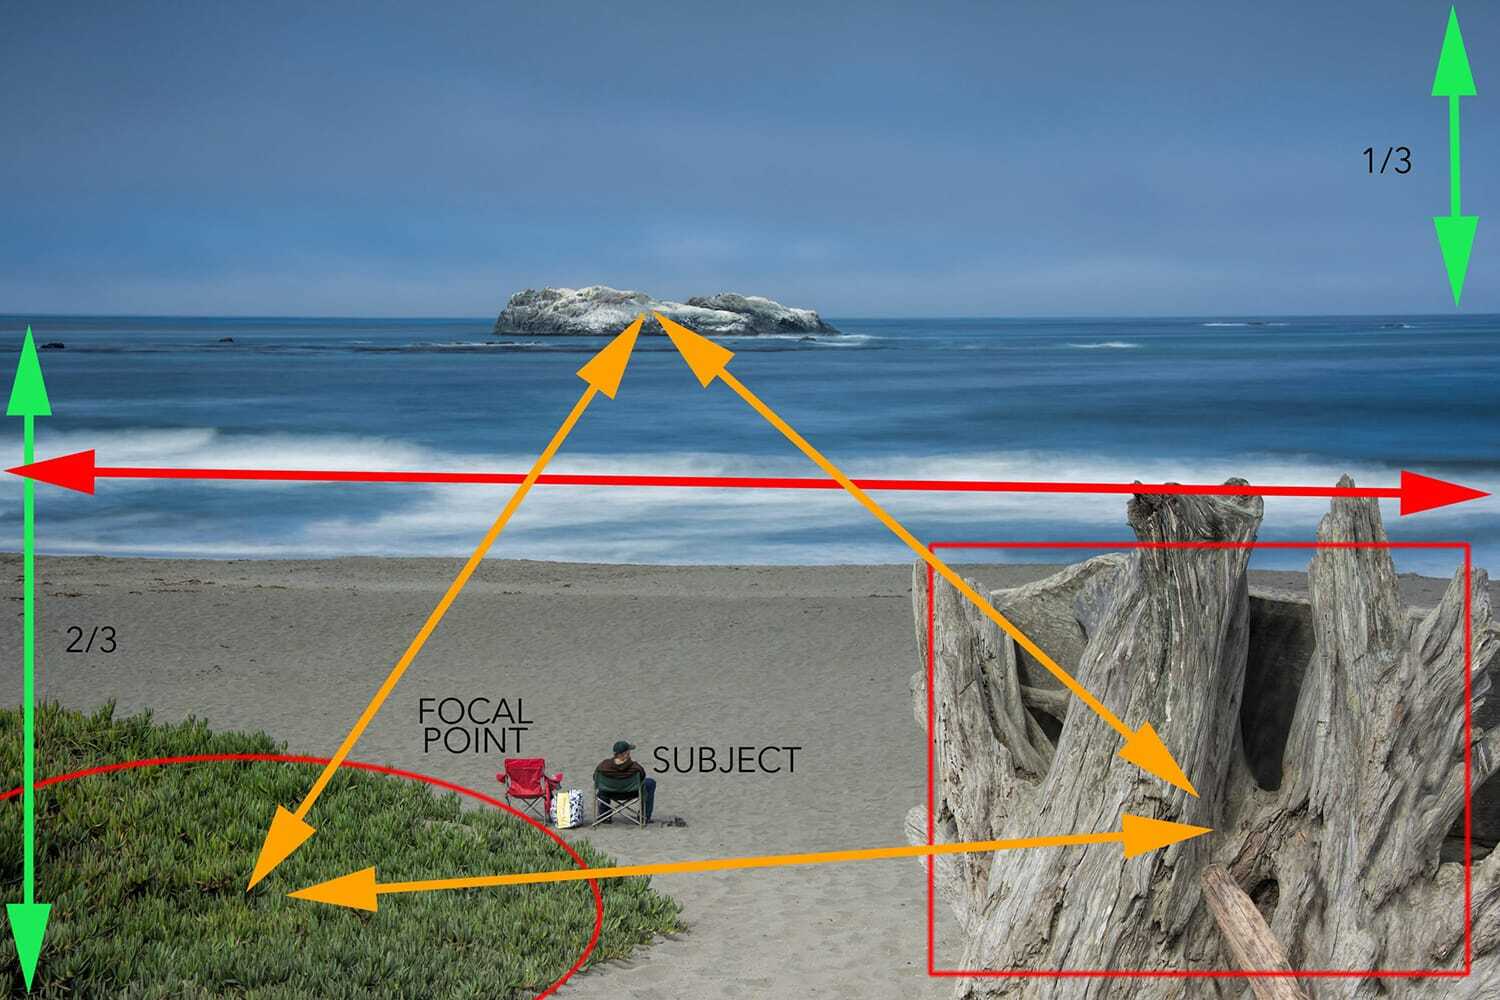
014
Once I understood how to consistently achieve the long exposure effect, I would then look for scenes to use it as part of an overall image composition versus relying on the effect as the subject.
Now I can do both!
Conclusion
- Long exposure photography is fun and exciting. I am particularly drawn to the randomness of movement and how it records.
Once you understand the process and have some experience under your belt, you can incorporate the effect into other static compositions. - Developing a solid camera operation workflow will help you bypass some frustration.
- Picking subjects where you’re shooting up or down at the motion works better in most cases versus shooting directly at the movement.
- The best long exposure shots have elements that are entirely focused and sharp. If everything is blurred due to movement, the photograph appears more like an ICM (intentional camera movement) style photo.
If you want more ideas of what you can do with long exposures, then check out this list of 10 things to try here.