Want to Use a Green Screen? Here’s What You Should Know
 by
Contrastly
by
Contrastly

Green screen effects allow videographers to expand their artistic capabilities. This visual technique has become increasingly popular in many realms of videography, ranging from stock photography to Hollywood blockbusters.
Using a green screen takes your commercials, short films and full-length features to an impressive and professional level. Here’s what you need to know before using a green screen.
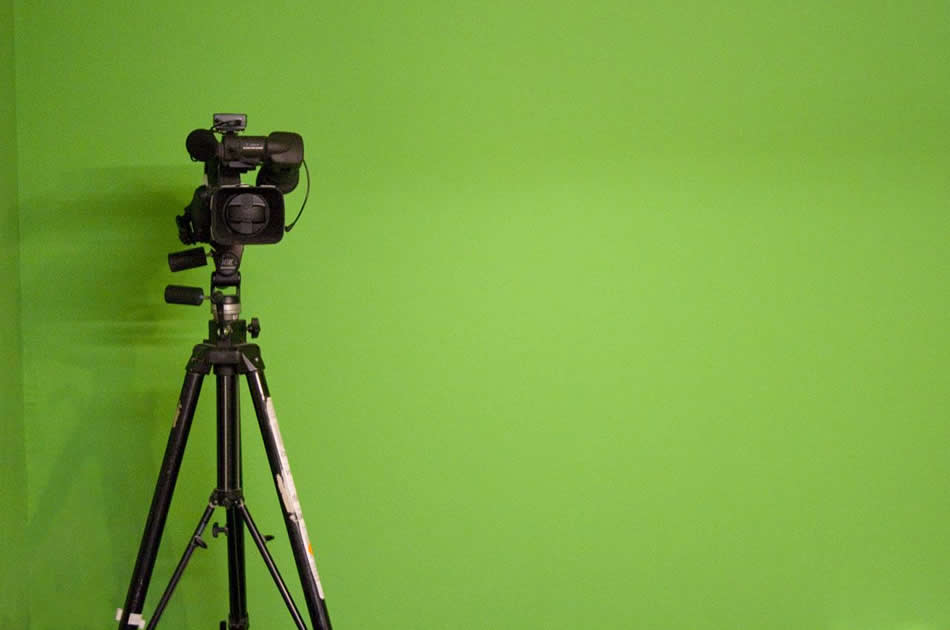
photo by Sam Greenhalgh
Angles, Movement and Blocking
A natural inclination is to position the subject with his or her face directly towards the camera, but this sort of shot makes the video footage feel contrived and flat.
Instead, shoot your subject at an angle, as if the green screen is not there. Plot a camera-shot storyboard, as you would on a physical location, so you have a solid plan for the best shooting angles. Experiment with high and low shooting angles, so your story really comes alive. Visualize the background and how the character’s form will best integrate itself, through illustration or rough animation.
In conjunction with proper framing, integrate camera and subject movement into your shots. Have the character enter and leave the shot so he or she doesn’t seem artificially confined to the shot space. Explain the specifics of the environment to the actor so he or she understands how to interact within it.
If available, provide the actors with a rough draft sketch of the background to help them plan their eye-lines and plot their movement.
Lighting
Consistent lighting is key when shooting with a green screen.
The screen should be lit with a flat light and unvaried exposure. The screen lighting should be evenly dispersed to avoid any shadows or hot spots. The subject should stand 6 to 10 feet in front of the screen so no shadows are cast on it. In addition, the subject must have his or her own light source so you can create realistic shadows that correlate with the background action.
Before you begin filming, plot out your lighting sequence and determine if the subject should be shot with lighting in front, above, peripherally or below. Adorama TV has an in-depth tutorial on how you can properly light your green screen.
Costumes and Props
Enhance the realistic aspect of your visuals with props and costumes. The more physical objects the subject has at his or her disposal, the more your audience will be immersed into the environment of the story.
Shy away from shiny or metallic props, as they may reflect the color of your screen. Create a wardrobe for your character that complements the background you will later impose onto the green screen. Establish the use of costumes and props in your storyline plan to make sure they work well with your angles and shots.
Processing
Once your green screen sequence has been shot, move onto the process of keying out the characters and props. The best post-processing software programs for this stage of production are Adobe Premiere, After Effects and Nuke 9.
These programs come with tutorials that guide you toward a beautiful and realistic end result. Post-processing plug-ins may also be necessary, such as the Foundry Keylight and the Foundry Camera Tracker, which are specifically designed to assist in the key-out process.
About the Author: Contrastly
Our mission at Contrastly is to help photographers all around the globe improve their craft and learn new skills. We create unique Lightroom & ACR presets, Photoshop actions, ebooks, and video courses. We also publish a popular blog with instructional articles, reviews, and tutorials.
Follow Contrastly on Twitter, Facebook, and Instagram. And make sure you subscribe to the bi-weekly Contrastly newsletter.