How to Take Pictures of Starry Skies

The night sky has filled mankind’s imagination with images of splendor for countless generations. It’s magical, mystical and aesthetically pleasing, to boot.
It’s no wonder that, as soon as we developed the technology to photograph objects, we turned our lenses to the night sky and its inky beauty.
Getting great shots of the night sky, though, involves so much more than taking out your camera, waiting until stars fill the night sky, and then shooting away like there’s no tomorrow. It’s about overcoming the difficulties of a low-light situation and then still getting a memorable shot that people will talk about for years to come.
Here’s how to proceed to get the best results imaginable.
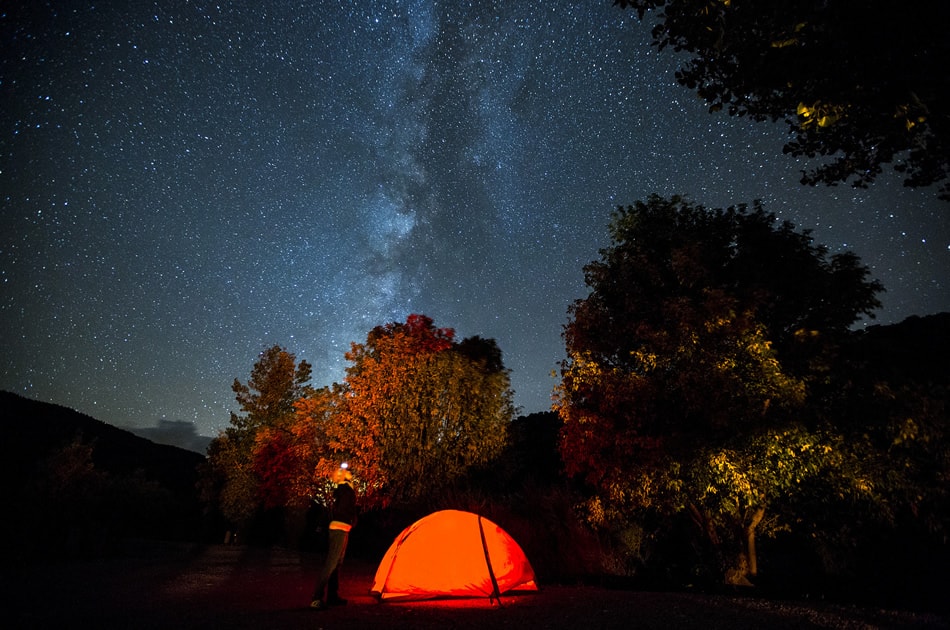
photo by Bureau of Land Management
Look for the Best Conditions
Your inspirational foray into starry-sky photography is helped by the weather conditions. You want the blackest and darkest night possible, a clear night without a moon and only some clouds, a “thin” atmosphere and an appealing foreground. Keep in mind that starry-sky photography is still going to be landscape photography at its heart.
If the foreground’s too desolate, without character and nothing special to look at, it will draw the eye of the viewer away from the starry sky, even if the sky looks amazing in your image. An aesthetic balance between the starry sky and the foreground is vital.
Assembling the Right Gear
As with any specialized shoot, getting the right gear together is absolutely critical. Of course, photographers will invariably add and modify gear recommendations to suit their own personal styles and tastes, but the following list is a great starting point:
- A camera with at least 3200 ISO that has RAW format capabilities
- Aperture between f/1.8 to f/3.5
- Tripod
- Remote shutter
- Headlamp
- Off-camera flash
- Extra batteries and SD memory cards
Okay, now you have all the gear you need to theoretically shoot stellar, starry-sky pictures. On to the techniques!
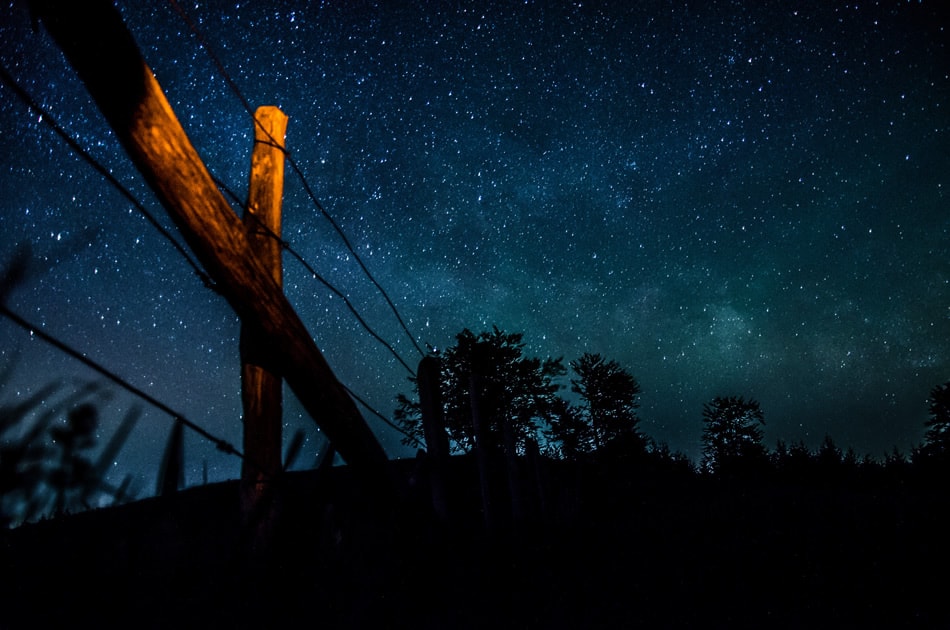
photo by Samuel Hammer
Shooting Stars as Pinpoints of Light
This is just one way in which you can shoot stars on a clear, black night. Shooting stars as pinpoints of light creates a memorable and aesthetic photograph that viewers soon won’t forget.
The trick is in the f/stop. Start by simply choosing the widest possible f/stop that your particular lens allows. To go with that, you’ll want a shutter speed of approximately 20 seconds. 20 seconds is the sweet spot because, any longer than that, the stars will begin to blur. To get a good exposure, increase your ISO as it’s necessary.
There are also composition issues to understand. Shooting stars as pinpoints of light isn’t really appropriate for all kinds of conditions. However, if the foreground of your shot has interesting elements in it already – like a row of trees or a sloping canyon—then shooting stars as pinpoints of light is ideal because it complements the foreground as opposed to overwhelming or distracting from it.
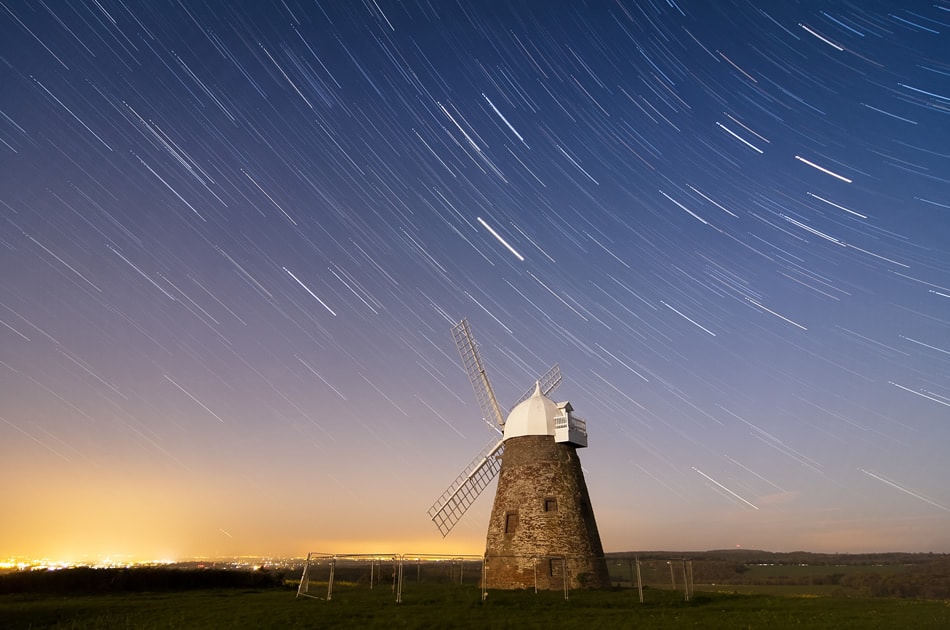
photo by @sage_solar
Star Trails
Star trails are some of the most common and, therefore, easiest kinds of starry-sky photography to produce. The reason? You’re in harmony with the Earth’s rotation. Shooting star trails can typically involve nothing more than composing the scene (cityscapes work great, as just one idea), focusing on infinity and setting your camera in bulb mode.
The trick here is shooting frequent and shorter exposures, typically about 30 seconds or so, that you should then stack together in post-production. This way, you have stellar control over digital noise, so that it doesn’t become a factor in the shot.
Of course, you need an empty, high-capacity SD card with a bunch of spare batteries, to boot. You’ll need all that to successfully shoot a star-trail sequence like this. It’s also a wise idea to bring along an intervalometer to program the specific quantity of shots you want to take, as well as the time interval between them.
Last rule is the most important: Never, ever touch your camera until your shot sequence is finished (unless you want imperfect images).
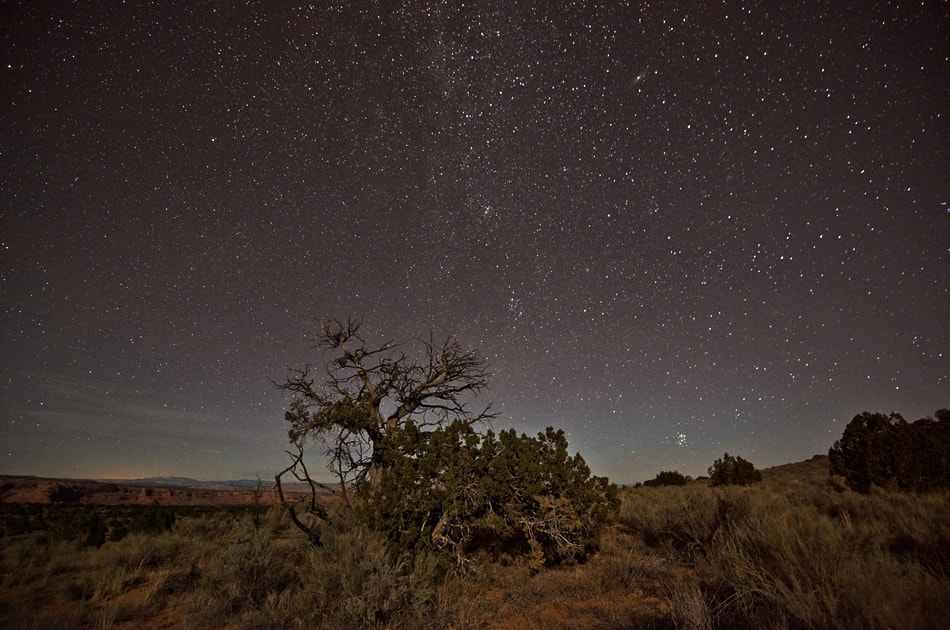
photo by John Fowler
Adding the Foreground
As we mentioned above, including the foreground into your starry-sky photographs is a necessary part of composition, yet it also serves a fine, aesthetic purpose. Shots with a great foreground are always more appealing to the eye. The trick is not to let the foreground take attention away from the stars and vice versa.
When including an interesting foreground, it helps a great deal to give it the suitable lighting to enhance the entire starry-sky shot. You can light up the foreground in numerous ways, each one according to your taste and the situation.
You can rely on a constant light source when the shutter’s open. To avoid getting hot spots in your shot, just move the light source around for the length of the whole exposure.
Another option is using high dynamic range. This entails taking many shots, bracketing or even changing up the actual exposure time. Then, you’ll all put them together as HDR that you’ll then composite together with the last image of the correctly exposed sky.
A Quick Word on Clouds
The presence of clouds doesn’t mean you have to forego your exhilarating, starry-sky photography excursion. They will provide your shot with an interesting effect, provided that there are just a few of them dotting the night sky.
The last thing you want is excessive cloud cover, but when there are a few of them out and the stars are sort of peeking through and around them, then that’s a neat effect you’ll want to capture.
The Night Can Be Yours
Another advantage to starry-sky photography is the peace and quiet you’ll enjoy while on a shoot. In the still of the night… no one will hear you… snap away to get the perfect shots you’ve meticulously prepared for! This affords you the ideal situation to concentrate and perfect your experiment with this type of photography.
Of course, if you just want to bring a thermos of coffee with you and star-gaze to your heart’s content, then you can do that, too.
About the Author: Marc Schenker
 Marc is a copywriter and content marketer who covered photography. These days, he runs The Glorious Company, a content marketing agency.