The Secrets of Home Studio Lighting
 by
Contrastly
by
Contrastly

The birth of practical photography, generally accepted to be 1839 when Louis Daguerre developed the daguerreotype, forever changed the way we look at the world. Ever since those early days of capturing a moment in time, people have been fascinated by the world of photography.
Amateur and beginner photographers often realize that their part-time hobby is really a passion they want to pursue further, but the process of setting up your own studio at home can be daunting.
What equipment do I need? Where should I setup? How do I take advantage of both natural and artificial lighting to get the best result?
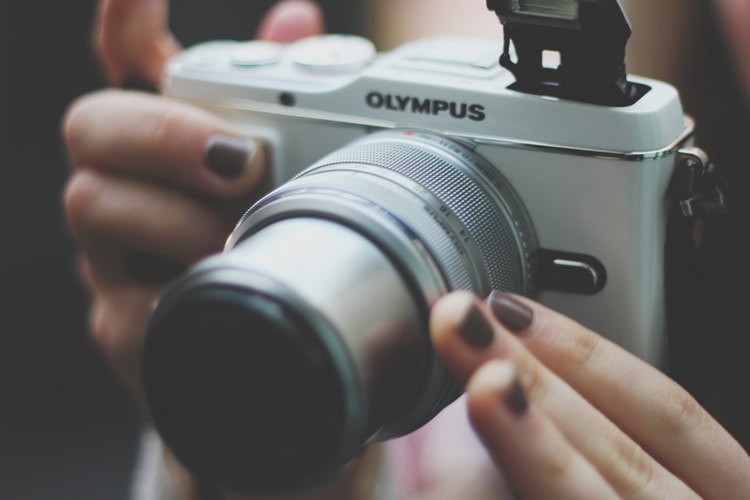
photo by Sophie Asia
Natural Lighting
The debate has long raged between using natural light or artificial light when shooting. Both have their advantages and disadvantages, and both can result in very different photos of the same subject. When setting up a home studio, the option is often taken out of your hands but if you are lucky enough to have a ready source of natural lighting in your studio there are several ways to take advantage of it.
The quality of a picture can come down to the amount of light used and whether it is direct or diffused lighting. When using natural lighting through a window or door, screens can become a life saver. Make sure to use quality shading that can either block completely or adjust the severity and quantity of light coming in through your window openings. Remember, when working with natural lighting, flash should be avoided as much as possible. Flash can cancel out the effect you are looking to achieve.
Artificial Lighting
Many times a home studio is located in a basement or other sealed off room. This can have several advantages but rooms like these become much more reliant on correct lighting sources and manipulation. You don’t necessarily need to spend a ton of money to setup your first studio. A couple of quality lamps, a white vinyl background, and a diffuser box will allow you to begin to learn what works and what doesn’t in your home studio.
When working indoors, remember that good lighting is about more than just one light source. A well-lit subject often has several lights of various intensities focused on them from all directions. Even dark photos can have multiple sources of lighting using a lot of bounced and diffused lighting. Many times the absence of light can be even more dramatic that an abundance of it. The right light and shadow combination can completely change the aspect and message of any photo.
Whether your passion is for still life, portrait, or nature, lighting plays a crucial role in the quality and popularity of your photographs. Often times it will come down to trial and error to find out what lighting solutions will work best for your home studio. Experiment with ISO settings and lighting options, and it may seem practical but be sure to use a stable tripod when you are shooting. Don’t be afraid to fail, it is often the best way to learn.
About the Author: Contrastly
Our mission at Contrastly is to help photographers all around the globe improve their craft and learn new skills. We create unique Lightroom & ACR presets, Photoshop actions, ebooks, and video courses. We also publish a popular blog with instructional articles, reviews, and tutorials.
Follow Contrastly on Twitter, Facebook, and Instagram. And make sure you subscribe to the bi-weekly Contrastly newsletter.