How Knowing Your Camera Well Will Make You A Better Photographer

Know your camera so well you don’t have to think about it every moment you are using it. This will make you a better photographer.
The less attention you have to give to you camera, the more focus you can pay your subject.
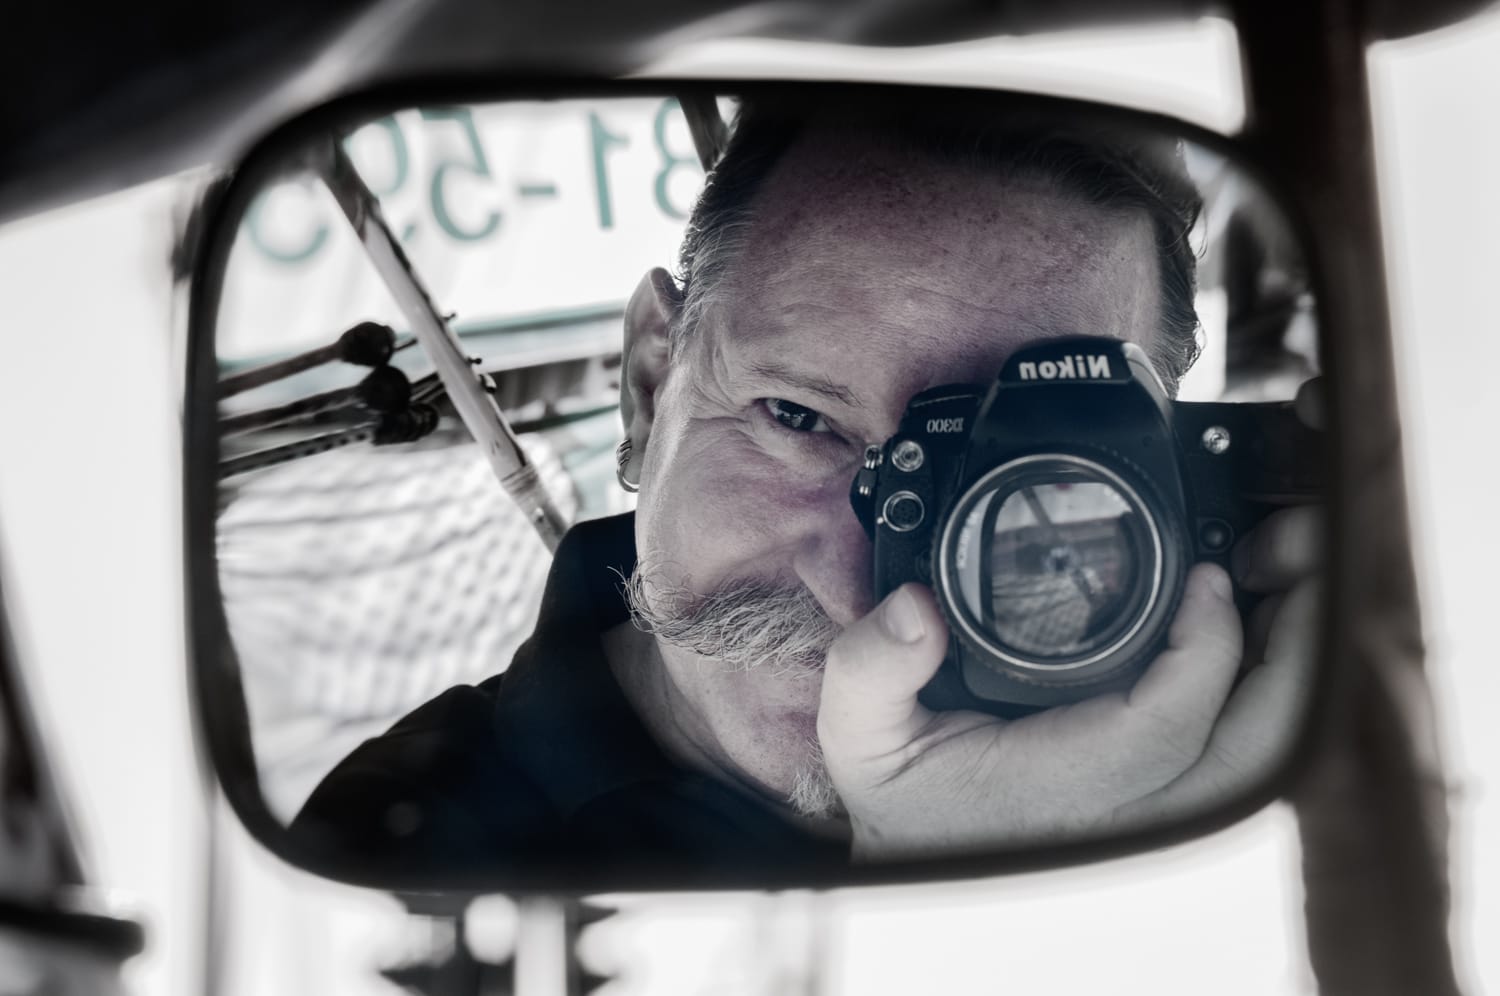
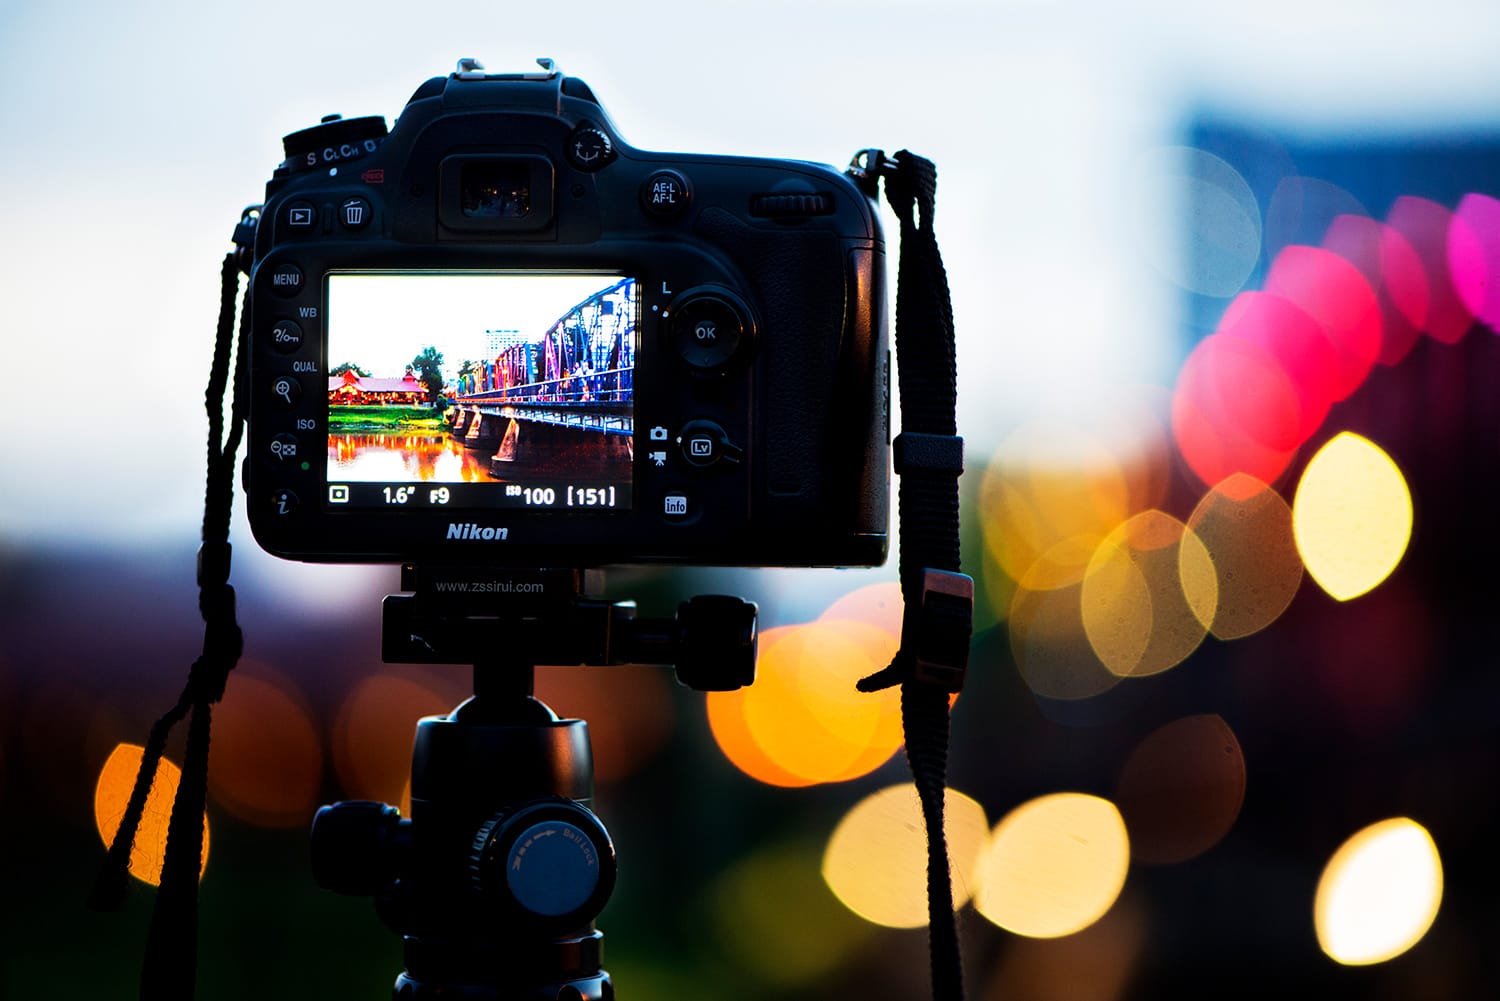
© Kevin Landwer-Johan
Photography keeps both your left and right brain hemispheres active. You must engage your left brain to manage the technical aspects of your camera well. Your right brain, which processes creative thoughts, must also be active. Neither side can be allowed to overwork and overshadow the other.
The best way I know how to do this is to have an intimate relationship with your camera. Being close with your camera makes it easier and more enjoyable to use.
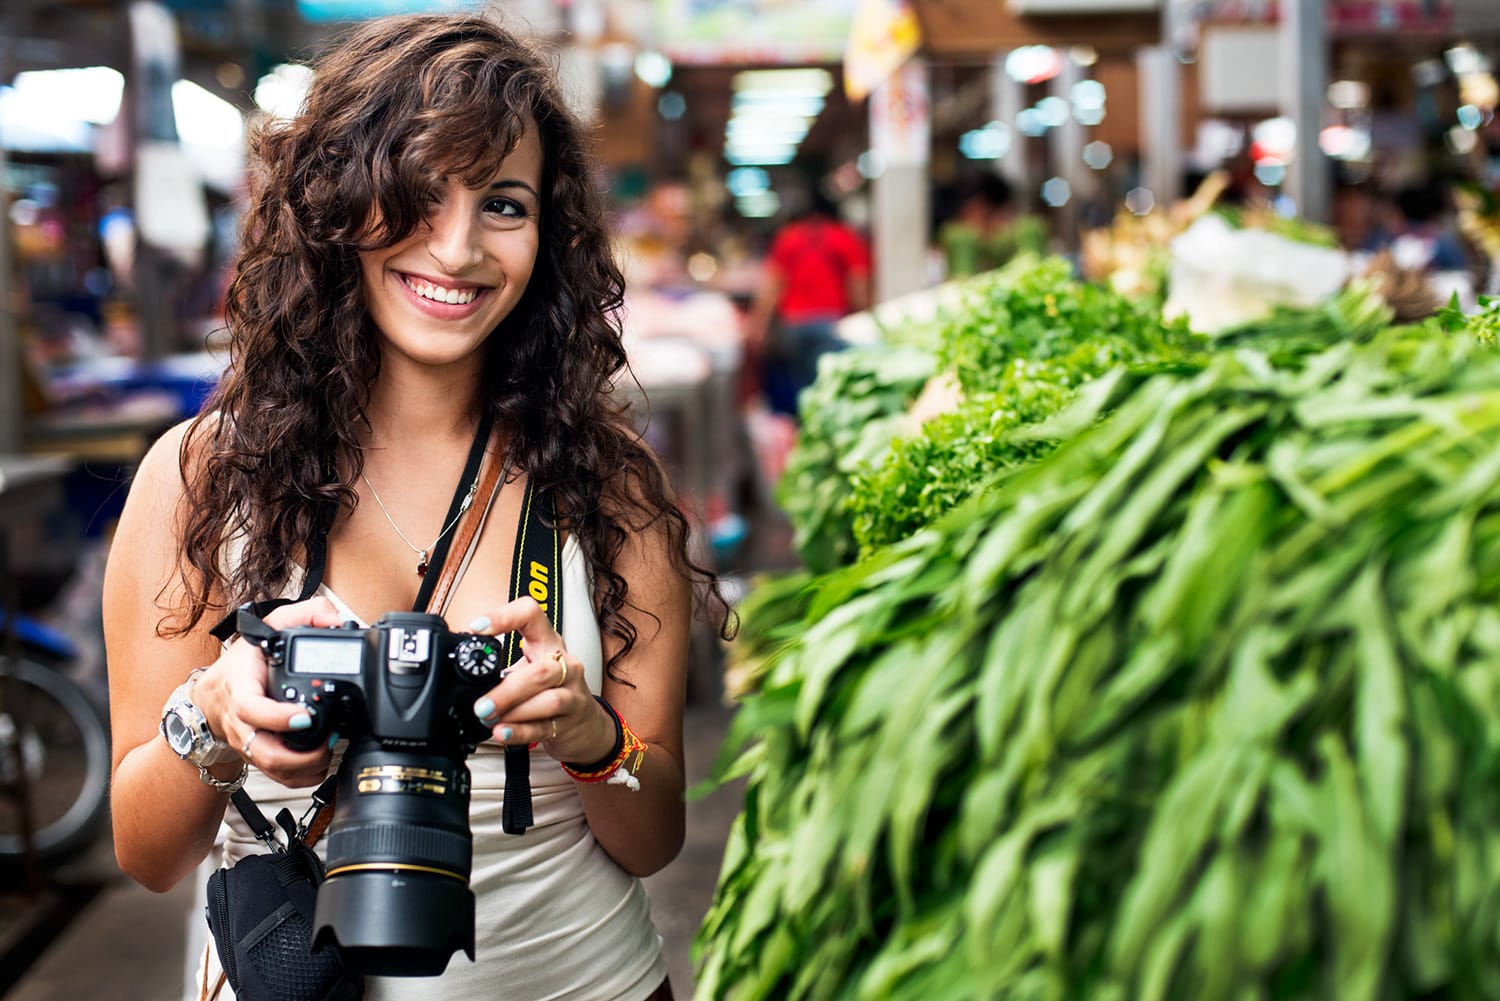
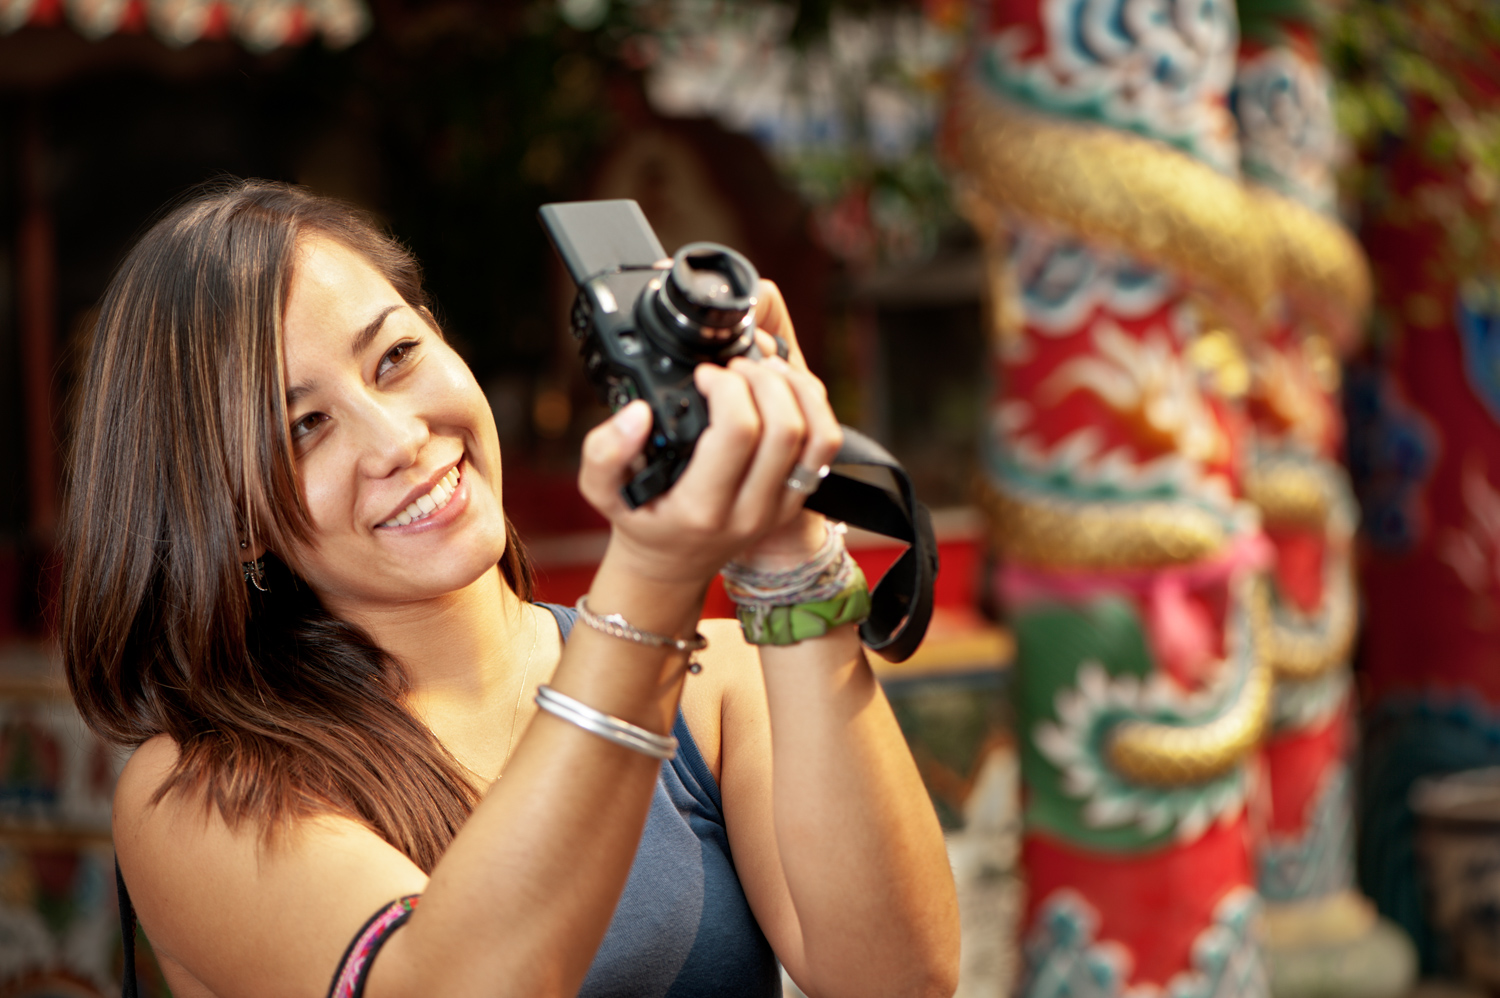
© Kevin Landwer-Johan
Practice Using Your Camera Often
Frequent use of your camera will help you develop a more visceral relationship with it. Much like a musician needs to practice for hours on end to master playing specific pieces of music. You must also practice.
A guitarist or trumpeter playing scales over and over on the same instrument will get a feel for it. Not only will they become faster and more skilled, but they will learn to appreciate the tools of their craft with affection. It’s the same using a camera.
You might retort, ‘but we can’t play scales on our cameras.’ No, we cannot, you are correct. However, there are many techniques we can improve upon if we go about it often and with purpose.
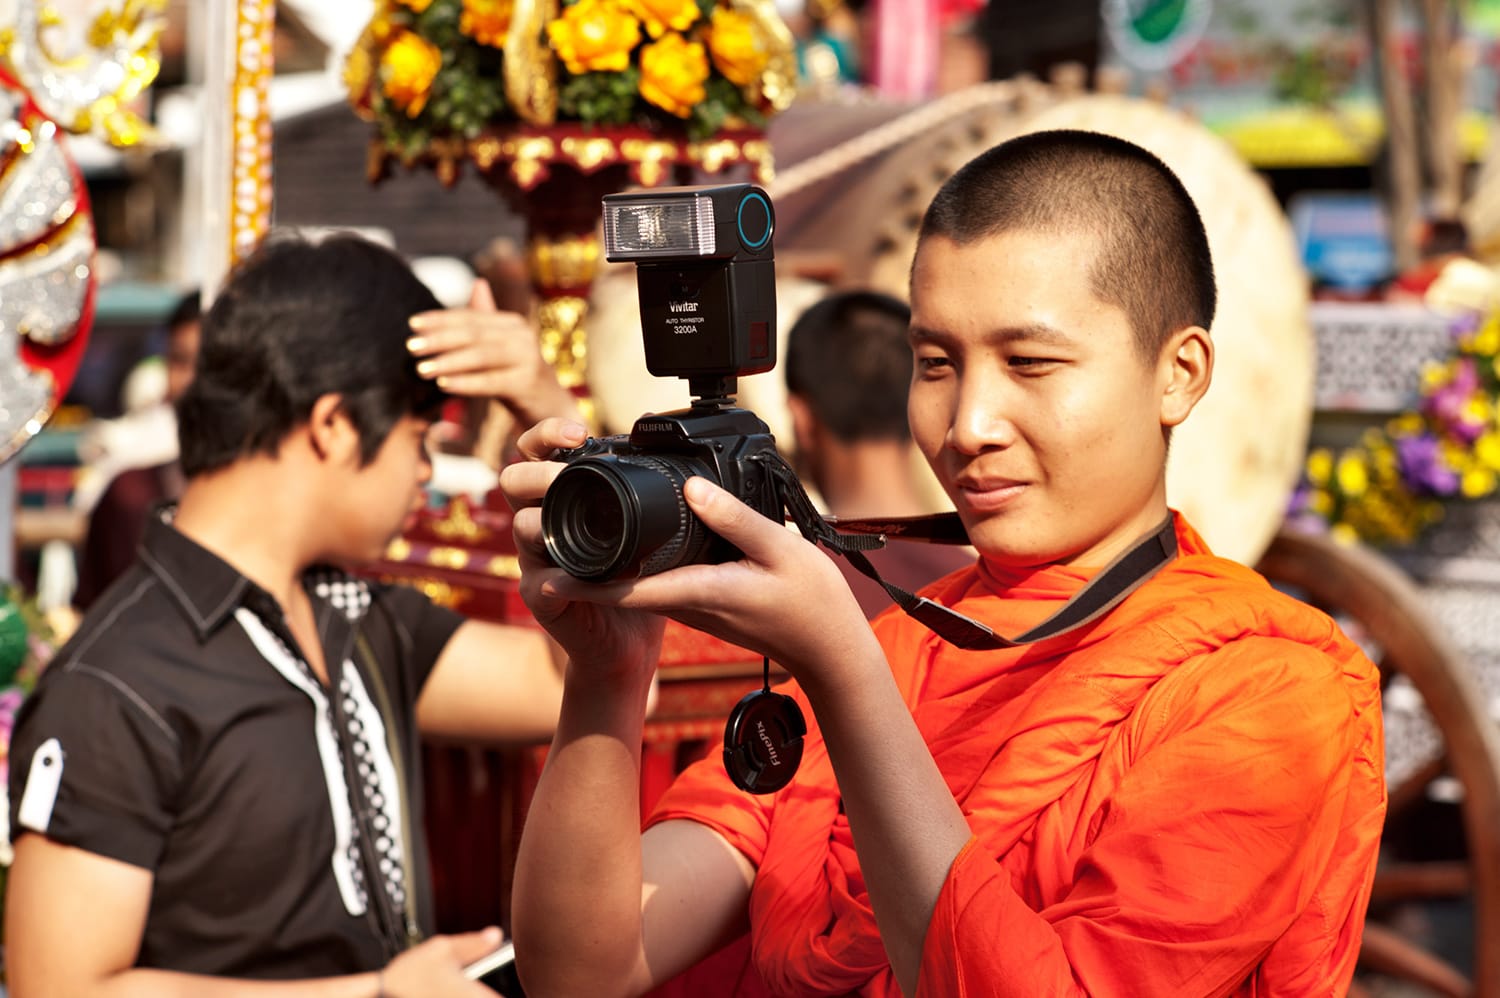
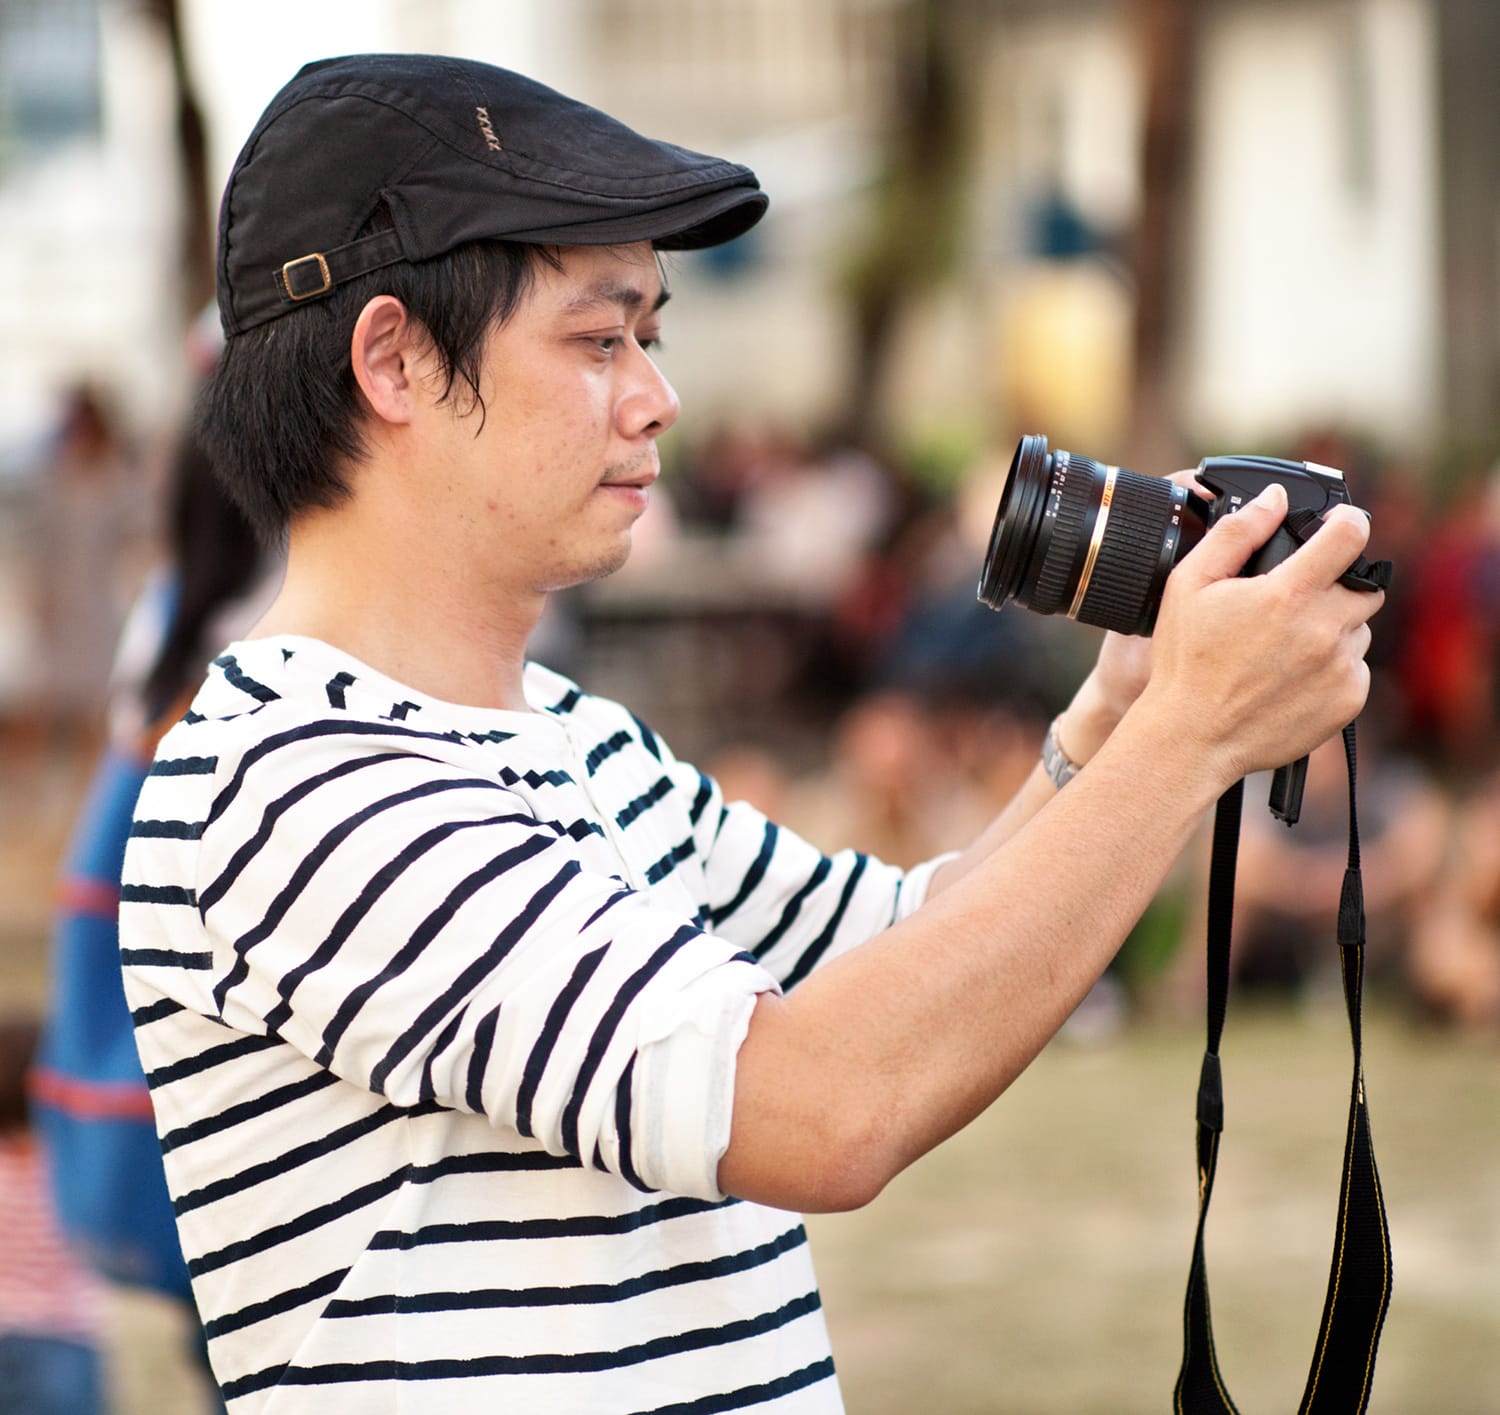
© Kevin Landwer-Johan
What To Practice With Your Camera
Practice managing the most important functions on your camera. How to set the exposure. How to focus, both manually and using autofocus. Using different focal length lenses. And even changing lenses.
1. Practice Changing Exposure Settings
Even if you prefer using auto-exposure, you can practice improving. There will often be times when your camera will give you a less than adequate exposure when you’re using auto.
Purposefully take a similar series of photos in challenging lighting conditions many times. This will help you understand when your camera struggles to set the light right.
Set yourself a task to photograph ten different subjects which are front-lit. Then ten with side lighting. And then ten with strong backlighting. Study the results and look at the EXIF data for each photo. See the choices your camera was making. Look at when the camera made better exposures and when it failed to.
Run through this same exercise a few times using manual exposure. You will become familiar with how to manage your settings well. Once you know them, and keep practicing, you’ll begin to change these settings without paying too much attention at all.
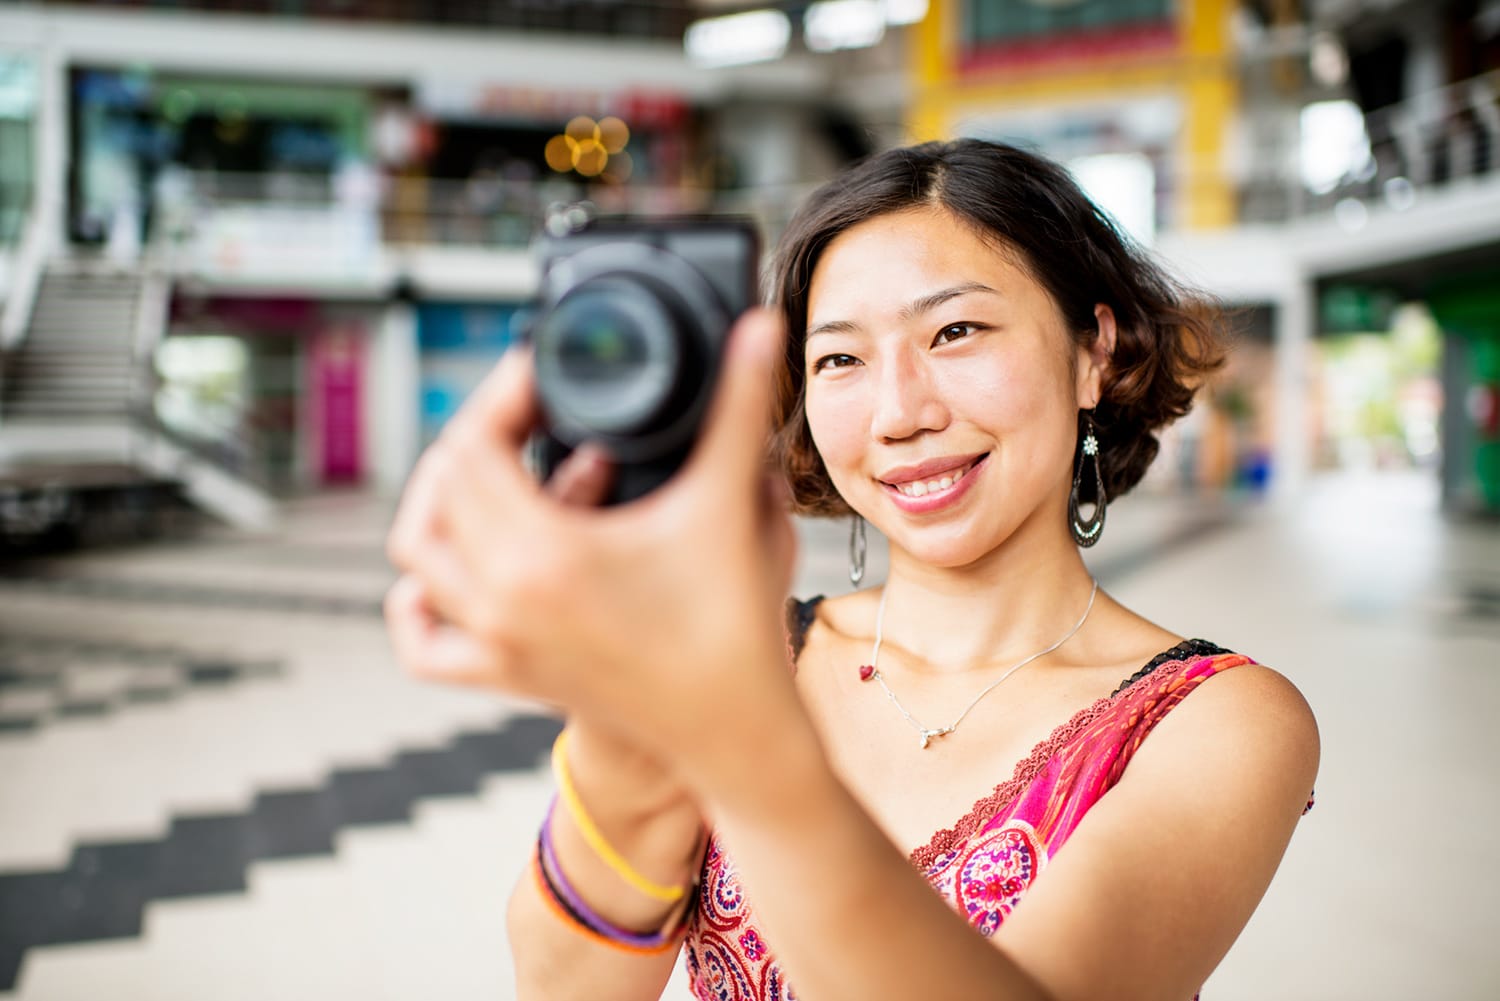
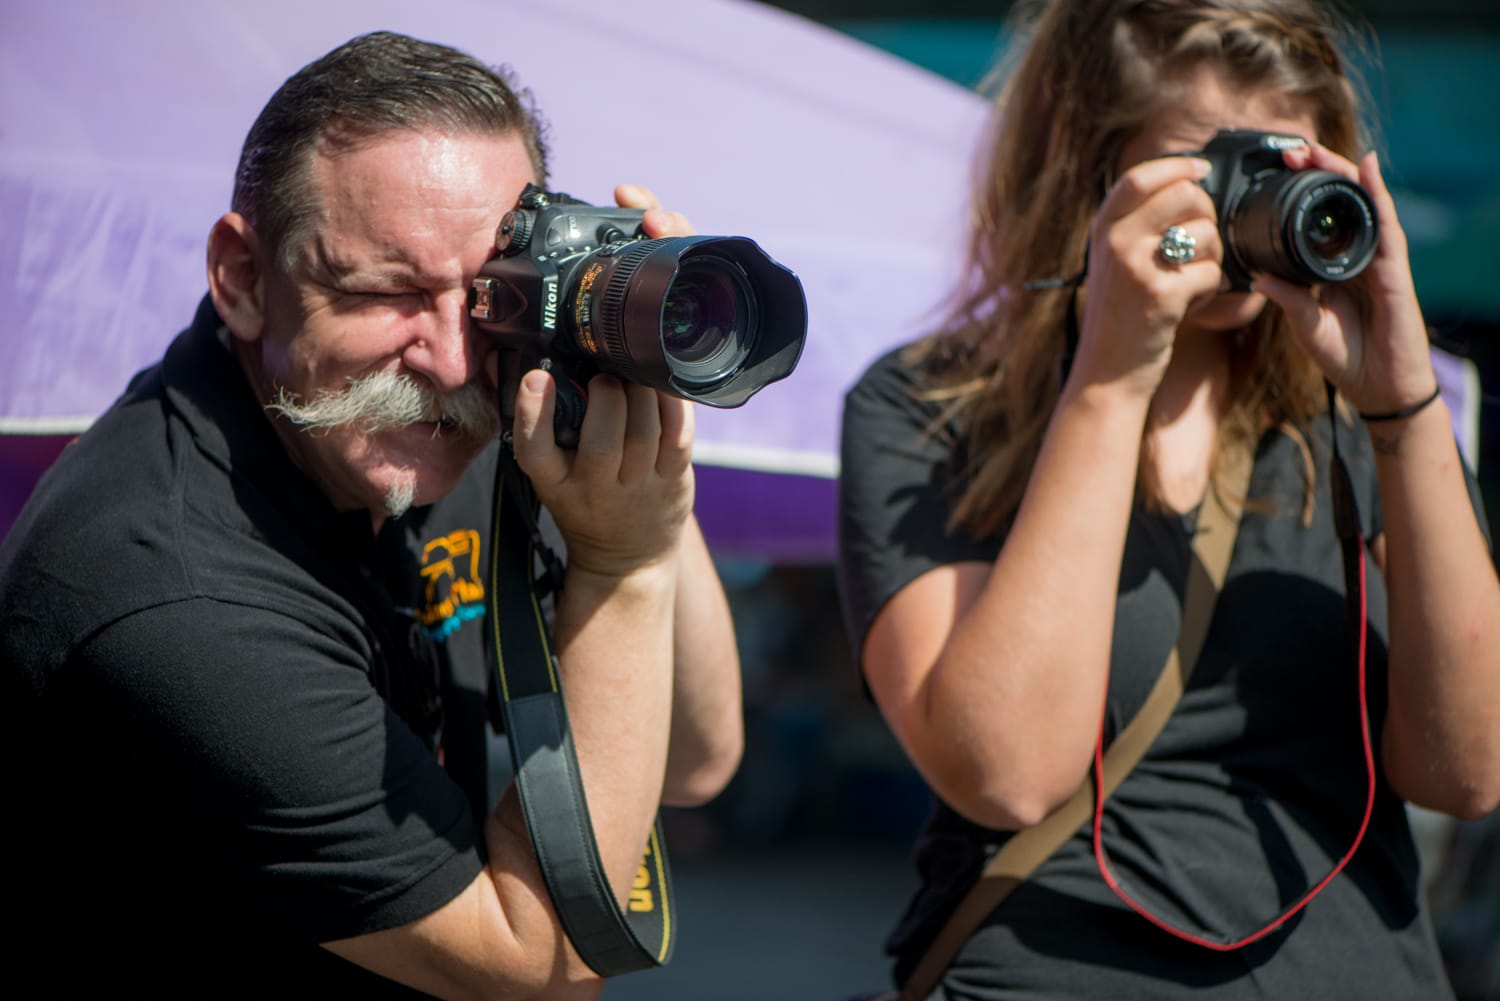
© Kevin Landwer-Johan
2. Set Your Shutter Speed
Spend an hour or an afternoon solely focused on what your shutter is set to and how it affects your pictures.
What happens when you use a fast shutter speed compared to a medium or slow one?
Photograph some moving subjects. Maybe a dog playing, people walking, or traffic passing. Notice the relationship between the speed of the motion and the length of time your shutter is open for.
With static subjects pay attention to the overall sharpness of your photos. How slow can you set your shutter speed before you begin to see blurring from camera shake? It’s good to be aware of this, so you know when you need to use a tripod.
© Kevin Landwer-Johan
3. Adjust Your Aperture
Take some time to pay attention to what your aperture is doing. This will help you understand it better and the influence it has on the way your photos look.
Try photographing the same subject at every different aperture setting your lens has. You may need to adjust your ISO and/or use a tripod when your shutter speeds become very slow.
Try this same exercise using a wide, medium, and telephoto lens. Look at the differences in how the resulting photographs turn out.
Becoming more familiar with your aperture settings will teach you which is the best f-stop to use in different situations.
© Kevin Landwer-Johan
4. Experiment With Your ISO
ISO is probably the least well-understood aspect of the exposure triangle. Many photographers tend to set it and forget it. This can be problematic, especially when you set your ISO to auto.
Higher-end late model cameras do not have such problems with digital noise at high ISO settings. Many other cameras do. Digital noise varies from camera to camera and brand to brand, so you need to get a feel for how it is with your camera.
Set your camera on a tripod or steady surface somewhere there’s not much light. Set your ISO to the lowest setting and take a photo. Now change your ISO so it’s double the setting your started with and photograph the same subject. Repeat this process. Double your ISO before taking your next photo. Continue until you reach the maximum ISO setting your camera has.
Now study and compare the images. How do the first and last ones look when you place them next to each other? How much digital noise can you filter out with the software you use? What level of ISO are you happy to use?
Knowing the answers to these questions will help you learn to set your ISO with confidence in any lighting conditions.

© Pansa Landwer-Johan
5. Fix Your Focus
Concentrate only on getting your photos sharp where you want them to be.
You have various setting options when your camera is set to autofocus. Practice in multiple situations using single and continuous-servo focusing. Photograph both static and moving subject. Which setting are you most comfortable with in any given circumstances?
Switch between single-point and multi-point focus areas. If you are used to letting the camera decide where the lens will focus, switch to single-point. Learn to place the point precisely where you want it. It will take practice, but when you do, you’ll become proficient in no time.
Have a go at manual focus. This is a skill I learned because I had to. I started using a camera before autofocus lenses were available. It’s an excellent skill to have, even when most lenses are autofocus. But it does require practice so you can get it right. The more time you spend with it, the faster and more accurate you’ll become.
© Kevin Landwer-Johan
6. Juggle Your Focal Lengths
Photograph the same subject with your widest and your longest lens. And then with your favorite medium lens. Work your subject from different angles and with different focal lengths. Get a feel for how it looks in relation to what’s around it and in the background.
Compare your photos. Consider which ones you like the most and why. Which focal length proved to be your favorite? Doing this type of exercise many times will give you a feel for the properties of your lenses. It will help you understand which subjects and situations lend themselves to which lens.
© Pansa Landwer-Johan
Conclusion
There’s no right or wrong way to do photography. There are many technical ways to achieve similar looking images. Having a good command of your camera and an intimate relationship with it requires that you handle it regularly.
Practice often with your camera, and you’ll build confidence to use it well in any situation. Be like the guitarist who wants to be a rock star. Go over and over the rudimentary aspects of your craft. The ones you struggle with and the ones you find comfortable.
Soon you won’t struggle, and you’ll pay less and less attention consciously to what you are doing with your camera. This will free you up to become more engrossed in your subject.
About the Author: Kevin Landwer-Johan
 Kevin Landwer-Johan is a professional photographer, photography teacher, and filmmaker with over 30 years experience. Kevin is offering Contrastly readers his FREE course for beginner photographers which will build your confidence in photography. You will learn how to make sense of camera settings and gain a better understanding of the importance of light in photography.
Check out Kevin's Blog for articles with a more personal approach to photography.
Kevin Landwer-Johan is a professional photographer, photography teacher, and filmmaker with over 30 years experience. Kevin is offering Contrastly readers his FREE course for beginner photographers which will build your confidence in photography. You will learn how to make sense of camera settings and gain a better understanding of the importance of light in photography.
Check out Kevin's Blog for articles with a more personal approach to photography.