Tips & Tricks for Capturing Stunning Interior Design Photographs

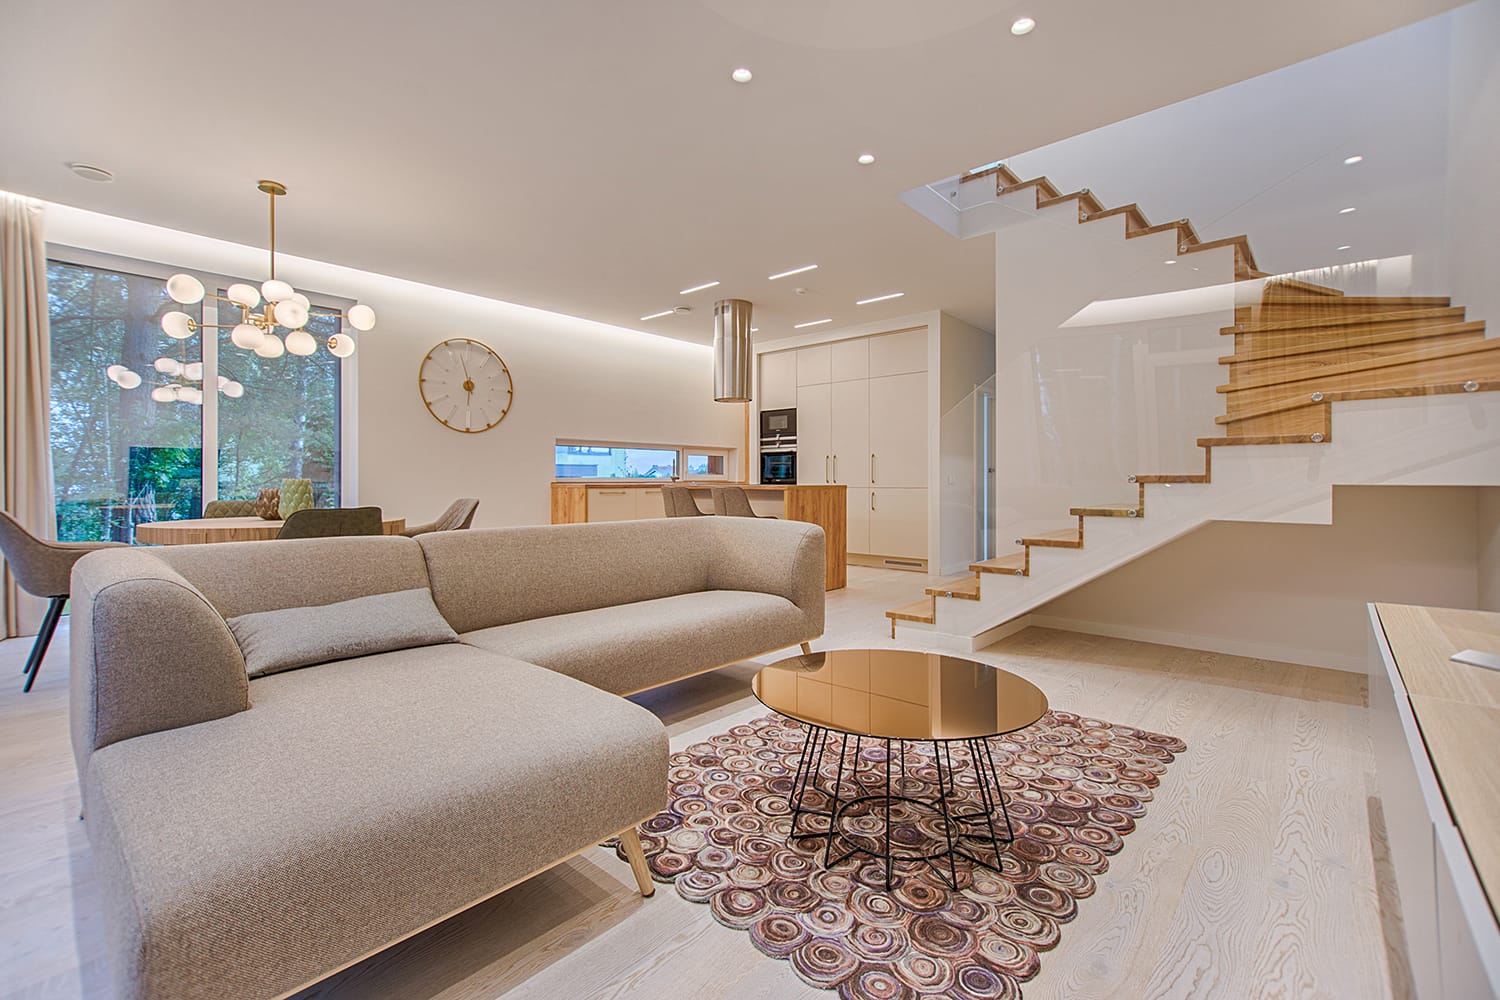
Homes that have interiors beautifully designed are a sight to behold. Some even land in architectural or interior design magazines. And for good reason, they’re quite pleasing to look at.
This is why stunning photos are a must for interior designers who want to showcase their creative masterpieces to prospective clients.
In a world constantly invaded by Instagrammable designs and styles, this has become the norm. When a prospective client sees an interior designer’s work splashed in high quality, aesthetically pleasing photos, their interest level instantly shoots up. The images are quite simply a representation of how good the designer is.
However, one needs to create not just an ordinary impression but something that sticks in the clients’ minds; one that makes them want to immediately get in touch with and avail of the designer’s services. One that makes them say, “I need to have my home designed by this genius of an interior designer!”.
This is where interior design photographers come in.
Taking interior design photos is not that simple, though. There are a lot of things you need to consider, and there are guidelines you should follow.
Interior Design Photography 101
Interior design photography is not just about going around a house and taking photos of every room you see. It requires certain skills. It’s crucial to know what makes for an interesting and beautiful interior shot. You need to consider things like the ideal lighting and good angles, among others. It may sound basic, but since almost all photos are shot indoors, it takes quite a lot of work.
Since interior design clients pretty much have their own “requirements”, there actually aren’t any specific or hard-set rules when photographing home interiors. There are, however, tips and guidelines that can help you come up with what your client wants (and more).
Tips, Tricks, and Guidelines for an Excellent Interior Design Photography
Before anything else, photographers and their clients need to sit down and agree on what or how the project is going to unfold. So, it is important to first make sure that your client is on board and agrees with the plans you presented.
To put things in black and white, come up with a contract that includes details about the project. You don’t need to meet in person. Emails, calls, and / or video conferencing would do.
If your client does not agree with what you have planned for the shoot, the whole thing won’t work no matter how excellent a photographer you are.
As previously stated, Instagrammable interiors are a major thing nowadays, so inform your client way ahead of time that homeowners should be informed beforehand that photos of their home will be posted on social media, websites, and in printed publications. Make sure you get this in your contract, but be prepared for some pushback, which is ok, every client has different requirements.
This way, even if the homeowner values his/her privacy, you and the interior designer can come up with a compromise or agreement that respects the client’s boundaries and terms. This is important if you want to create a positive work atmosphere – which will do a lot of good for you and your photos.
After that has been taken care of, it’s time to focus on these tips, tricks, and guidelines.
1. Make sure you have the right equipment
Aside from your camera and lenses, it is essential to bring (and use) a tripod for your interior design shoot. You’ll need it for longer exposures. Likewise, it will help you focus on your shot.
In addition, be sure to bring both your normal and wide-angle lens. For detail shots (i.e. the closer ones); your normal every day lens will do (such as a 50mm). For capturing the entire interior of a room, though, the ideal lens would be the wide-angle – 14mm to 24mm.
It is also ideal to bring LED lights. 300 light units will do – the small ones. These will be useful when you want to shoot in natural light even when inside a dark room.
Of course, you also need to bring extra power, so bring all the batteries you have. Be sure to bring extra memory cards, too, to make sure you have enough storage for your photos. One can never be too sure, you know!
2. Waist and chest level shots are ideal for interior design photos
Your tripod will come in handy for this. Position your tripod in such a way that you can take shots while in a standing position.
Shooting from the waist-chest level is the best thing to do if you want to highlight and emphasize all the décor and furniture in a room or area. The tripod will help you take steady shots.
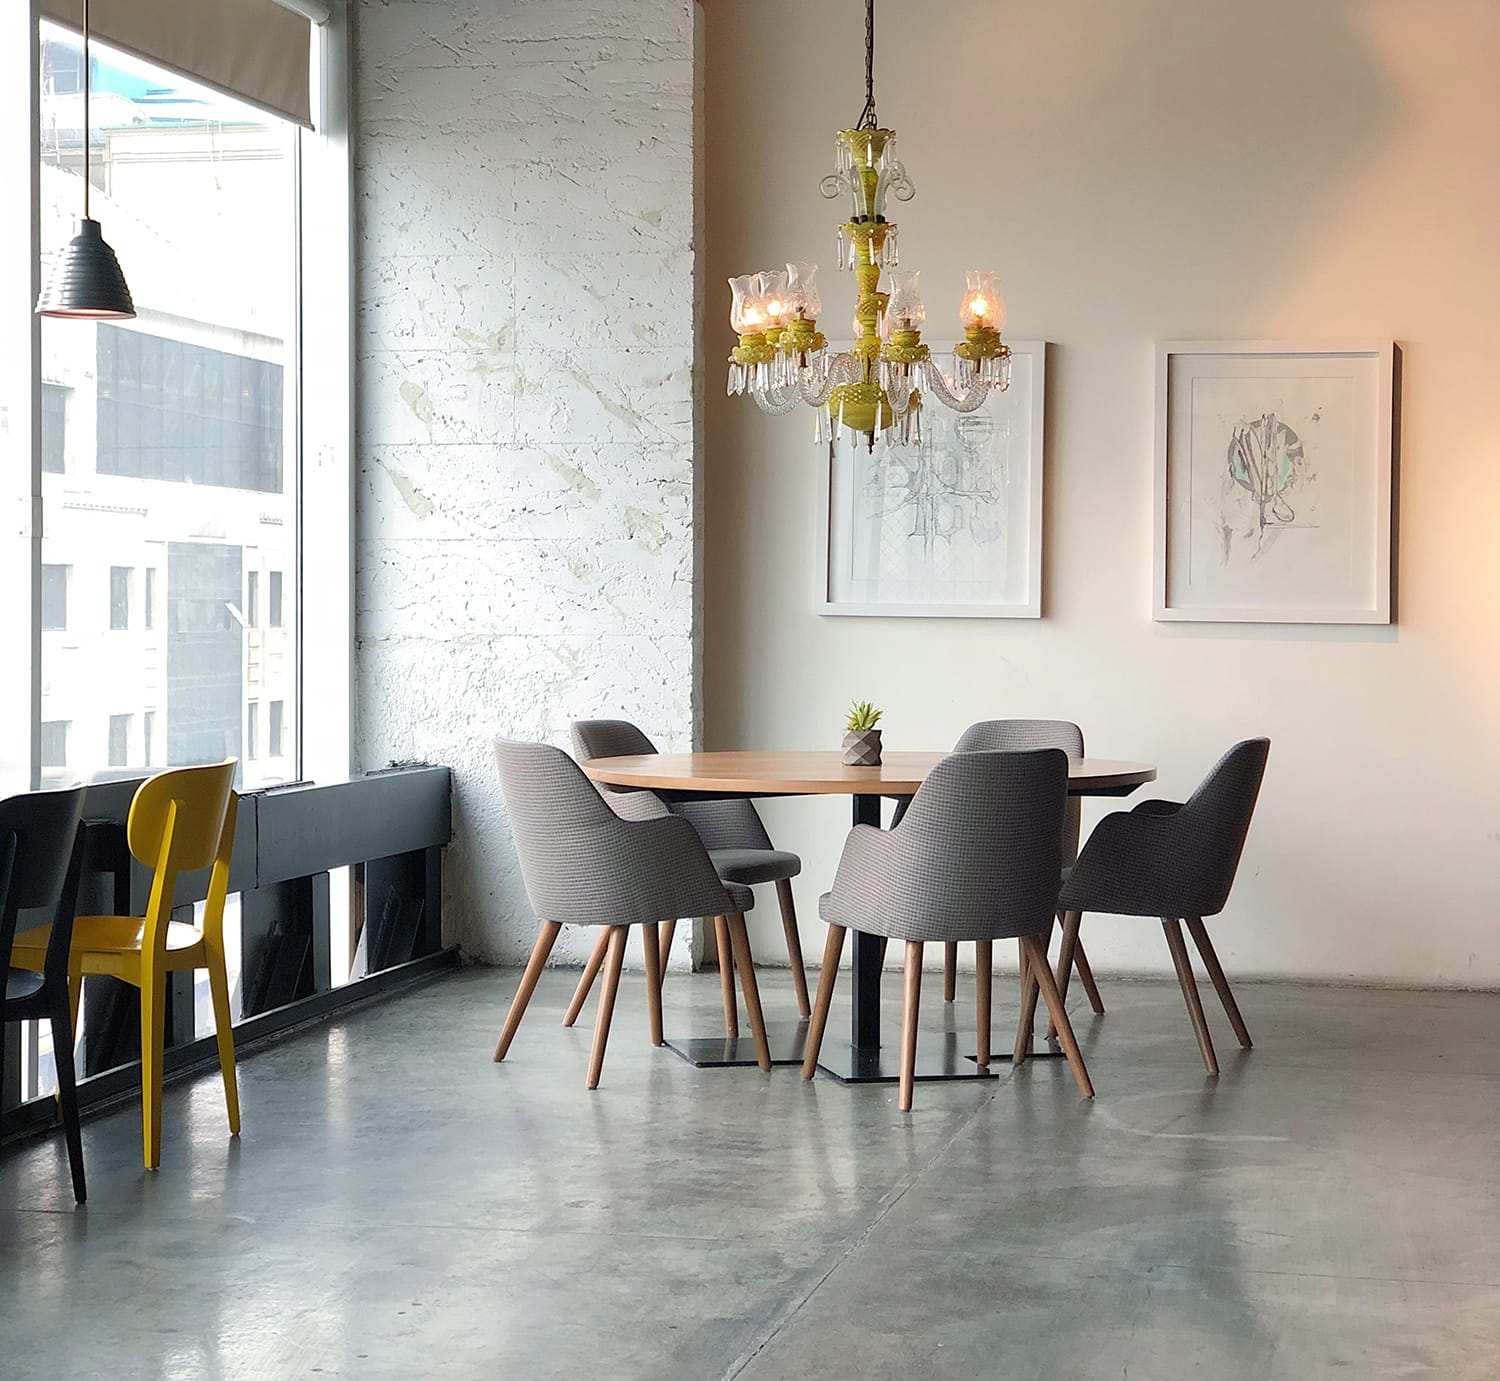
3. Compose the shot only after you have chosen and studied your subject
Interior design photos rarely involve or require the presence of people. Your main photos will be décor and furniture (and other similar objects). As such, find time to first choose your subject before composing the shot.
When composing, take note of the space or the lack thereof. If the room or area is too small or crowded, don’t be afraid to move things around. For example, if a particular item is blocking the view of your subject (let’s say the sofa), move that item to another place or remove it from the scene altogether.
In addition, don’t hesitate to move around. If you think the best shot would only be possible if you shoot from the room’s door, then move your tripod and shoot from there.
Find time to compose your shots well.
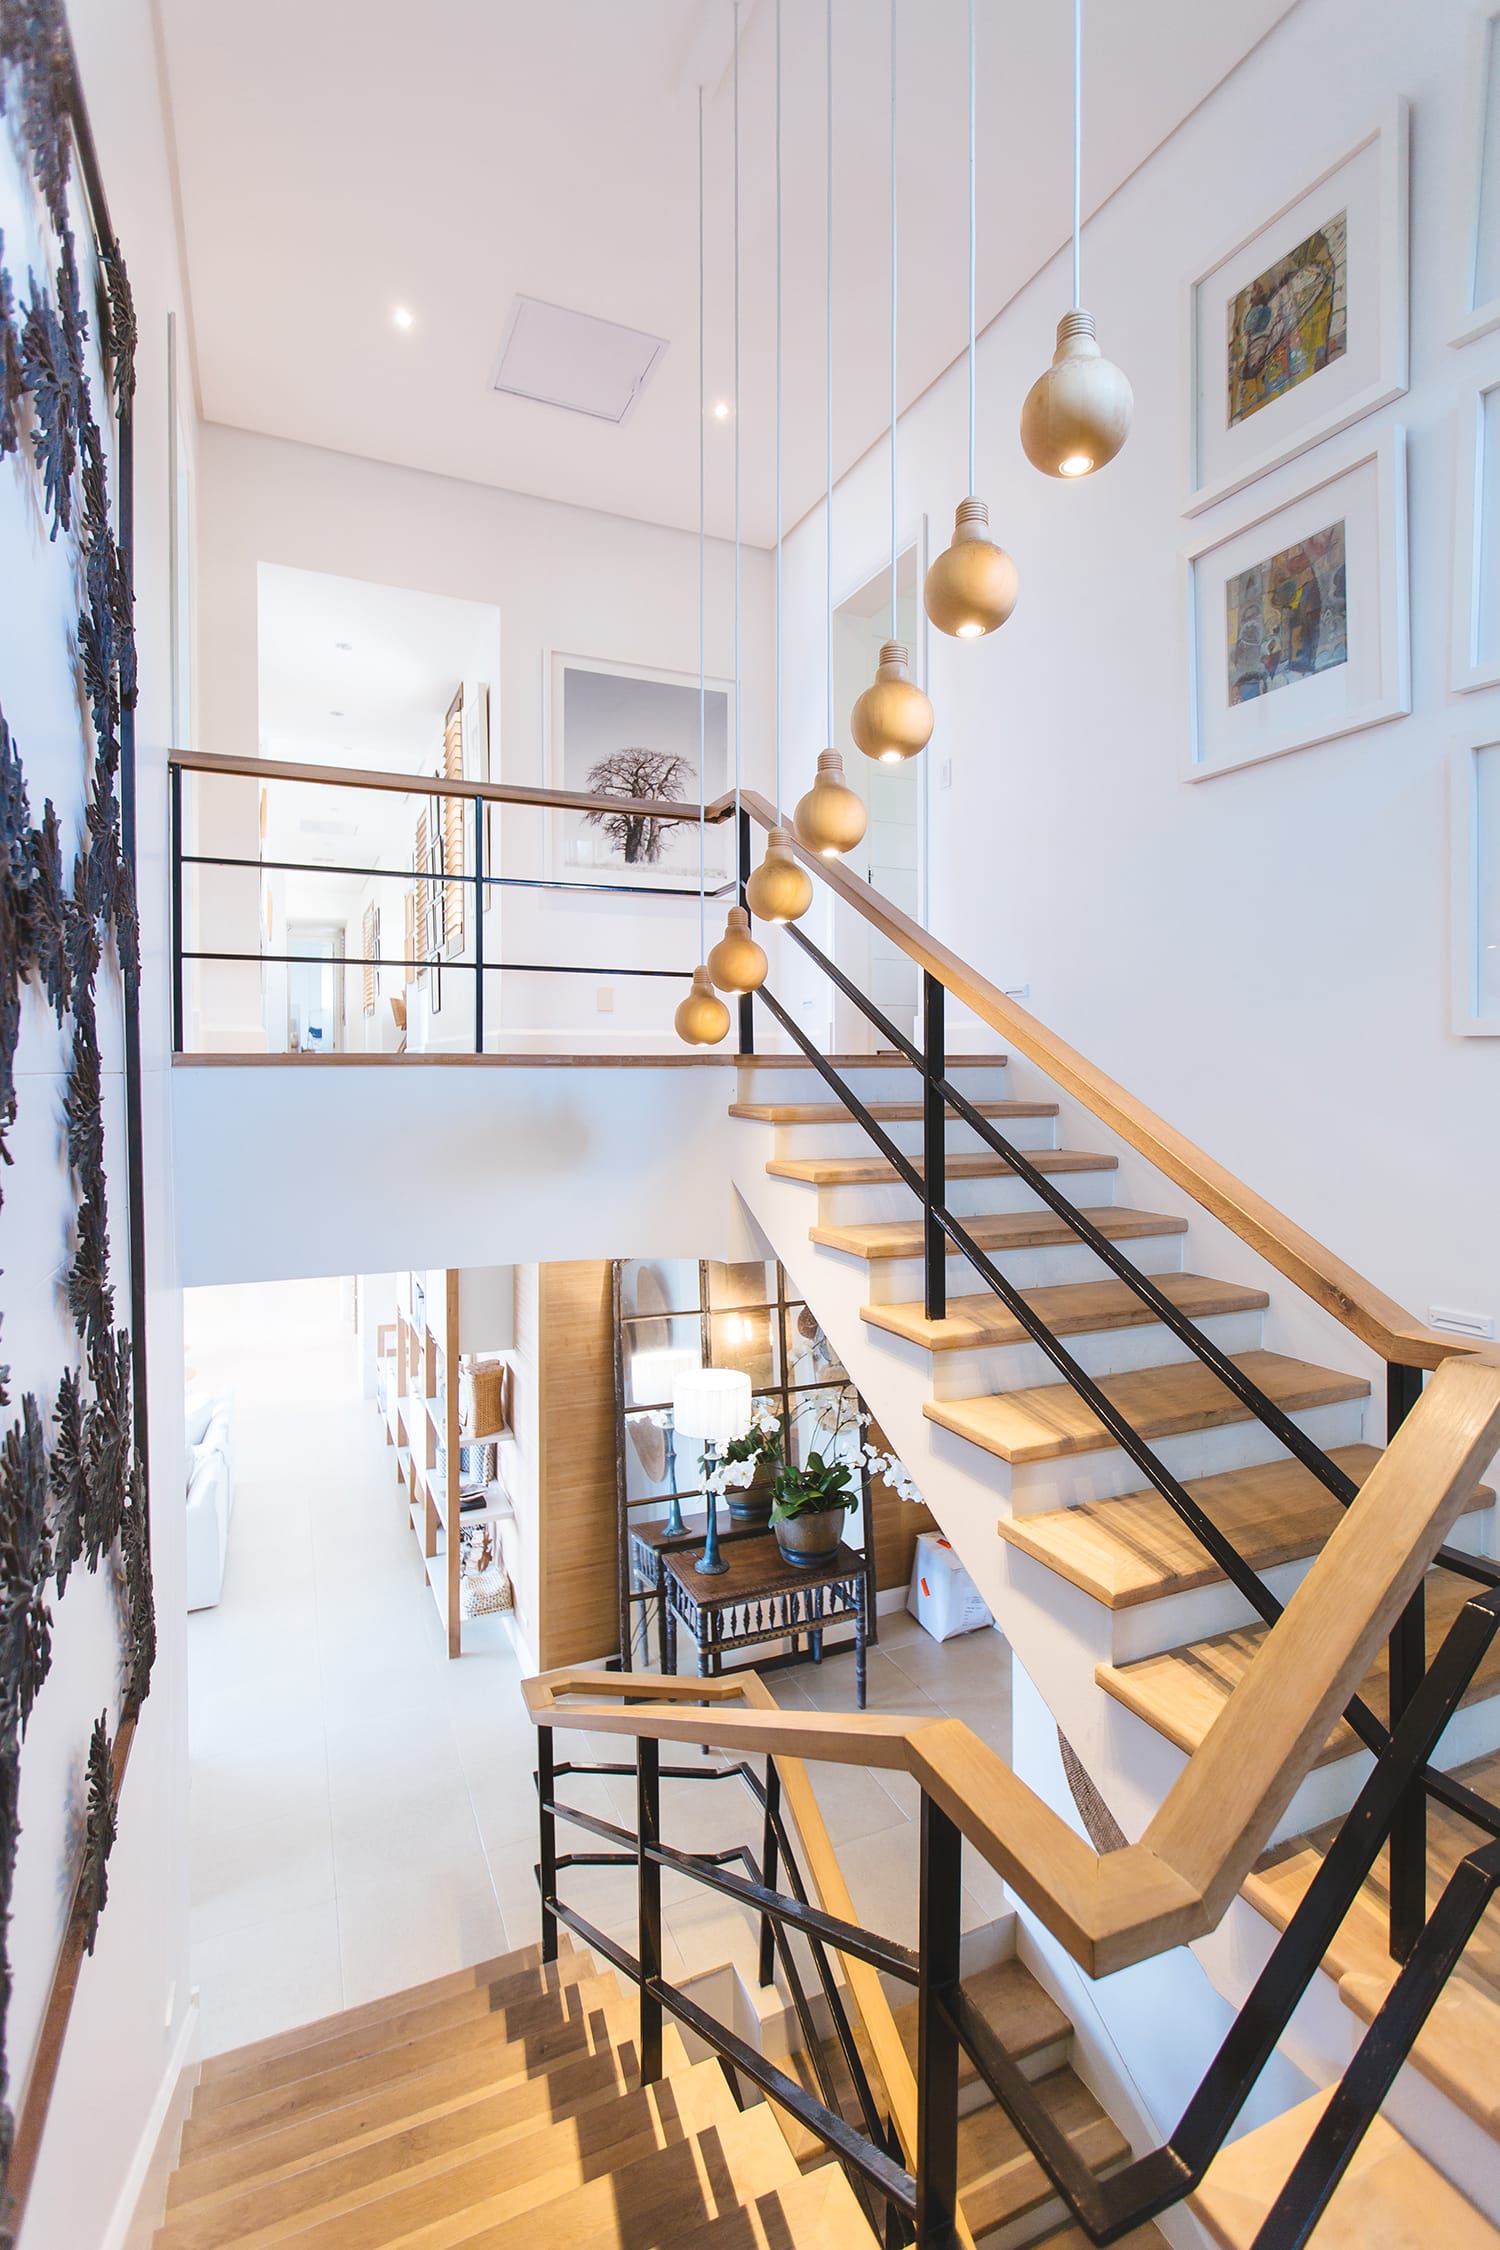
4. Point your camera straight towards your subject or towards a wall or any flat surface
While there are some exceptions to this rule, this works best for many. Instead of doing the more complex options (i.e. taking the shot while lying on the floor or while hanging from a post), try your best to go for the simplest choice. Shoot your camera straight towards your subject or towards a wall.
Check the architectural framework of the room and use it as your guide. You can also use the grid that comes out on your viewfinder. This will help you determine whether the vertical and horizontal lines on the wall are aligned or not. Shoot only when they are aligned.
Shots you’ll create using this trick will come out more dynamic, clean, and sleek. Simple but chic.
5. Always Shoot in RAW
If you want to preserve not only photographic information but also the unprocessed/natural negative effect, go for RAW instead of JPEG. Shooting in RAW mode will also give you more control over the final image.
That way you can easily enhance shadows and preserve highlights in Lightroom.
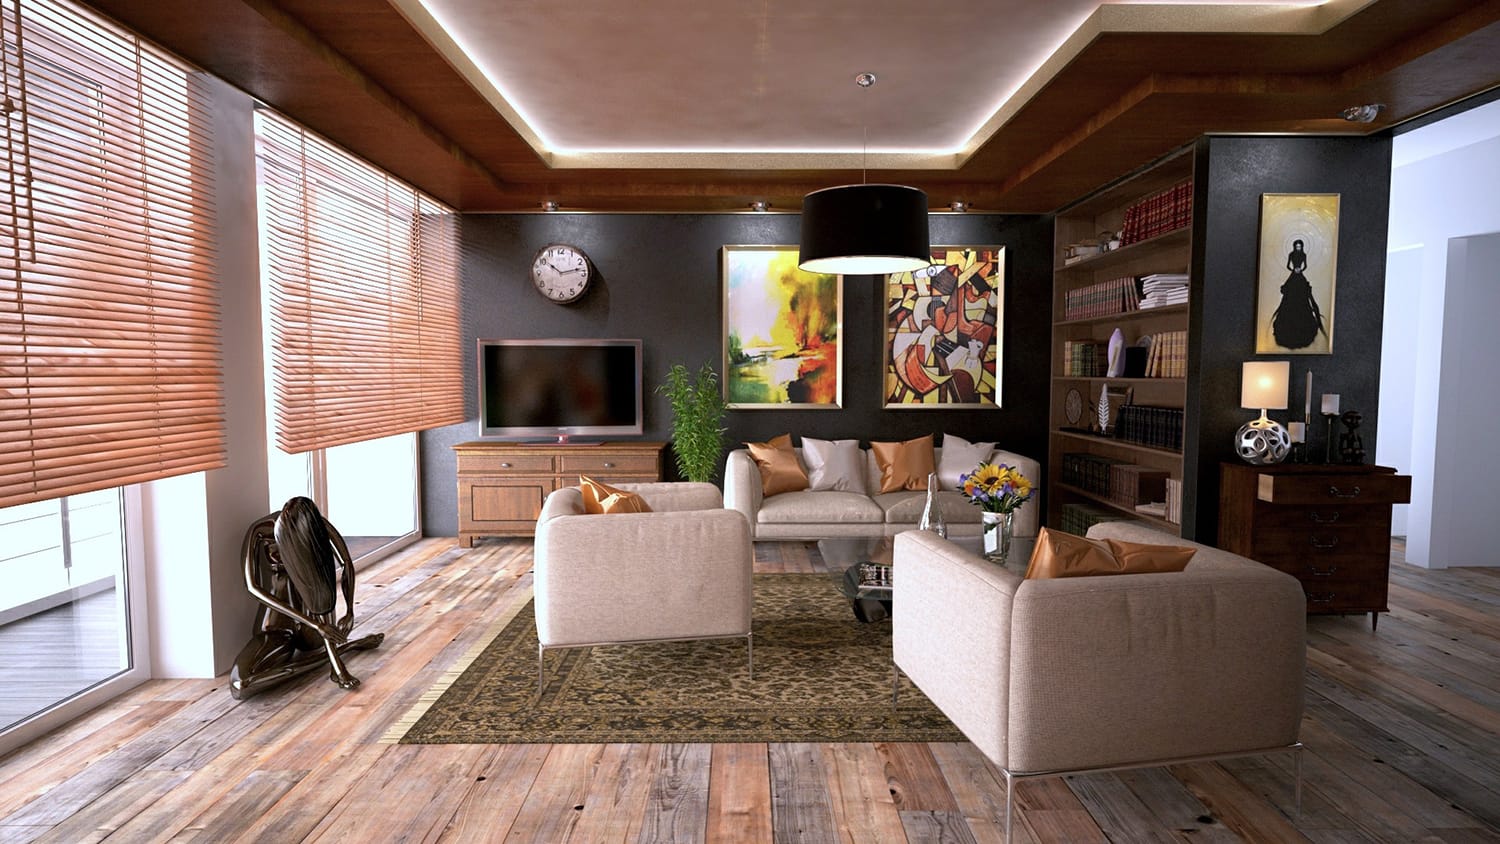
6. Bring your go-to lighting systems, but shoot in natural light as much as you can
Using strobe lighting has its advantages, but for me personally, I go with natural light. There are several reasons for this.
One, the camera does not work the same way our eye does and can perceive colors and glows differently. So even if it’s actually a fluorescent bulb, the camera can interpret it as white light or natural light. In other words, even if the lighting is already good, the camera can see it in a different way – make sure you set your camera on a custom white balance setting!
Another reason is the fact that natural light makes your photos appear clean, fresh, and visually pleasing over-all. There are things to remember, though, when shooting in natural light.
First off, keep in mind that certain conditions might not make it possible for you to shoot natural light. For example, when the sun is beaming straight into the room, you’re going to have a bit of a challenge because you’ll need to balance the light.
Some areas will appear brighter than others. The best time to shoot natural would be when it’s a bit cloudy outside. Clouds help diffuse light and can control shadows.
Aside from strobes or flash, other lighting systems you can use are modeling lamps, professional studio lamps, and PAR bulbs.
Conclusion
Interior design photography is not a walk in the park. You need to invest your time and effort in learning the tips and tricks, and in completely absorbing and understanding the guidelines. But as long as you are dedicated and you practice regularly, you’re going to have more clients sooner than expected.
About the Author: Michael Gabriel
 Michael Gabriel L. Sumastre is an experienced writer who loves to take pictures of the countryside as well as aerial photographs. He maintains his professional writing portfolio at TheFinestWriter, and you can visit his photography portfolio at Sumastre Photography. Michael was hired by Booking.com to photograph 10 of the most beautiful beaches in Palawan, Philippines.