Mastering Light – Getting the Most Out of Your Lighting Situation

One of the most important aspects of photography is light. The right lighting can make a difference between a photo that’s average, and one that’s spectacular. Lighting affects everything in the photo; bright sunshine can bring out details, and soft diffused light can add a soft glow that subdues details.
While learning to master light is a life-long learning process, understanding the basics can make a huge difference in your photography. Professional photographers understand how light works, and use it to their advantage. Great use of lighting is one of the main features that separates professional photographs from amateur-looking ones.
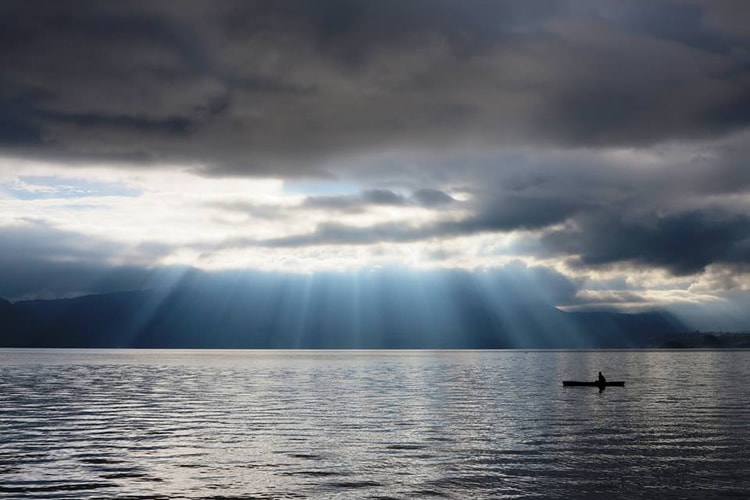
photo by Frontierofficial
Understanding how different types of light can affect the results of a photo, allows you to get the most out of your photo opportunities – and will help you to spot great lighting conditions when you see them!
Exposure
The exposure of a photograph is the amount of light that reaches the camera’s sensor. Adjusting the exposure affects the overall brightness or darkness of the image. This is usually done by adjusting the camera’s aperture and shutter speed, and sometime the ISO.
One of the great things about shooting in aperture priority or shutter priority mode, is it allows you direct control over the amount of light that hits the sensor, allowing you more control over the resulting photo.
1. Aperture
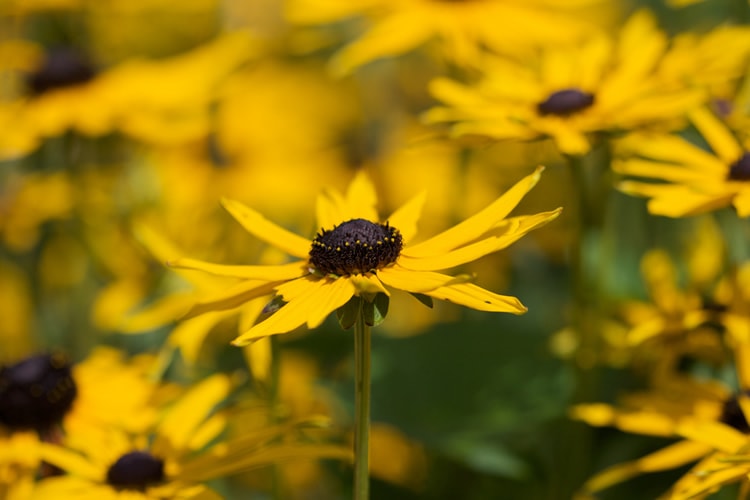
photo by Pete Birkinshaw
Adjusting the aperture changes the size of the opening in the lens, adjusting the amount of light that you are letting into the sensor. I prefer to use aperture priority when adjusting the depth of field. For a shallow depth of field, and a background that’s blurry, use a wider aperture such as f/2.8 or f/3.5. For a photo that’s sharp and in-focus use a smaller aperture, such as f/11. This will allow less light to reach the sensor, resulting in a sharper photo.
2. Shutter Speed
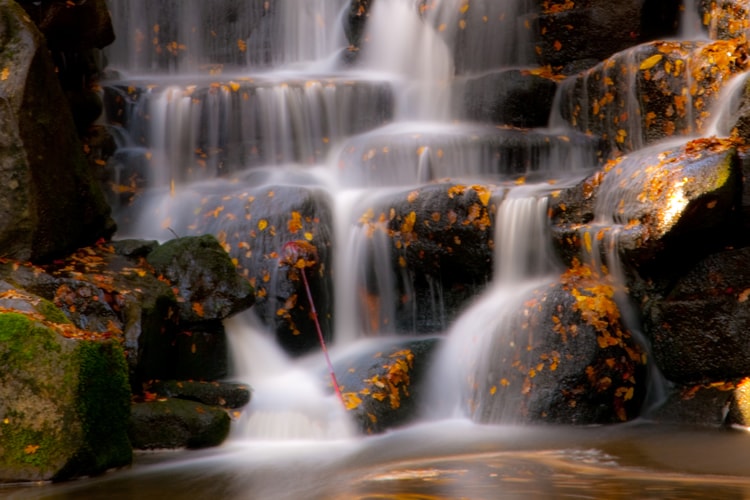
photo by William Warby
Shutter speed is the amount of time that the shutter stays open for. The longer the shutter is open, the more light you let in. Adjusting the shutter speed adjusts the amount of light you are letting into the camera. Changing the shutter speed is perfect for photographing subjects that are in motion, allowing you to either freeze, or blur, the subject. Use a fast shutter speed to freeze moving objects, or a slow shutter speed, and a tripod, to blur moving subjects.
3. ISO
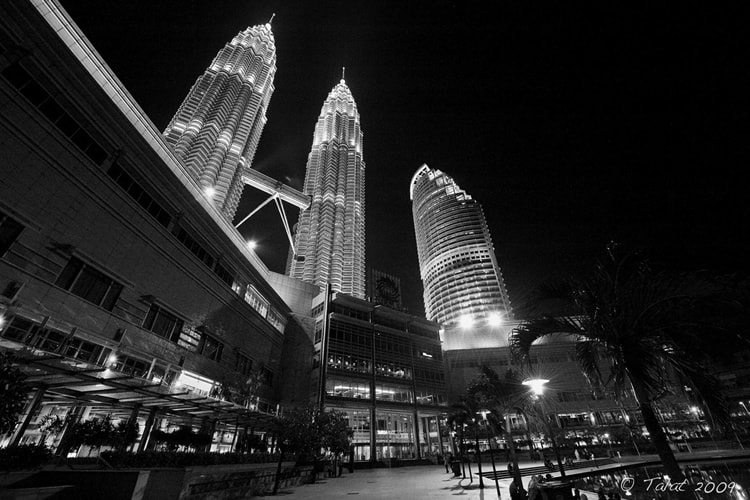
photo by Talat Hussain
The ISO is the camera sensor’s sensitivity to light. Higher ISO settings can be used in low light situations, to get faster shutter speeds. Generally, it’s best to shoot in a low ISO when possible, since the higher the ISO the grainier an image will be.
Quality of Light
In addition to the amount of light that reaches the sensor, it’s also important to consider the quality of the light. Light comes in different qualities, it can be soft and diffused, or hard. The larger the light source is in relation to the subject, the more diffused, or soft, the light will be. Focused and more direct light produces hard light, with well-defined shadows.
The quality of natural light is constantly changing, and professional photographers know how to pay attention to this ever-changing light source in order to work with it to capture the best photos possible. Sunlight during midday is more direct, resulting in harder light and harsher shadows. Morning and evening light is more diffused, as it travels further to reach the earth. This diffused evening and morning light is referred to as the “Golden Hour” – the often-prized time of day for photographs.
Direction of Light
It’s important to pay attention to the direction of light when you’re out with your camera. Being aware of the angle of the sun will allow you to know which direction you should face to get the desired effect.
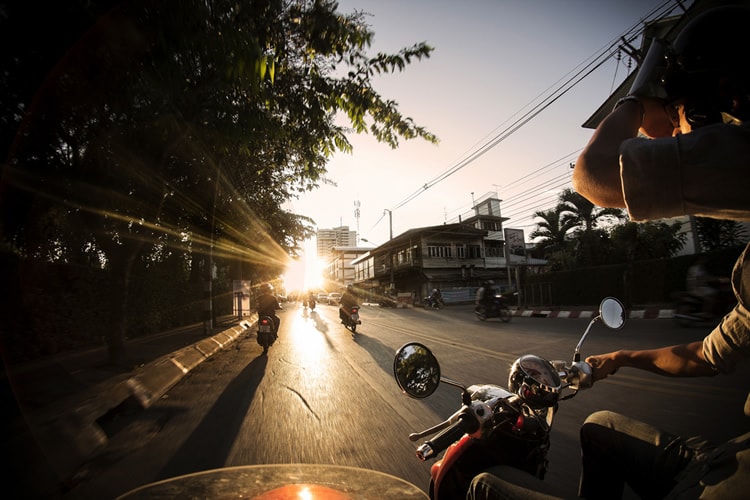
photo by KamrenB Photography
The appearance of a subject changes dramatically; depending on the direction of light, so don’t be afraid to adjust your position to find the optimal light for your composition.
-
Front-Lit Subjects
Subjects that face the light source are generally well-illuminated, with fewer shadows, and are the easiest to photograph. However, front-lit lighting tends to be less dramatic, and can sometimes result in photos that are flat.
-
Side-lit Subjects
Side-lit subjects tend to have more depth. Because of the light and shadows that side-lit portraits offer, side lighting is often used in portraits and landscape photography.
-
Backlit Subjects
If you are shooting in a situation that has lots of high-contrasting, bright light, you may want to try looking at the scene from a backlit angle. Subjects that have their back to the sun, tend to look dramatic and interesting. Backlighting is often used by landscape photographers, and can also be used effectively when photographing subjects in scenic locations. With backlighting, you can also get fun effects like silhouettes or sun flares.
The Color of Light
Light can be “cool” or “warm,” depending on the time of day. The color of light can have a big impact on your photograph. Be aware of changing lighting conditions as the tone of light can impact the type of mood that you are trying to capture in your photo, and it can change the overall feel of your composition.
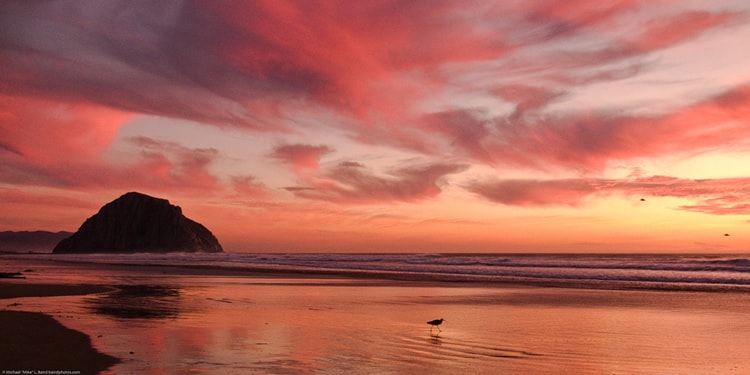
photo by Mike Baird
Early morning light tends to be a cool blue tint, gradually becoming warmer as the sun rises. Sunsets and evening light have more of a warm feel. Weather can also impact the color of light, with overcast days appearing cool.
Shadows and Highlights
Take care to avoid focusing on the darkest or lightest part of a scene. Focusing on the darkest part of the scene can cause the camera to increasing the exposure, resulting in an overexposed image. Focusing on the lightest part of a scene, will create overly-bright, washed out details.
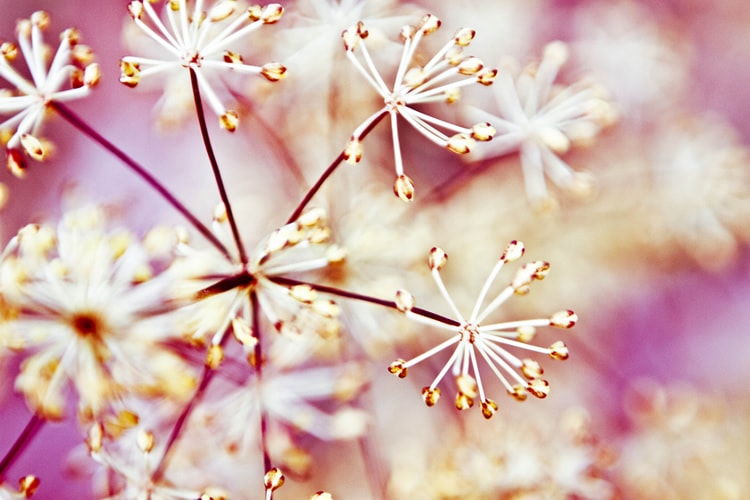
photo by Nina Matthews
To ensure proper exposure, you may want to use your camera’s histogram to check if your photo is over, or under, exposed.
Learn to See the Light
Paying attention to the light can result in dramatic and beautiful photos. It allows you to turn an average lighting situation, into an exceptional one.
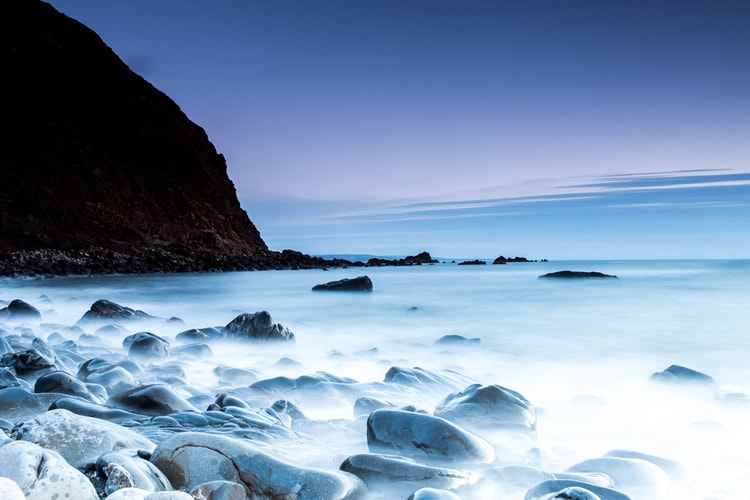
photo by Warren Theophilus
Learn to pay attention to the lighting situation before you shoot. Note which direction the light is coming from and pay attention to shadows and highlights, as well as contrast.
This will help you to determine which techniques you will want to use to achieve the desired effect. Facing a different direction can change the direction of lighting, or you can use objects to block or diffuse the rays. Looking out for trees and buildings can help to offer shade during harsh lighting conditions. Or, if you’re feeling ambitious, you could use a reflector to bounce some light onto your subject, or a white diffusing cloth to block harsh shadows.
Sometimes, the secret to ideal lighting is as is simple as waiting until a different time of day, such as afternoon or morning when the light is at its softest and most beautiful.
The next time you’re out with your camera try to pay attention to the light as well as your composition. By making the most of available light, and making the light work for you, you can capture some truly stunning images.
About the Author: Christina Harman
 Christina is a part time blogger and full time photography enthusiast living in Southeast Alaska. She enjoys travel photography and has taken pictures in countries such as Mexico, England, France, and China. She likes sunny days, new lenses and drinking good coffee. You can visit her at Tangled Thoughts.