How to Crop Images for Better Compositions?

Many photographers consider cropping to be a resizing method or fitting photos to a certain size for post-production. But the fact is that cropping is a much deeper concept, and I consider it to be an essential tool for perfecting a composition.
One crucial aspect of photography is capturing the right moment. It isn’t always easy, and being able to crop our images in post to remove unwanted elements can often make our pictures stand out!
I often try to leave a bit of extra space in my photos to crop later on. You can use many tools for cropping your images, such as Adobe Lightroom Classic, Photoshop, Luminar, ON1 Photo RAW, etc. In this article, we’ll discuss the best ways to improve your cropping skills for better composition.
Basic Rules of Cropping
I like to think of cropping as the very first step of my post-processing workflow because the whole composition depends on it. Moreover, while adjusting the color, exposure, contrast, etc., you observe your photo as a whole. If some unwanted areas are still in the picture, they may affect other post-processing adjustments. Your mileage may vary, though.
There are three things I look at and try to keep in mind when cropping images: rotation, size, perspective.
1. Rotation
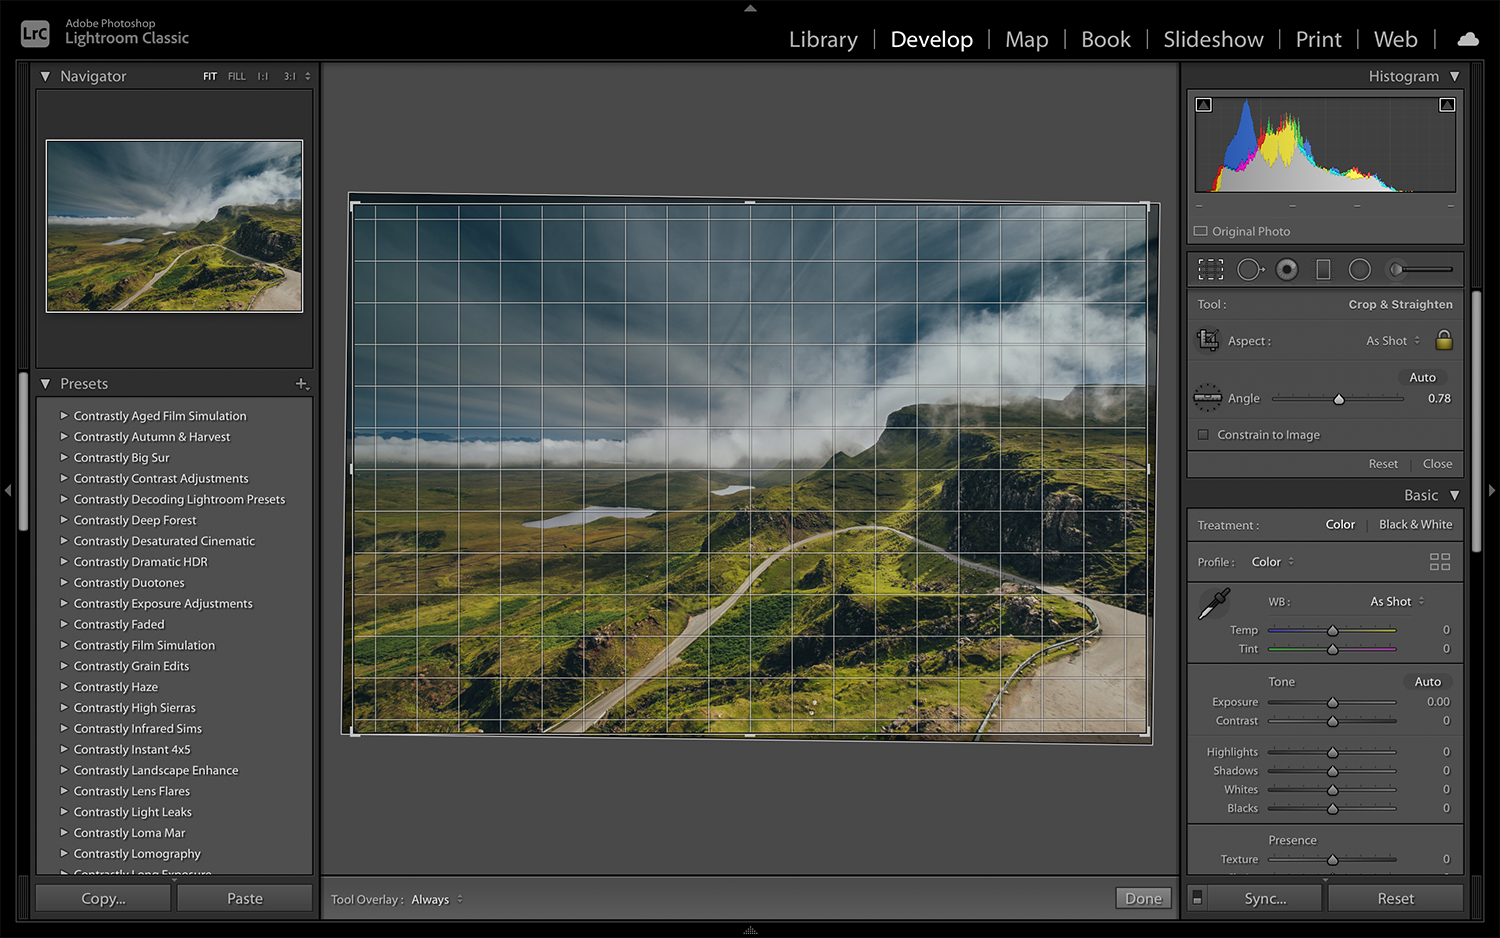
Keeping the horizon straight in landscapes is essential, but sometimes minor adjustments need to be made in post. Rotating images, even just slightly, can be the difference between a somewhat slanted horizon and a perfectly straight one.
2. Size
As mentioned earlier in this article, I tend to leave a little breathing room in my images to then crop out unwanted areas. Obviously, this should be very subtle. Got a tree sticking out on the left side of your frame? It’s perfectly ok to crop it out.
3. Perspective
Perspective distortion occurs when using wide-angle or ultra-wide-angle lenses. Vertical lines of buildings or other straight objects might appear distorted or curved even if the horizon is perfectly horizontal.
You can manage perspective distortion by using the perspective correction features that come with most the post-processing tools, like the Crop tool or the Transform panel in Lightroom Classic.
While this isn’t purely a cropping exercise, adjusting the perspective in your image will inevitably crop some parts out.
Best Tips for Cropping
Now that we went through some of the basics of cropping, let’s go through a few “best practices” and tips to keep in mind to improve your cropping skills for better composition.
1. Crop to Make Your Subject Prominent
When viewing your images on the computer in a post-processing app, you might notice that you have captured some elements that might detract viewers from the main subject.
However, these extra elements can add more character to your photos, such as context, texture, or emotion. But if you want your viewers to focus on the main subject, then you can crop the extra elements from your photo.
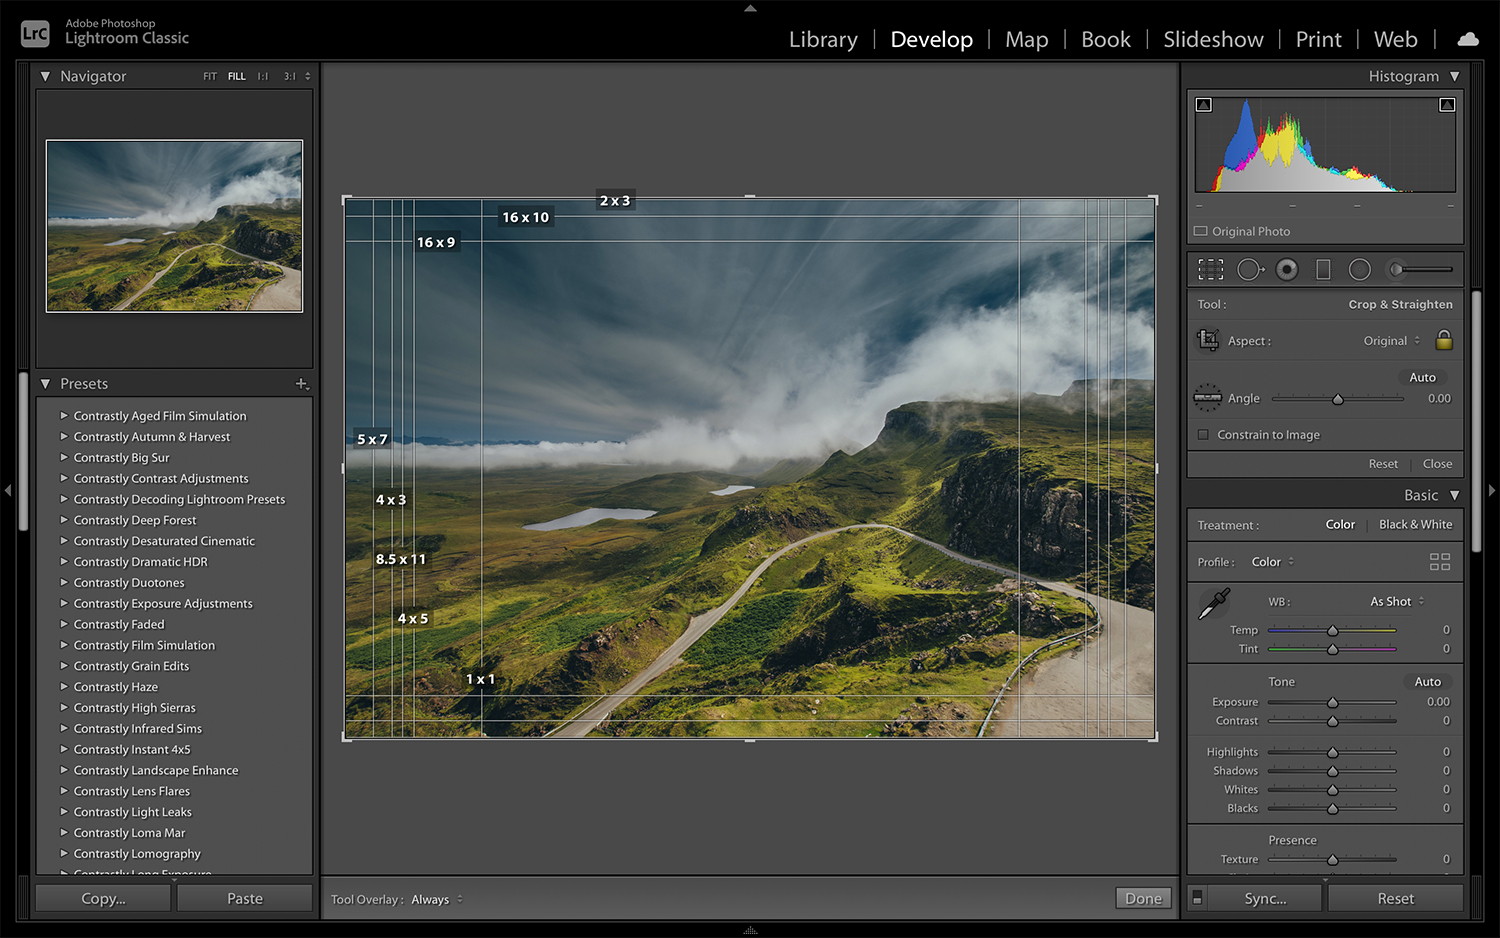
2. Rule of Thirds, Golden Ratio, etc.
Cropping can provide your photos with an entirely new look and context, and the golden ratio or the rule of thirds can help you with that.
Both vertically and horizontally, divide your photo into three parts and place your main subject at the intersection point. It will make your image more pleasing and attractive visually.
Most post-processing software today have cropping overlay tools that you can use better to align your main subject or point of interest.
3. Look Out for Vertical Lines

Taking vertical lines into consideration is the most important factor when capturing cityscapes. If you are using a camera with a wide-angle lens, you will see that taller buildings don’t perfectly align vertically, and some may appear skewed. You can utilize the crop tools in your post-processing software to manage this problem.
4. Look Out for Horizontal Lines

Taking horizontal lines into consideration is essential if you are into landscape photography. As discussed earlier, a misaligned horizon can make your photos unpleasant and uncomfortable.
When shooting with a wide-angle lens, you might notice a curved horizon. If your photo is balanced from right to left, it likely won’t feel uncomfortable. However, you can still use the perspective correction or cropping function for a more pleasing final result.
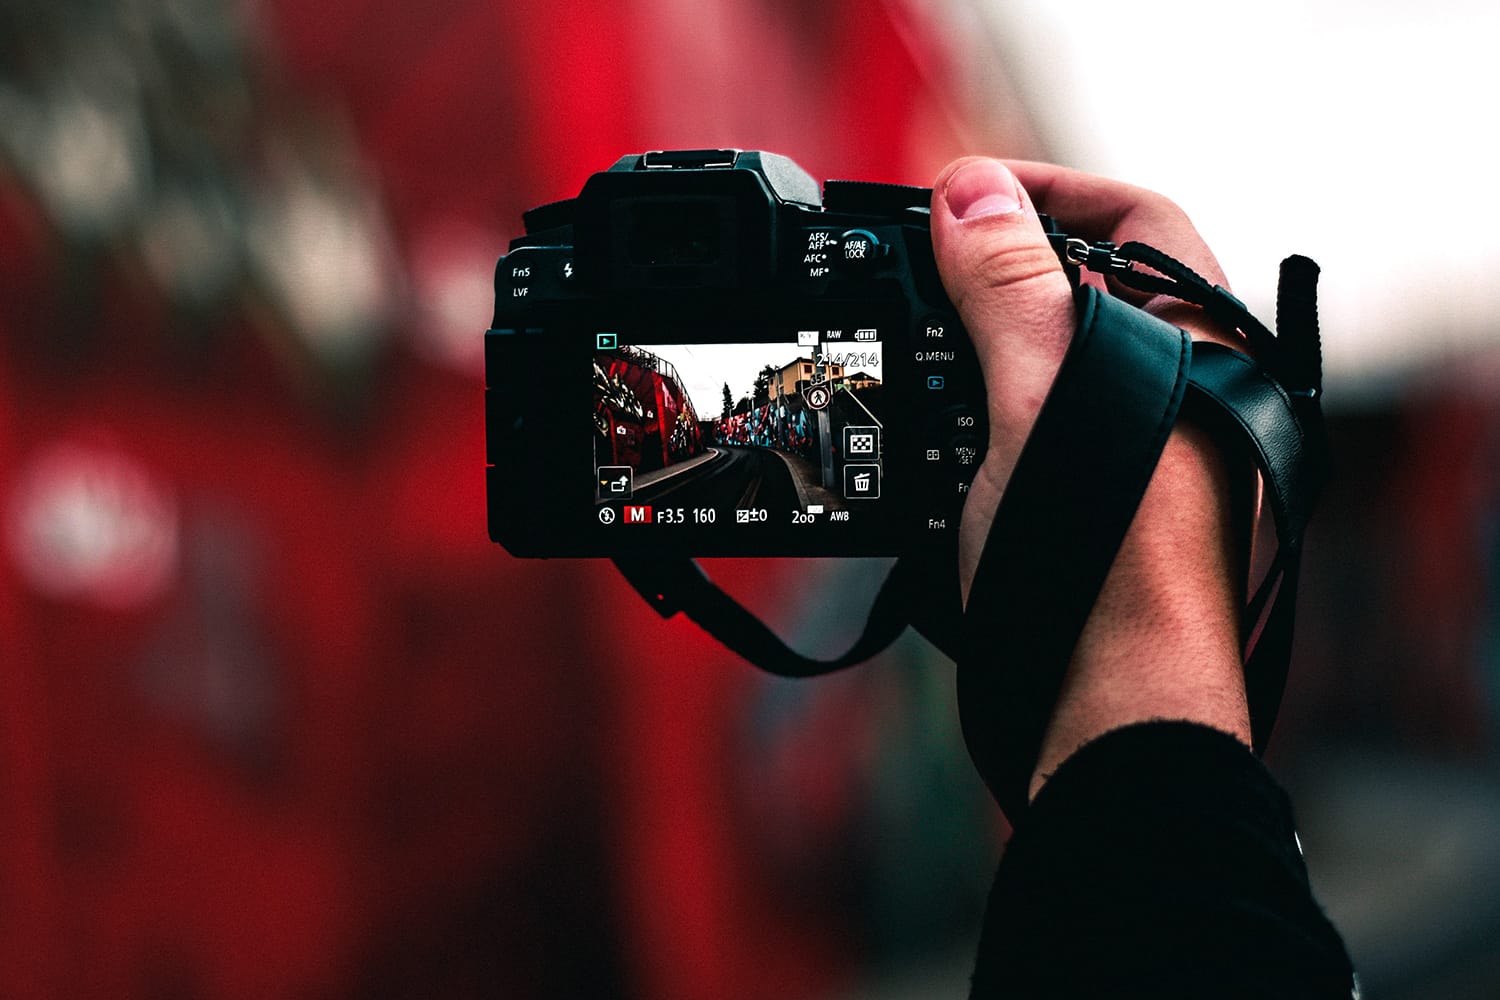
5. Selecting Ratio in Camera
Most modern cameras offer a 5:4 or 4:3 aspect ratio. Some cameras also allow you to set an aspect ratio of 16:9. I always prefer to shoot with the maximum/largest aspect ratio and crop images later on. Keep in mind that whenever you change the aspect ratio on your camera to something other than the maximum ratio, your camera is essentially cropping your images for you.
For example, capturing a photo at a 16:9 aspect ratio will not allow you to go back to 5:4 without cropping an even bigger portion of your image. Not only does it reduce the quality of your image, but you might also lose important elements, context, patterns, or texture.
Of course, if needed, you can always change the aspect ratio in post-production.
6. Reframing & Repositioning
Reframing your photos directs your viewers’ attention to the main subject, and it plays a significant role in portraits. A lot of people prefer to put their subjects in the very center of the frame. However, placing the main point of interest on the intersecting lines of a Rule of Thirds grid can help make your images more dynamic and vibrant.
If you have images that have your subject centered and you have enough room to reposition your subject, give it a shot. You might like the results better!
To Conclude
While we all strive to capture images right in-camera… sometimes we have to sacrifice composition to capture a fleeting moment. That’s where cropping in post-processing really comes in handy.
I hope this guide will help you improve your cropping skills!
About the Author: Jon C. Phillips
 Jon C. Phillips is a photographer, watch lover, product developer/designer, guitarist & musician, and all-around web nerd. He's the founder of Contrastly which he launched in late-2012. He also co-founded DailyPhotoTips and TheDailyPreset.