How to Get It Right “In-Camera” and What It Means

Maybe you’ve heard the phrase “in-camera” when it comes to planning and taking shots, but what does it mean to get it right in-camera?
This indicates that the more “right” a photo is in-camera, the less editing it will need during post. In other words, it’s like getting your shot correct on the first try, aiming to have it as perfect as possible straight out of the camera.
Before we hop into our tutorial, though, let’s run through a few pros and cons of perfecting your shots in-camera versus making corrections in post-production.
In-Camera or Post-Production?
Besides perfecting our shots in-camera, there’s another way to get them right, too—in post-production. Advanced photo editing software is widely available and can serve both beginning and advanced photographers well.
Programs like Adobe Photoshop or Lightroom Classic are both excellent options for correcting mistakes, removing distractions, creating your own style, and making minor adjustments to color.
There’s no arguing that having the opportunity to make these kinds of adjustments in post-production is a significant advantage!
However, there are times when it’s easy to become tempted by the vast number of editing tools available to us in these programs and, as a result, focus less on getting our shots right in-camera. When this happens, we begin to use post-production editing tools as a crutch.
This can lead to two things:
- We spend less time improving our compositional skills and risk losing our understanding of the basics that can help us to become better photographers.
- We risk using post-production tools so much to get our photos right that our work begins to lose its realism. Sure, the power of these editing programs is unparalleled, but it takes an incredibly skilled individual to make substantial changes while keeping a photo’s appearance completely realistic. The more adjustments we make in post, the less authentic our photo becomes.
For this reason, we recommend learning to strike a balance between getting your photos right in-camera (without stressing so much that you lose enjoyment) and using Photoshop or Lightroom as additional enhancement tools.
But how exactly can we get our photos right in-camera? What does it take? Here, we’ve got some tips & tricks to help you experience more confidence when achieving in-camera perfection.
Getting It Right—the Tips You Need to Know
Getting it right in-camera takes a bit of planning and a bit of skill, as you’ll see in the advice we’ve compiled below.
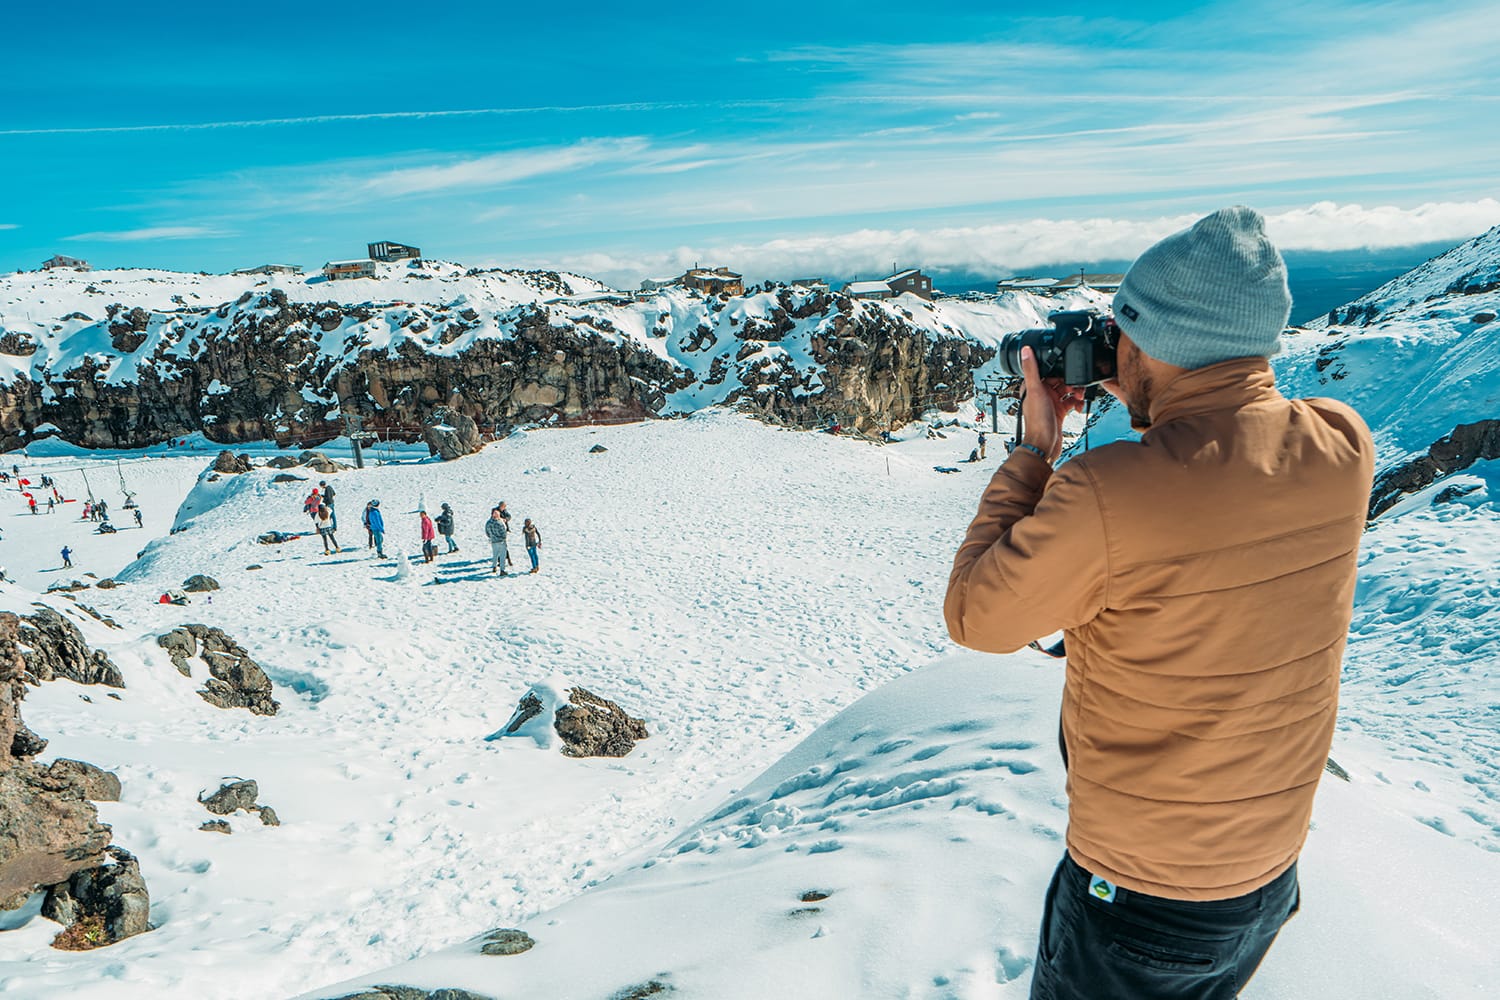
1. Avoid shooting blindly
To get a photo right, you need to have a goal.
When you shoot just anything and everything, you lack the detailed vision necessary to truly perfect various aspects of your photos and ensure that they are indeed “right” for your shot.
Plus, knowing what you want to see in your final product will help you to determine how much you can realistically get right in-camera and whether or not you’ll need to take advantage of some post-processing magic to perfect your vision.
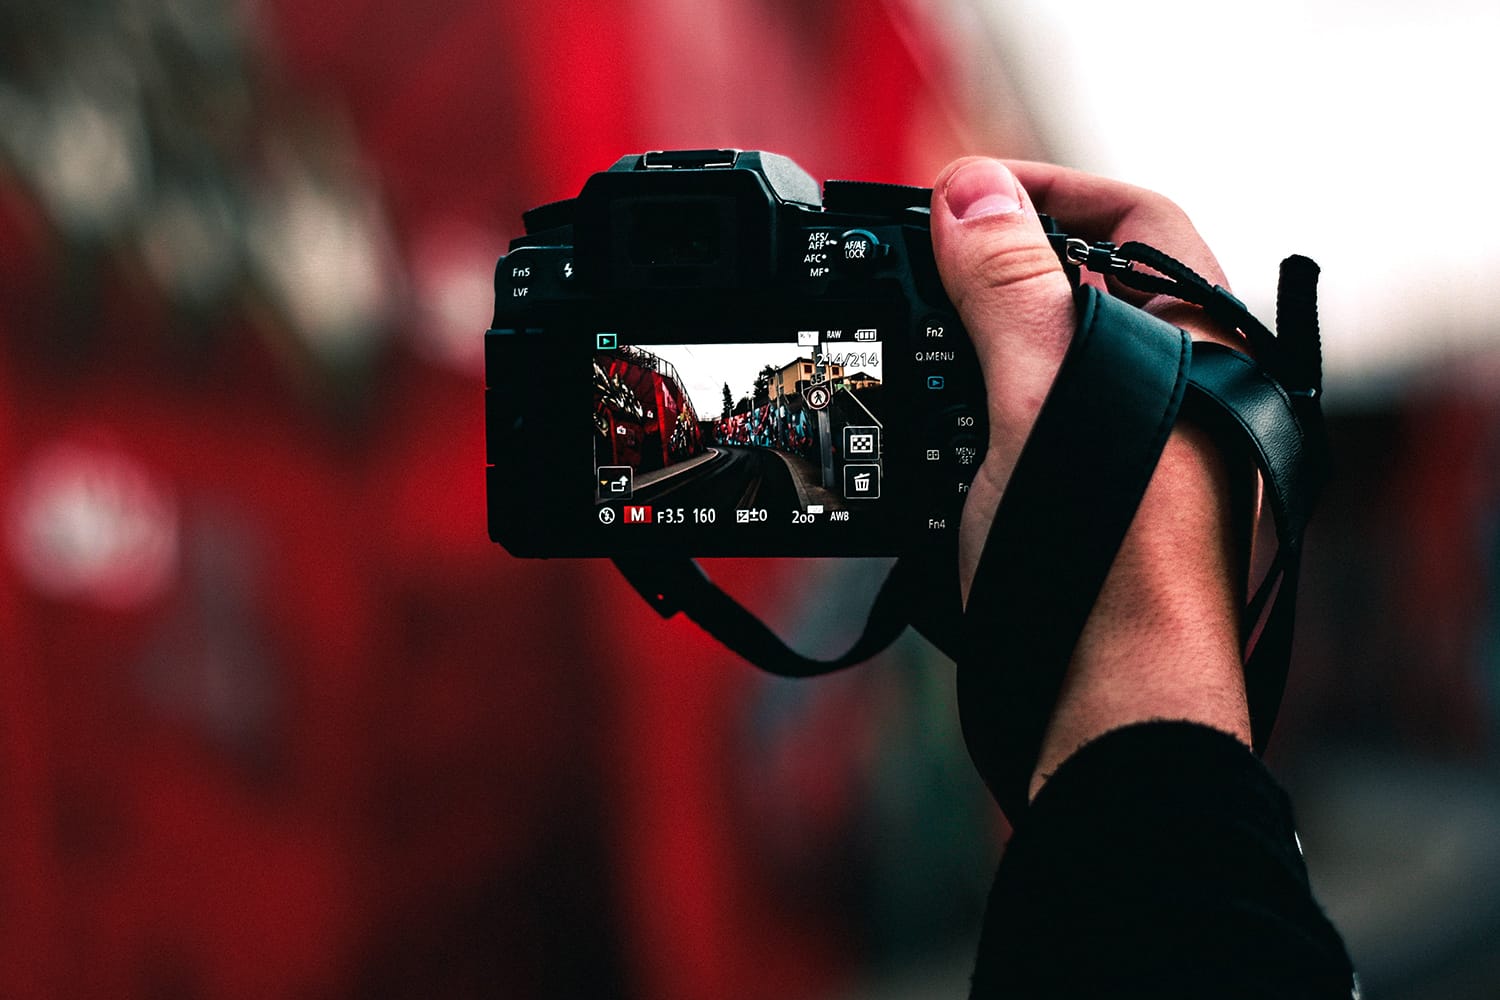
2. Pay close attention to framing

Whether you are previewing your shot via the viewfinder or your camera’s LCD screen, double-check the framing of the scene. This includes not only the borders of your photo, but also other framing and leading lines within the image, such as the line of the horizon or the lines of architecture.
For instance, if the horizon in your shot isn’t straight, you can undoubtedly straighten it with editing software.
However, this adjustment will necessitate that you cut other parts of the image out, which might affect the border that you so carefully planned while shooting. As a result, this could mean that the subject of your photo ends up crowding the edge of the frame.
This is why it’s best to get your borders and to frame correctly in-camera!
3. Conquer the histogram
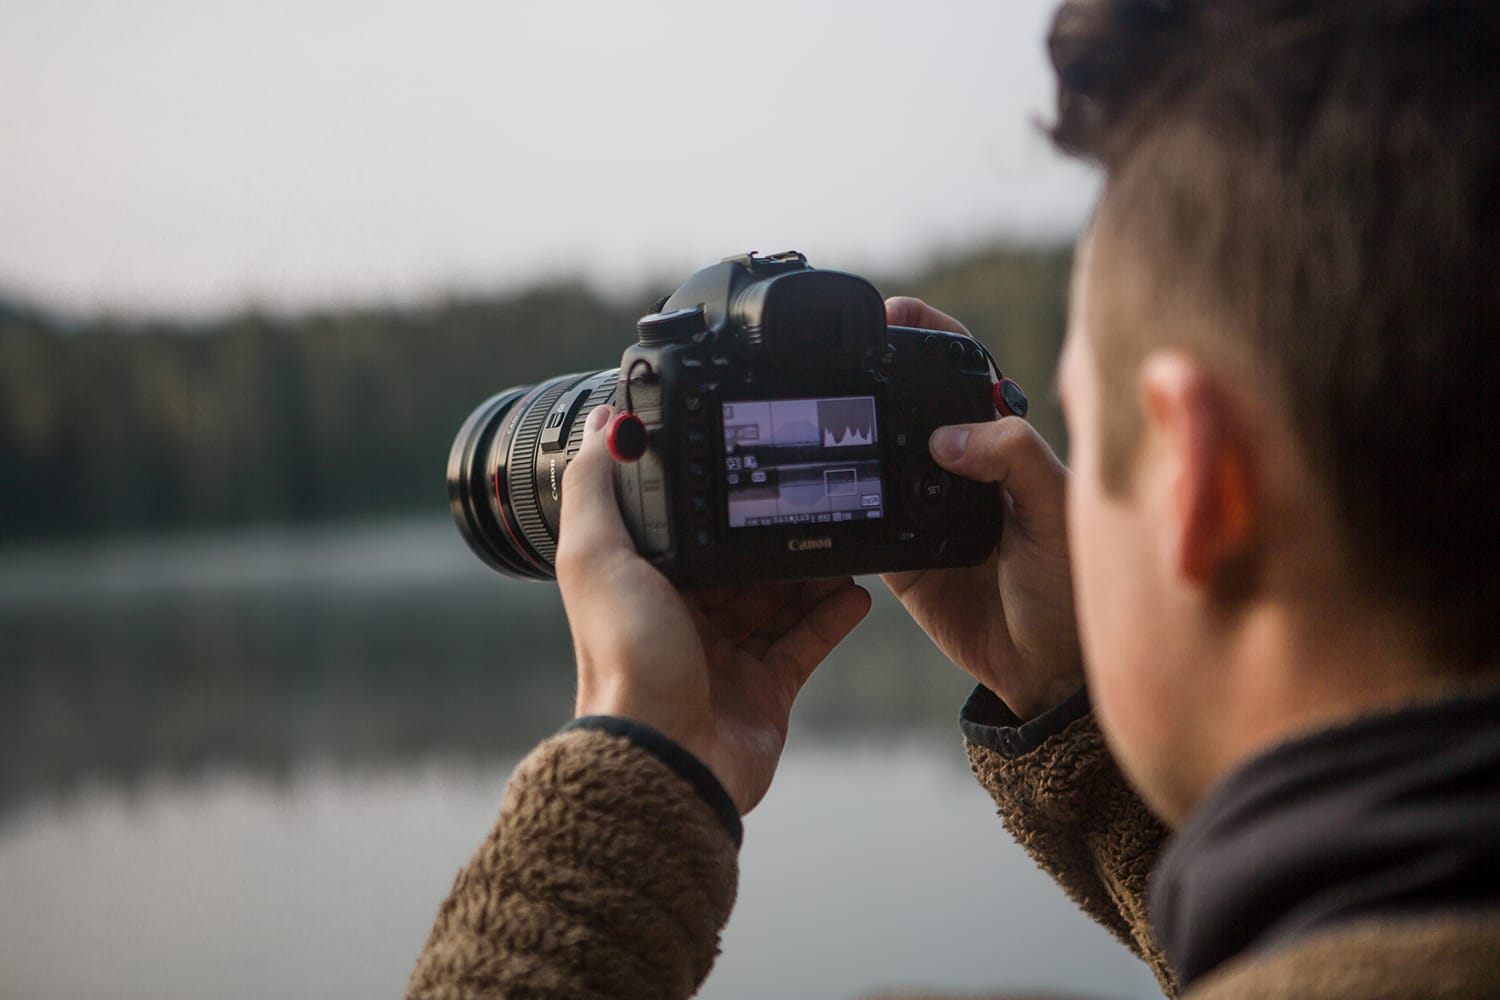
Yes, we know histograms can be frightening, particularly for newer photographers or for those who haven’t spent much time working with histograms in Photoshop or Lightroom.
To know that there’s a tiny histogram in your camera might send a shock of panic up your spine, but we promise it’s for the best! Understanding how to use your camera’s histogram is key to getting the exposure right in the field, preventing you from needing to spend time during post-production adjusting over- or underexposed images.
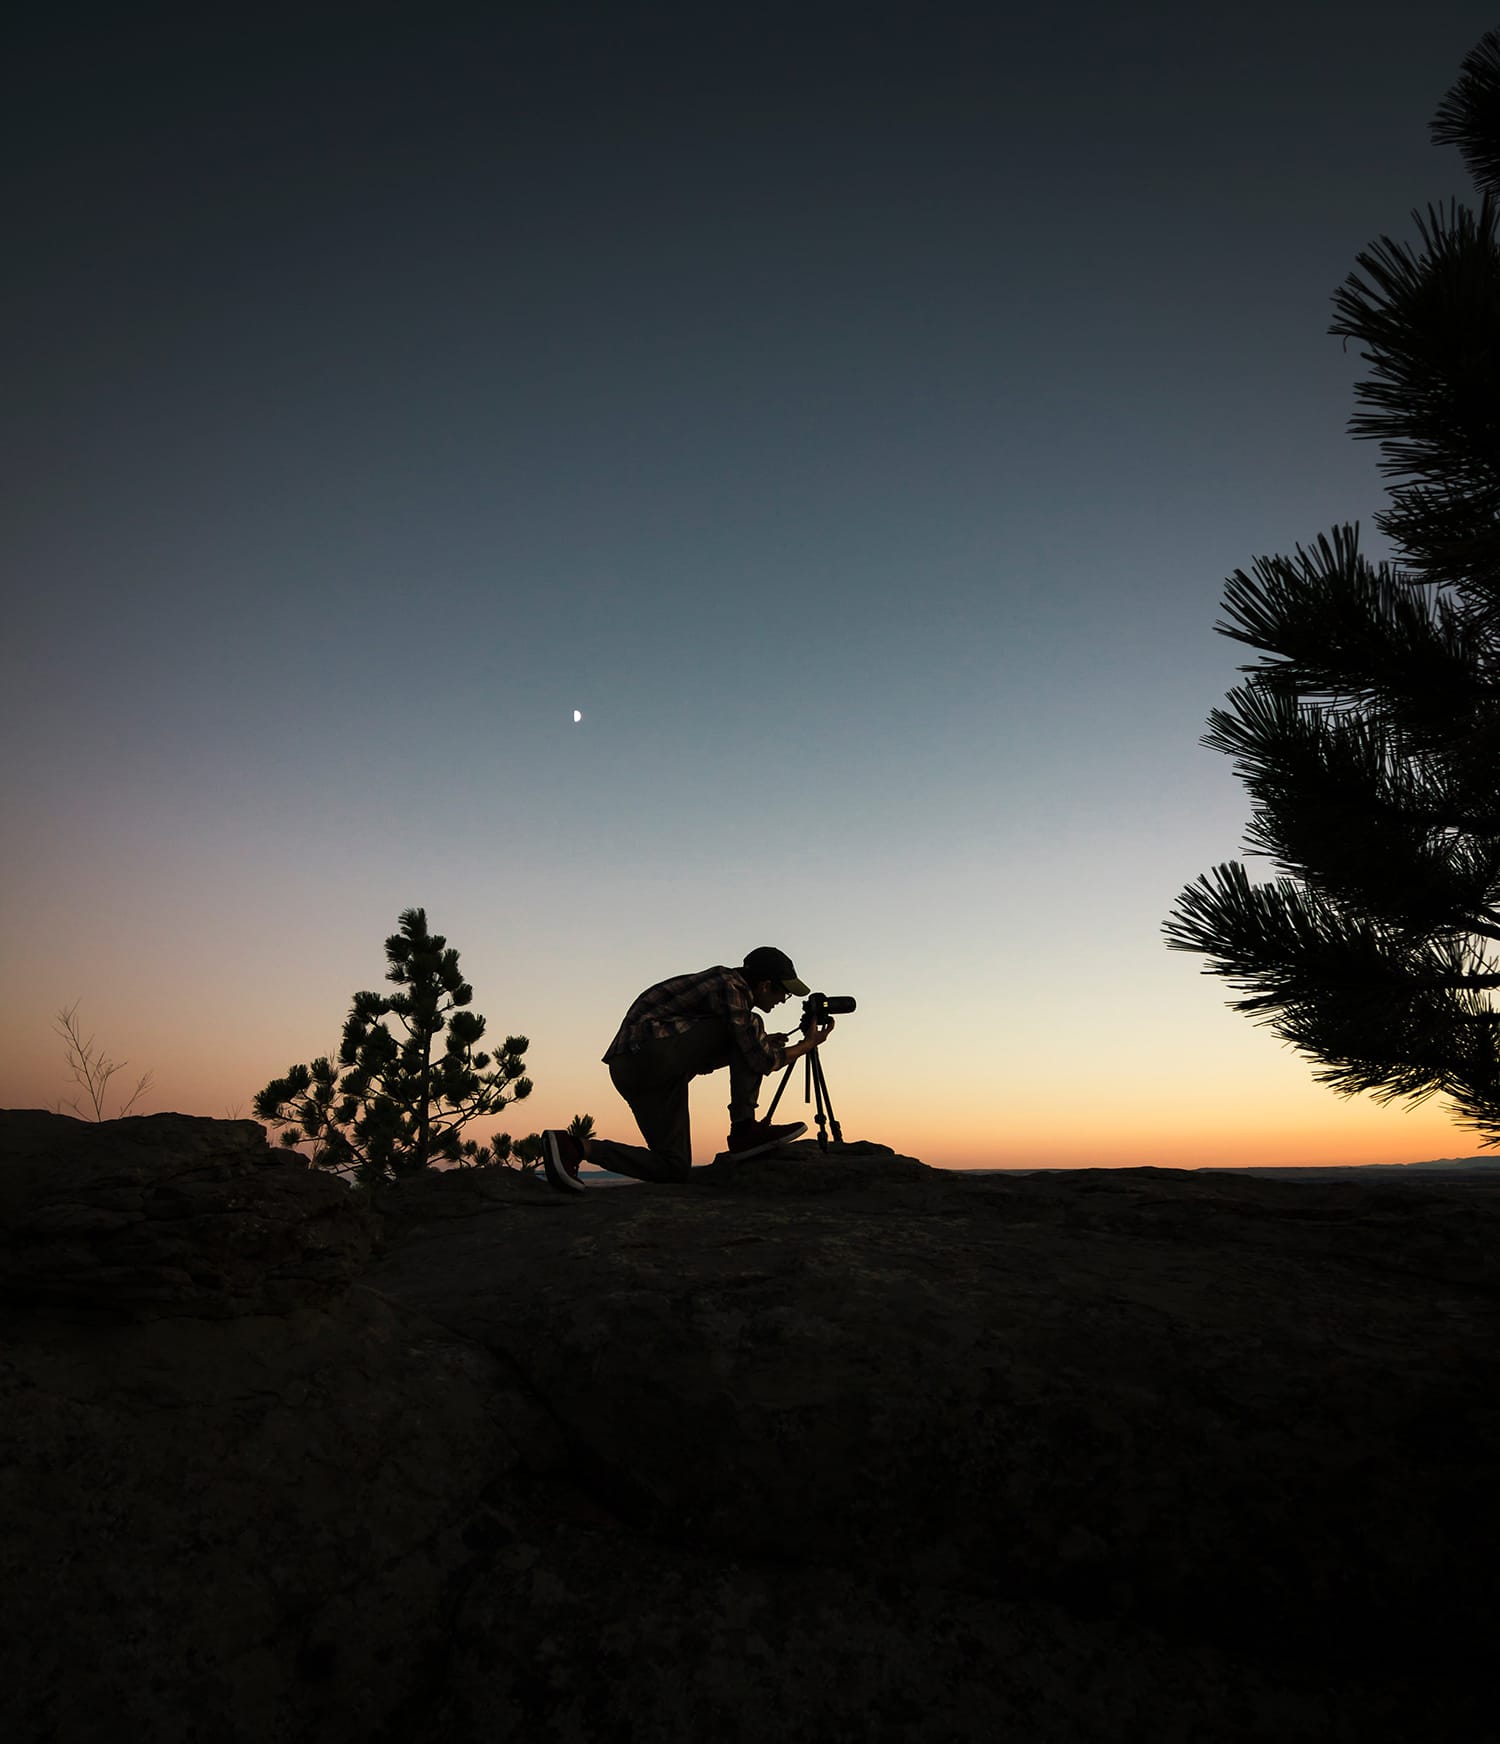
4. Have a shooting strategy
We’ve already spent some time discussing exposure, but we’ll spend a bit more time with it while introducing the concept of a shooting strategy. While knowing how to read a histogram will help you to understand if your exposure level is appropriate, the histogram itself doesn’t address the steps you can take to adjust your exposure when you recognize that it’s off.
Planning out a shooting strategy means carefully choosing your camera settings with a purpose. To develop your strategy, you may ask the following questions:
- What level of exposure do I want?
- Do I need to use a bracketing technique?
Knowing the answers to these questions can lead you to a proper understanding of how to adjust aperture, shutter speed, and ISO to change your exposure.
You might choose to bracket shutter speed, aperture, or focal length, all of which will have different effects – for instance, bracket shutter speed for more tonal range, or bracket aperture for depth-of-field adjustment. Of course, bracketing will mean that you’ll need to spend some time in post-processing, but there’s nothing wrong with this as an intentional choice.
Some of this may sound intimidating or complicated, particularly if you are currently reliant on photo editing software to get your pictures right. However, taking the extra time to learn how to get as much as possible right in-camera means that your technique will see rapid improvement!
About the Author: Jon C. Phillips
 Jon C. Phillips is a photographer, watch lover, product developer/designer, guitarist & musician, and all-around web nerd. He's the founder of Contrastly which he launched in late-2012. He also co-founded DailyPhotoTips and TheDailyPreset.